The Old Vicarage, Wilburton
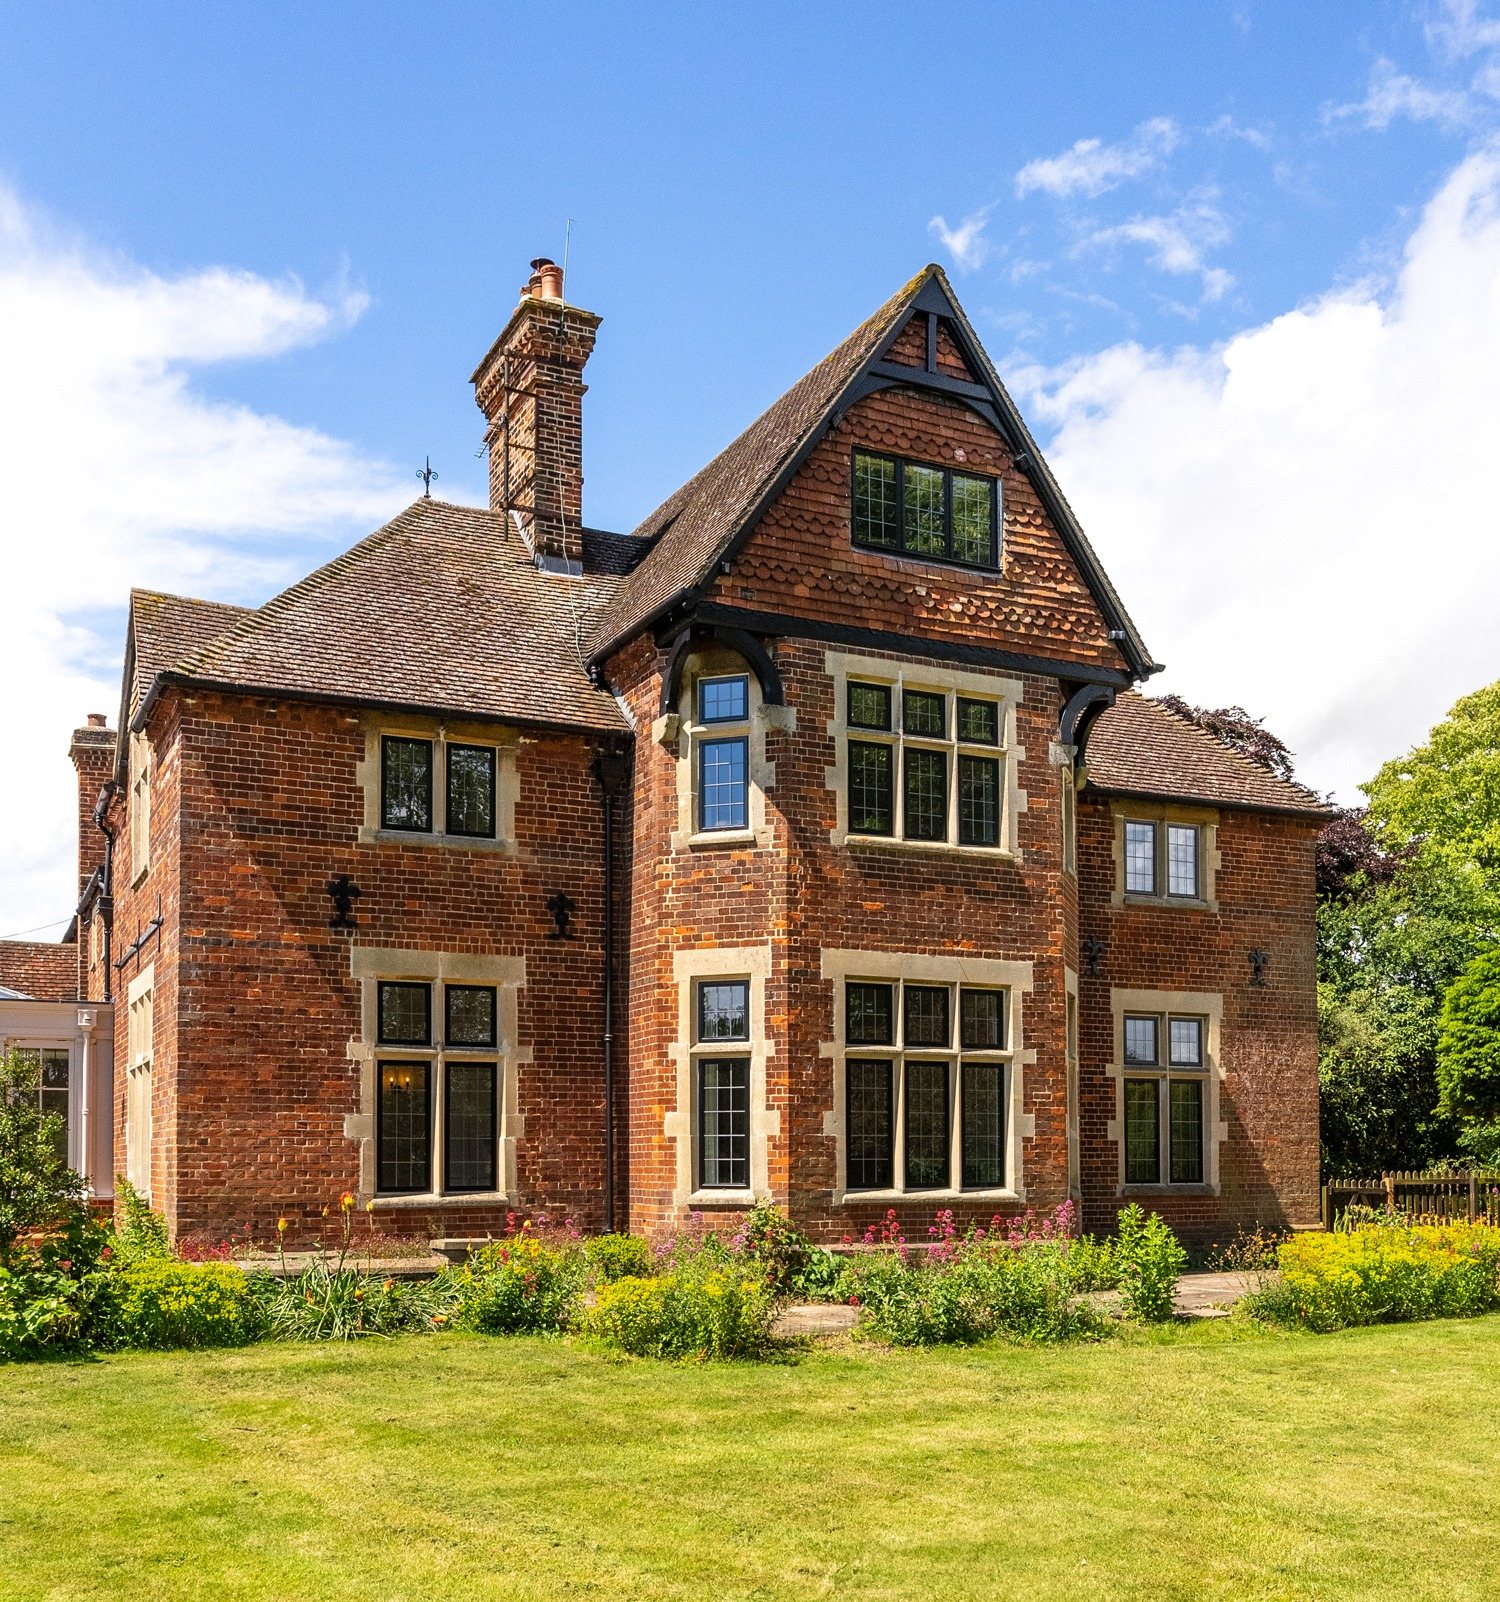
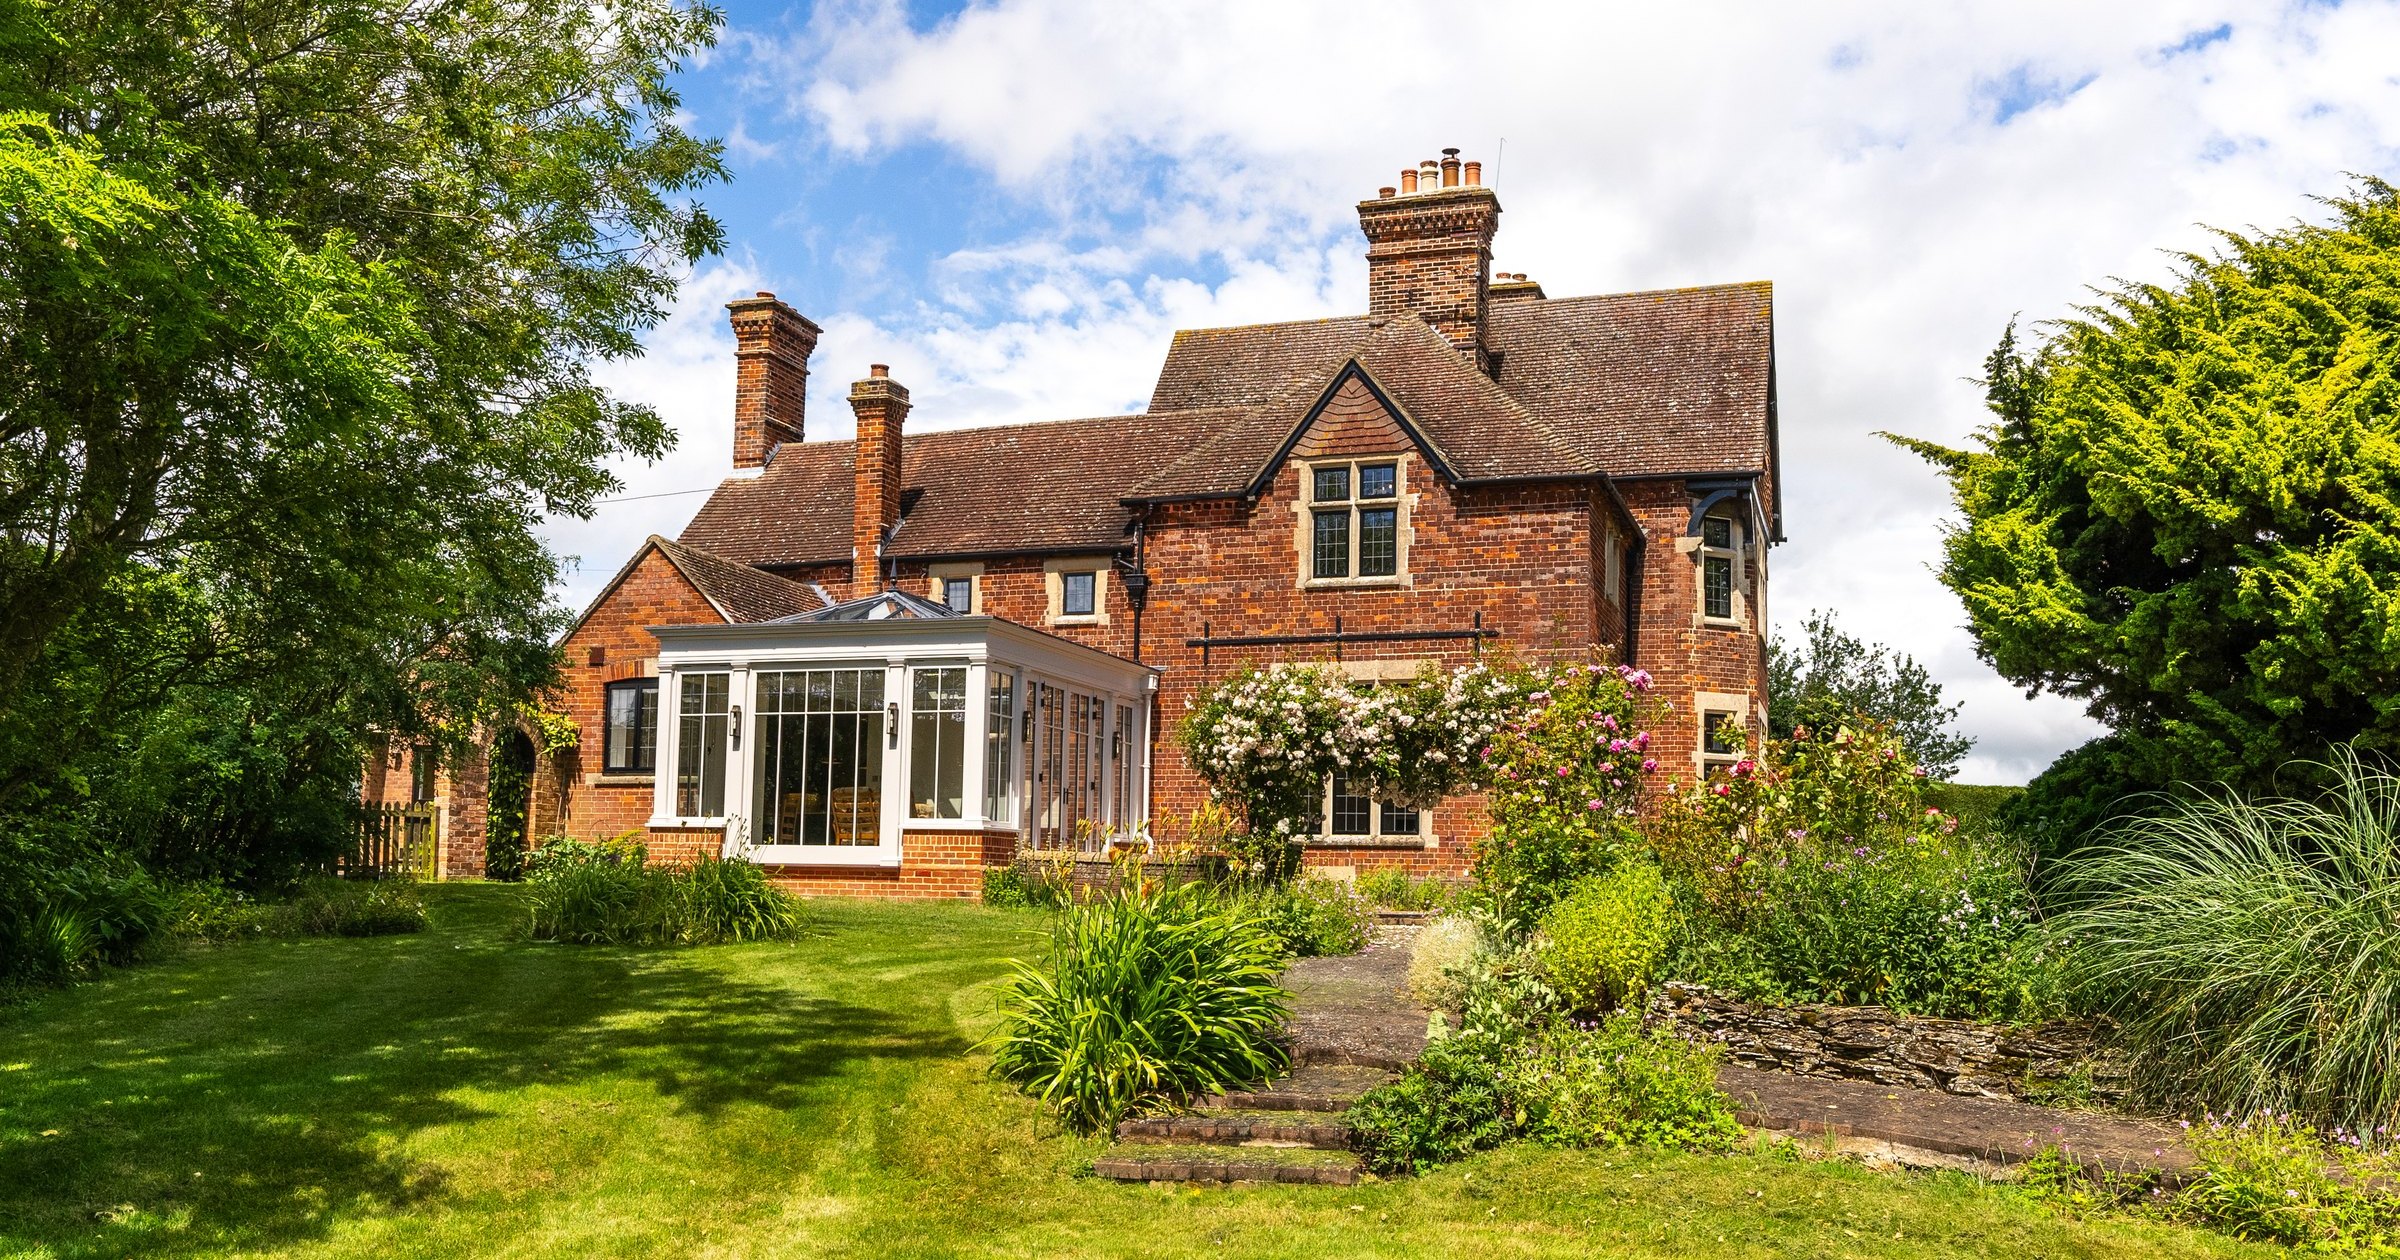
Keystone managed and carried out the renovation of this former Victorian vicarage in Wilburton, near Ely. Built in 1871, the house is recognised on Cambridgeshire’s Local Heritage List for its late Victorian architecture, including its red brickwork, dressed stone details and tiled roofs.
How the project began
The owners asked us to renovate the entire house, and no part of it was left untouched. Every bedroom and bathroom was redone, the kitchen was opened up, and the cellar, services and windows were all brought up to date. The house also needed a complete electrical rewire throughout.
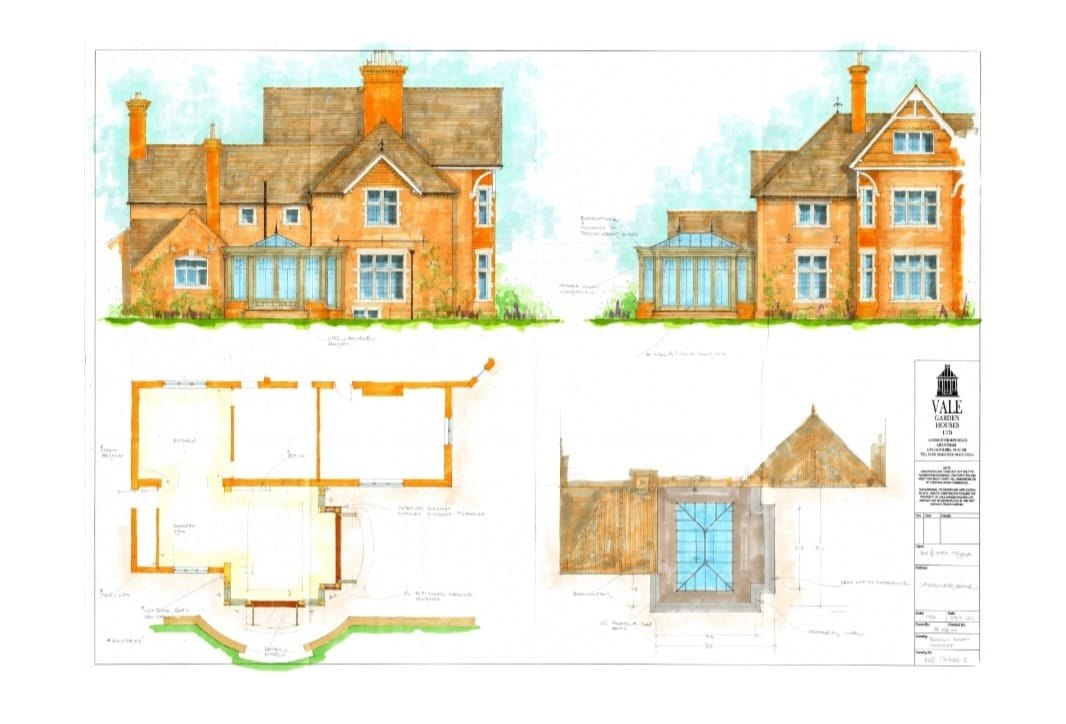
We managed the project from start to finish and carried out the work ourselves, keeping the house’s Victorian character while making it work for modern family life. Vale designed and installed the new orangery, and we coordinated the building work around it.
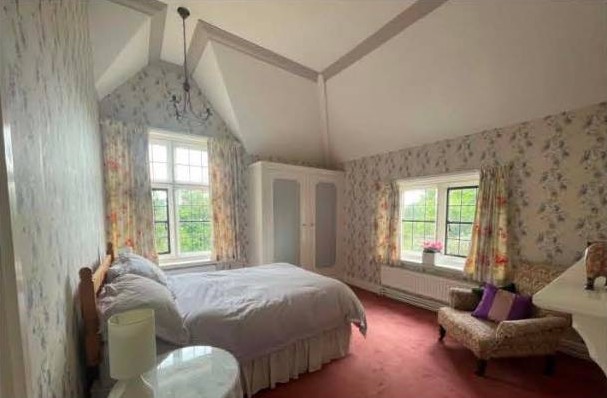
The house as we found it
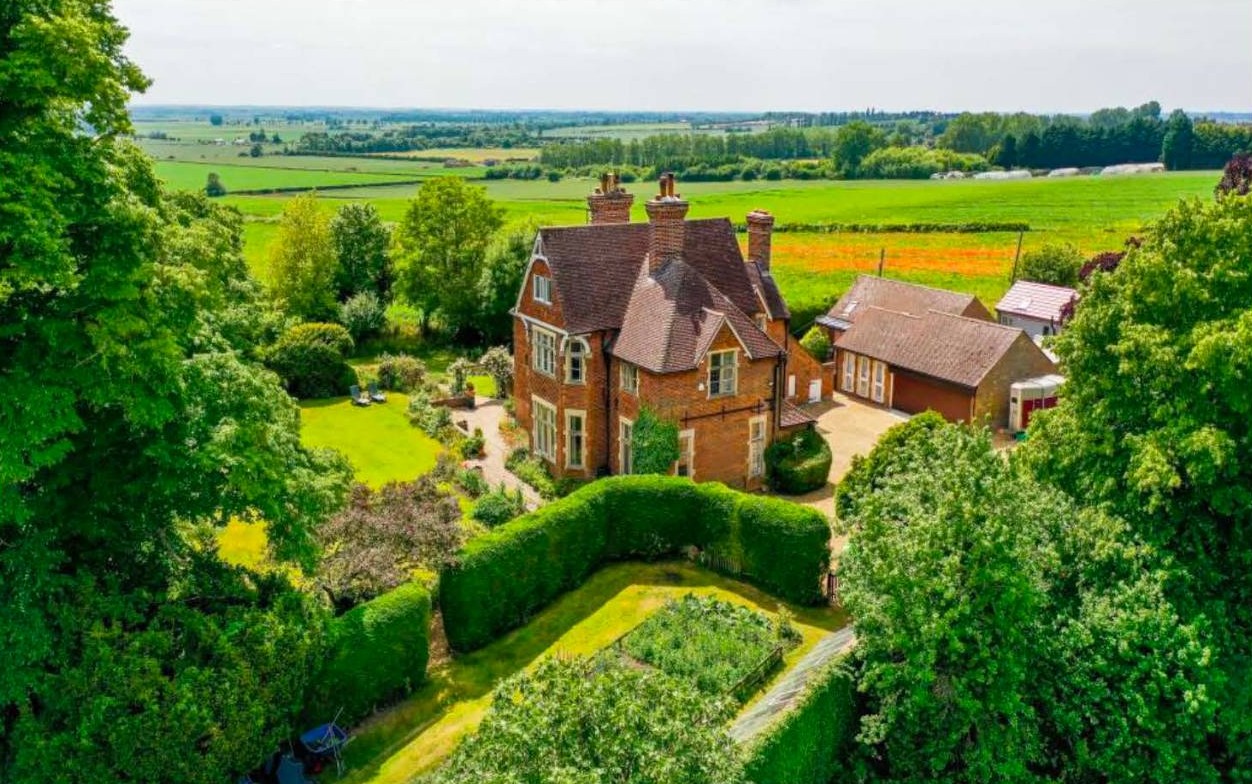
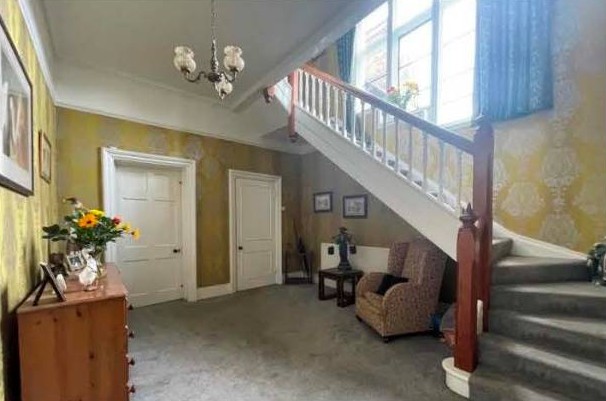
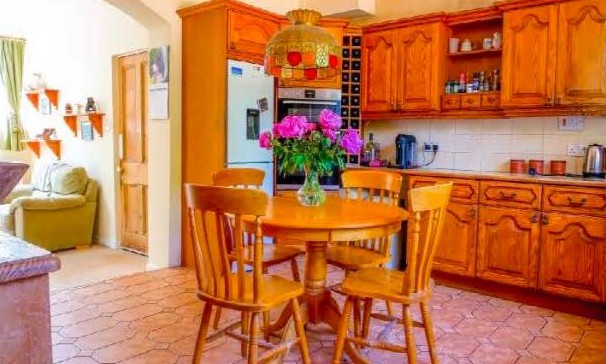
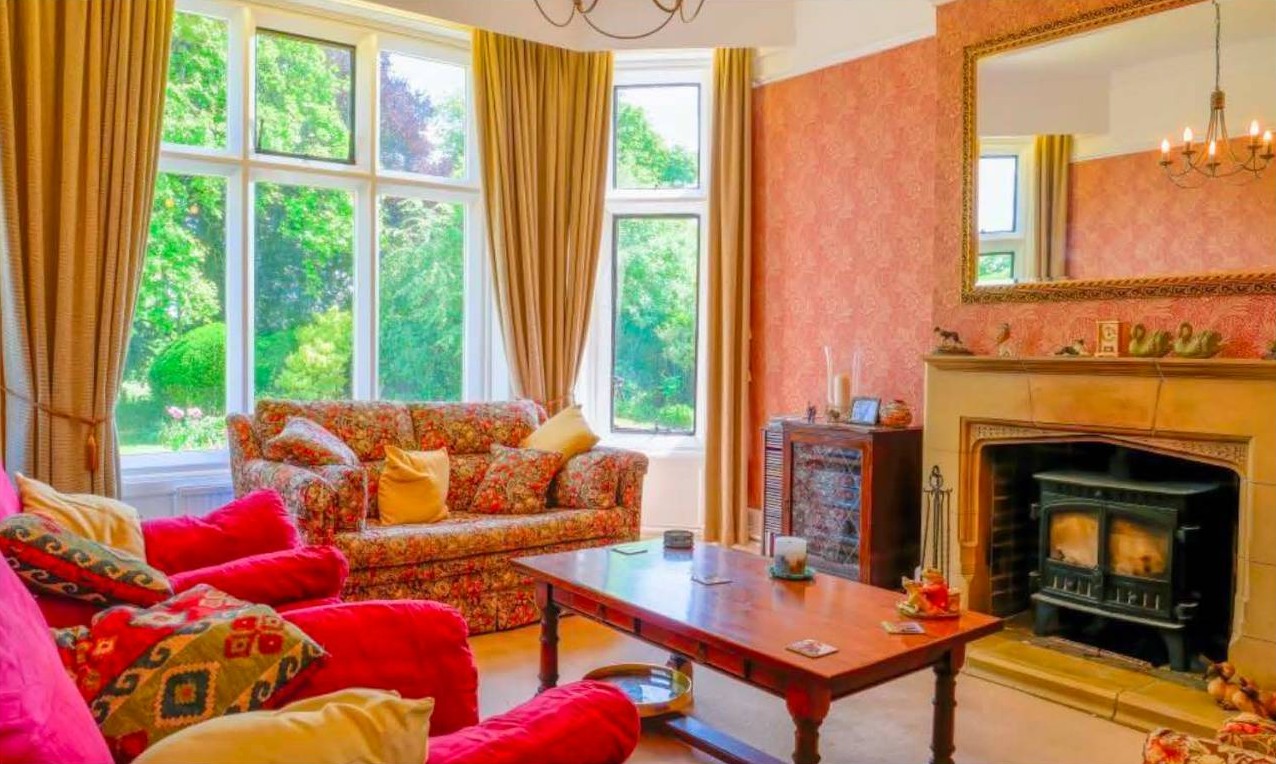
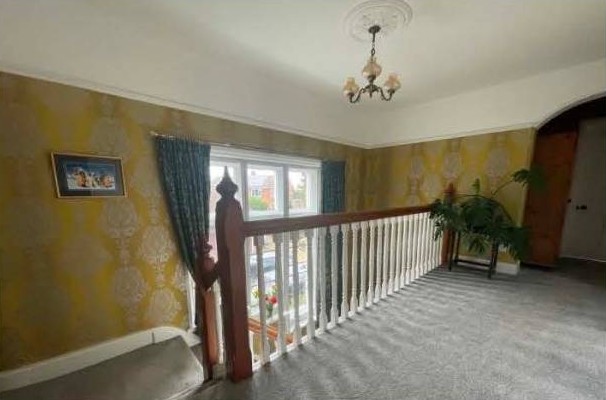
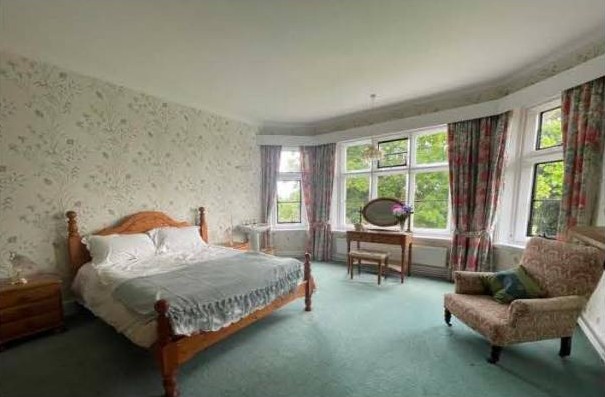
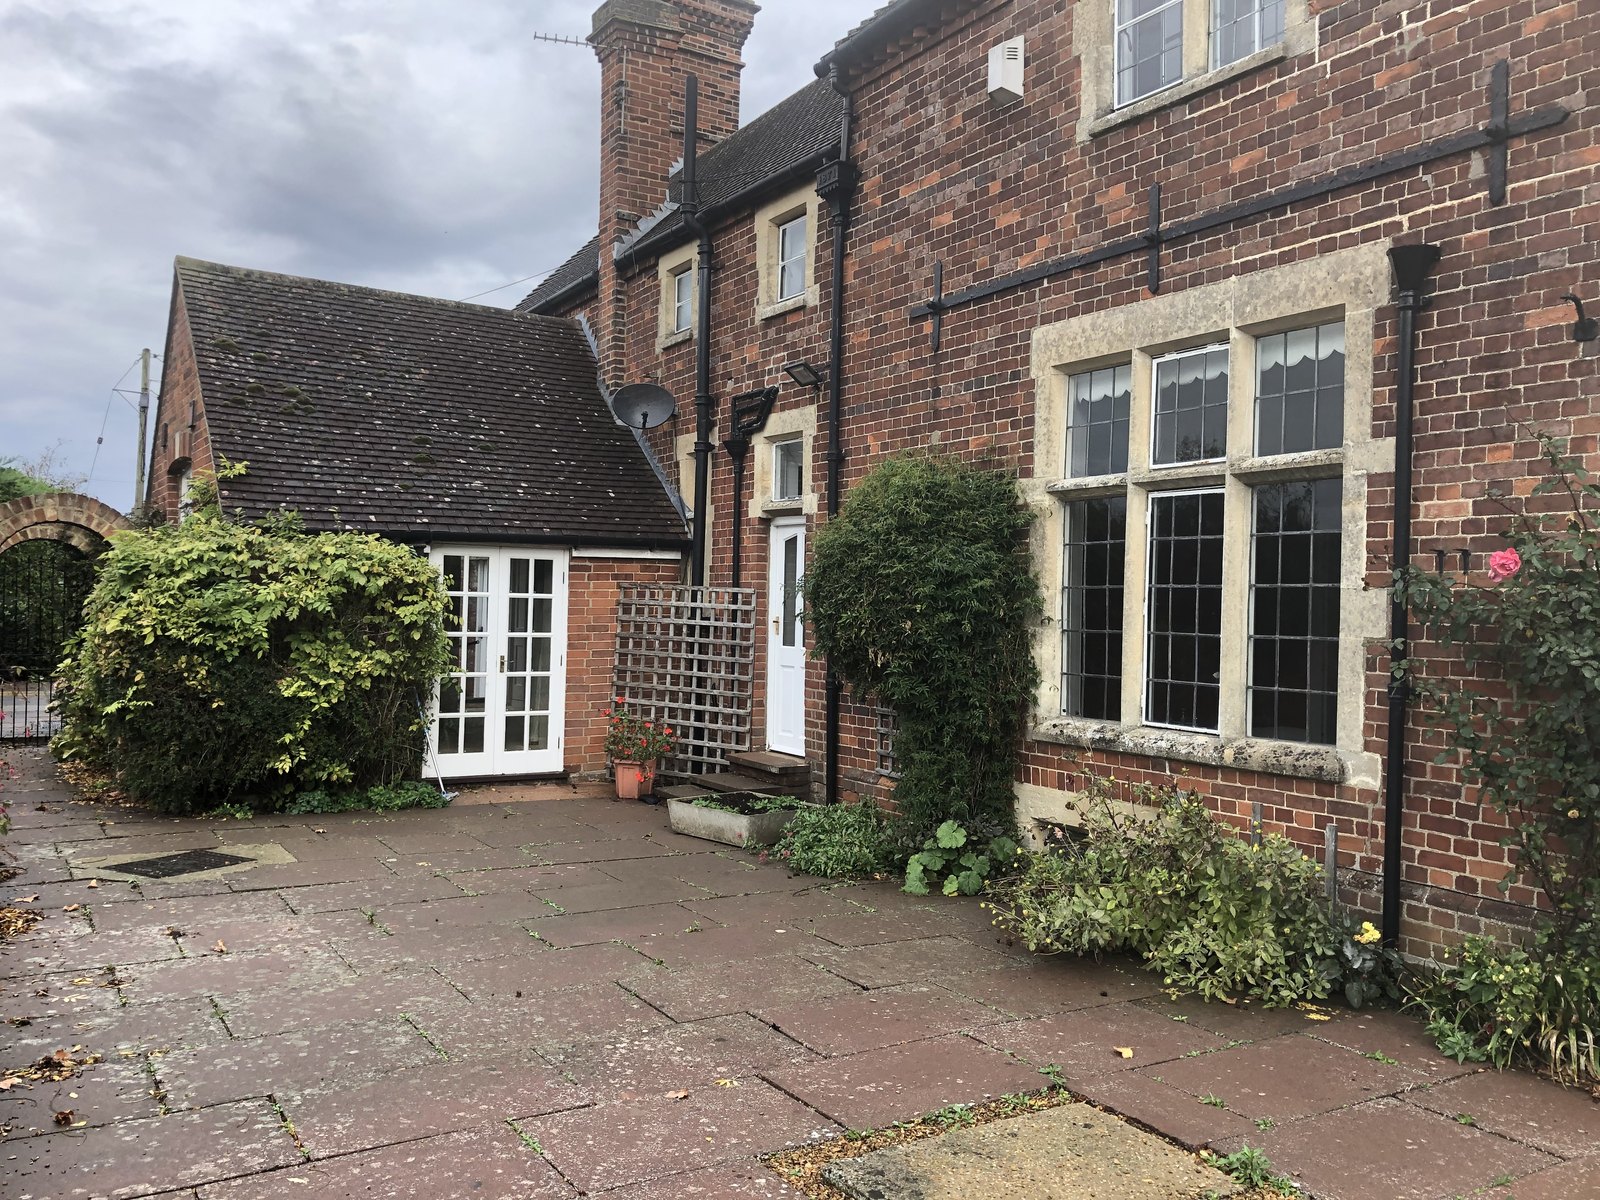
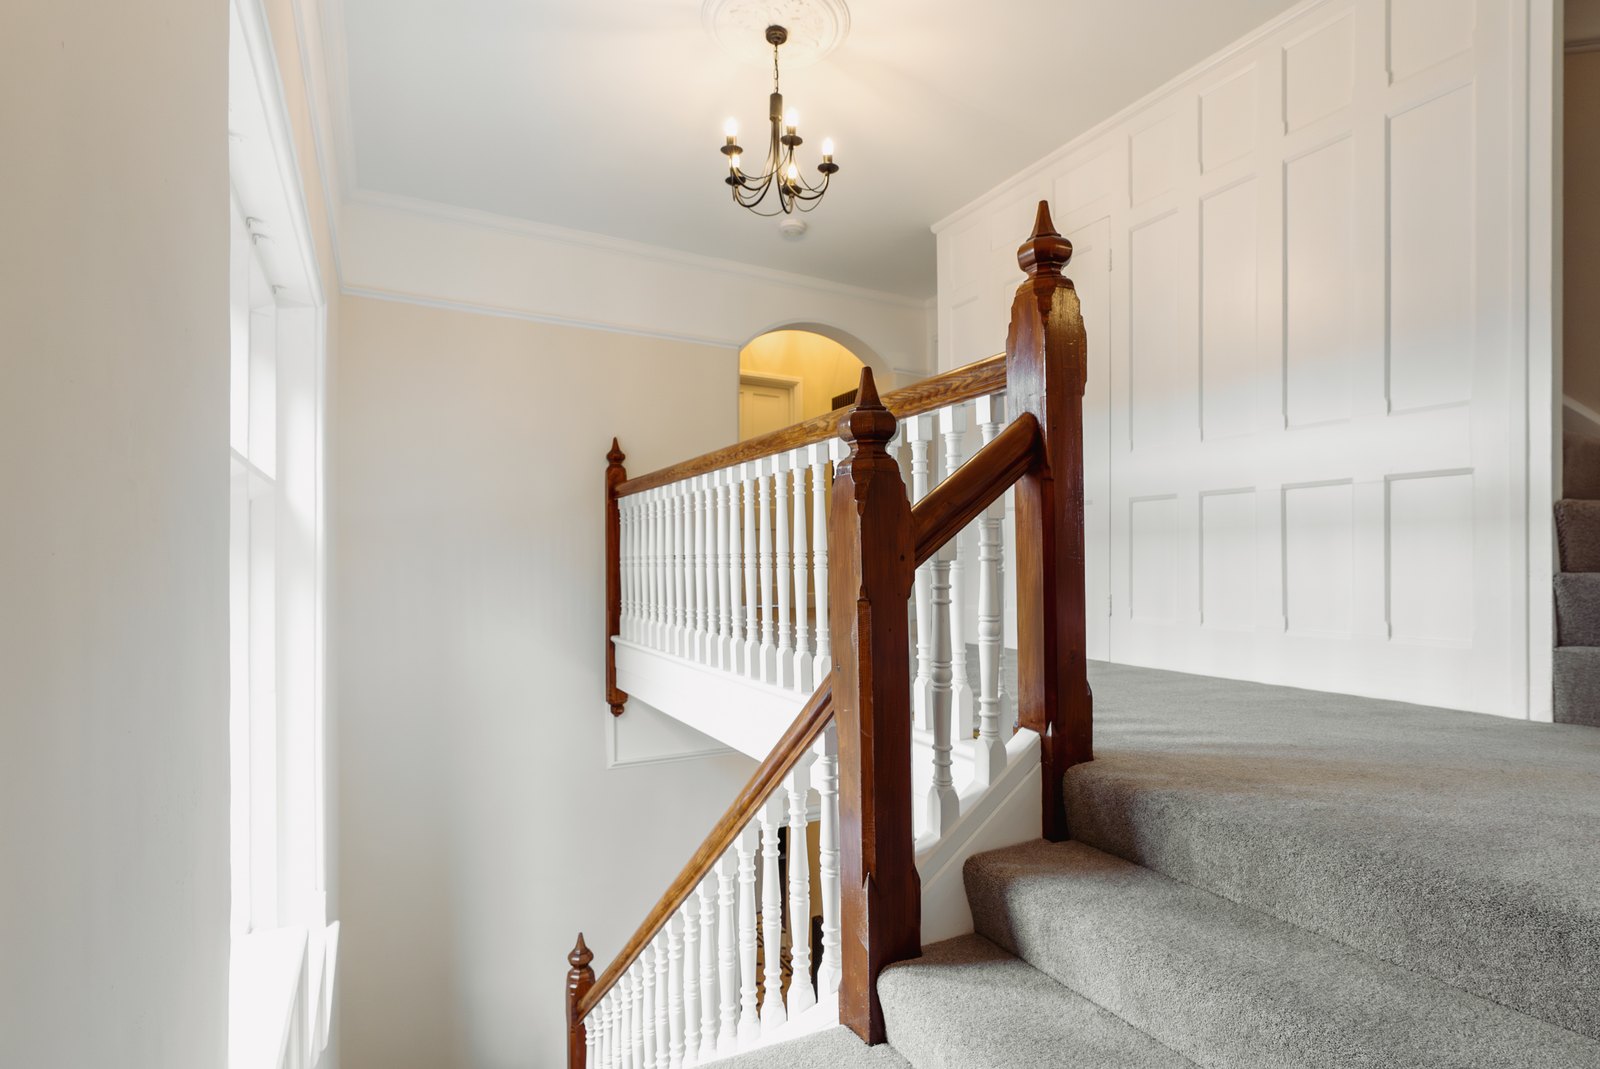
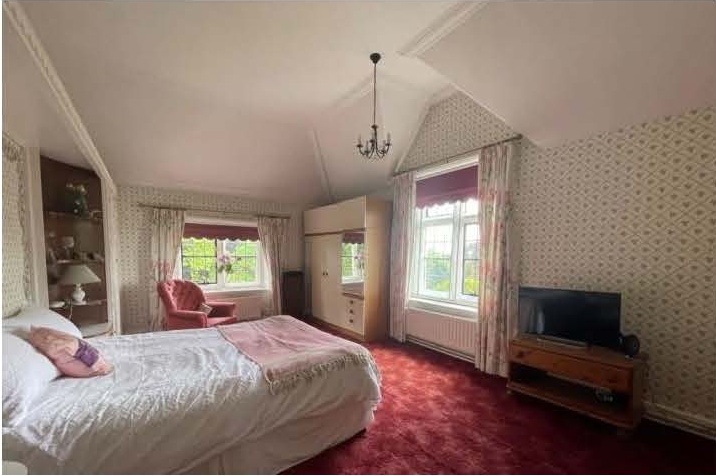
These photographs from the original sale particulars show the house before the renovation began.
The work
Stage 1
Opening up works
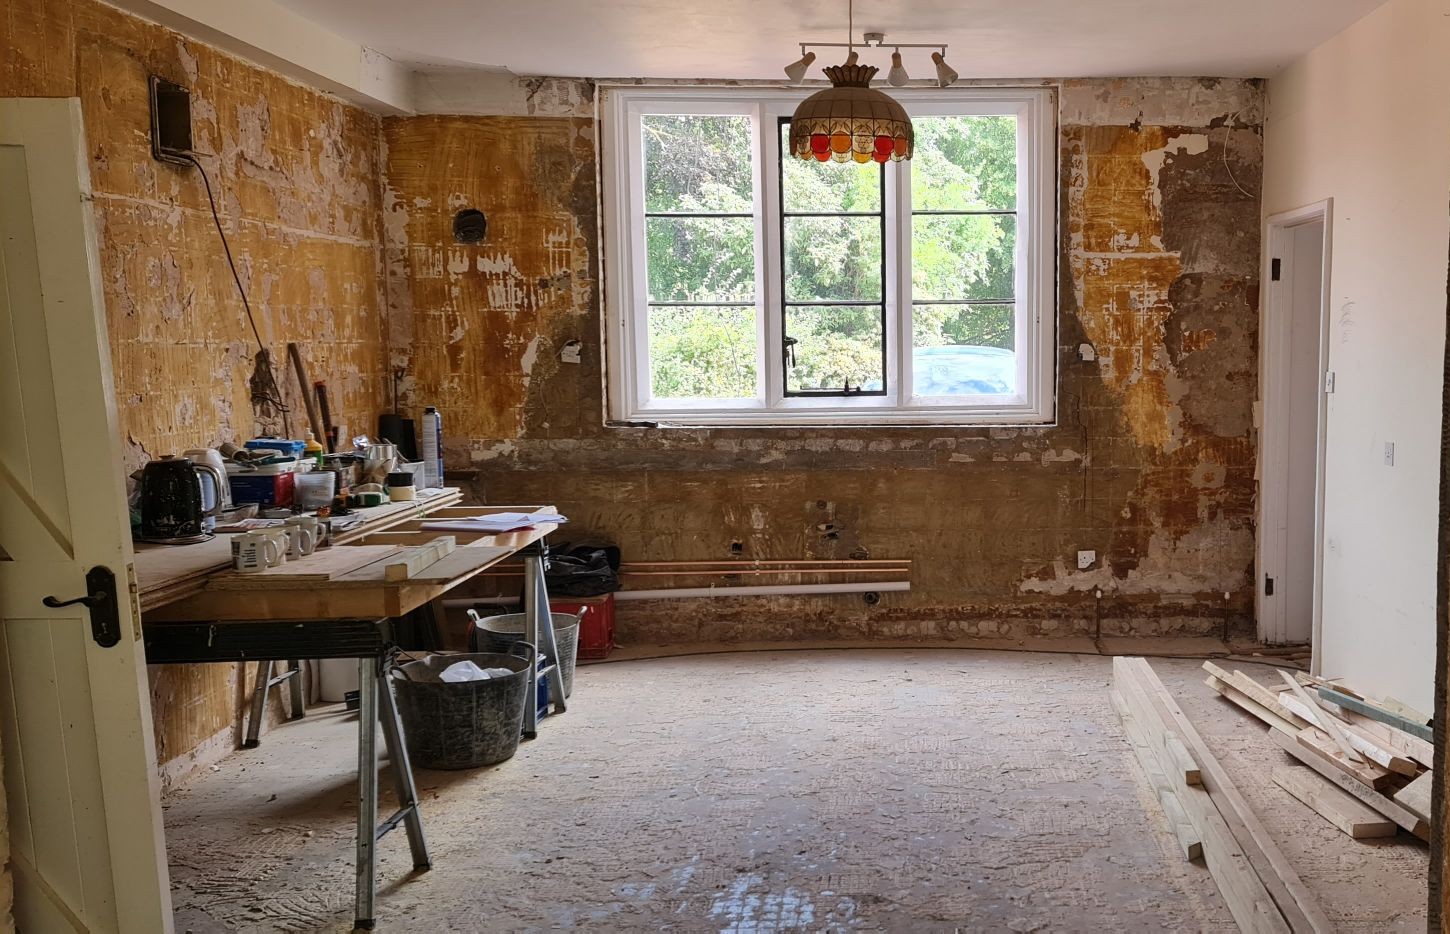
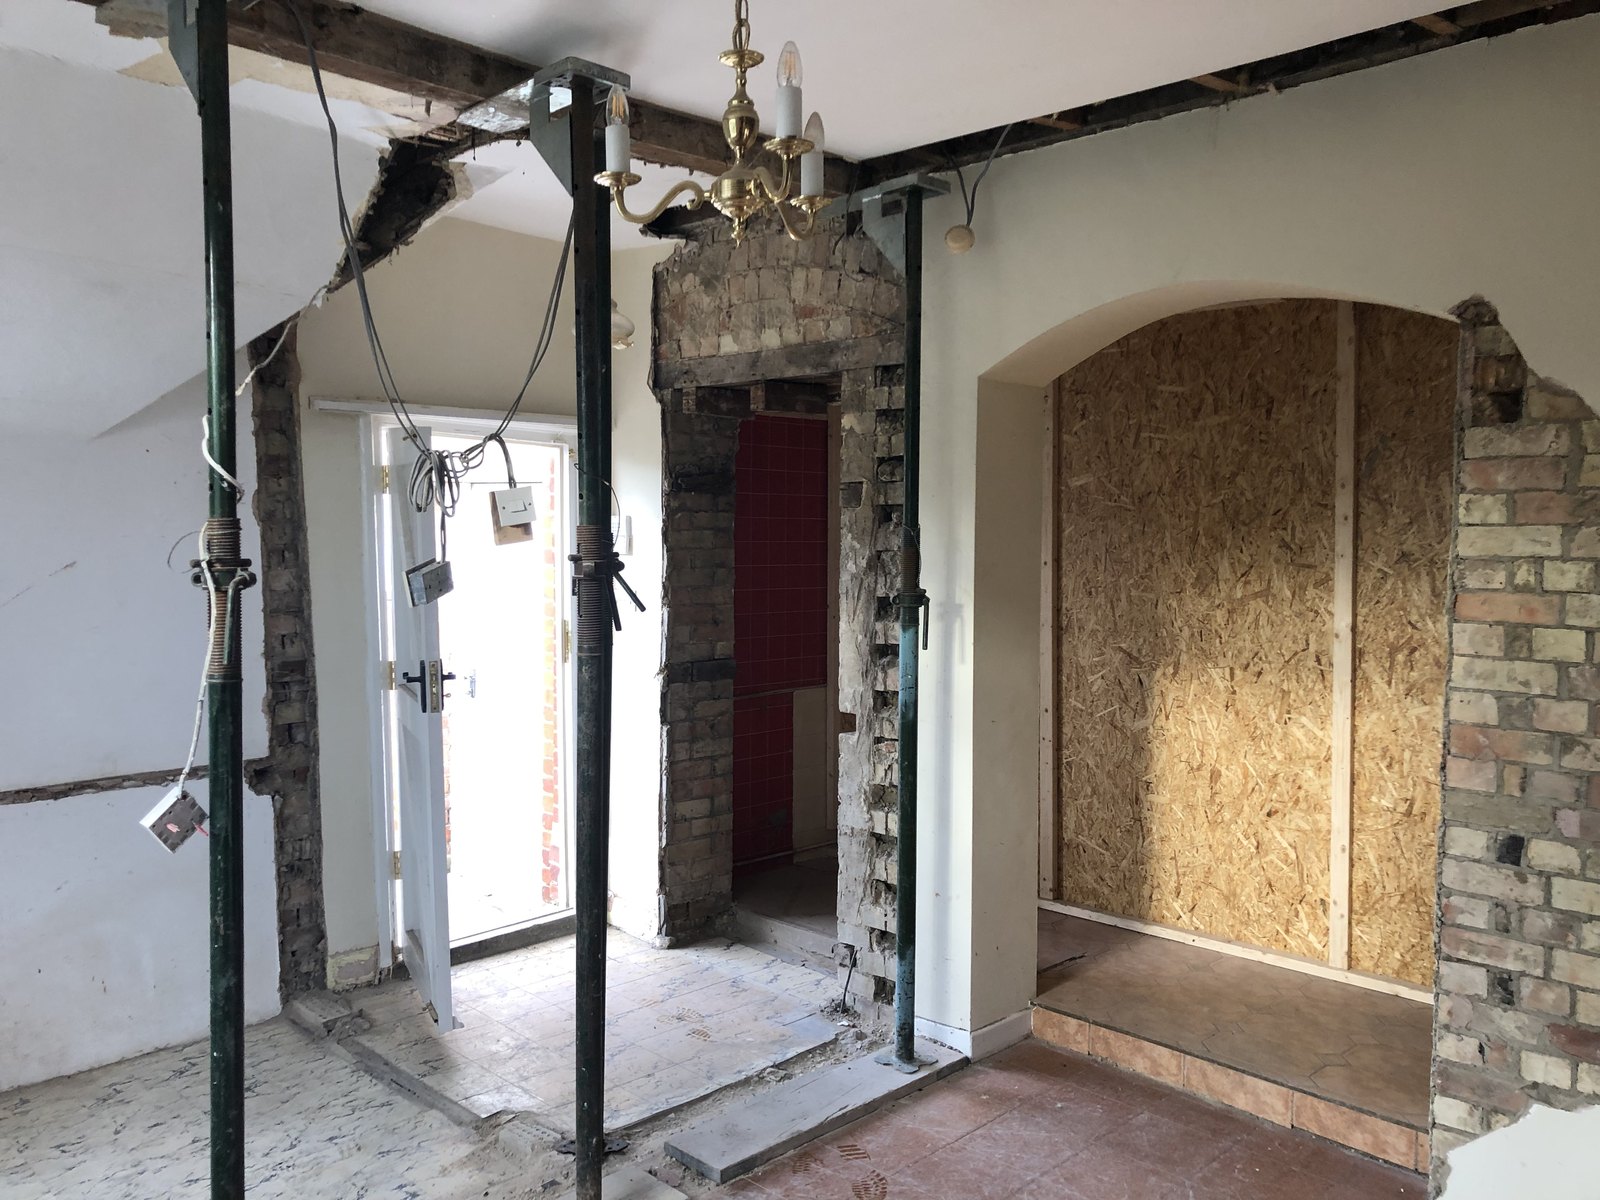
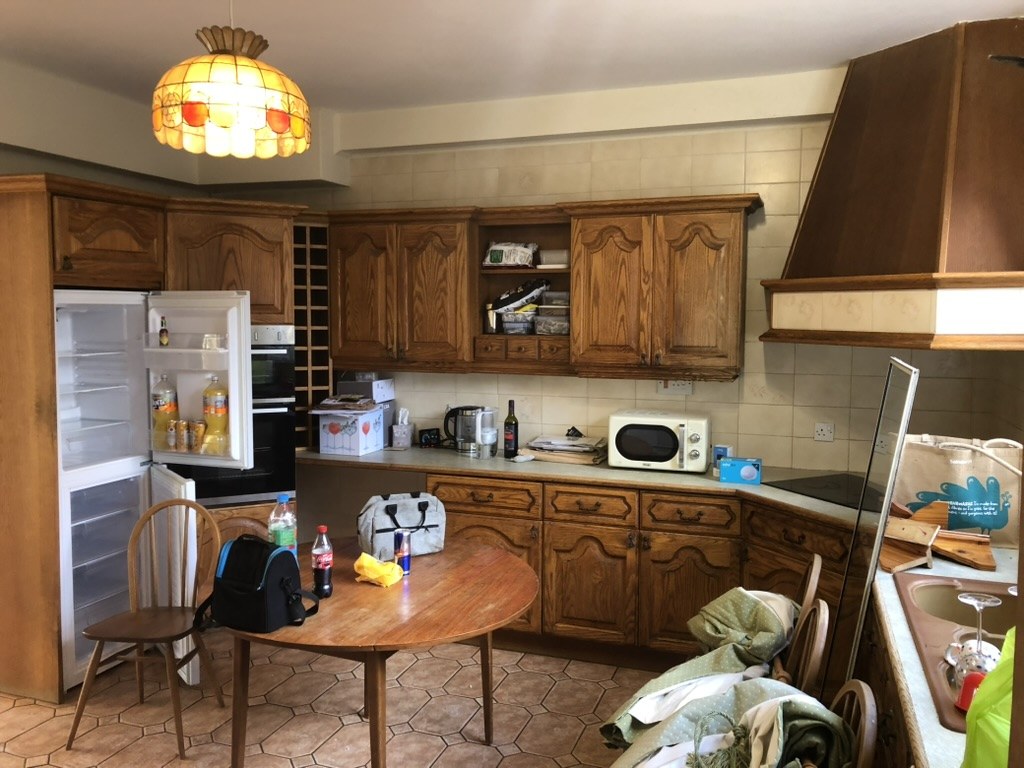
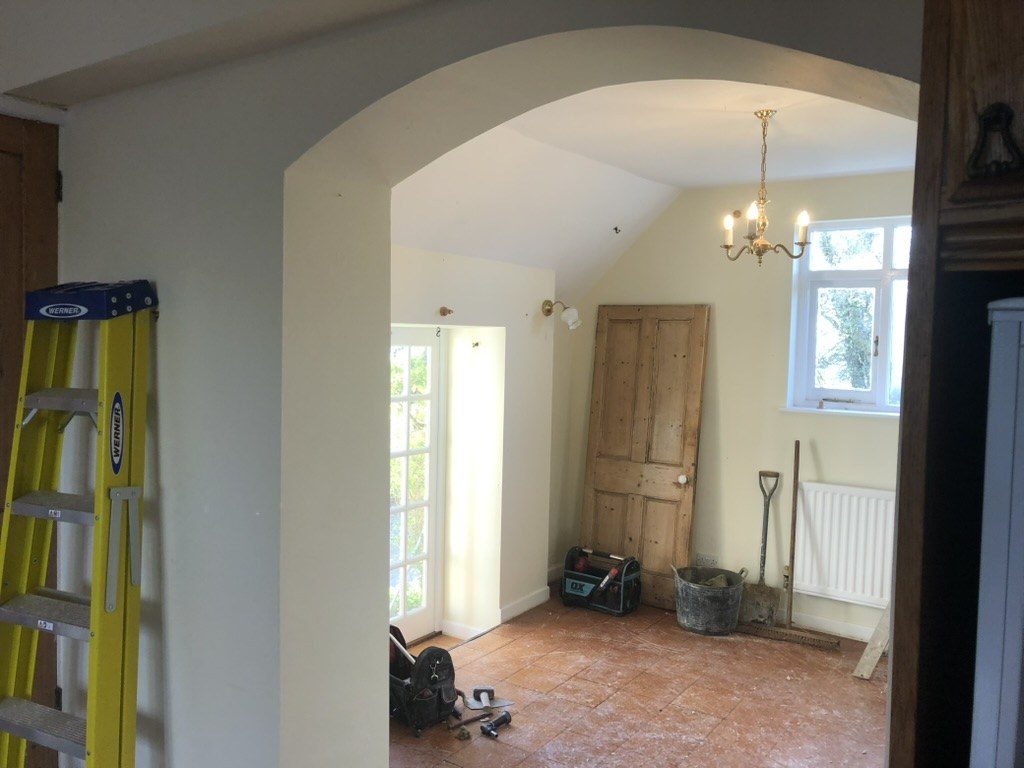
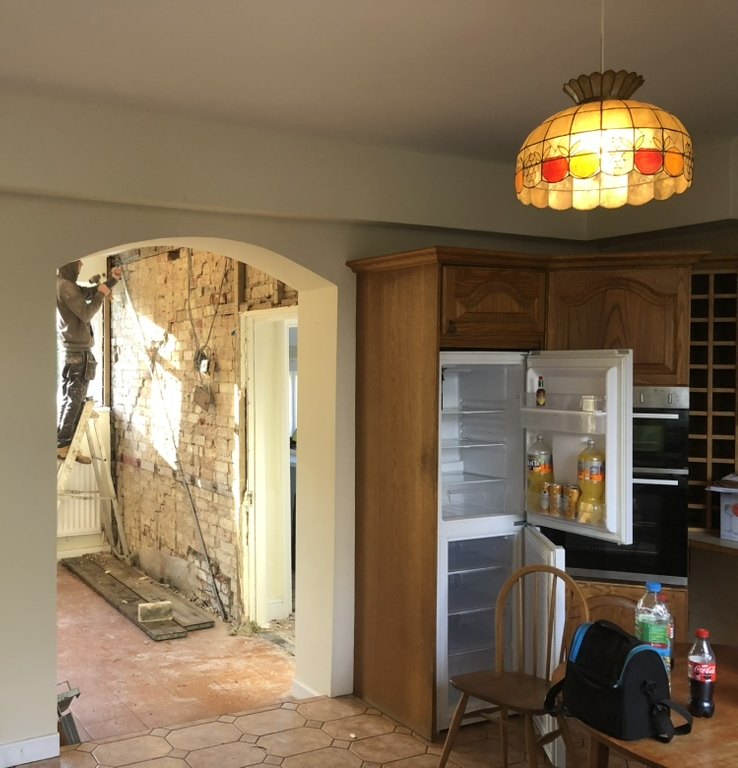
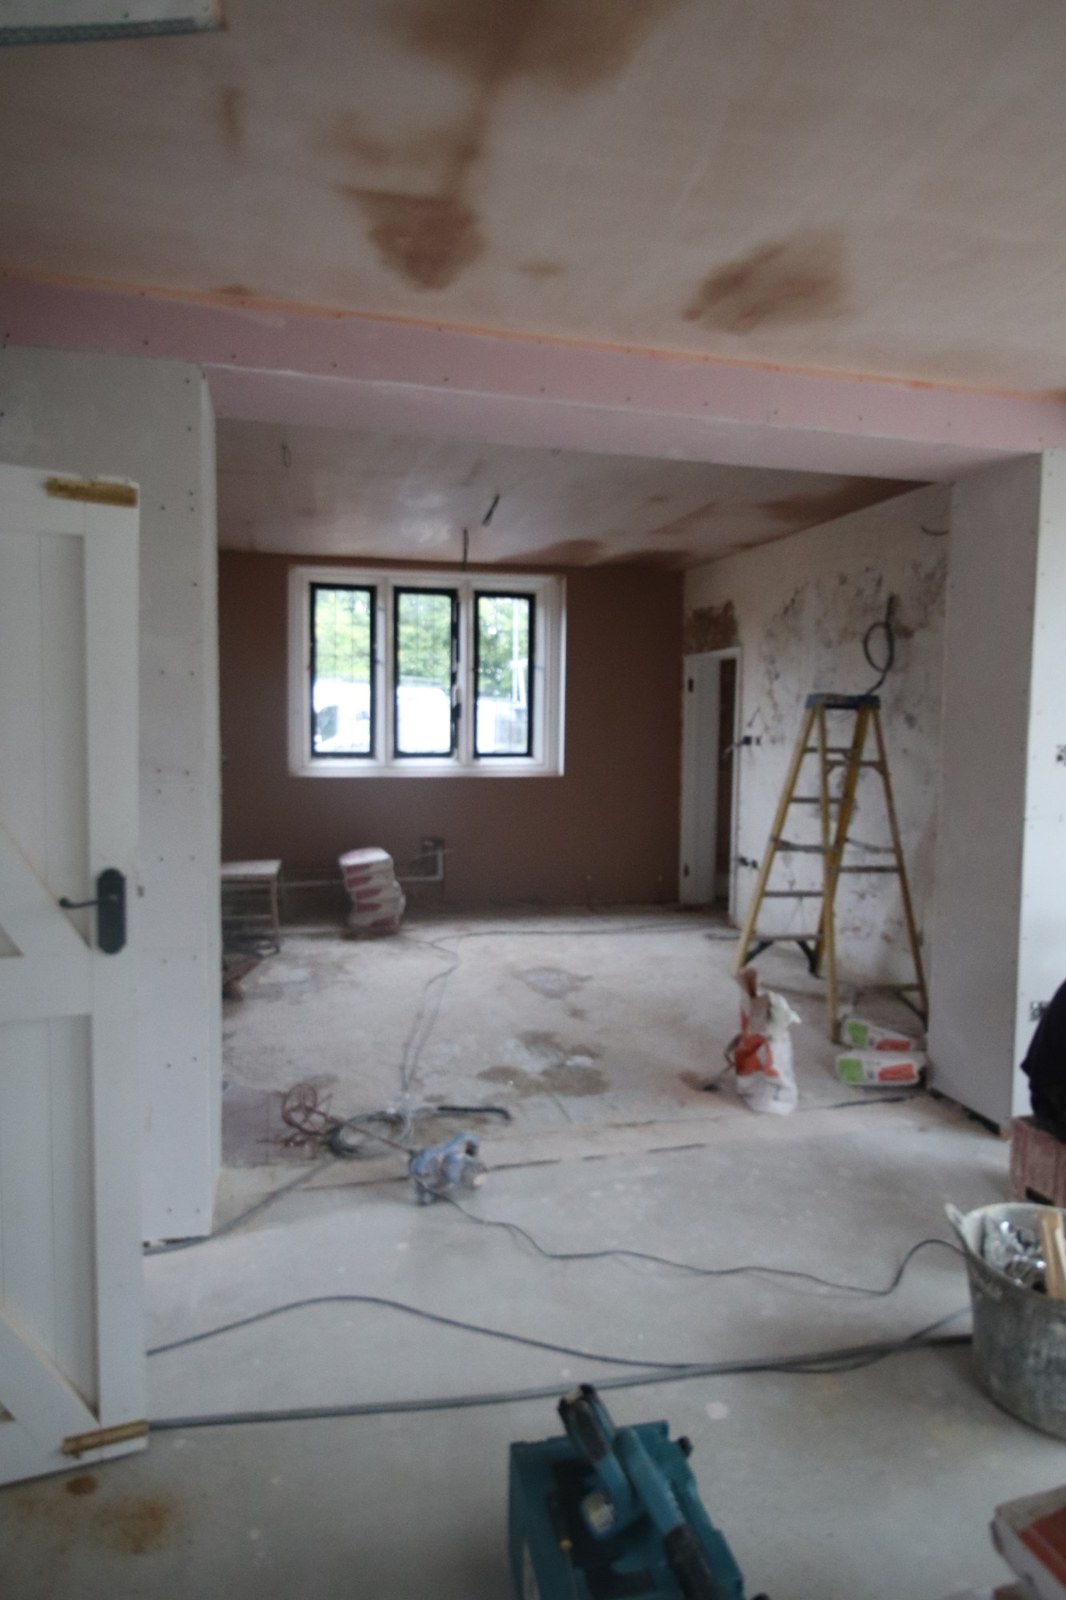
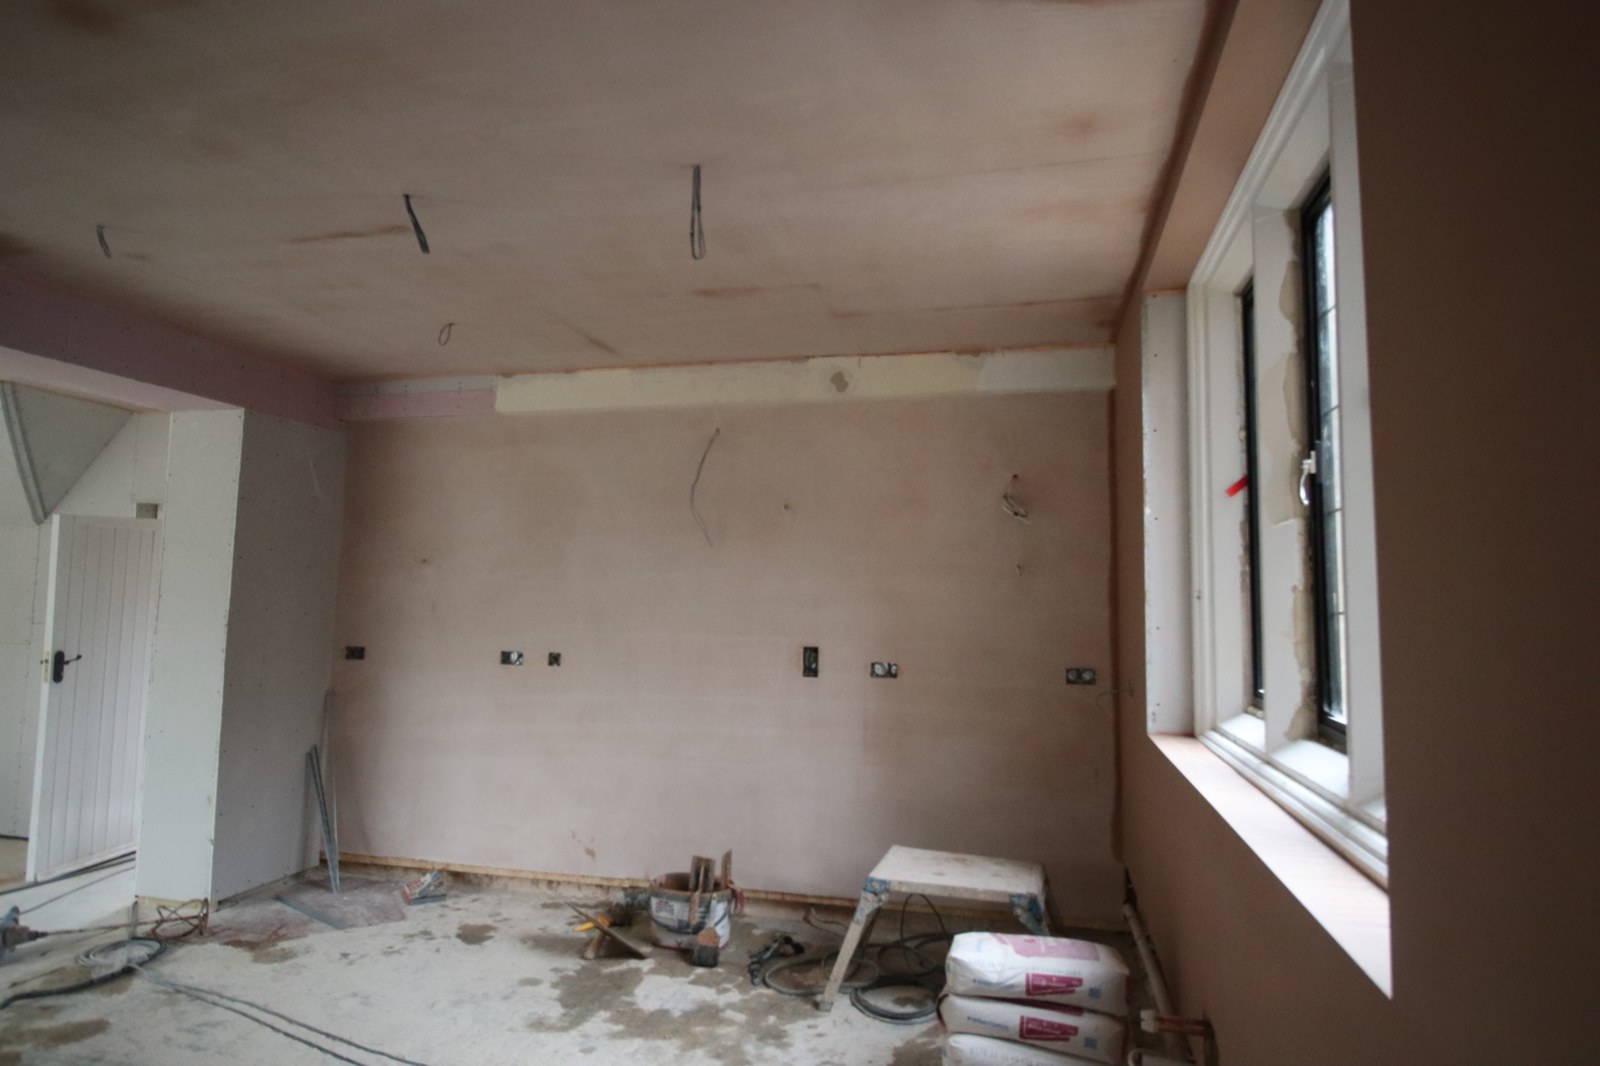
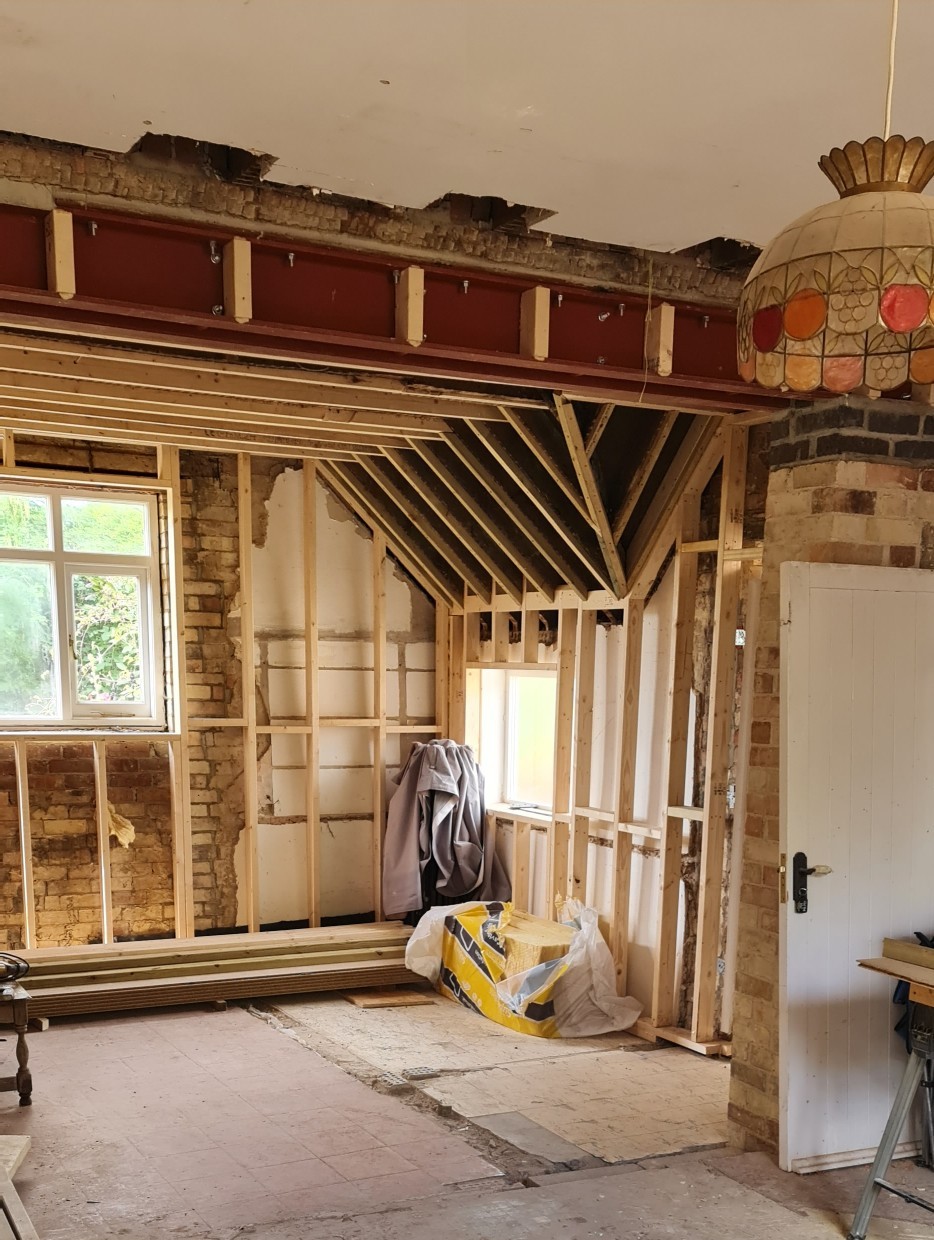
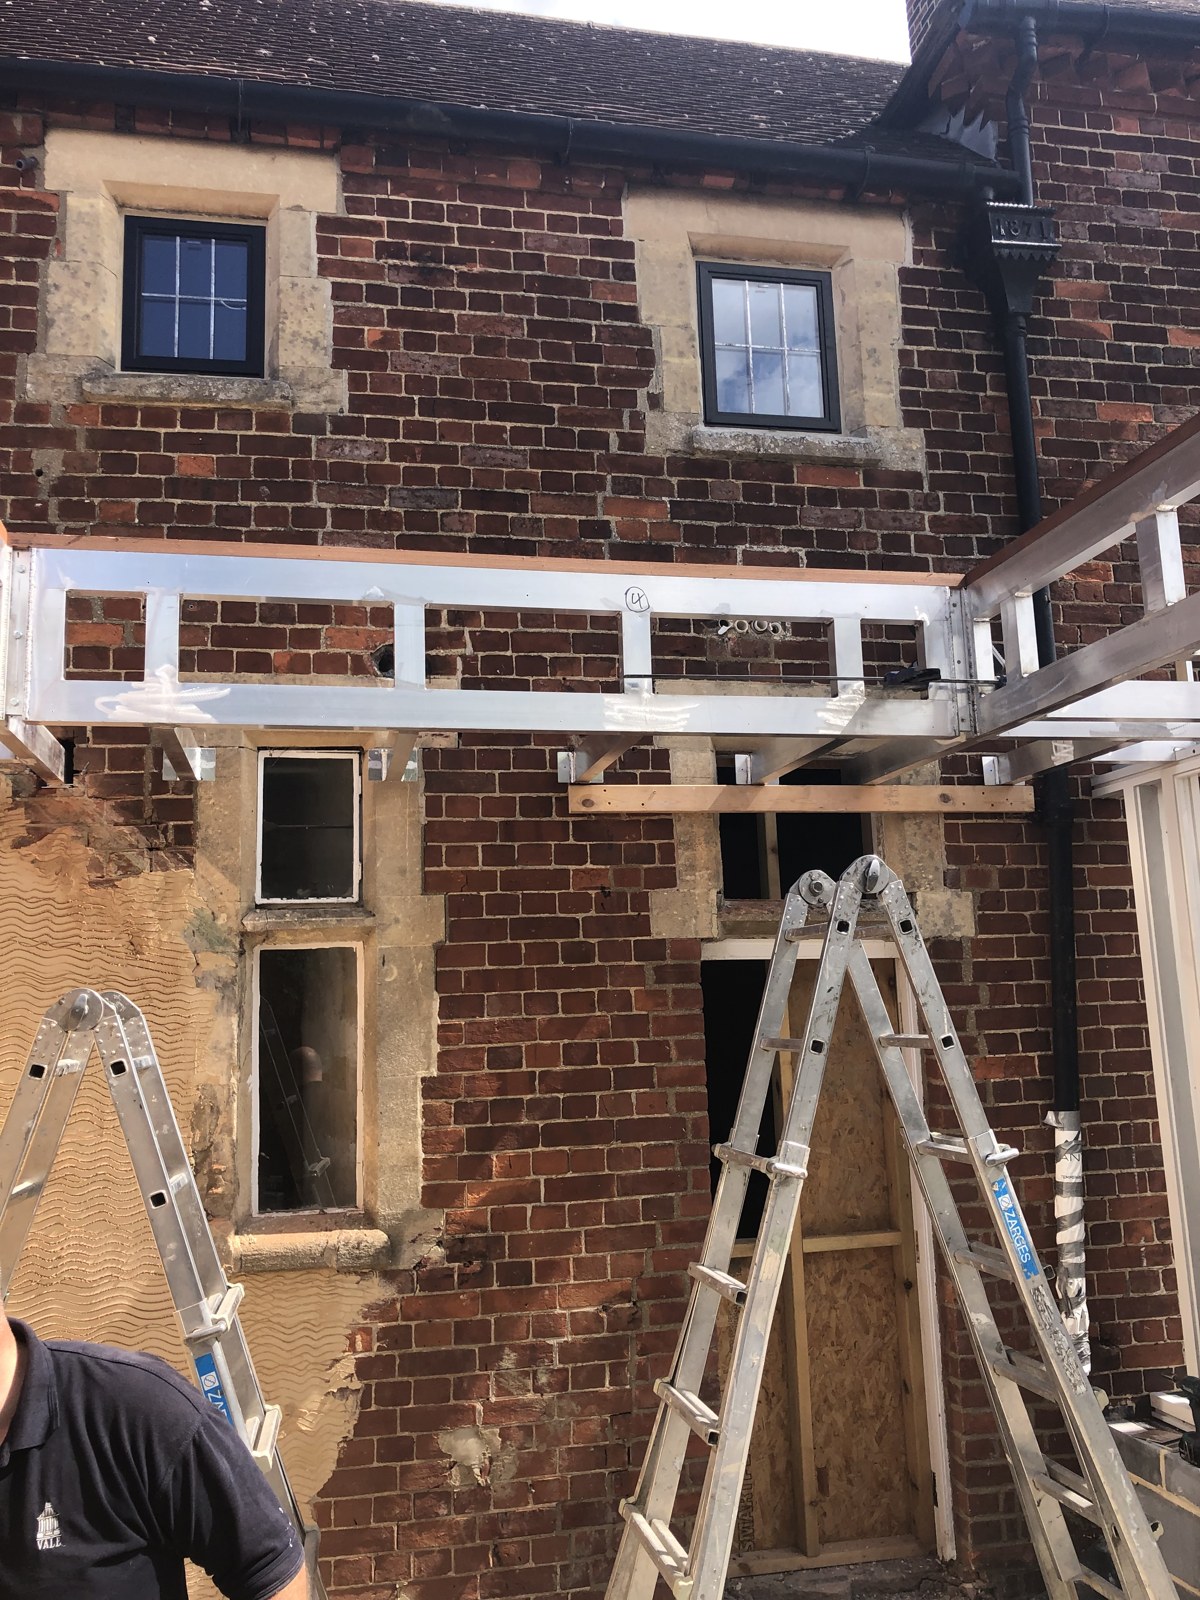
We removed walls around the existing kitchen to create one open kitchen and breakfast room, with the structural work carried out to support the walls above. We also took down the outside wall of the breakfast room where the new orangery would be built, so that once it was finished the two spaces would flow into one another.
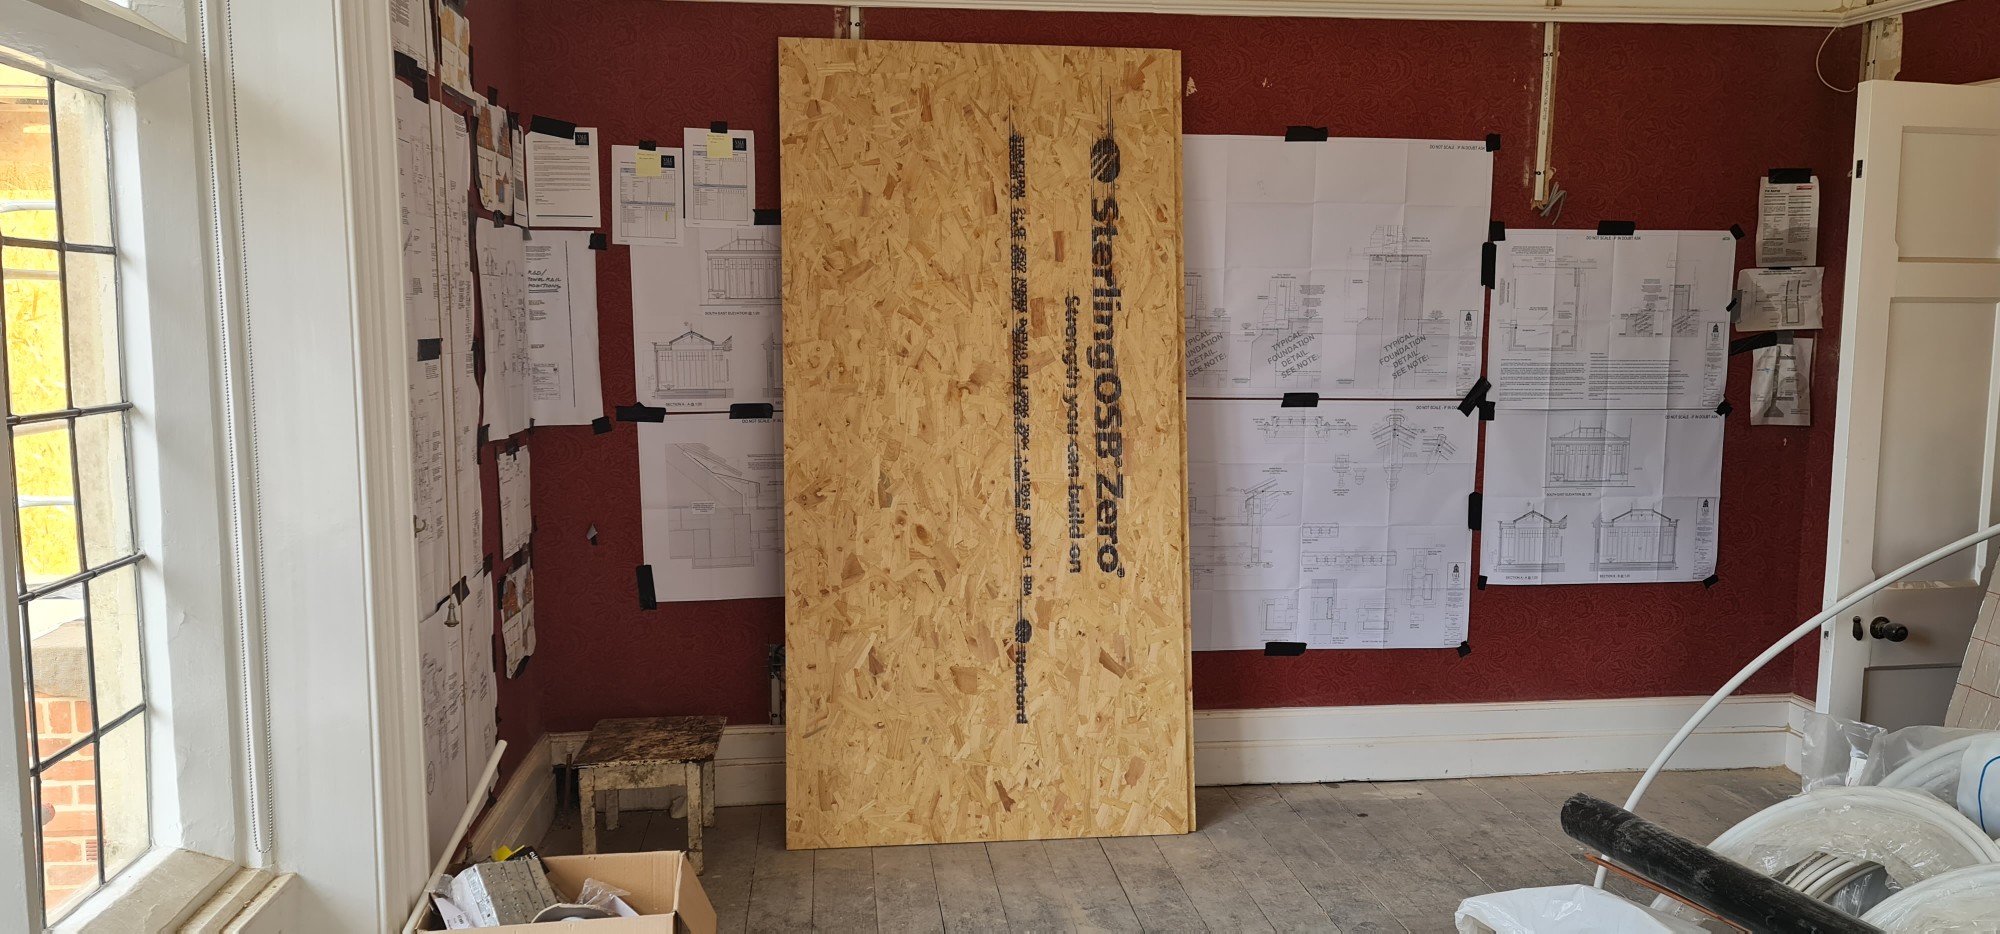
With the walls and floors opened up, the first fix plumbing and electrics were carried out before anything was closed in.
Stage 2
Insulating
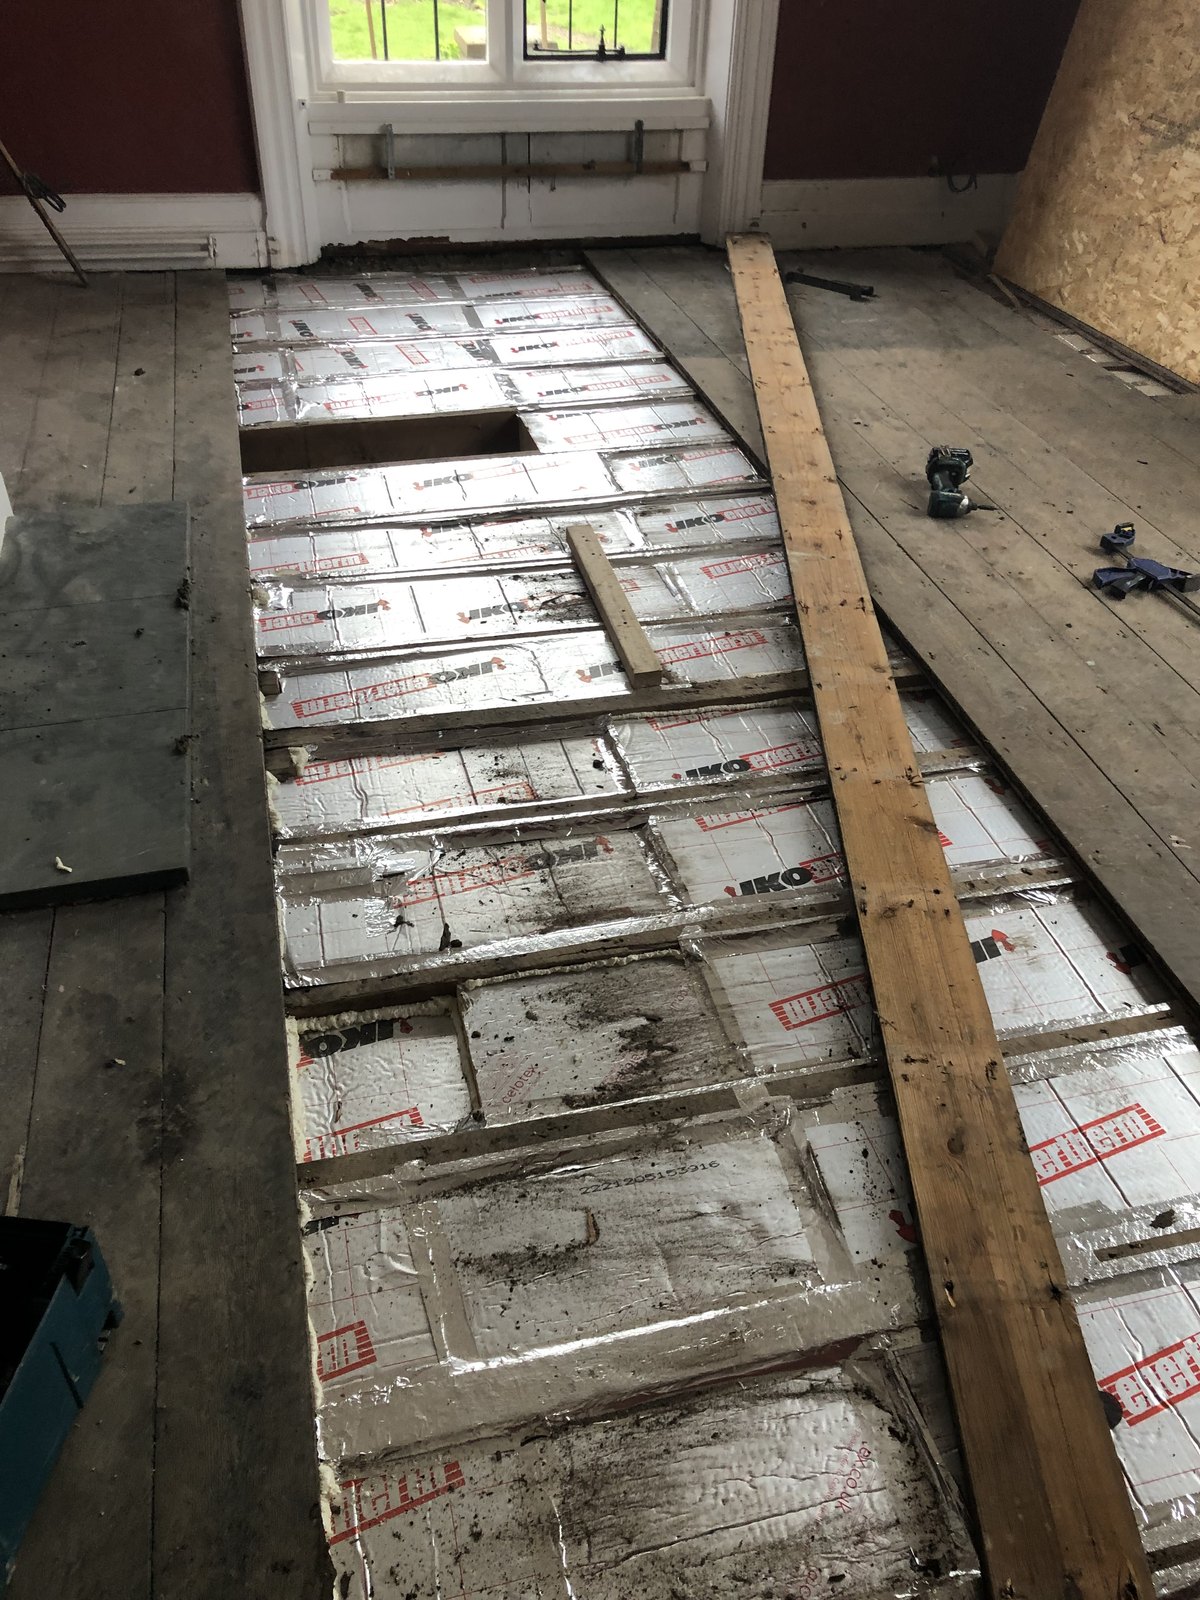
While the floors were up, we lifted the floorboards in the snug, living room and billiard room and insulated between the joists. The boards were then relaid and made good, with new matching boards added where needed.
Stage 3
Building the rear porch and boot room
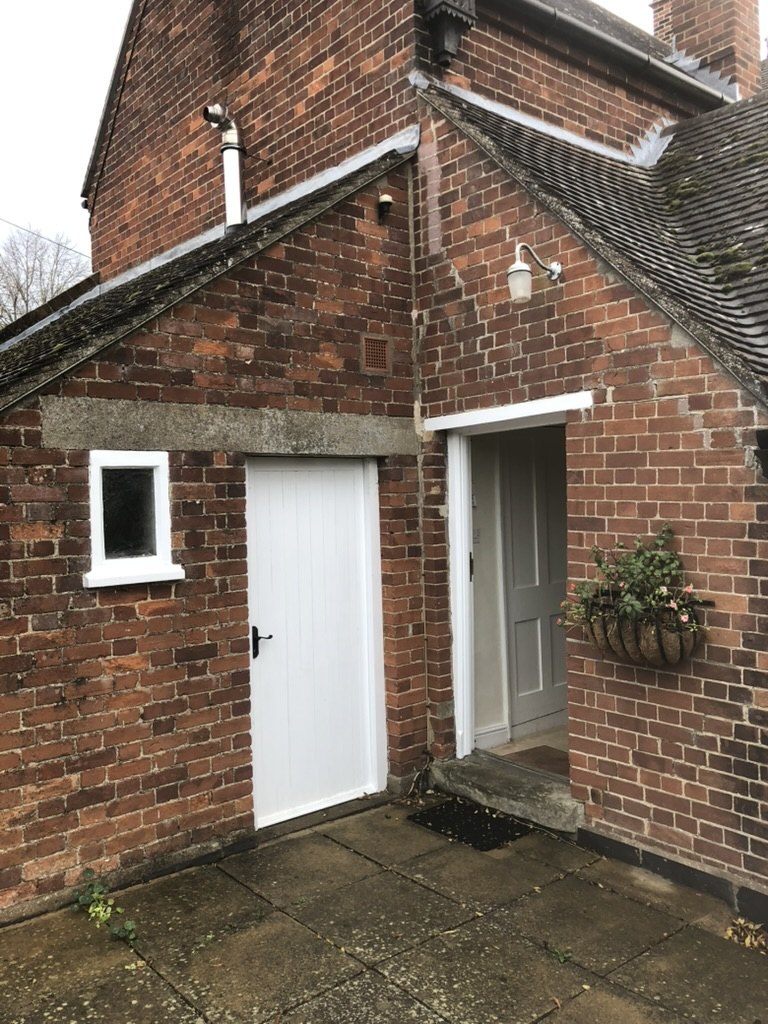
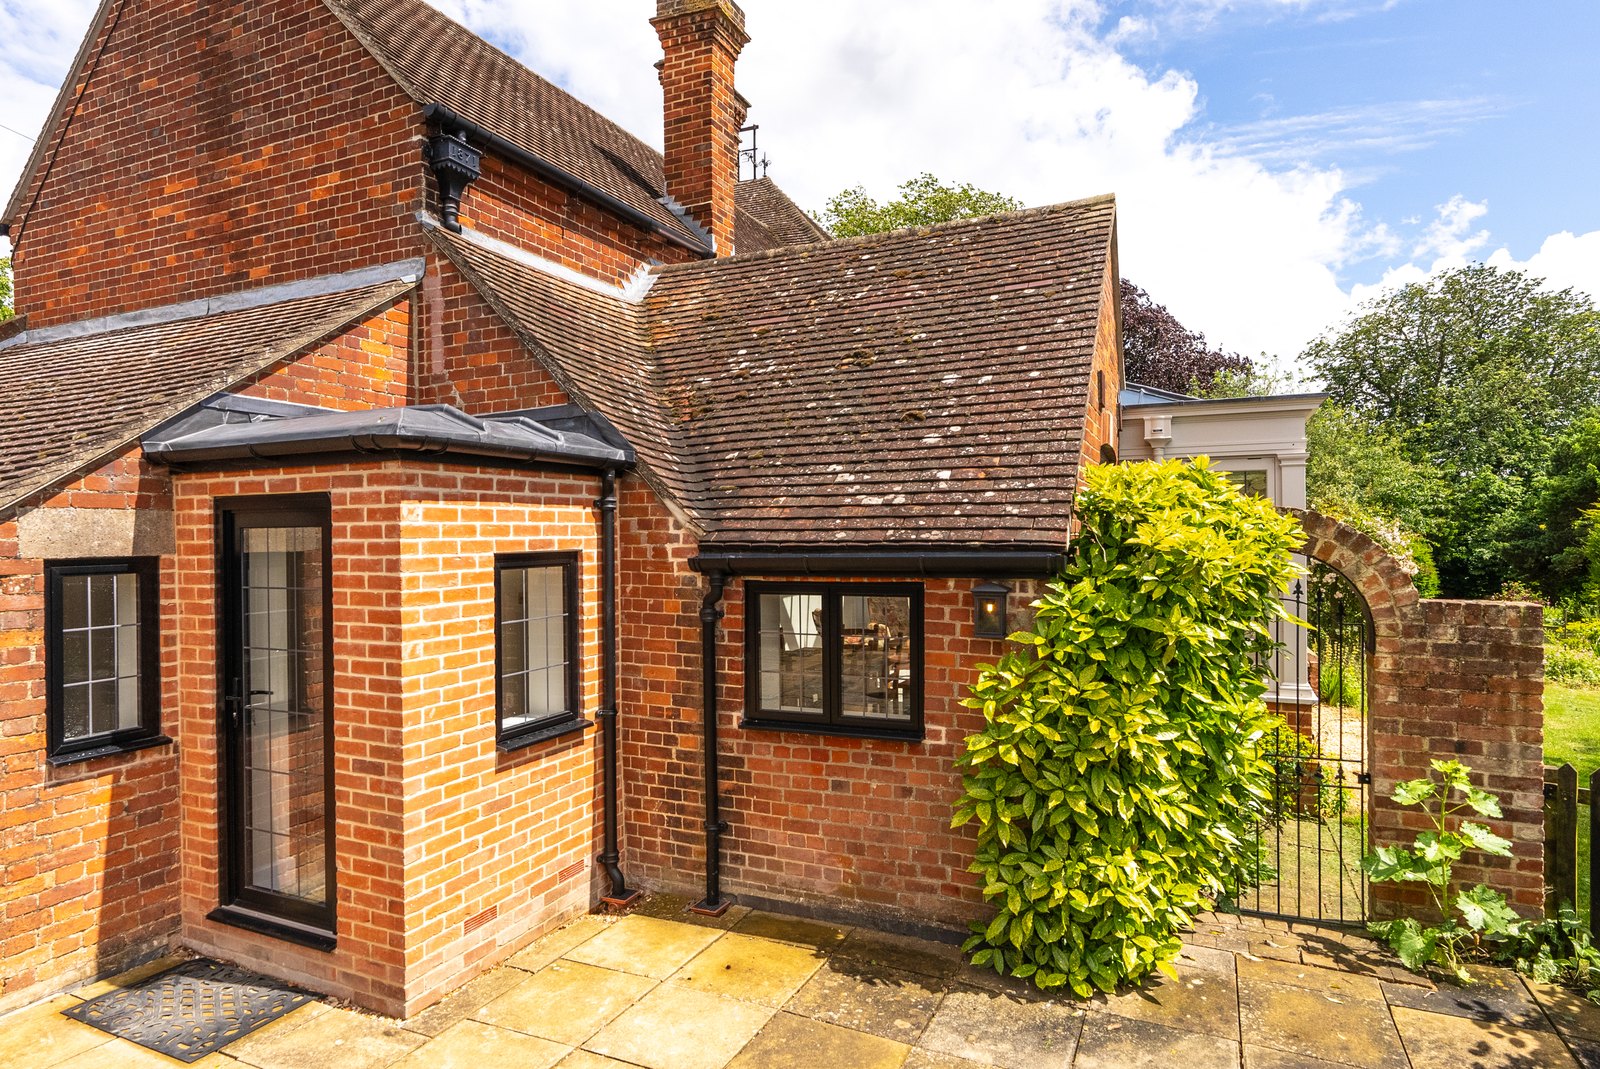
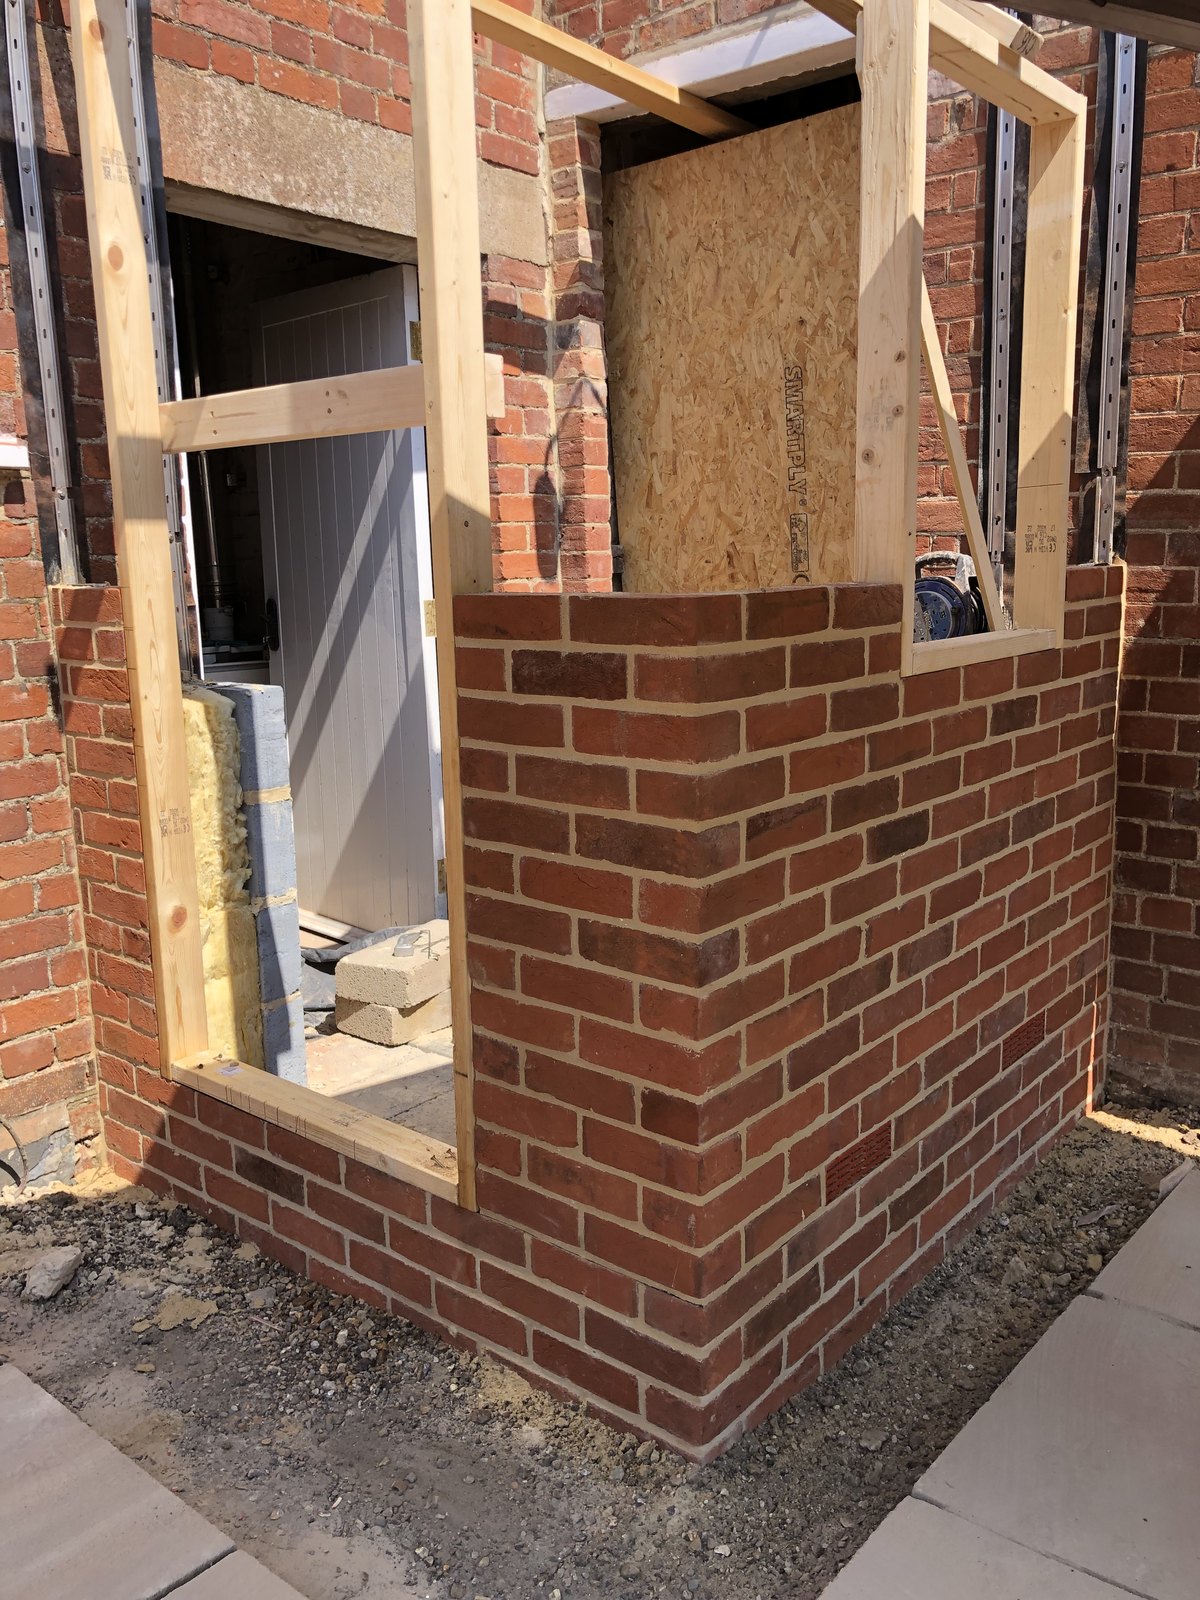
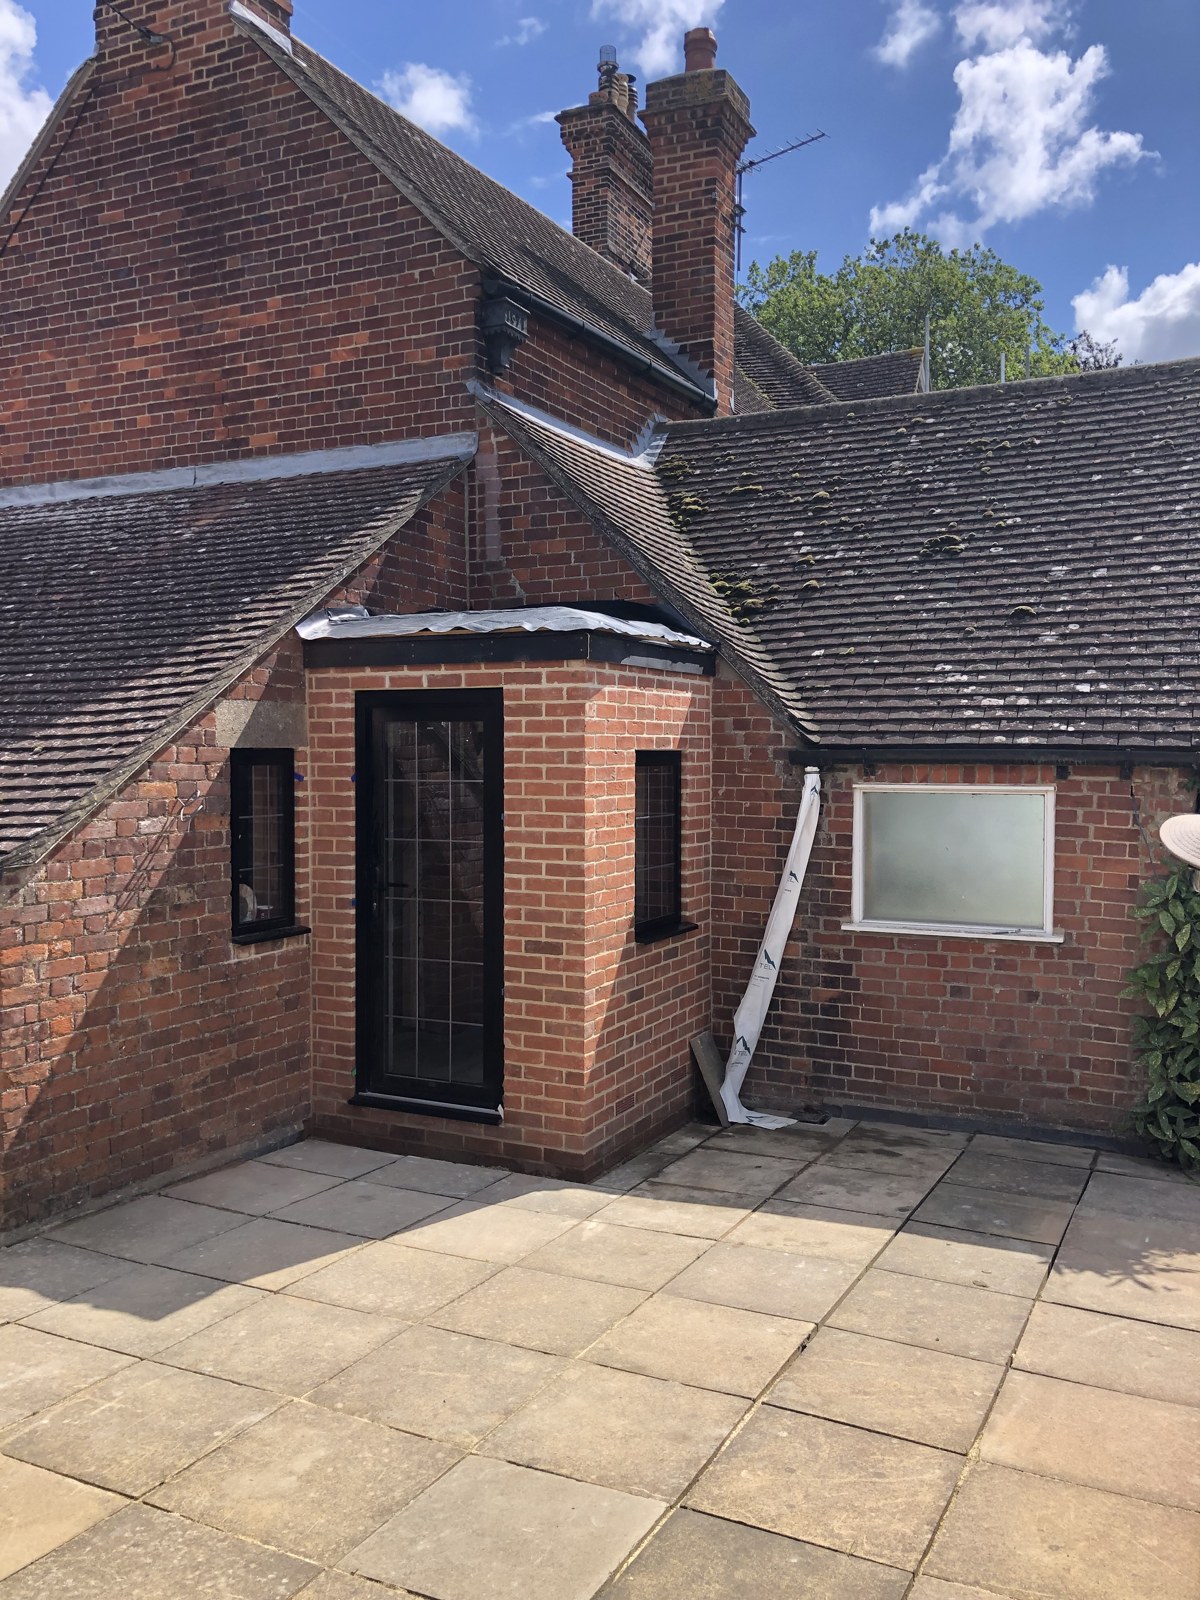
At the back of the house we built a glazed timber rear porch with a boot room, giving the family a practical everyday entrance.
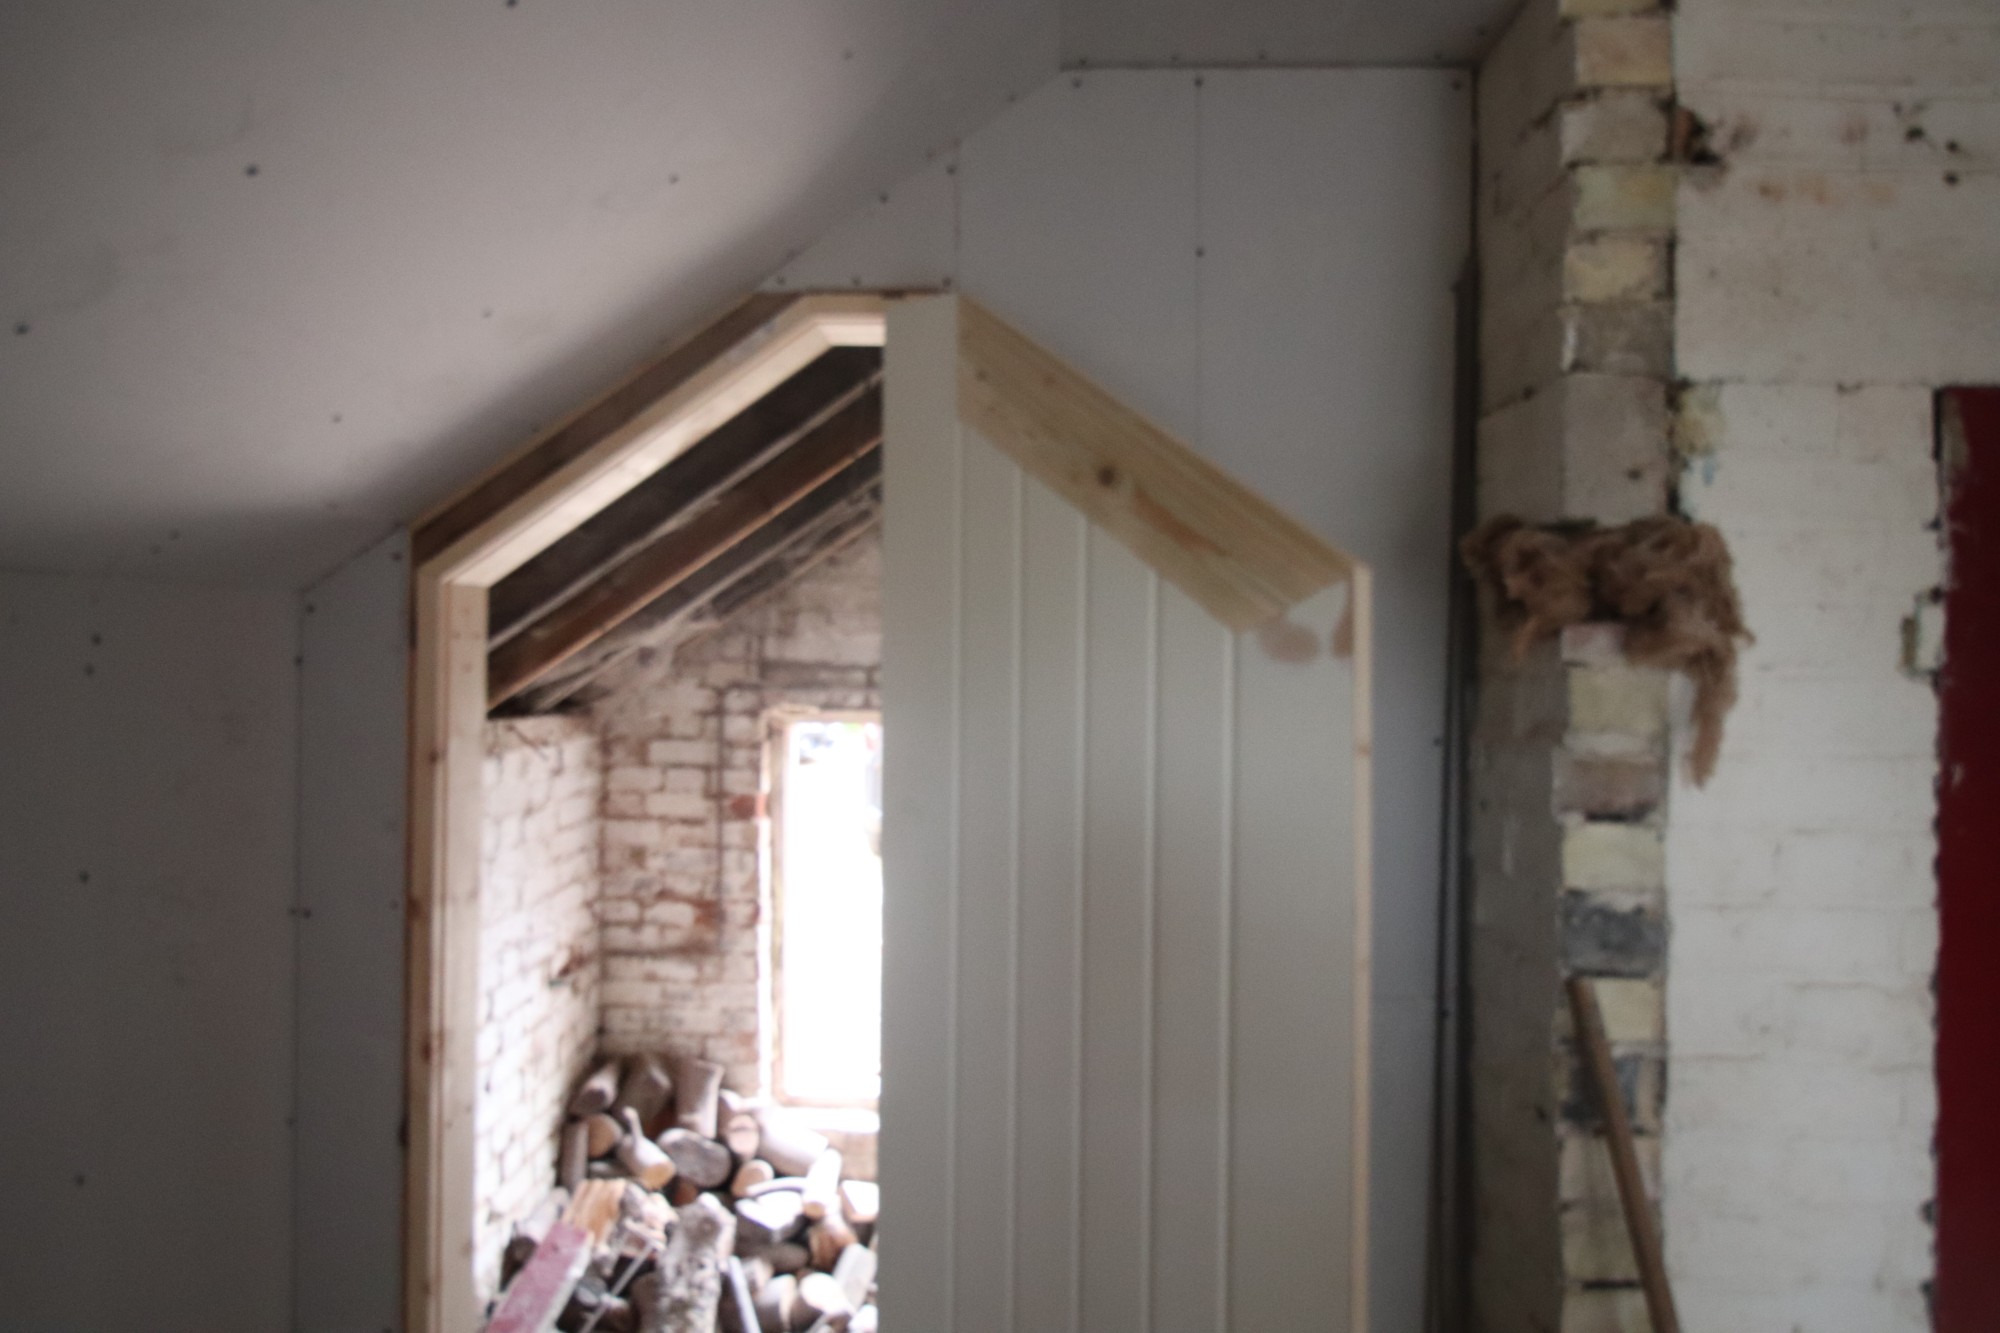
The boot room was built in insulated timber studwork, with rigid insulation to the sloping walls, insulation to the ceiling and four tile vents to keep the roof space ventilated. We also enlarged the window opening with a new lintel, fitted a fire door, and replaced and treated the decayed wall plate and rafter ends.
Before and foundations
During and after
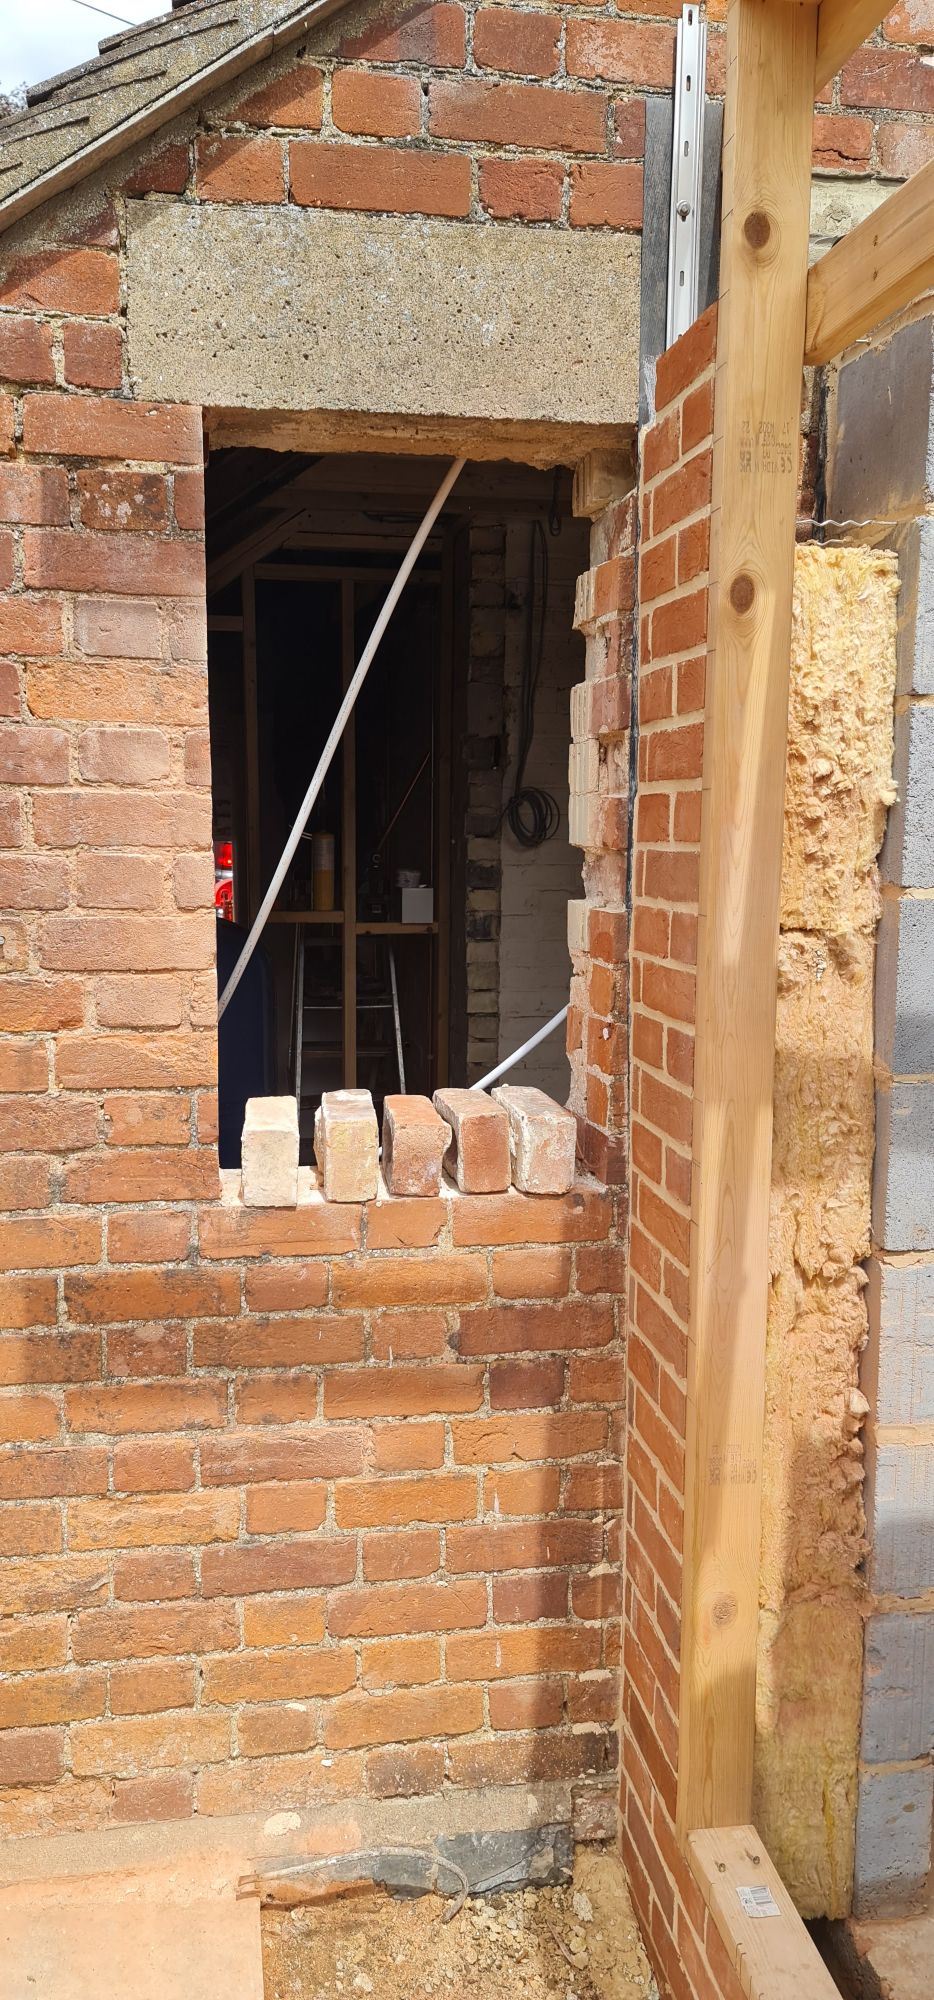
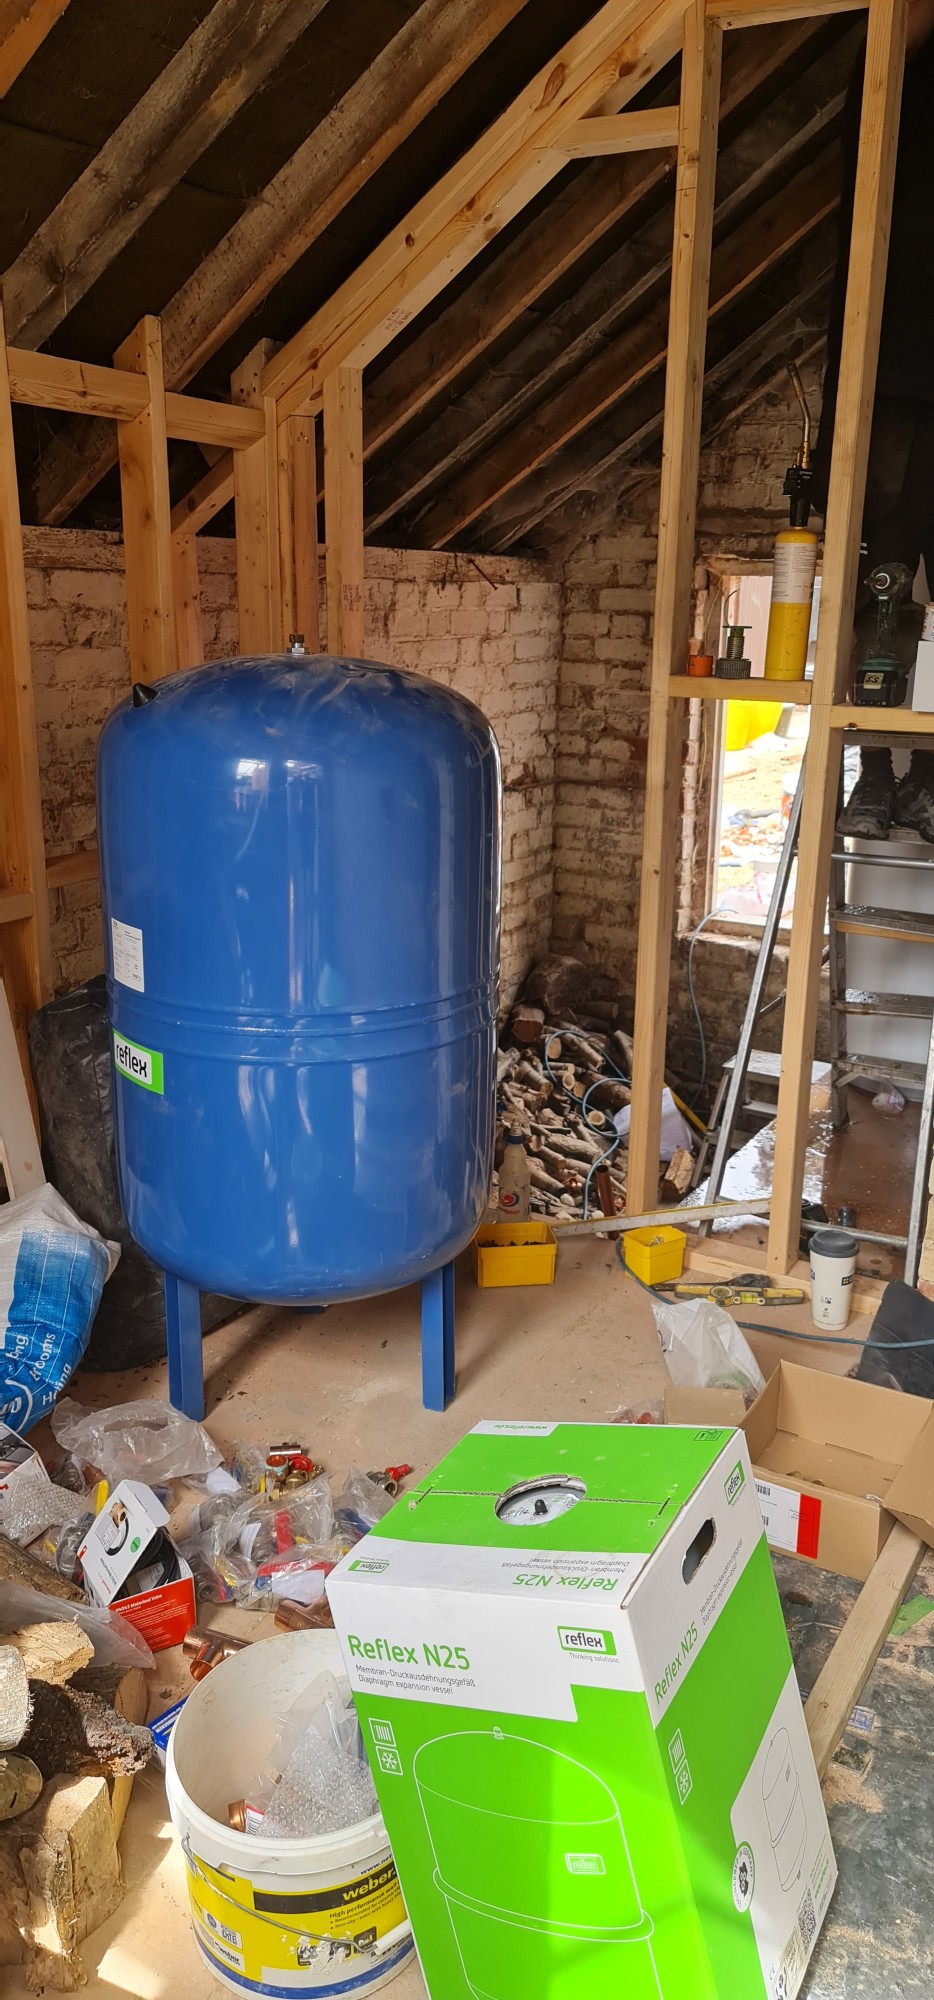
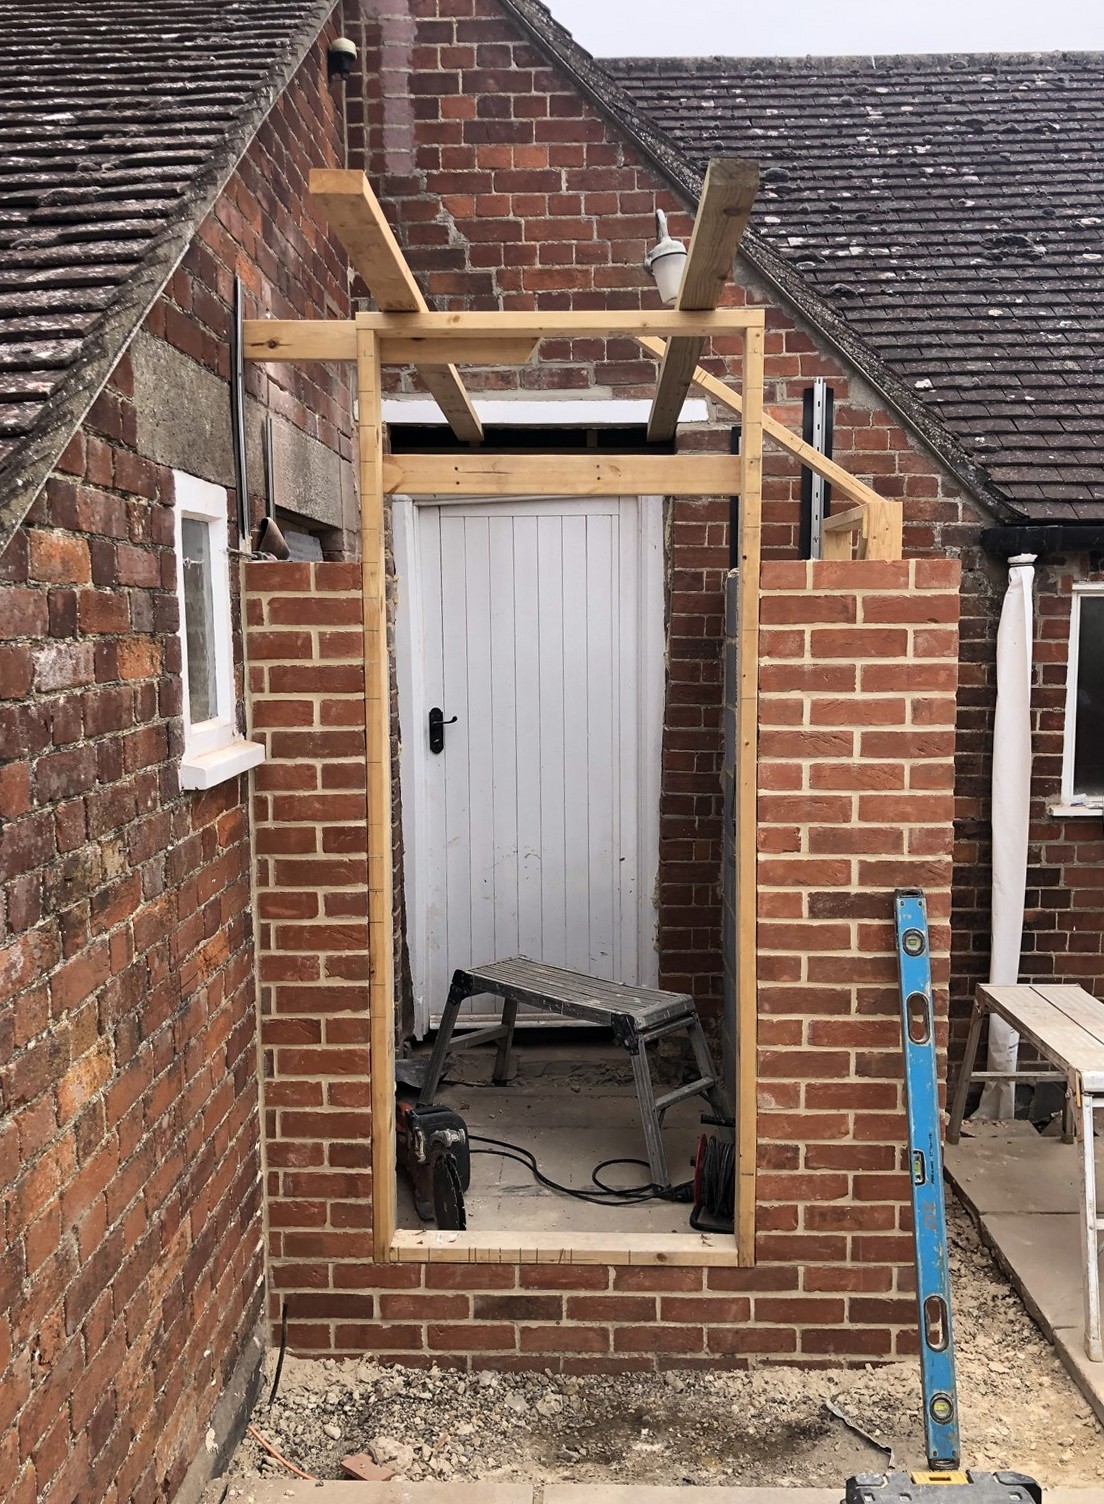
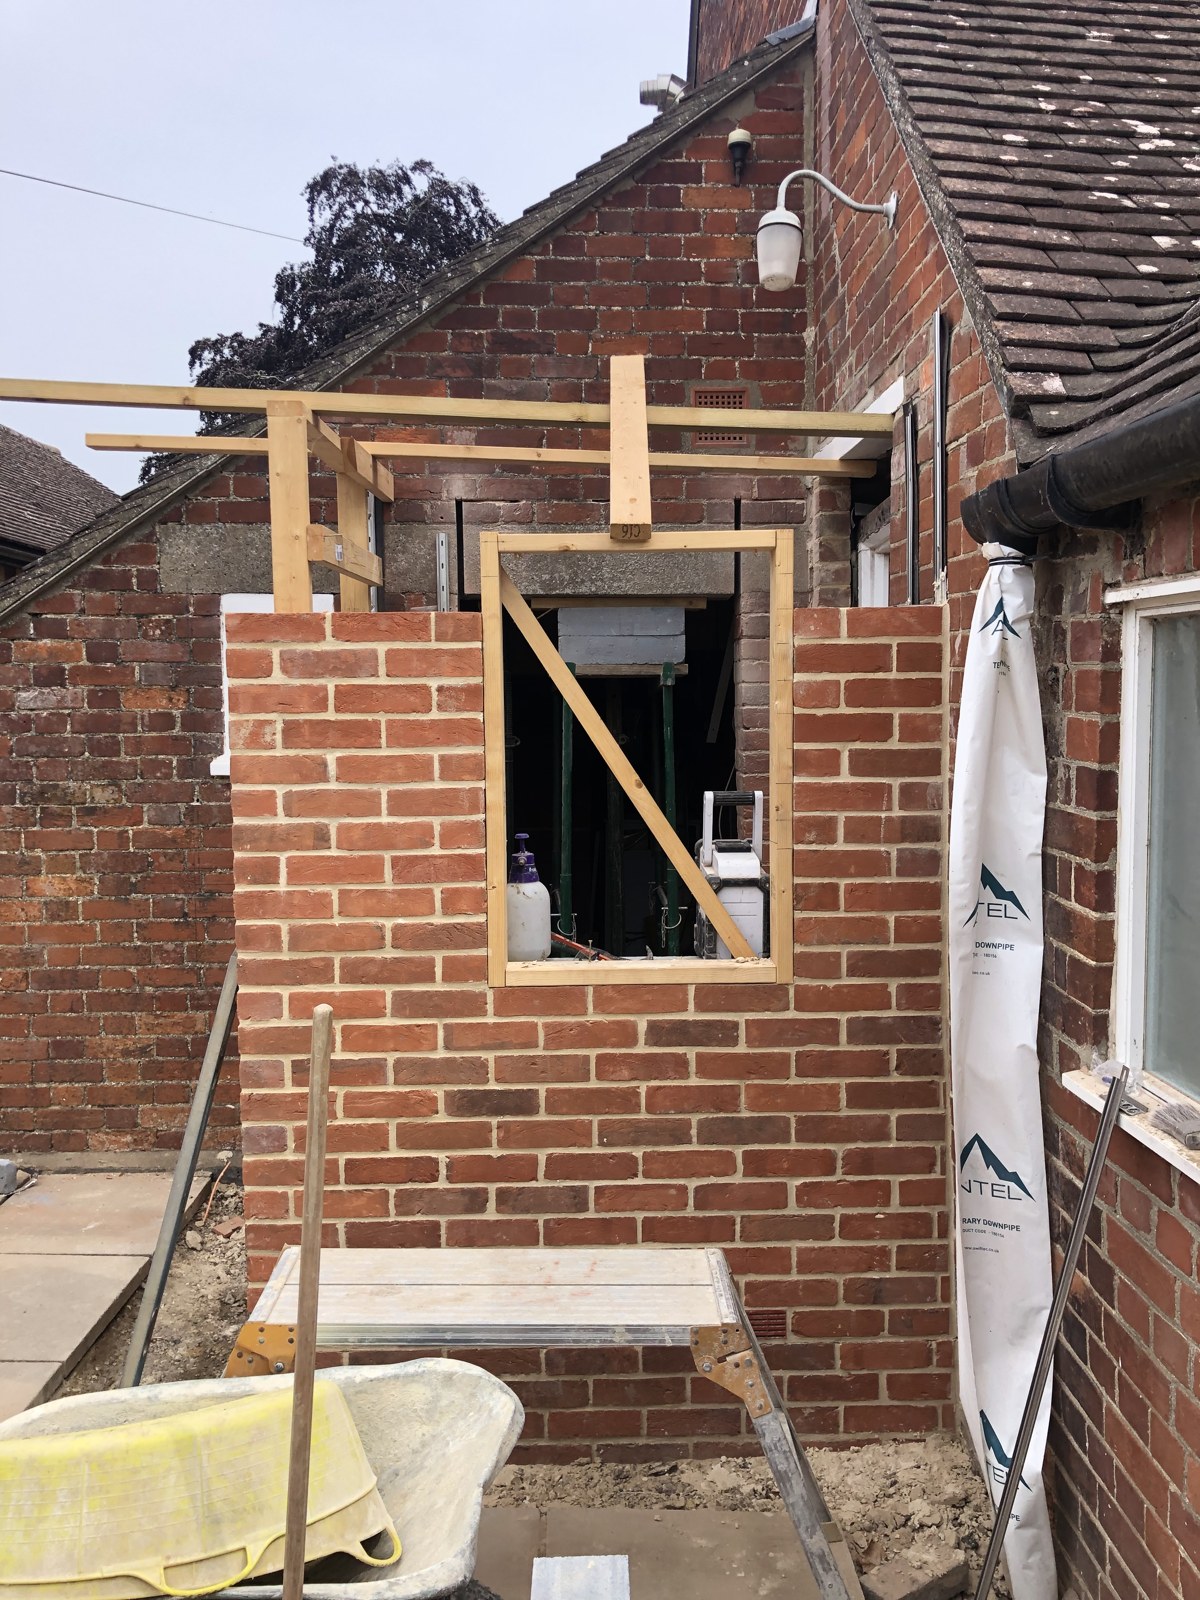
Stage 4
The orangery
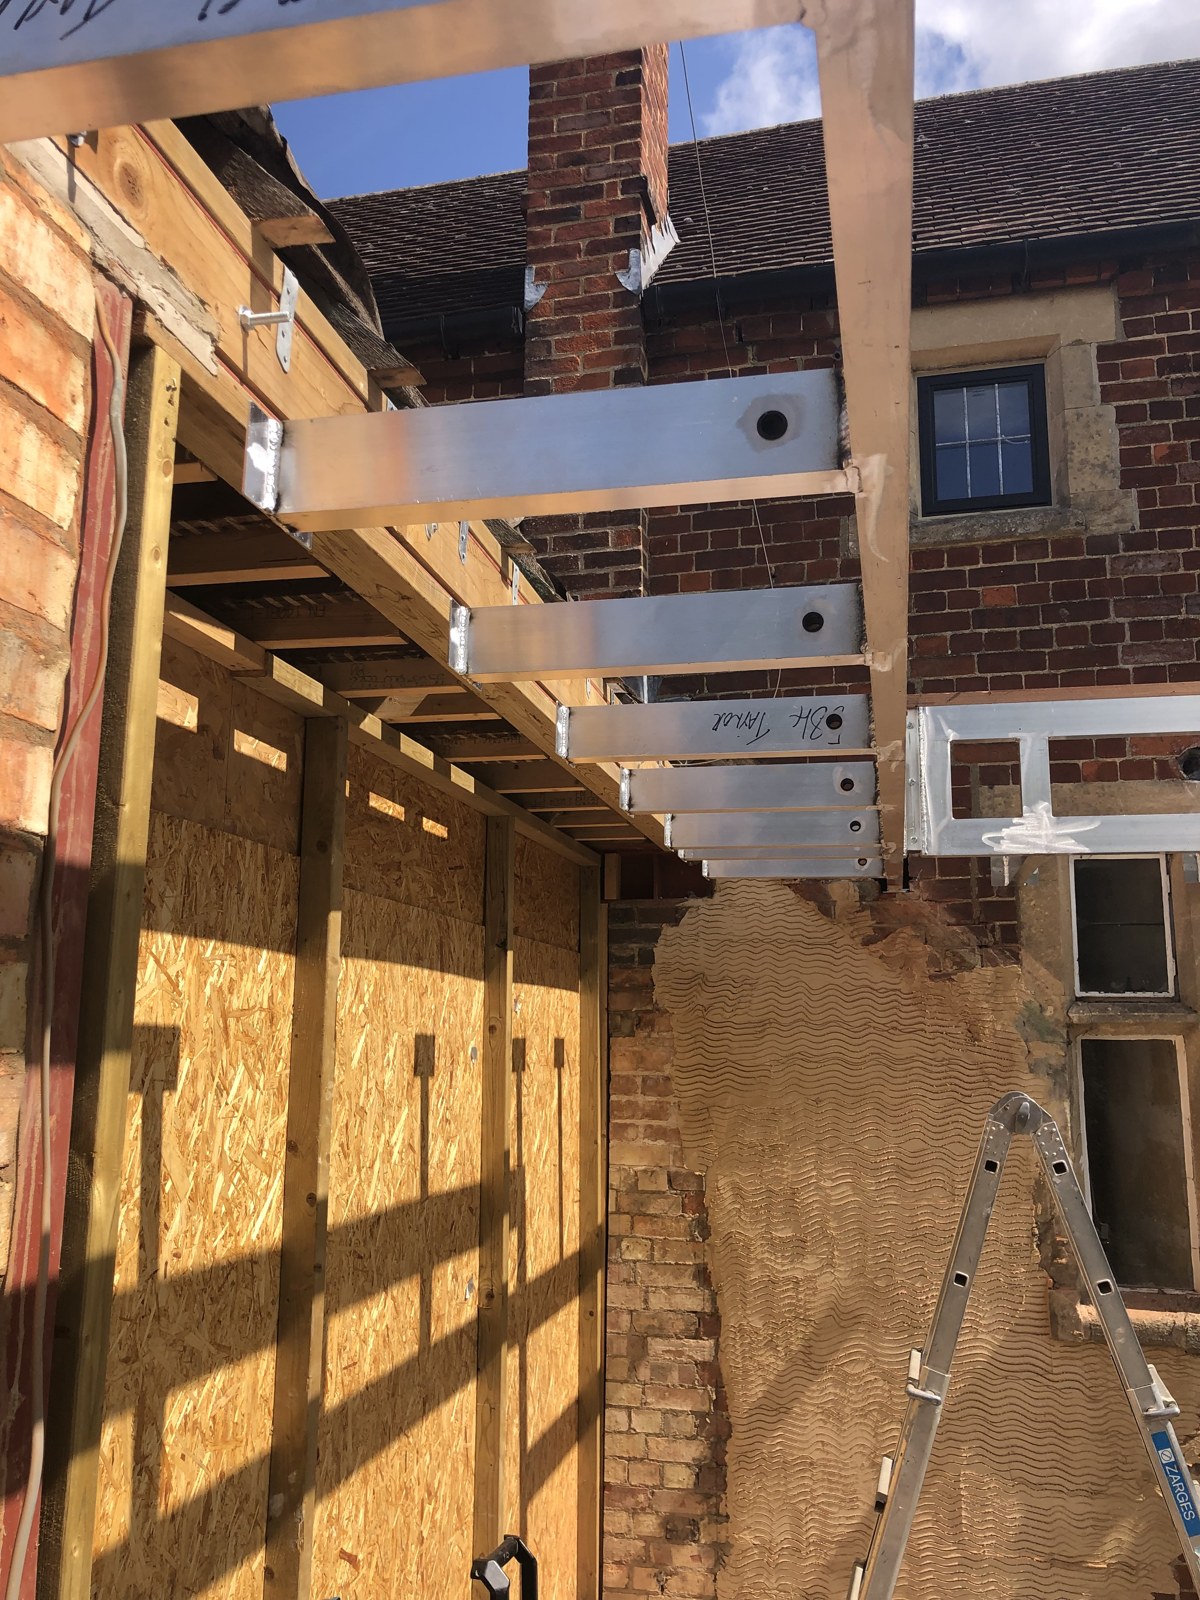
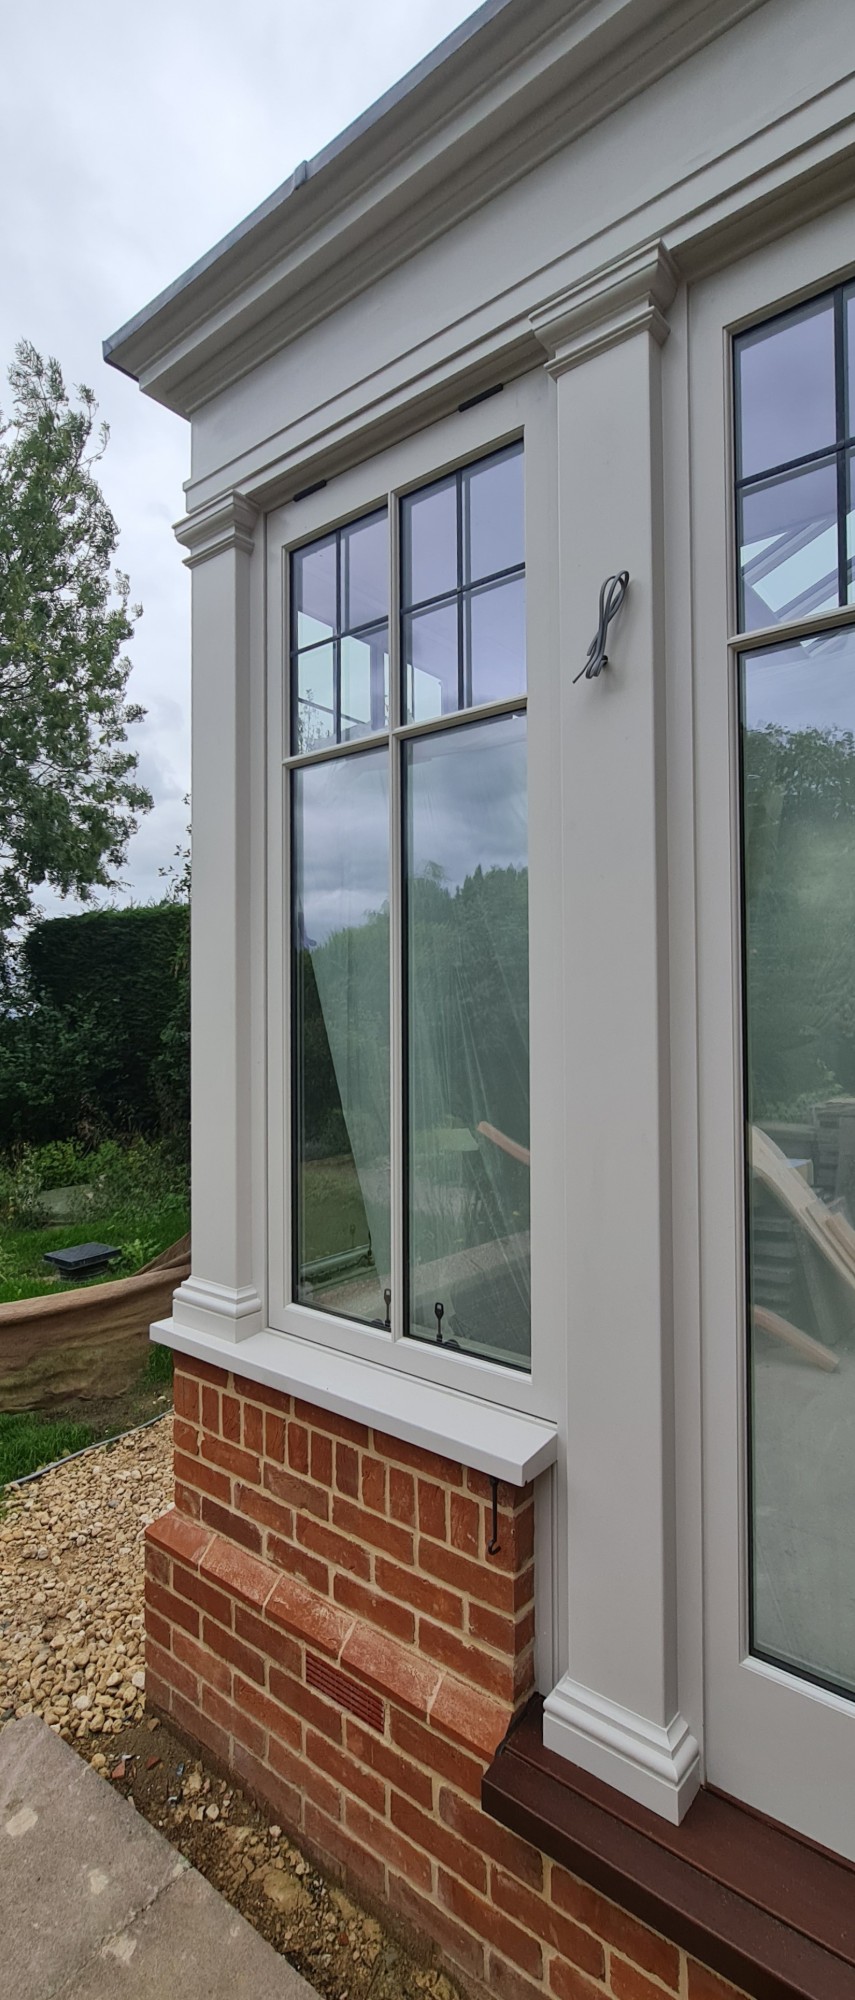
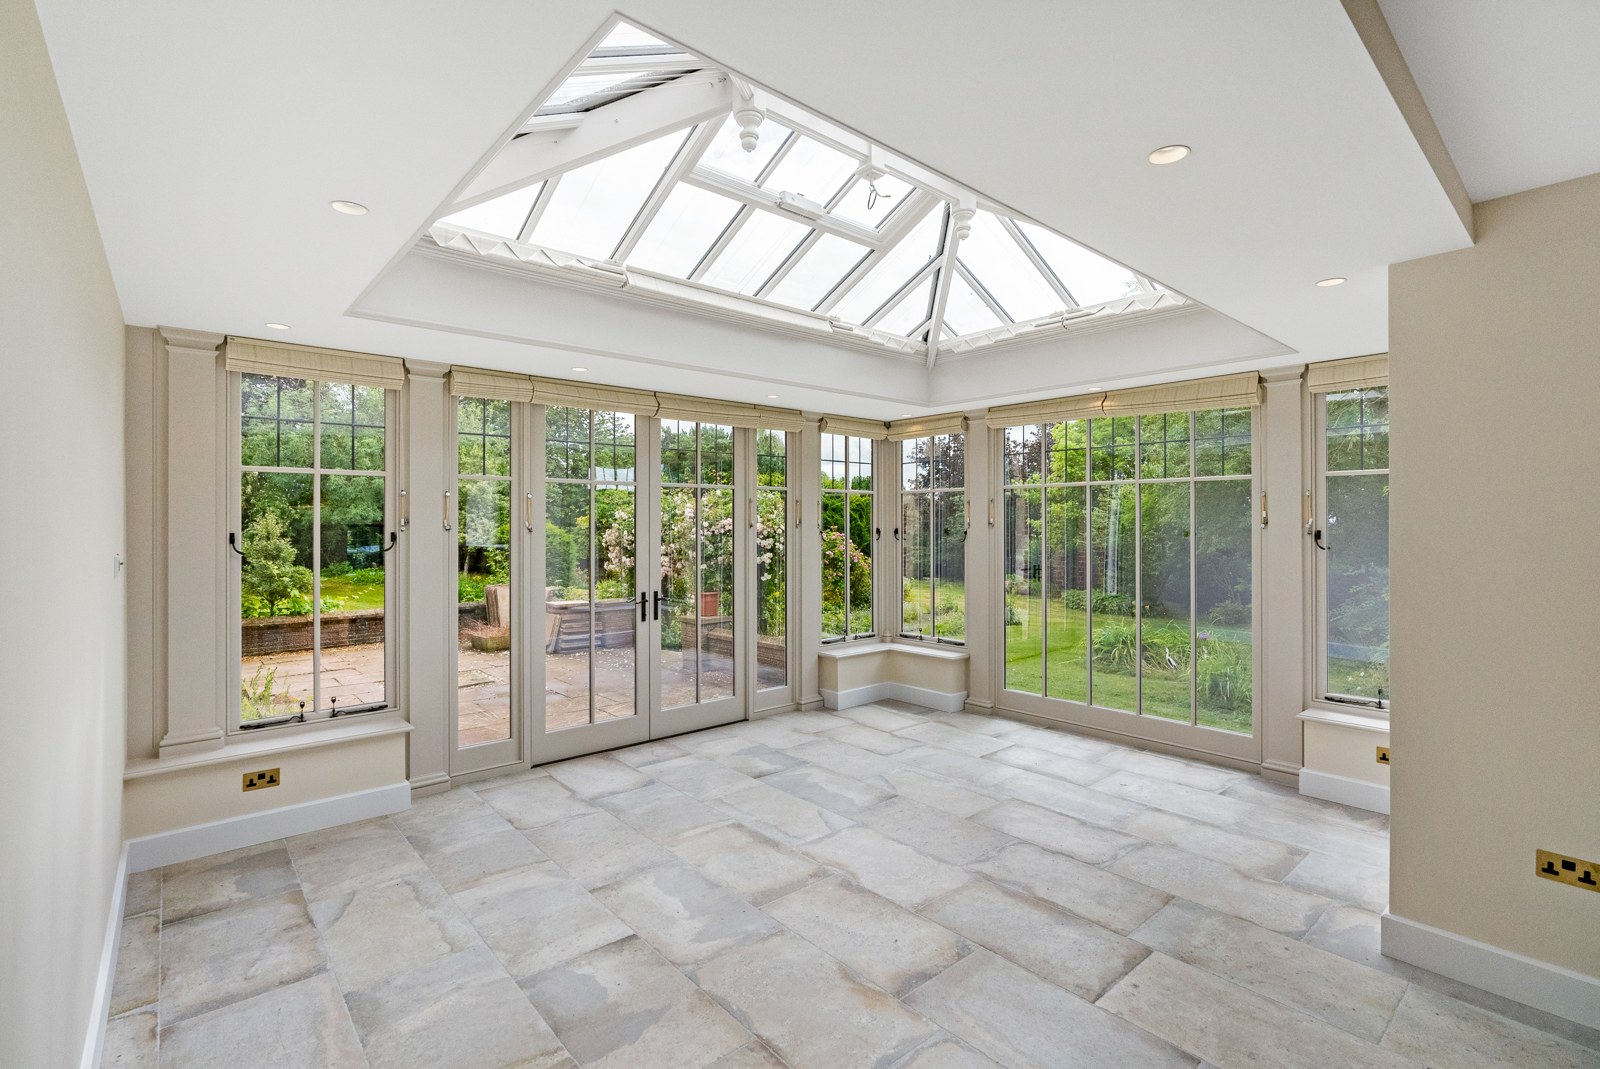
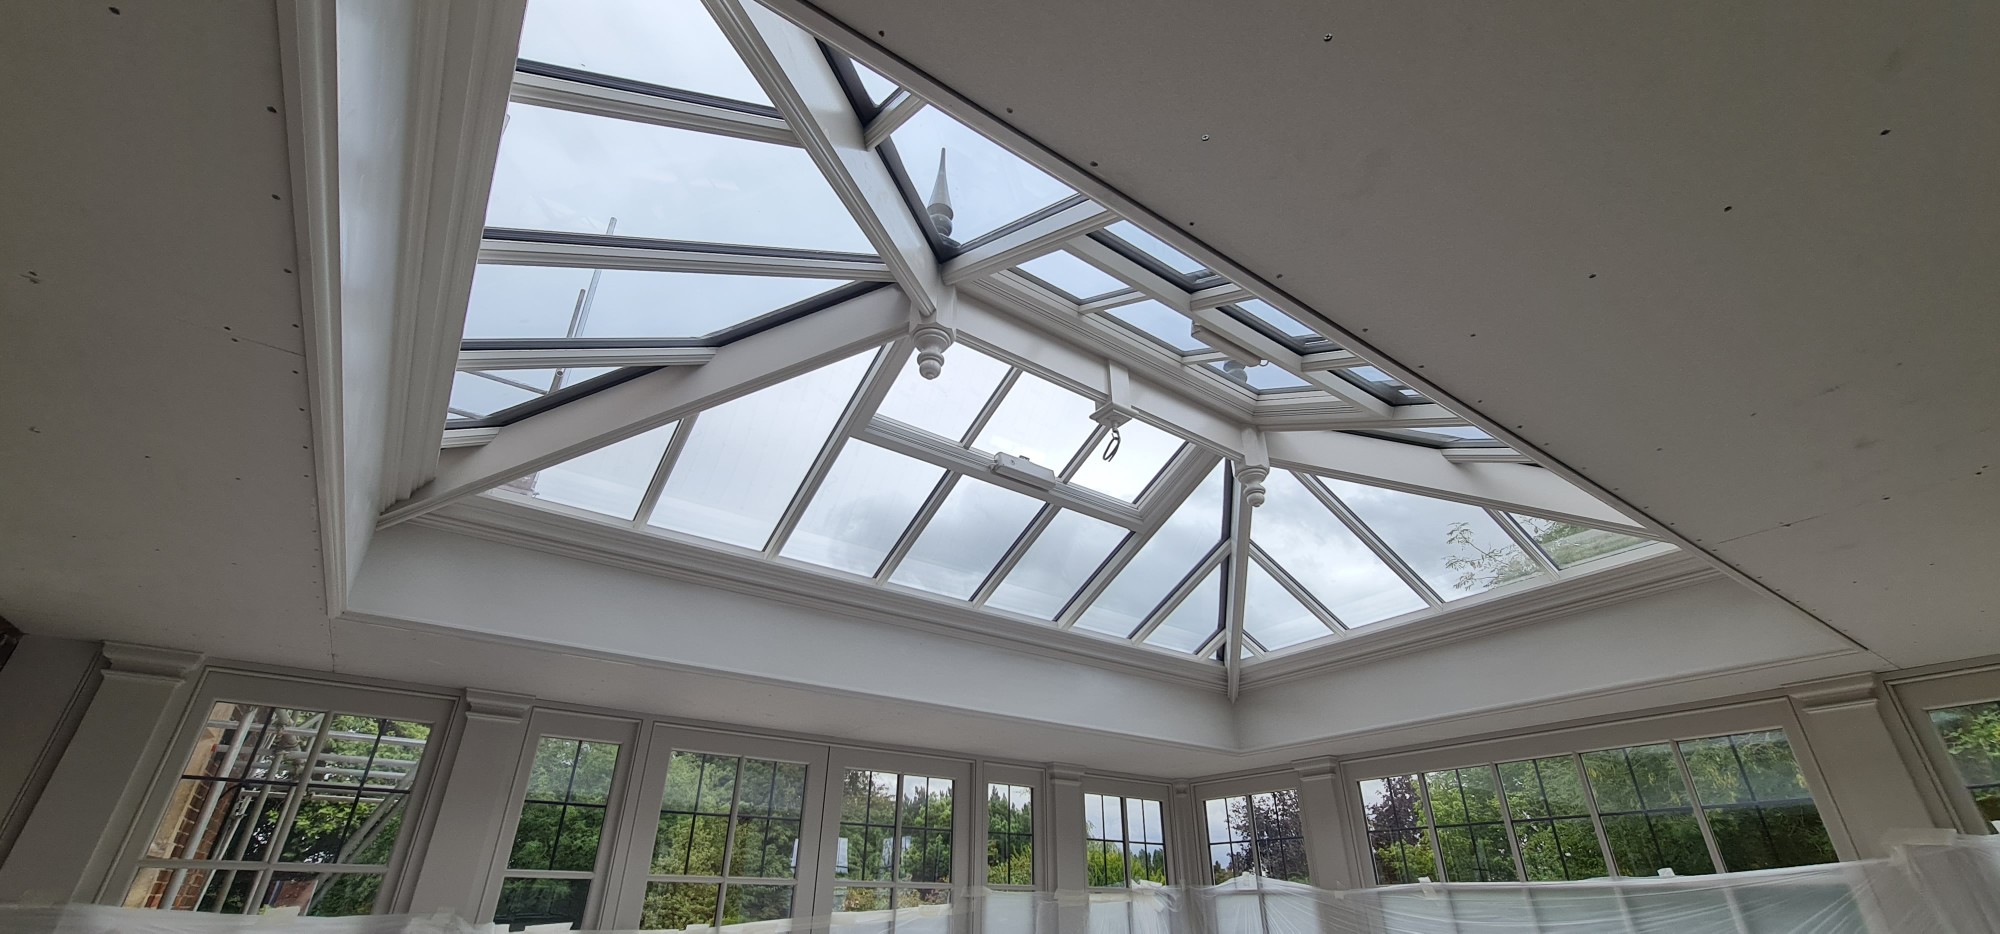
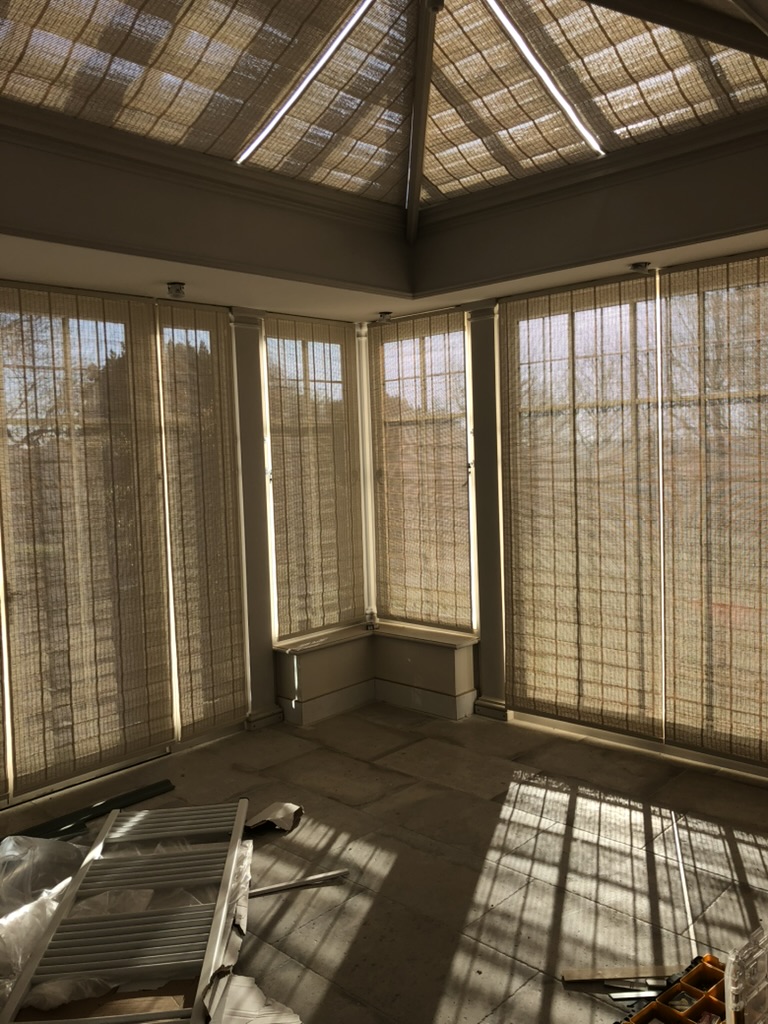
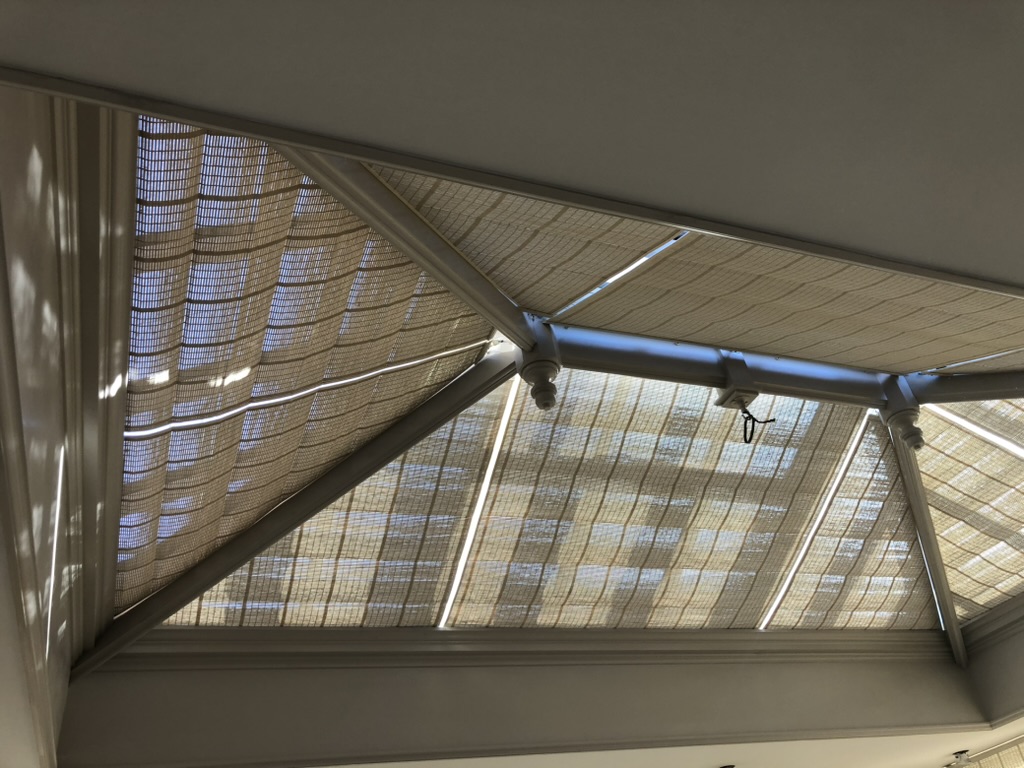
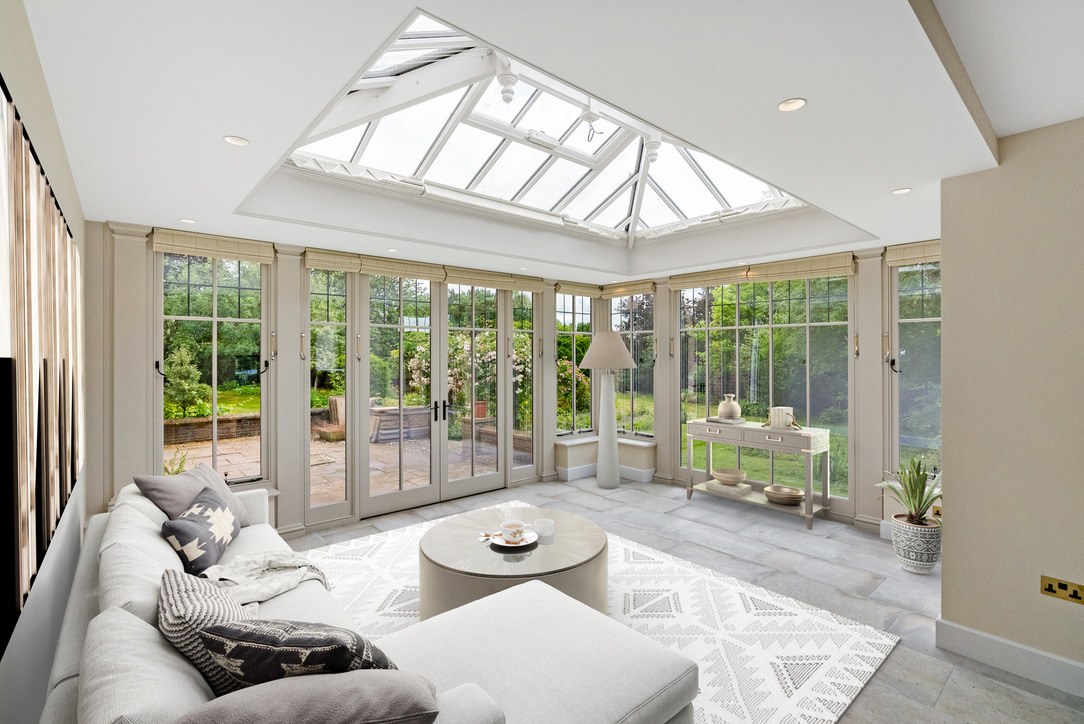
The orangery was designed, made and installed by Vale Garden Houses, a British company known for bespoke orangeries that suit period homes. This was the second Vale orangery we have worked on, after Lilac Cottage in Houghton.
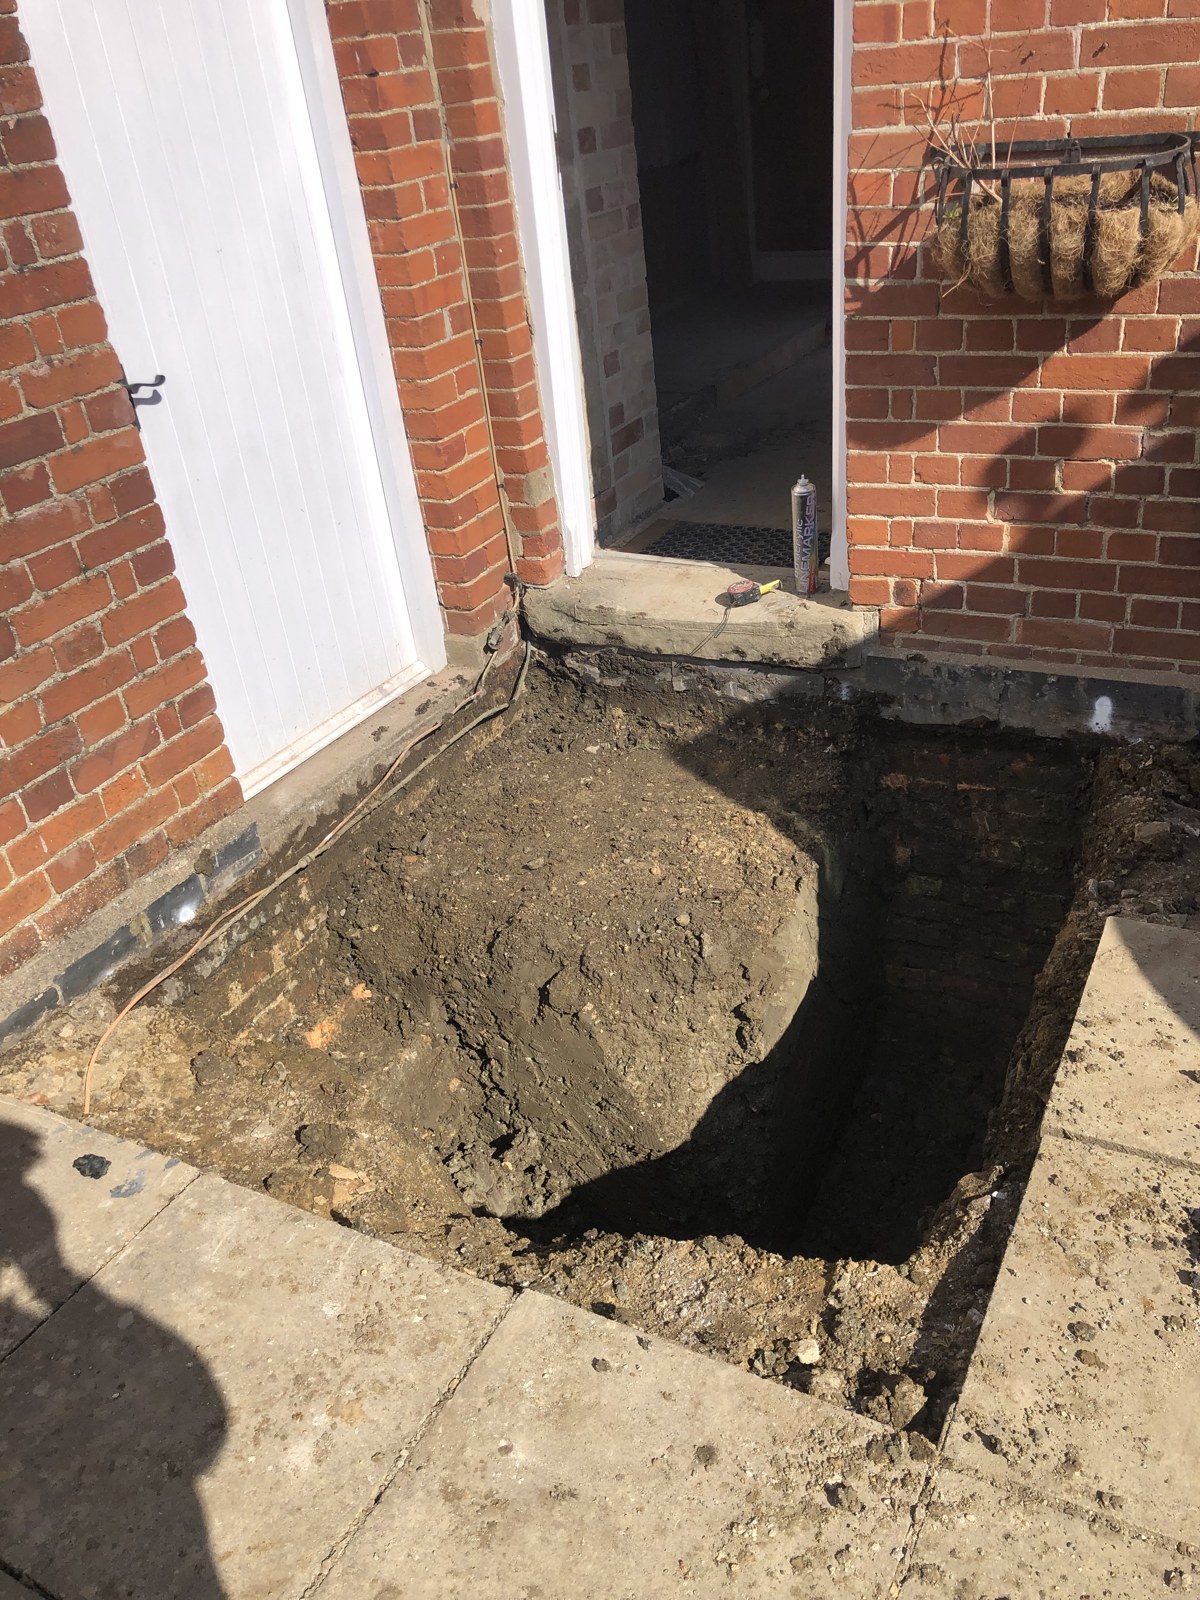
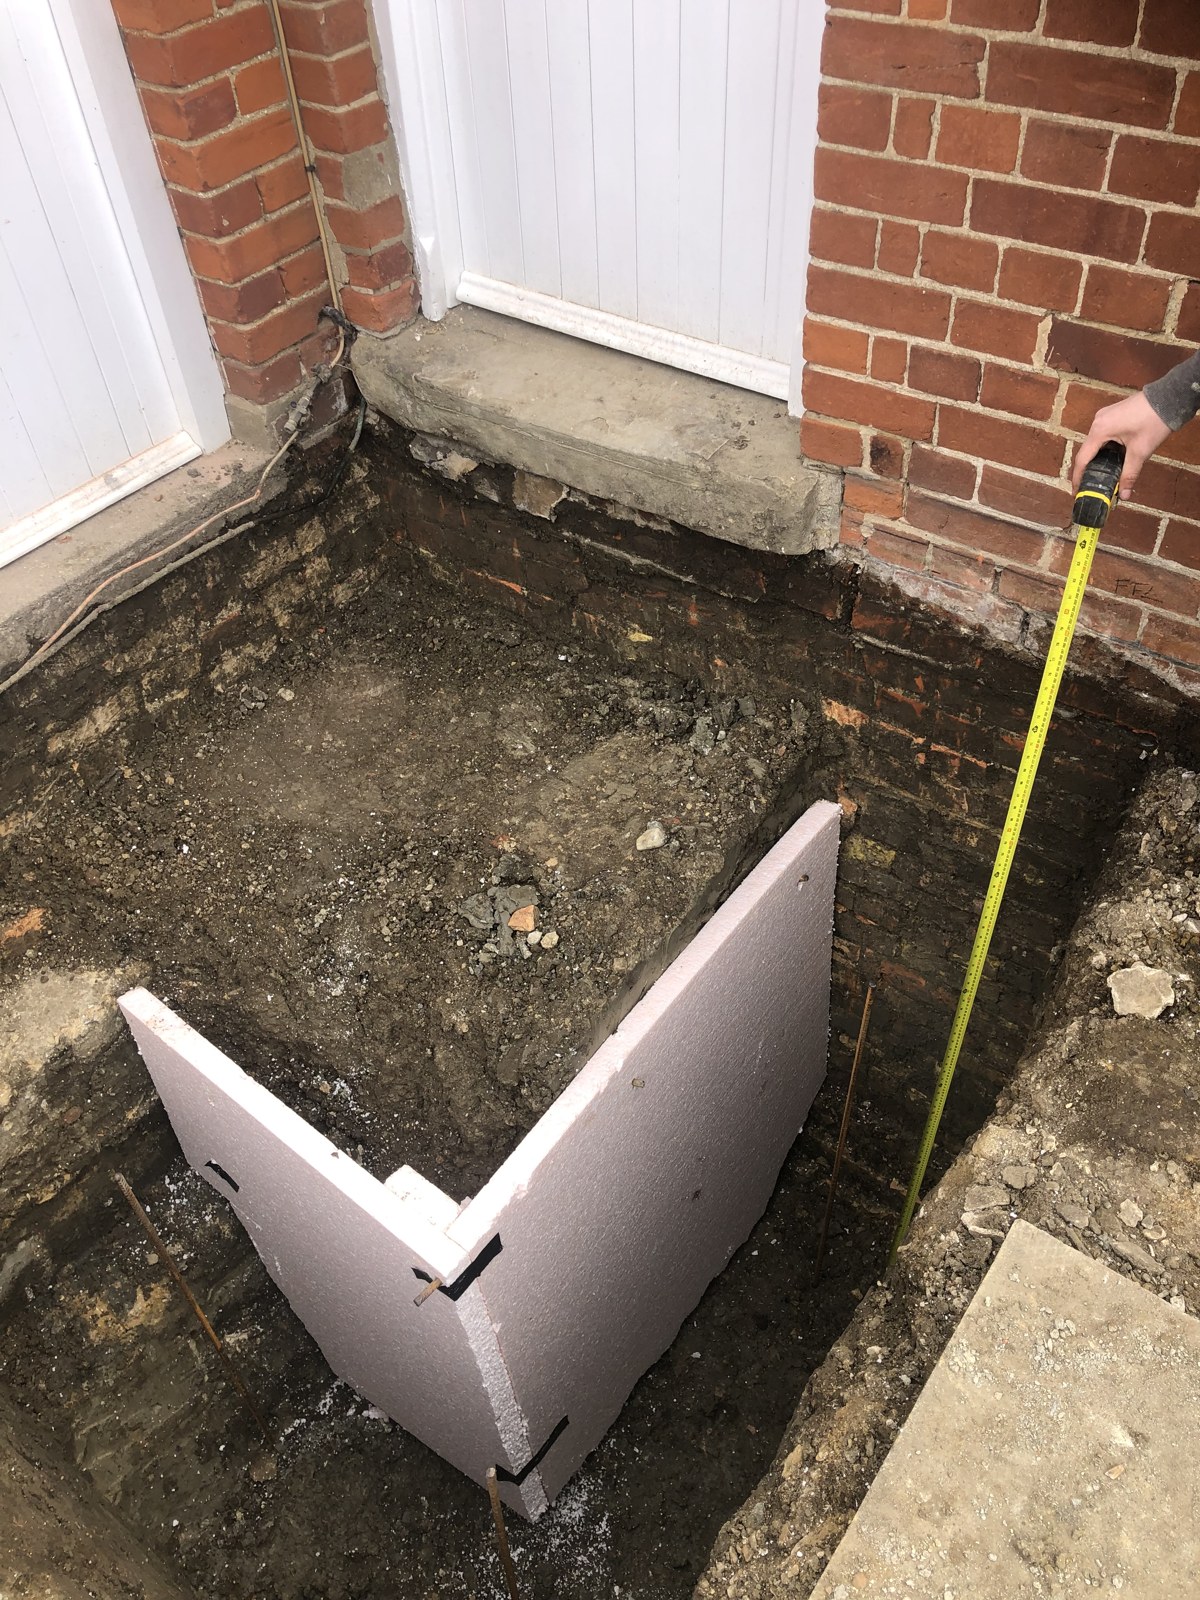
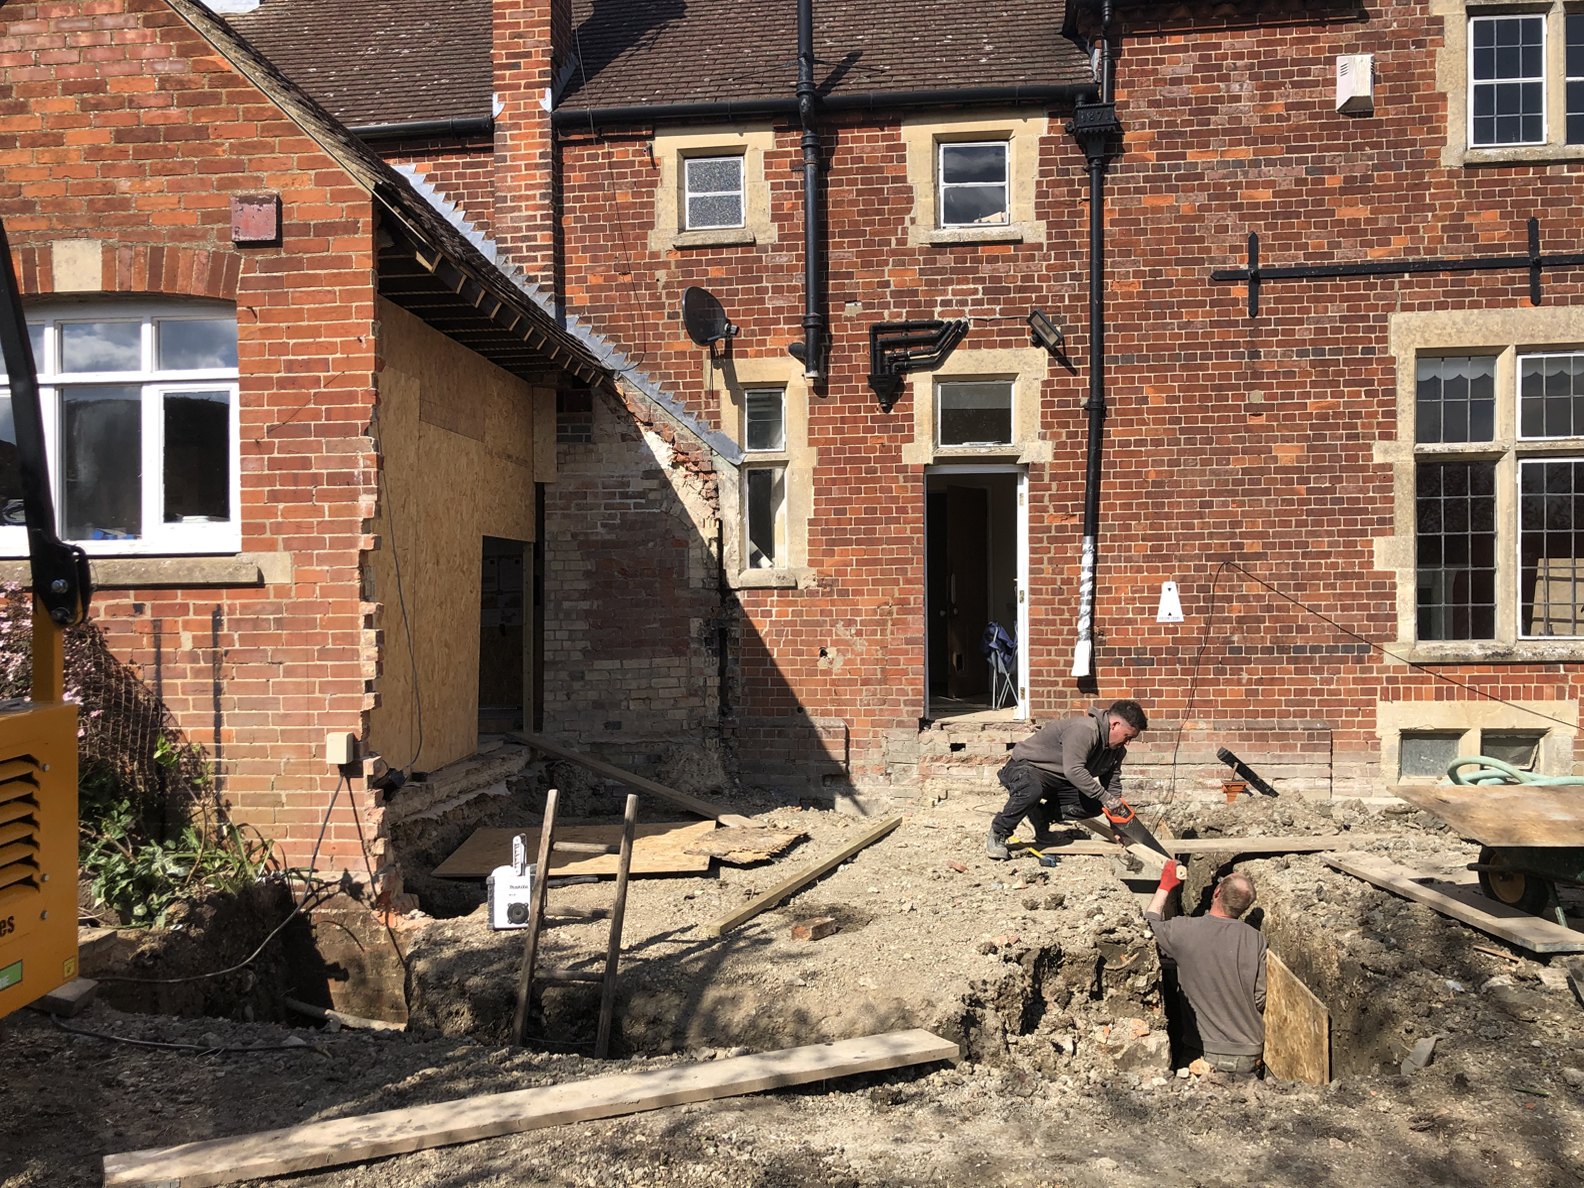
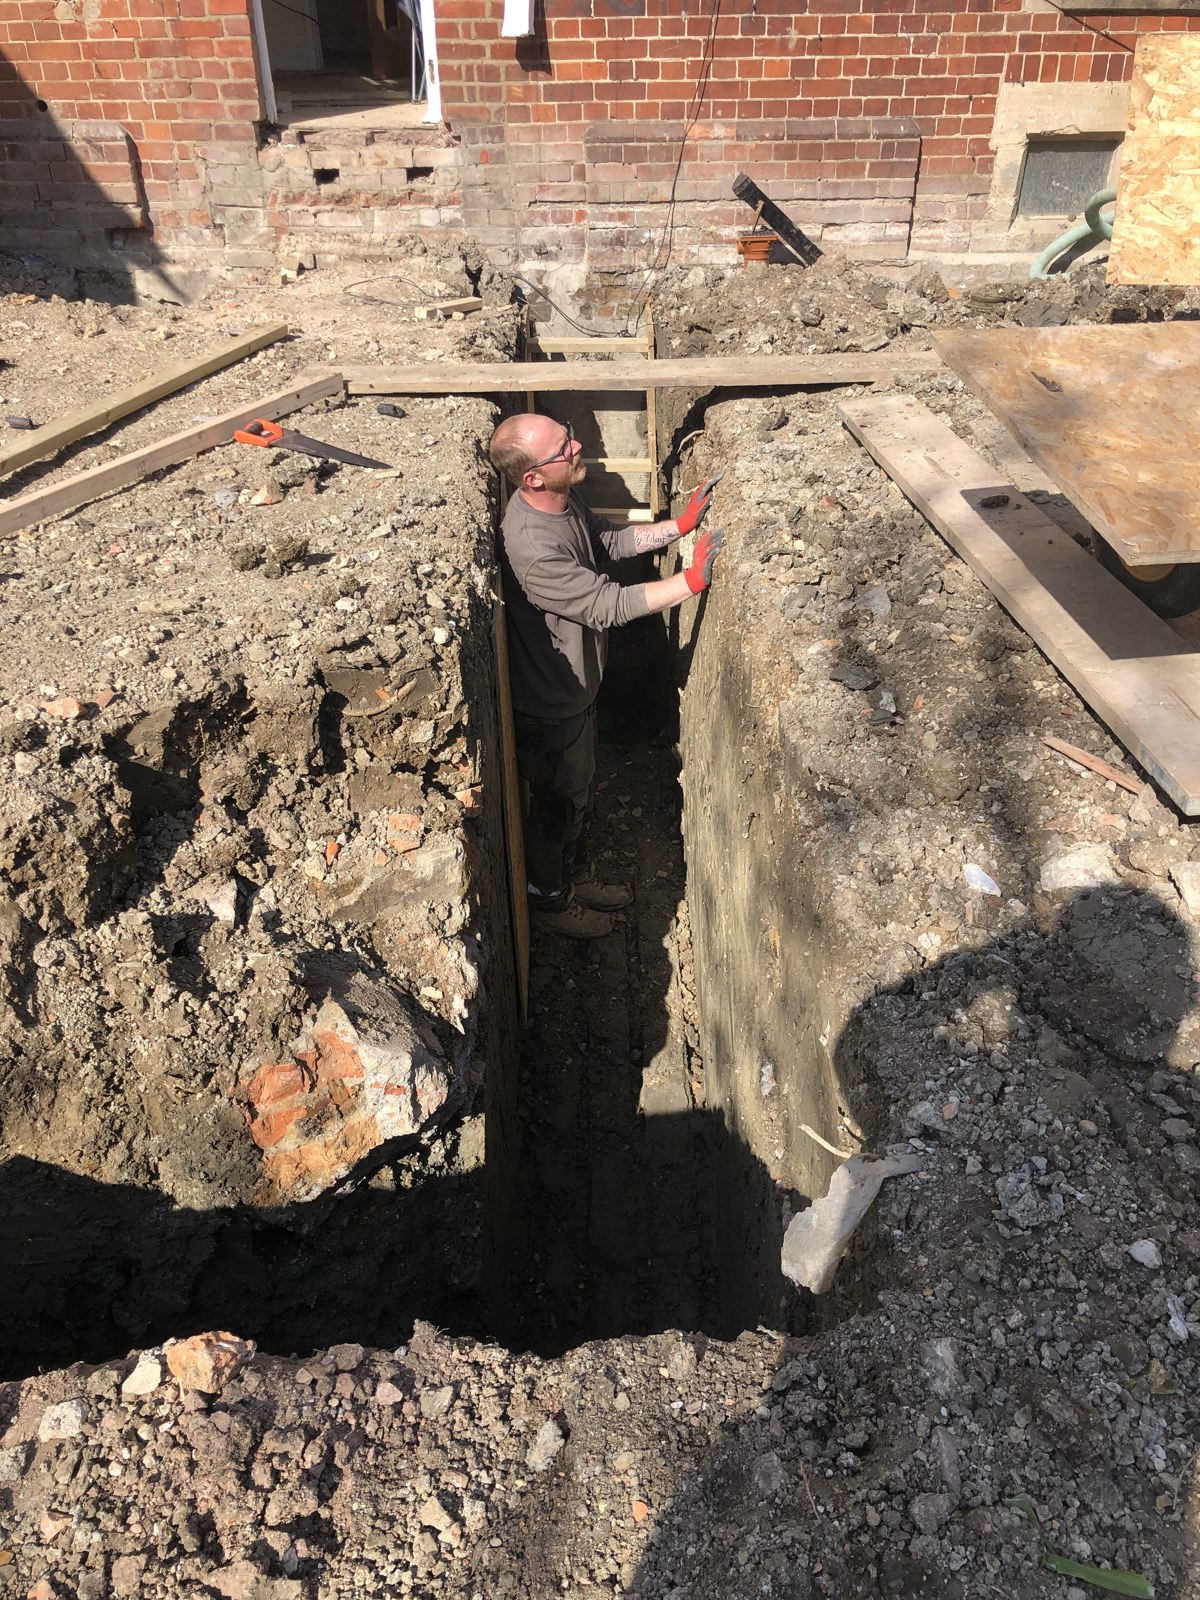
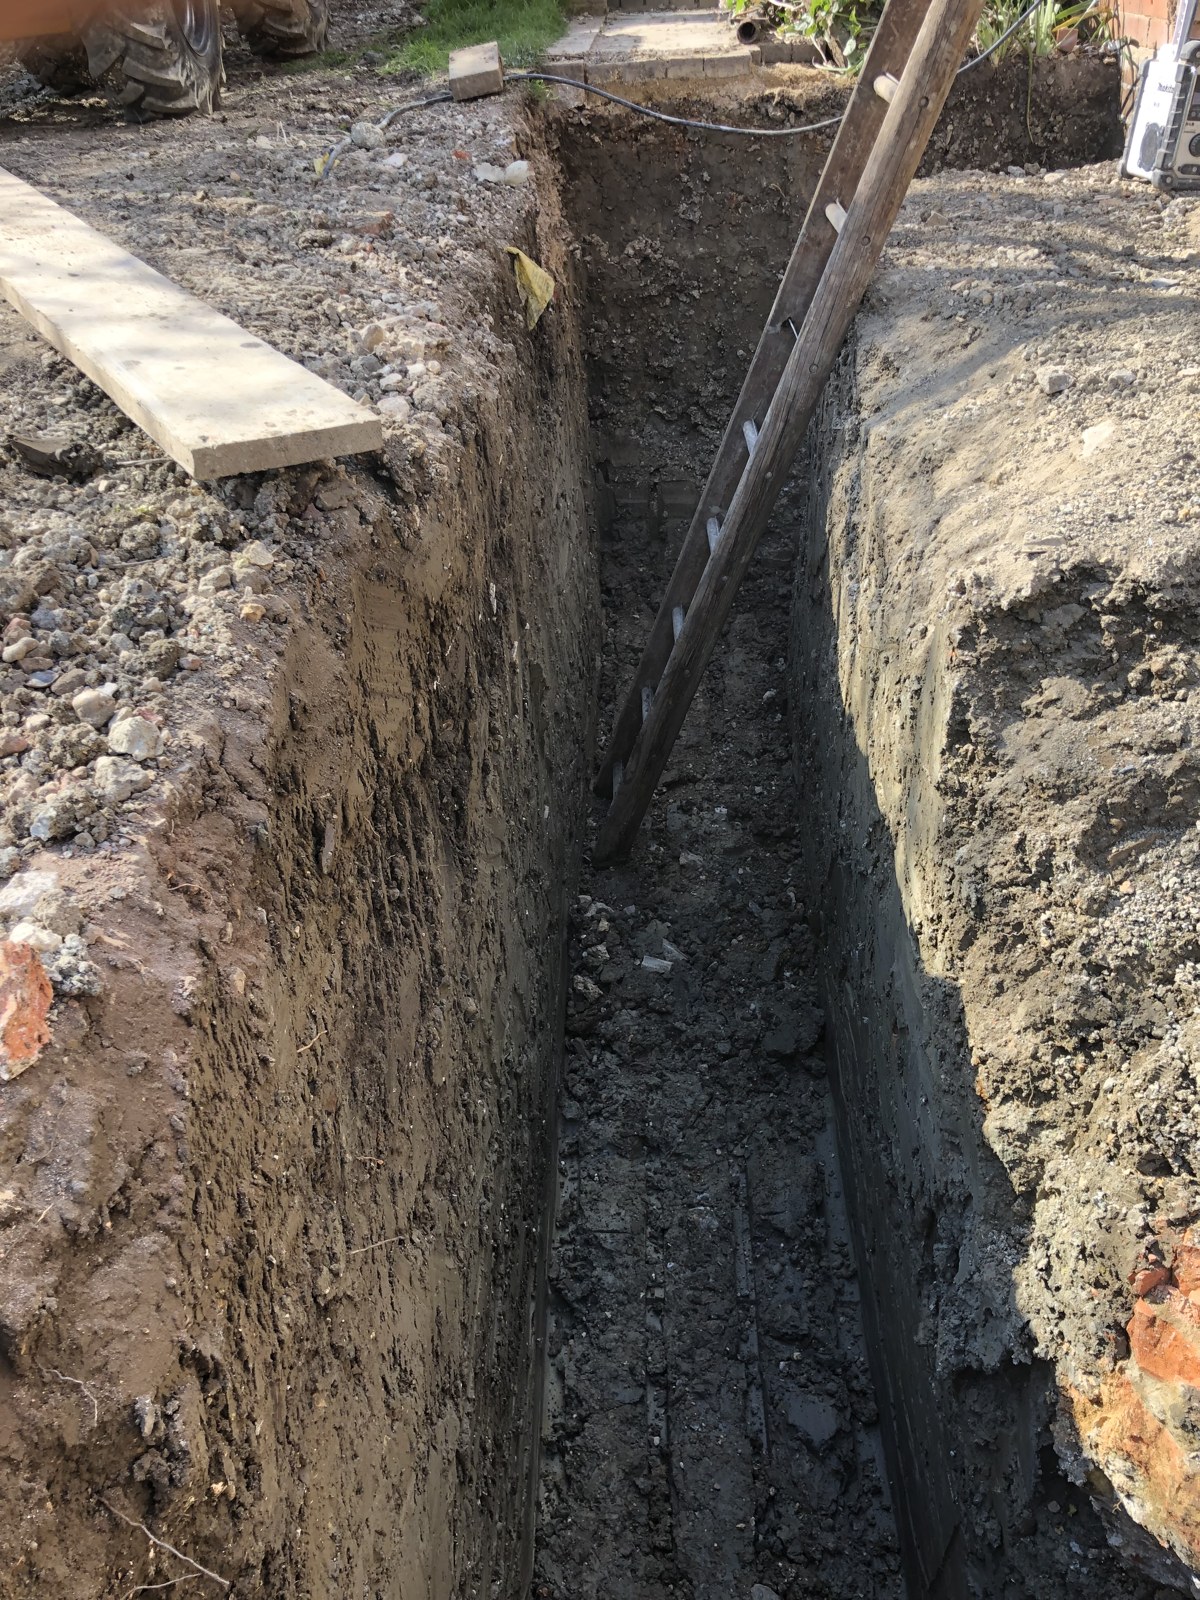
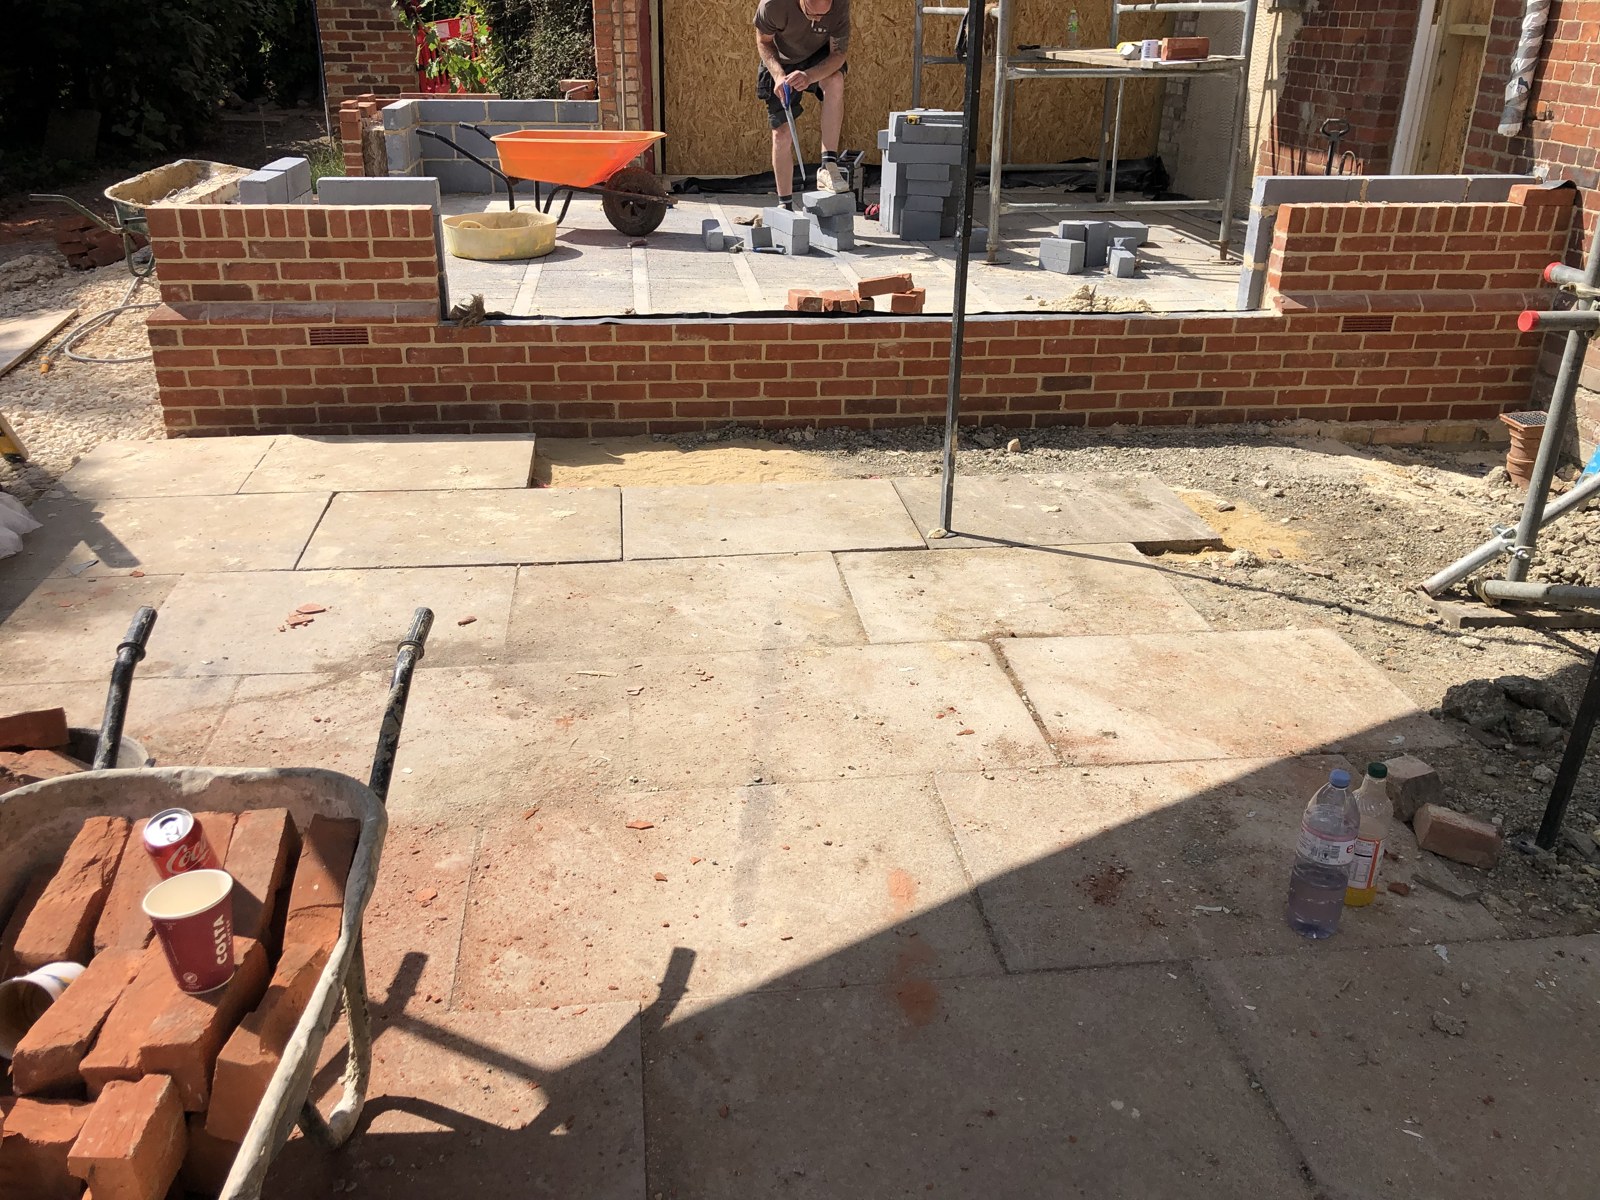
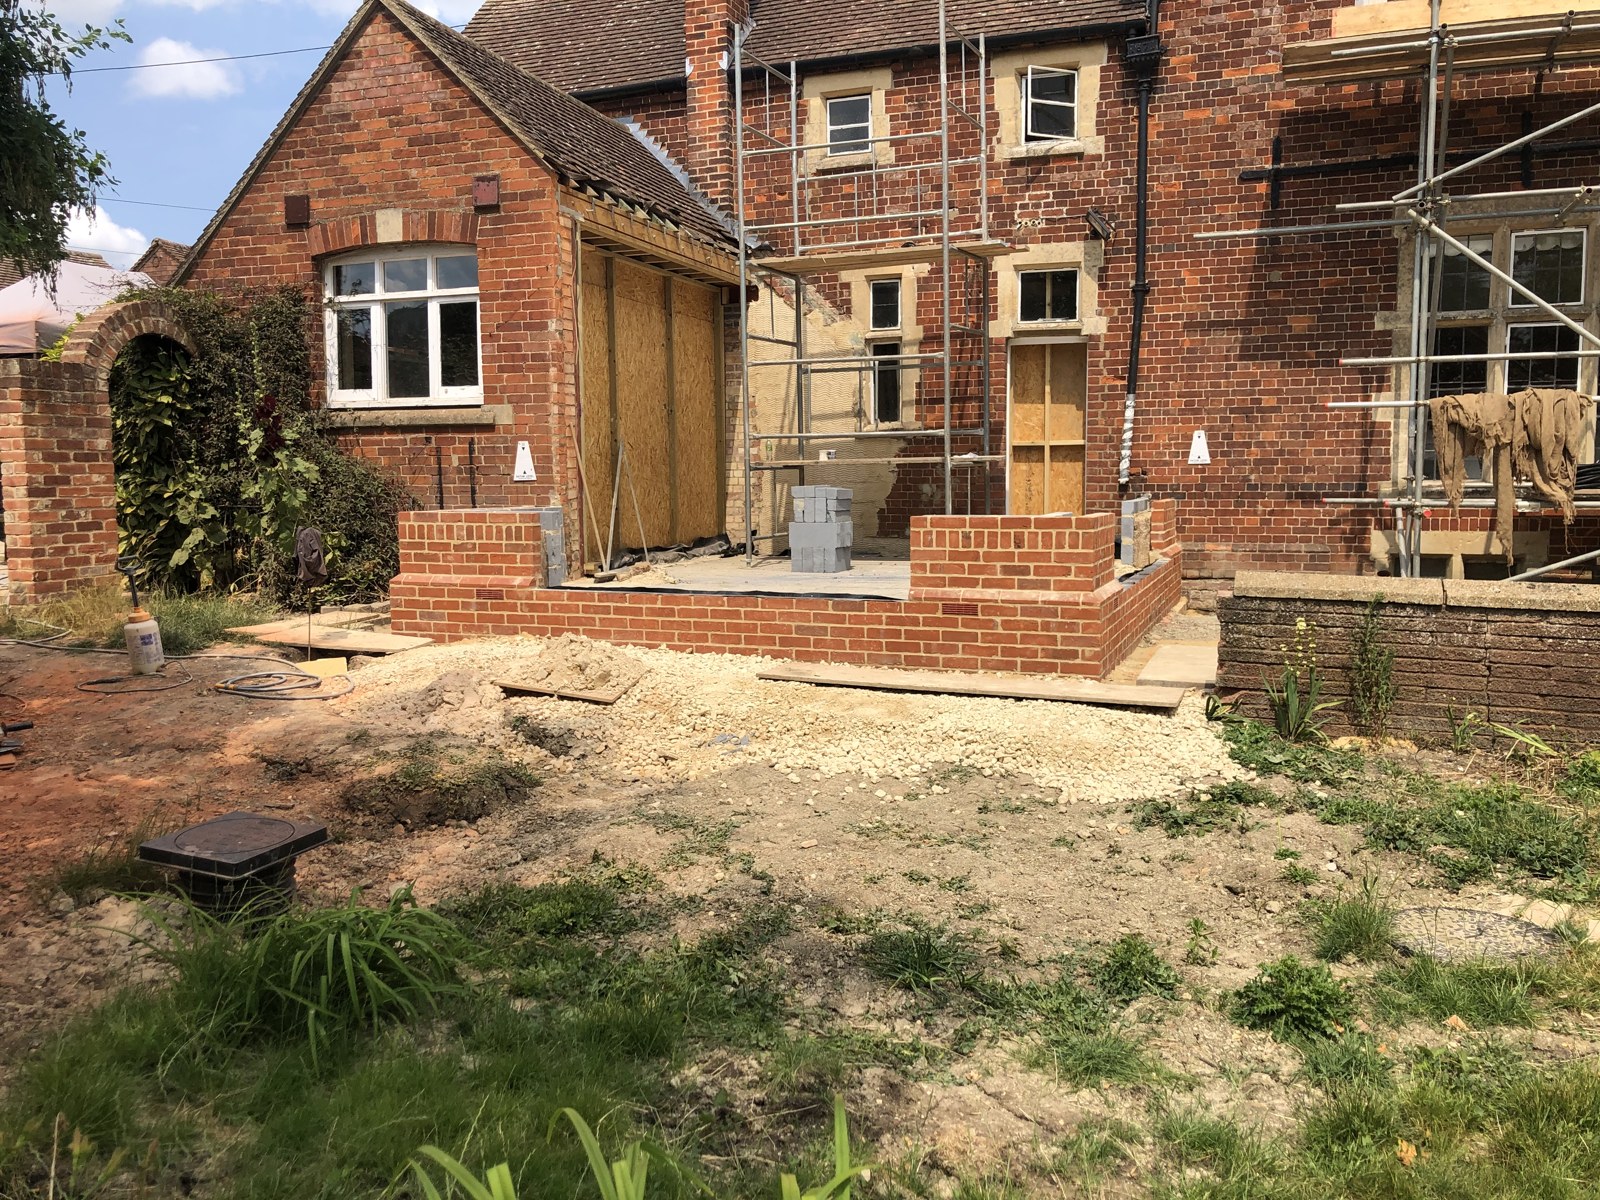
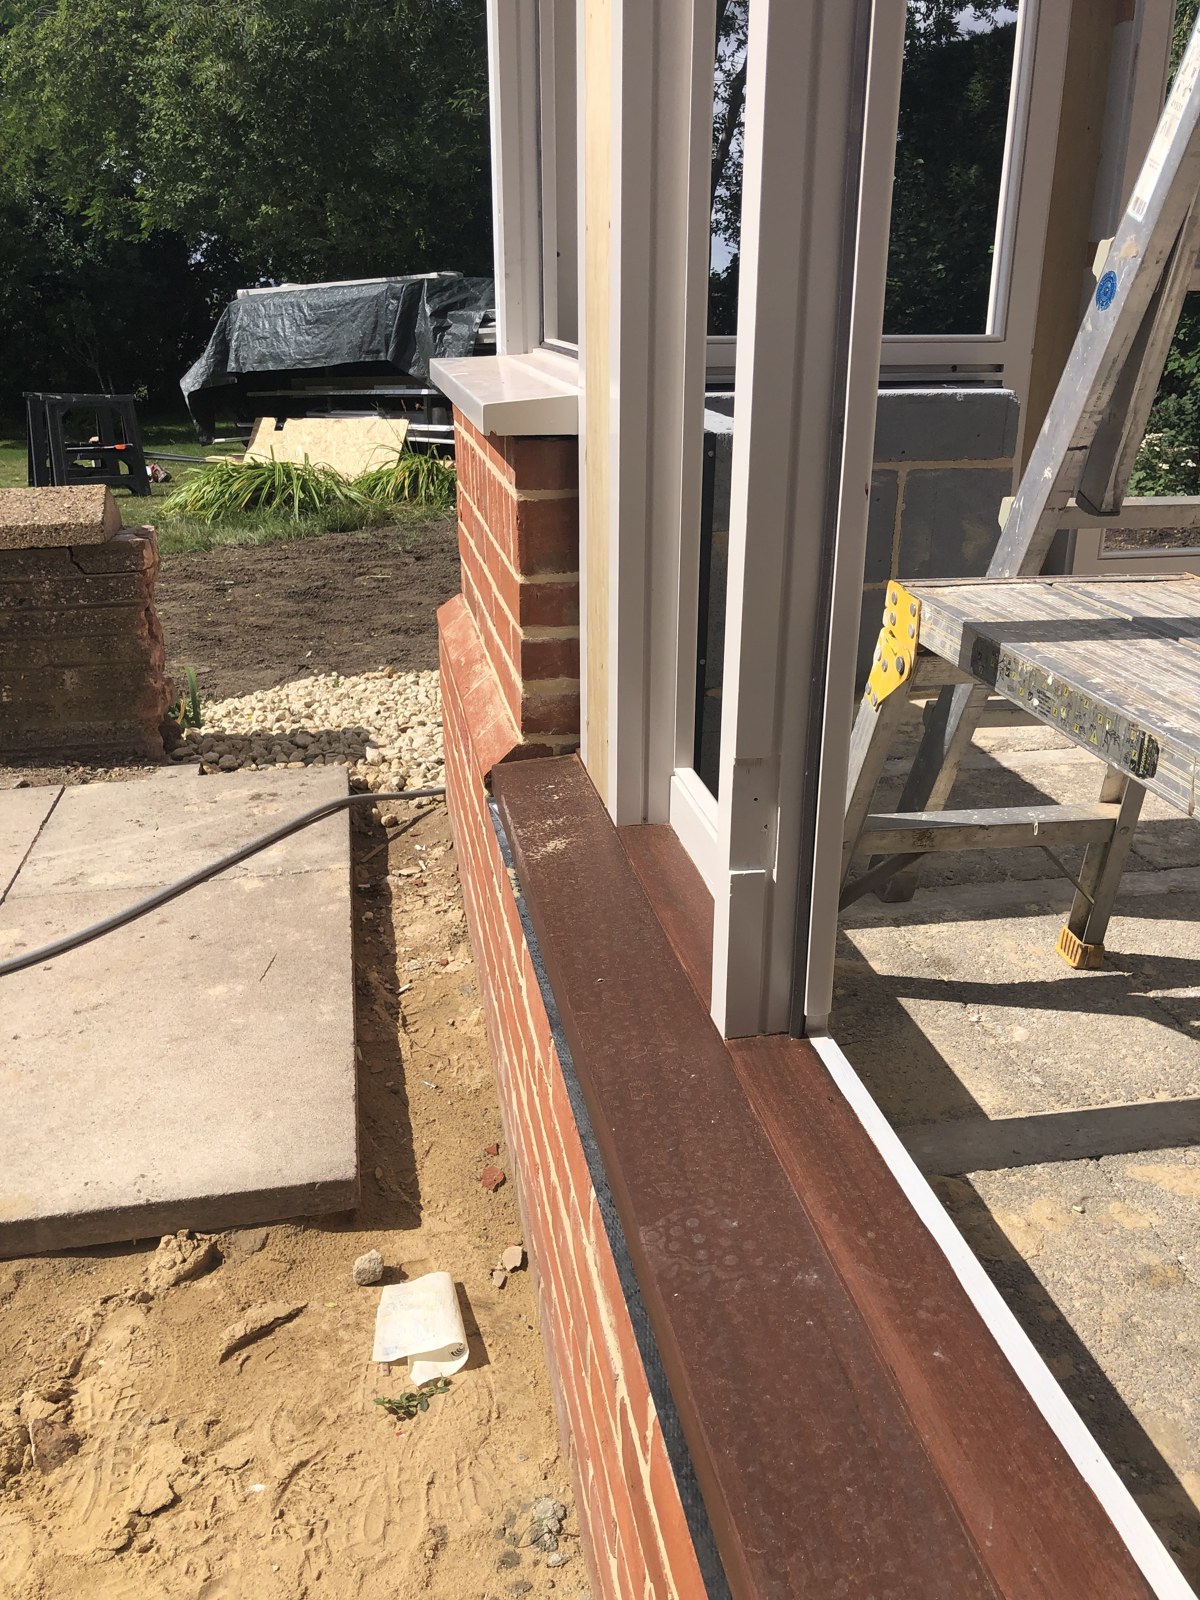
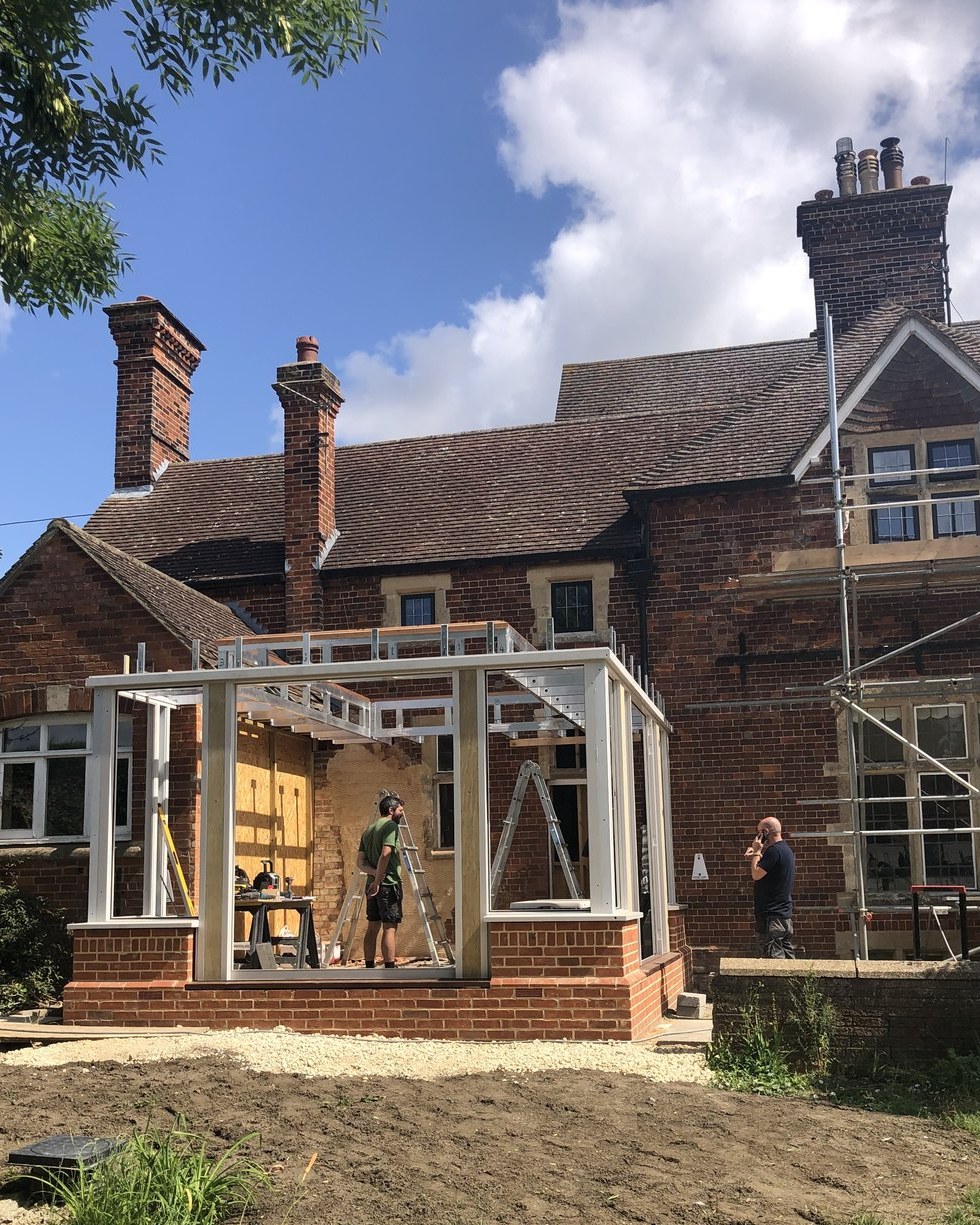
We excavated the foundations for the orangery, but the ground at the back of the house was poor and the trenches had to be taken at least a metre deeper than a standard strip foundation before we reached firm ground with enough bearing capacity. Once the deepened foundations were in, we built the brick base, ready for Vale to install the orangery.
Before and during
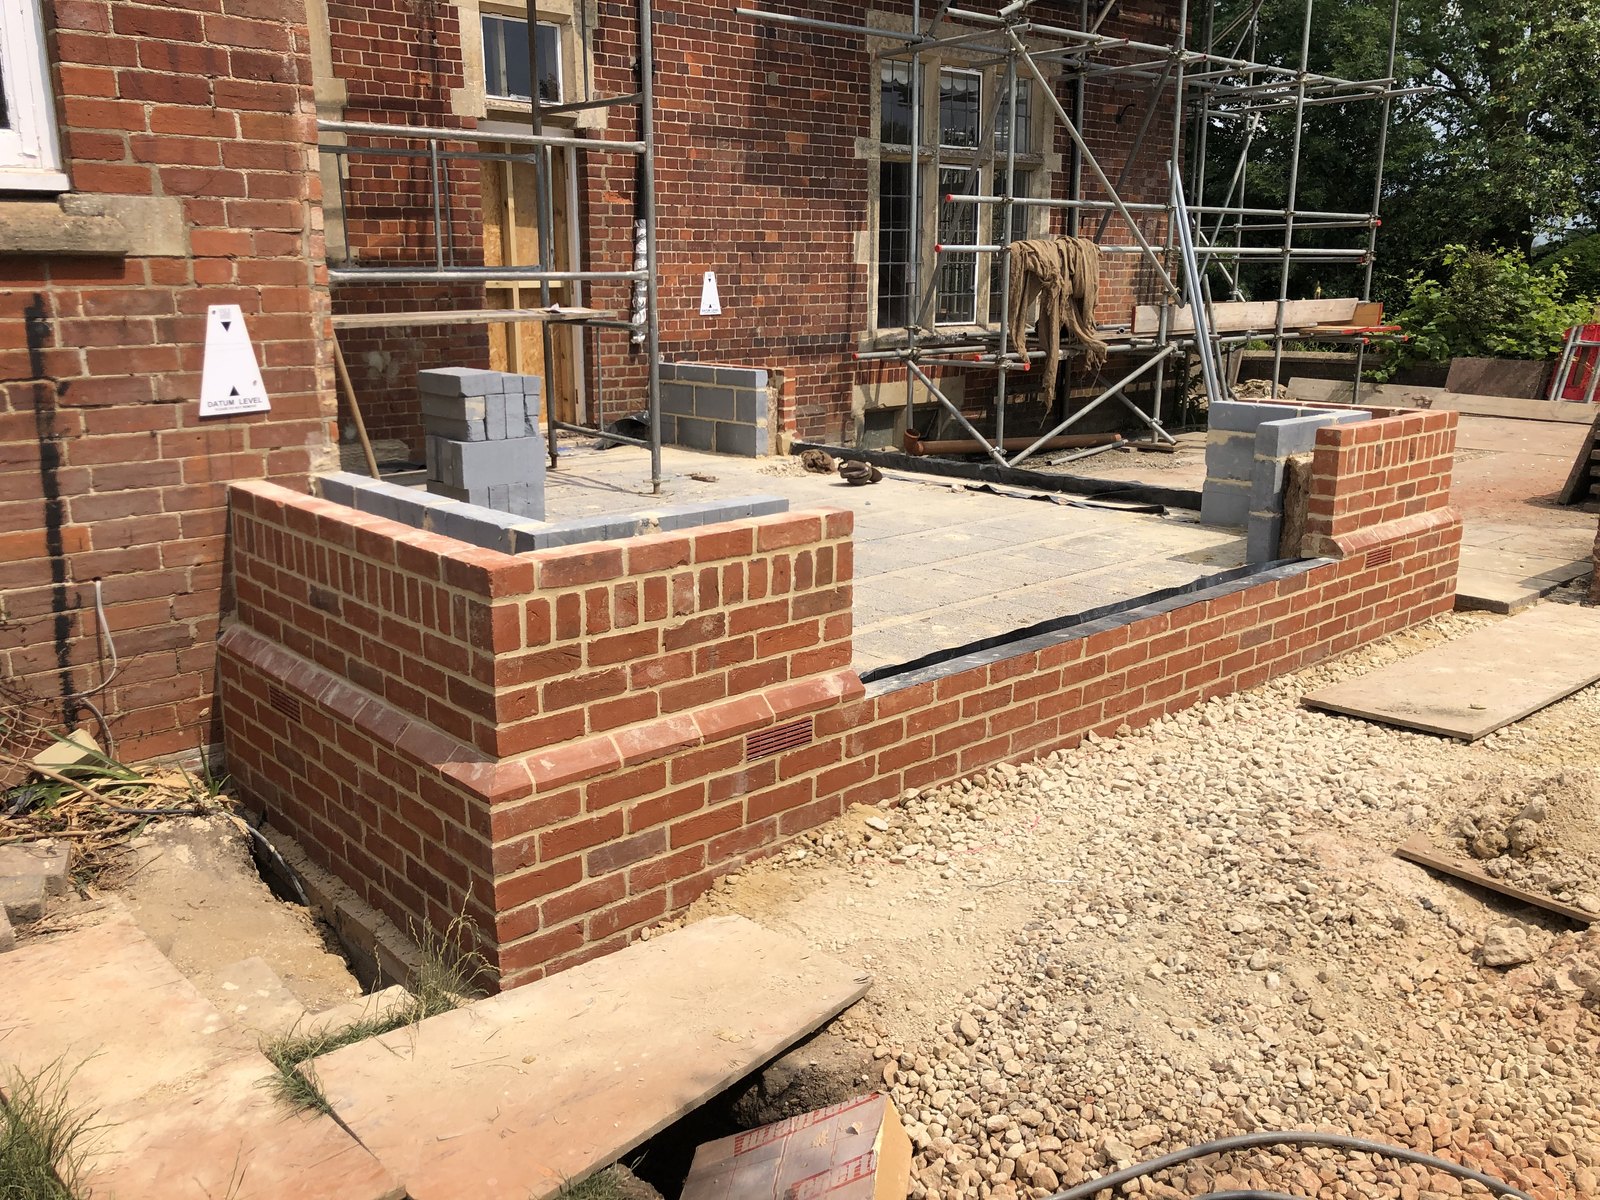
After
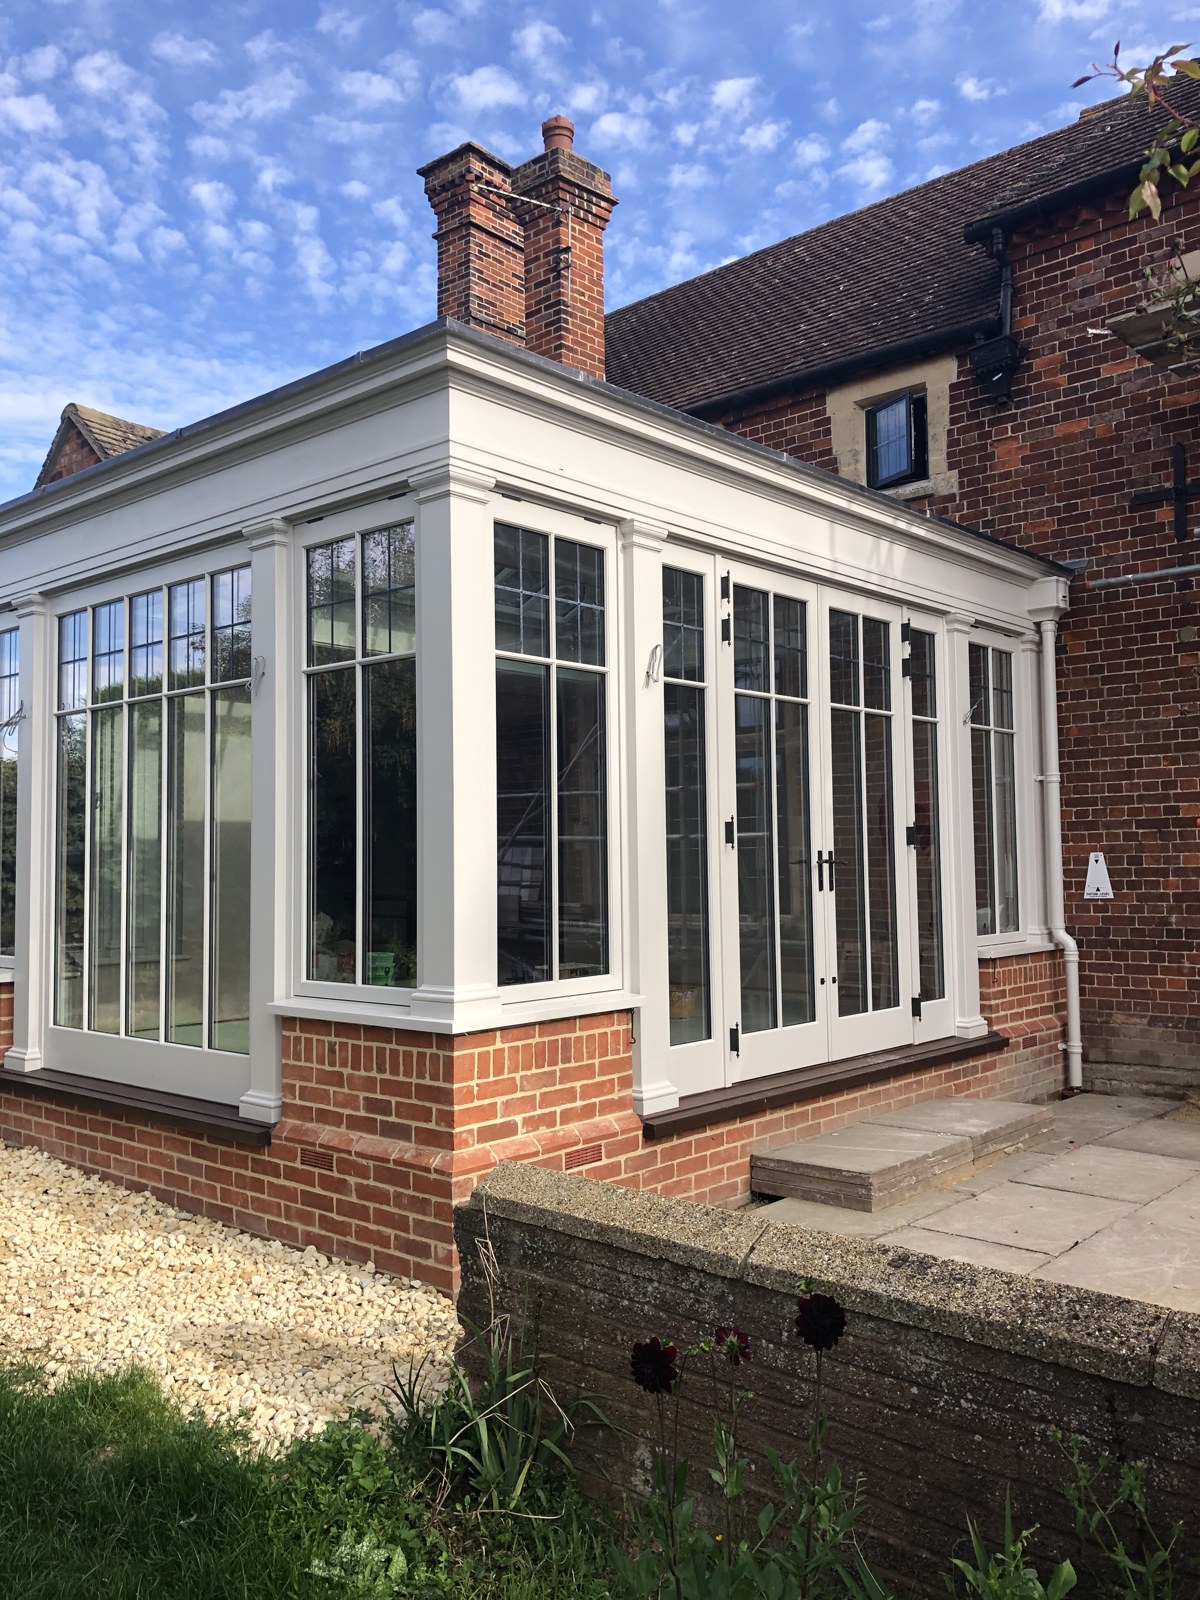
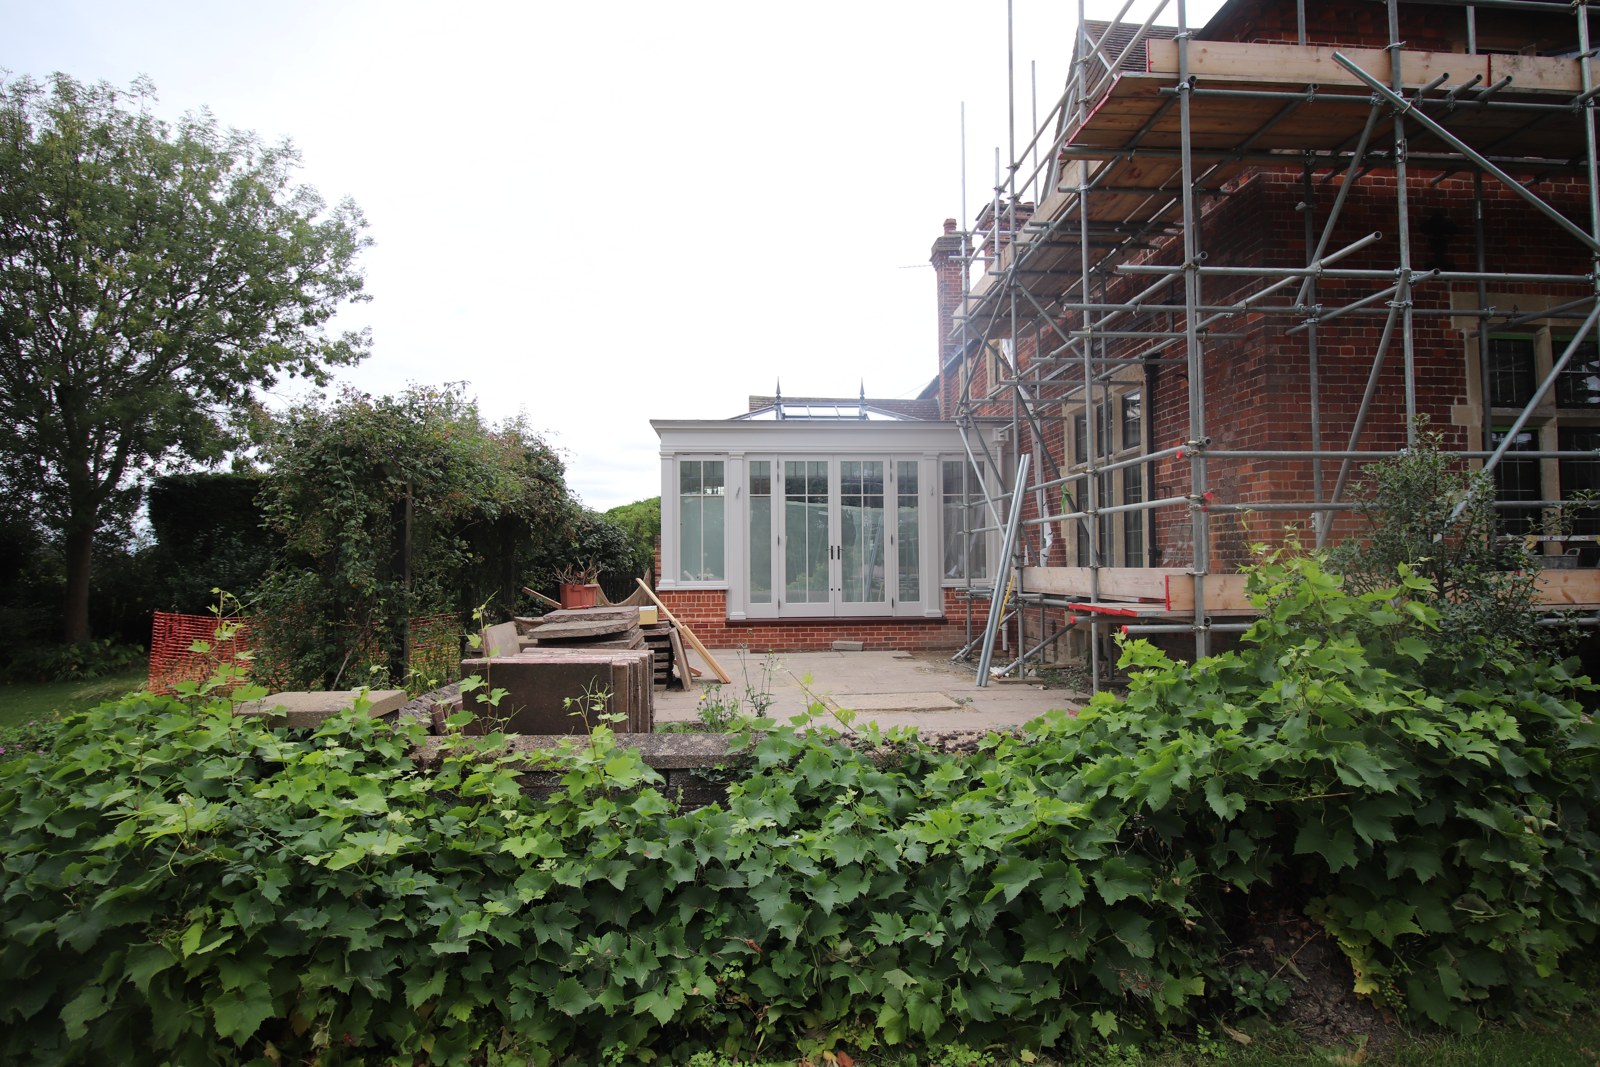
Stage 5
Fitting out the orangery, breakfast room and kitchen
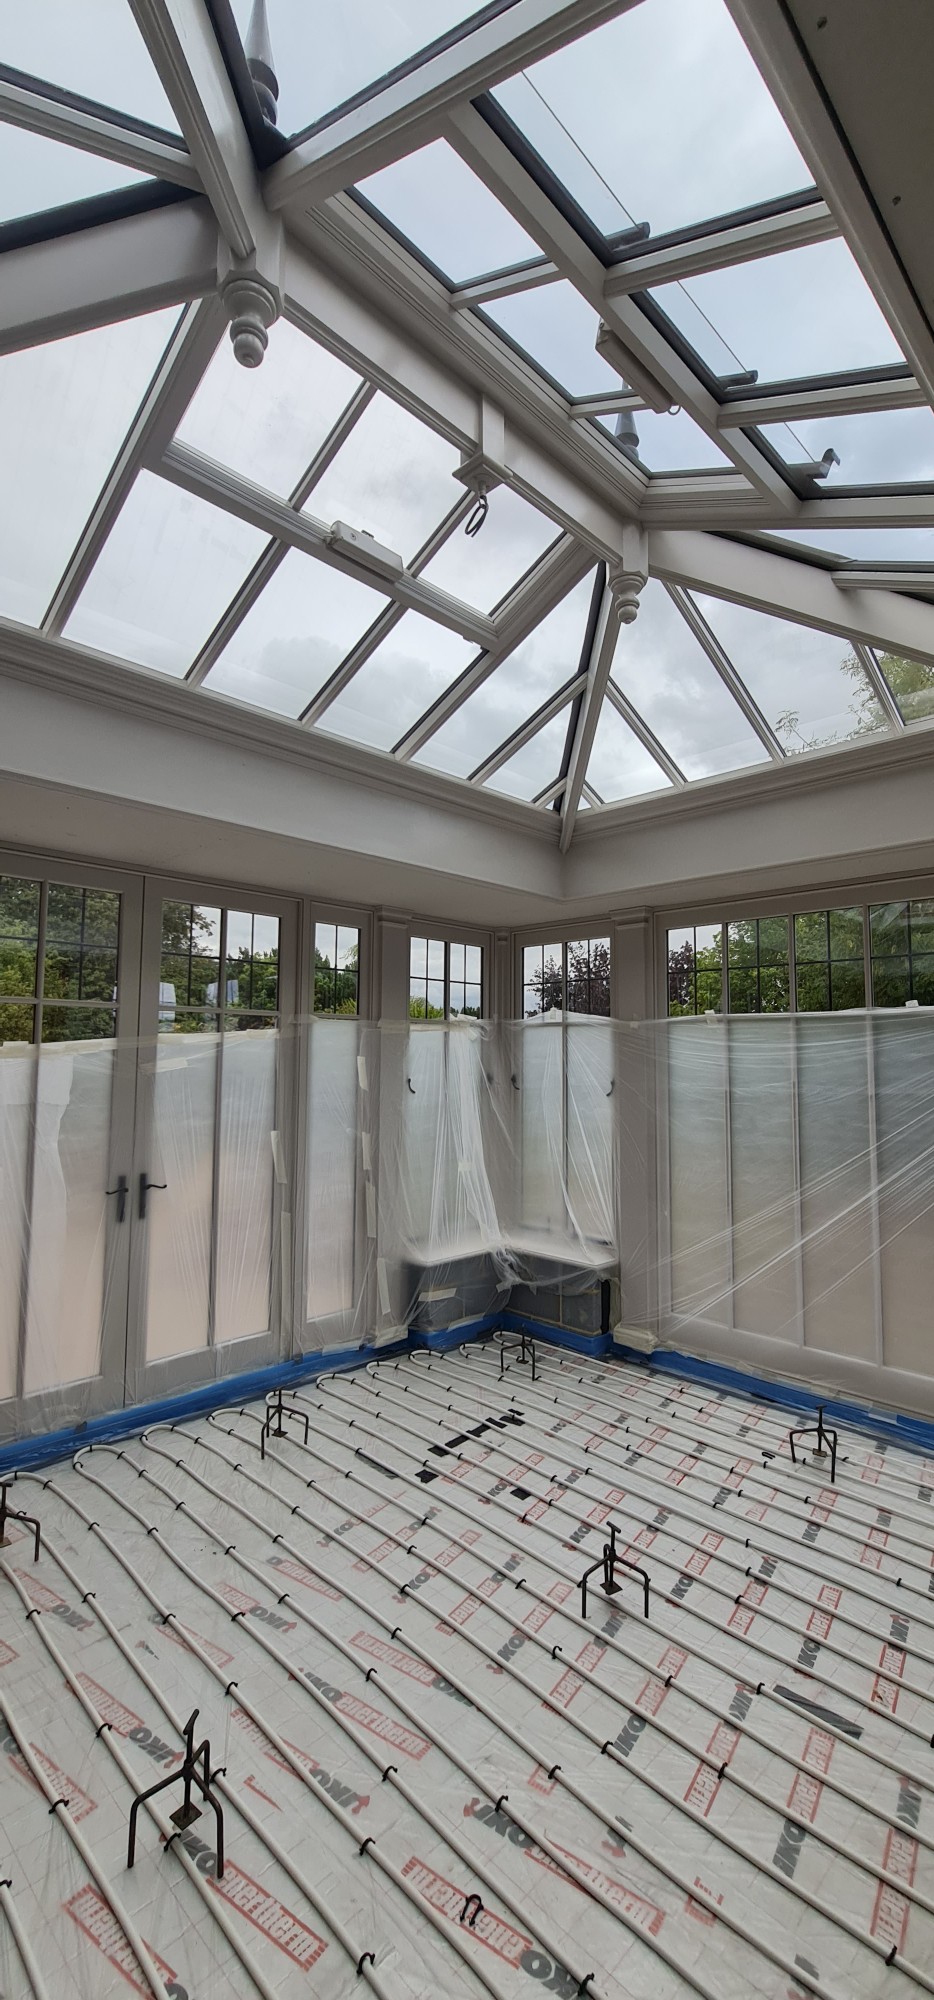
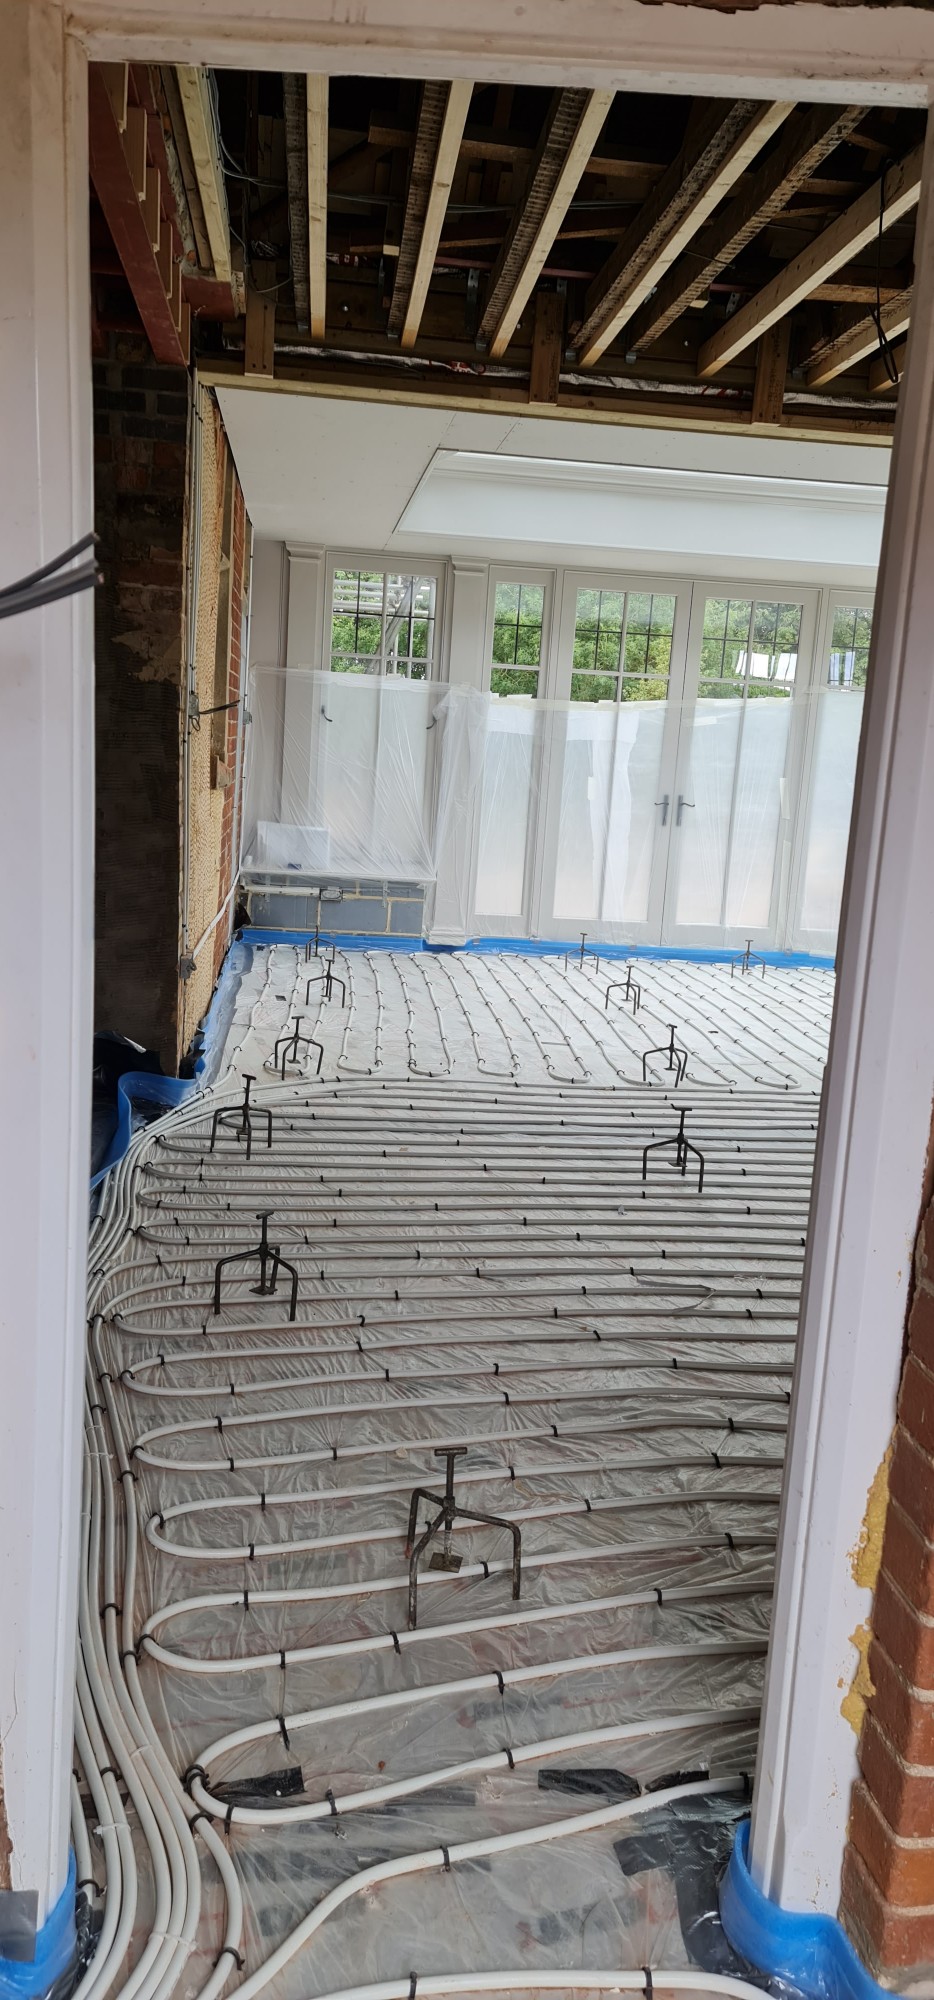
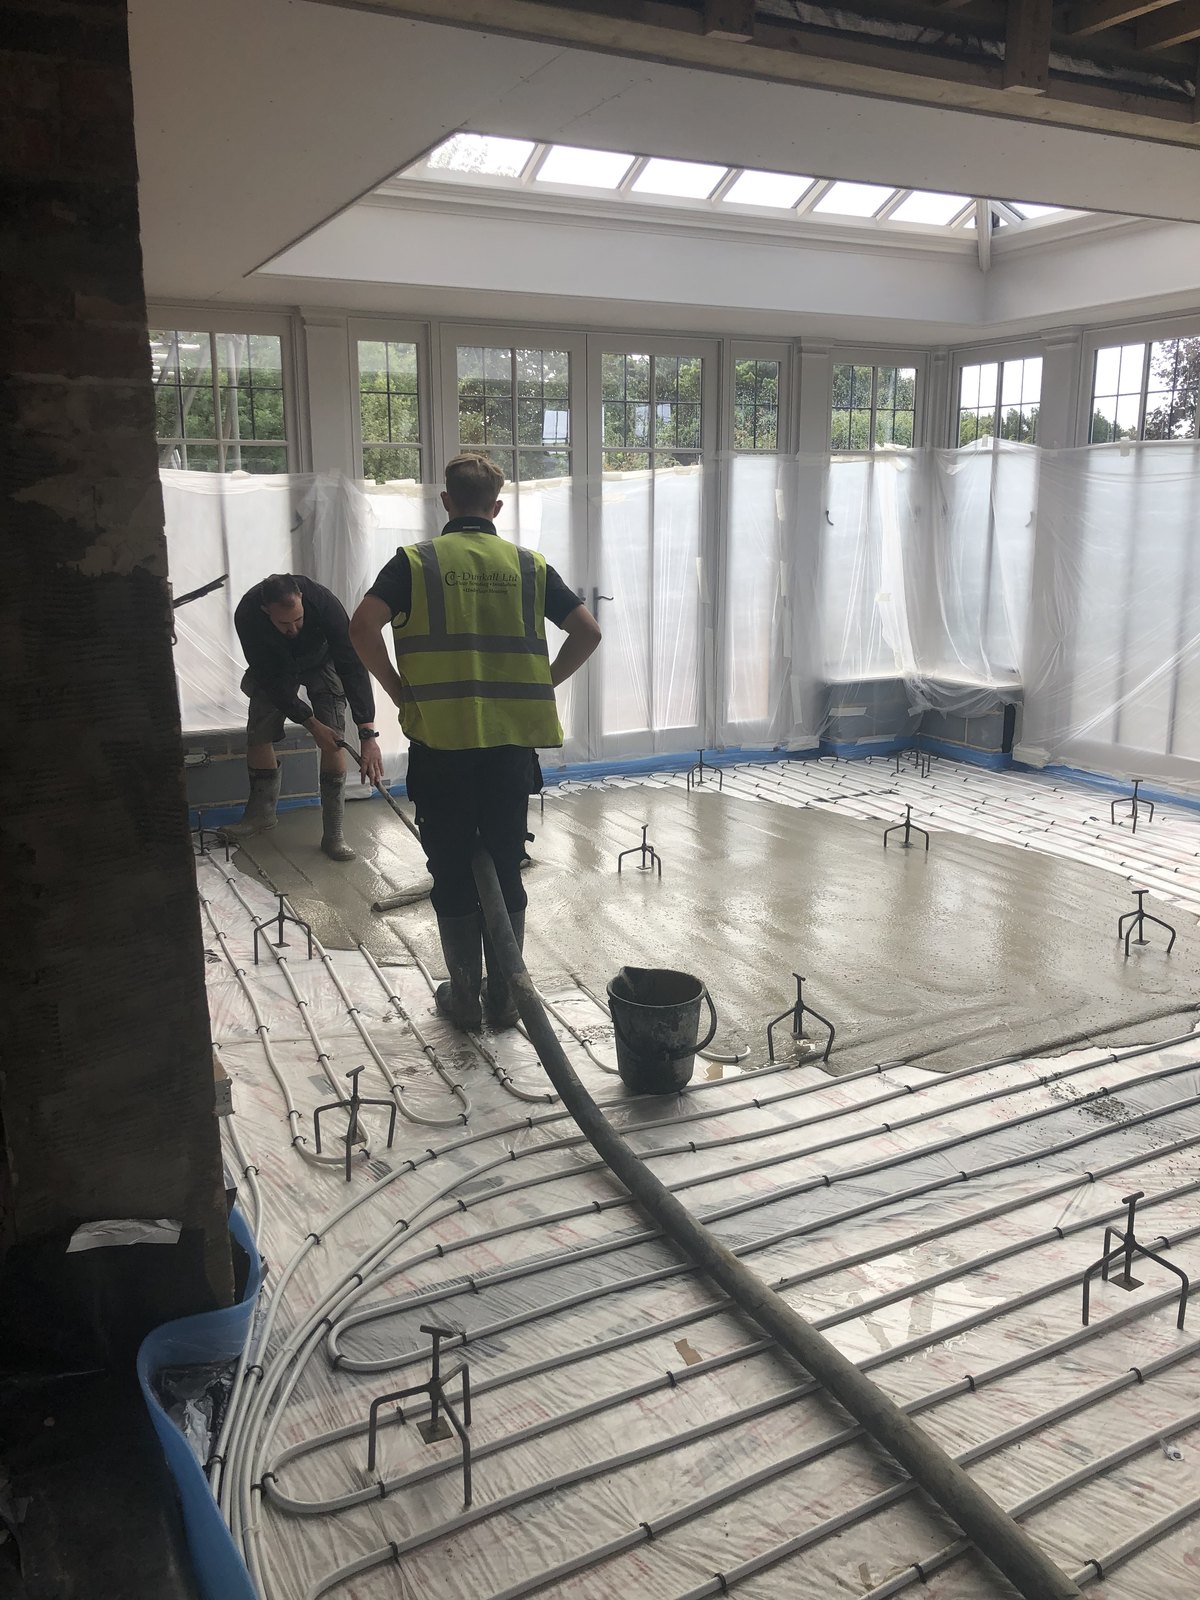
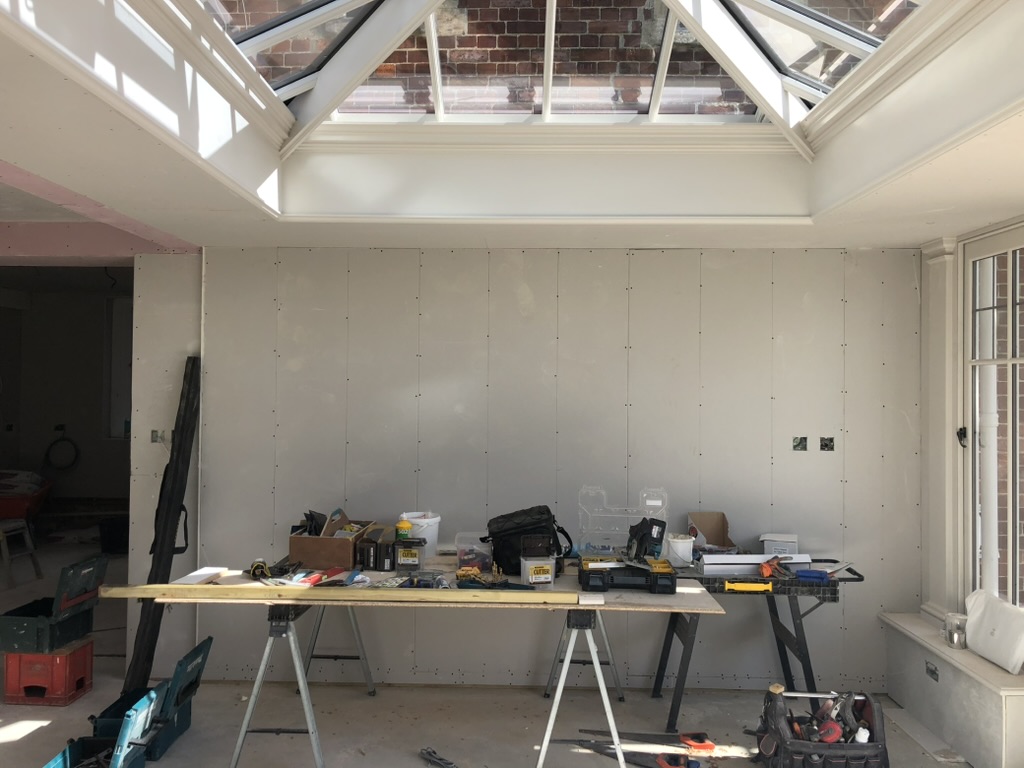
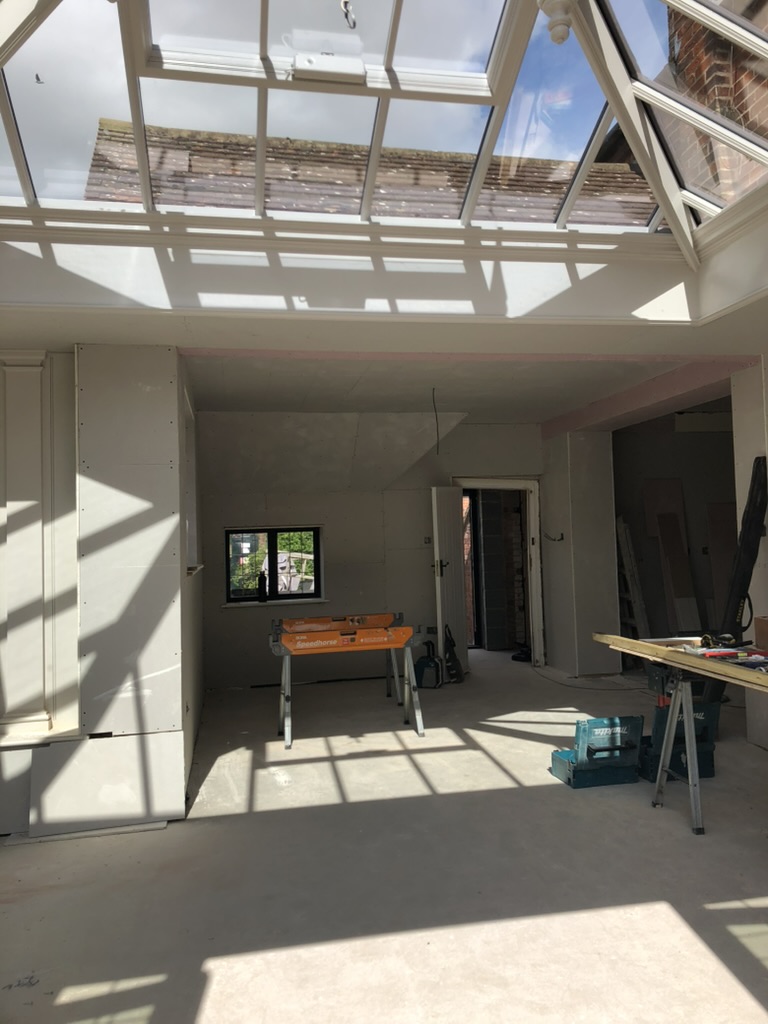
Underfloor heating was laid throughout the new orangery, the breakfast room and the kitchen. We insulated the floors and laid a screed over the heating pipes.
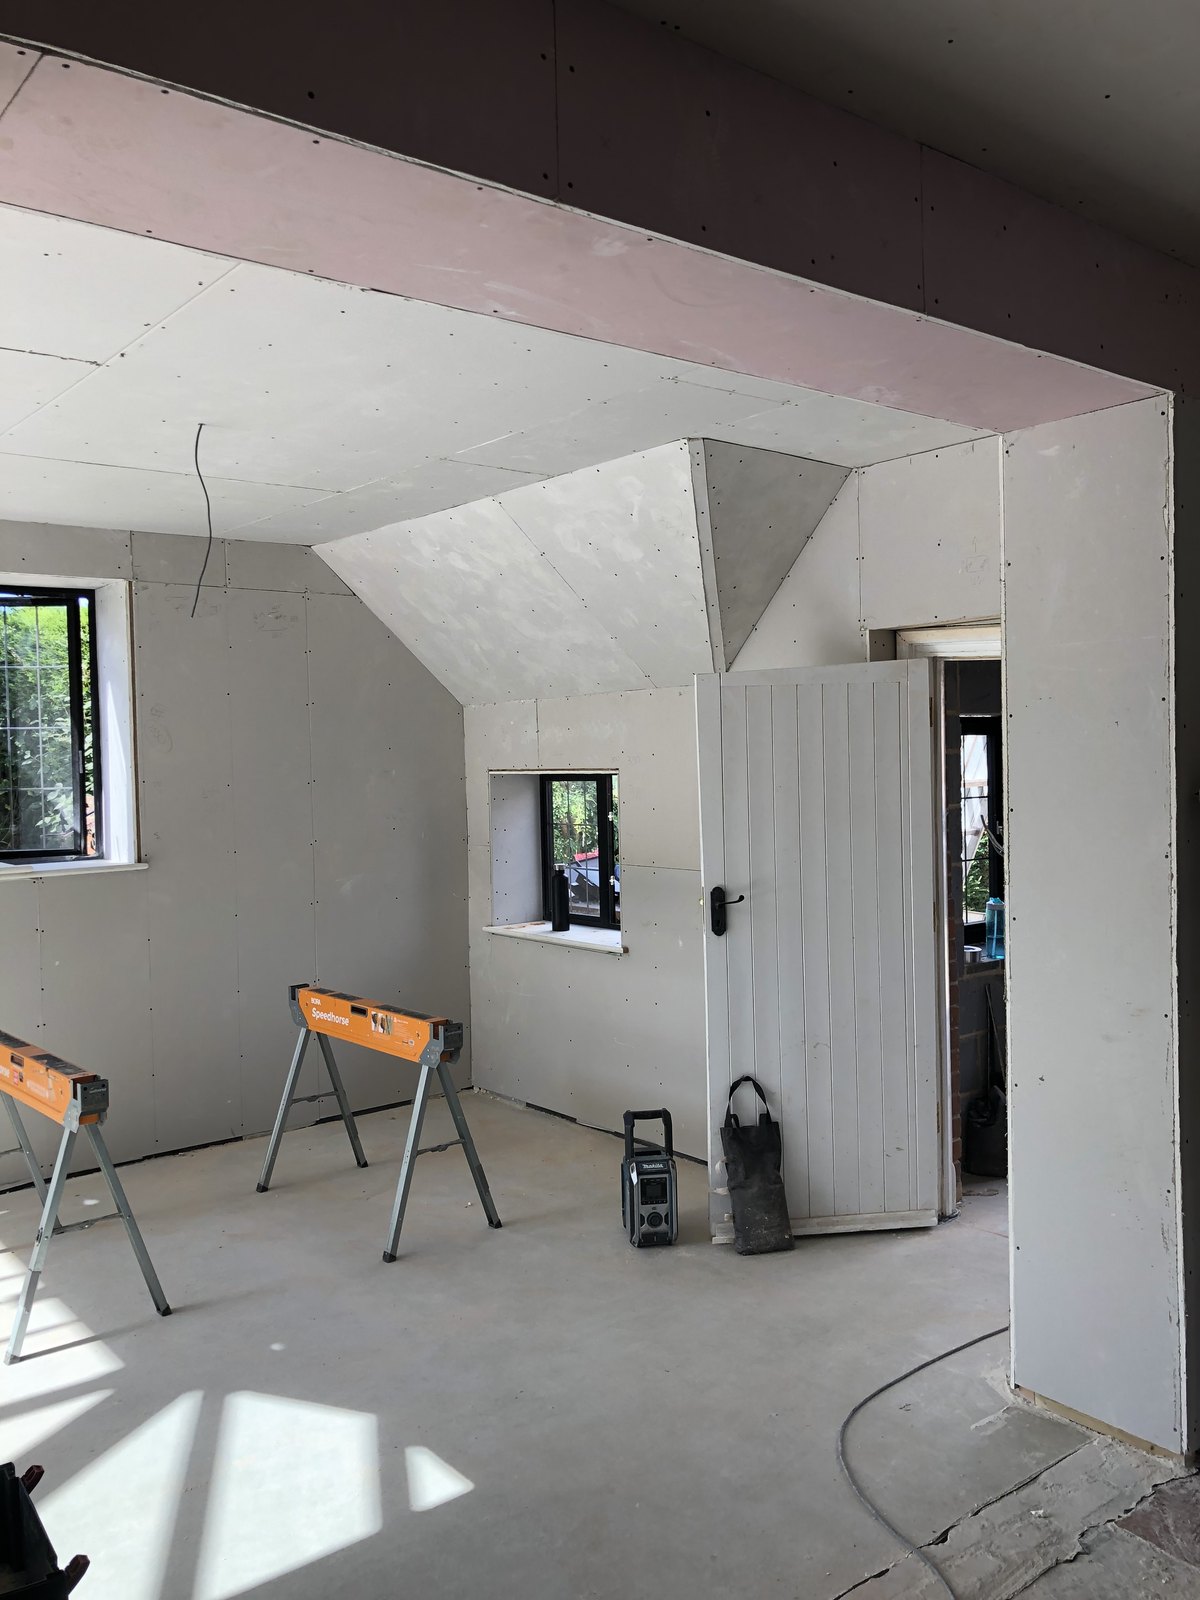
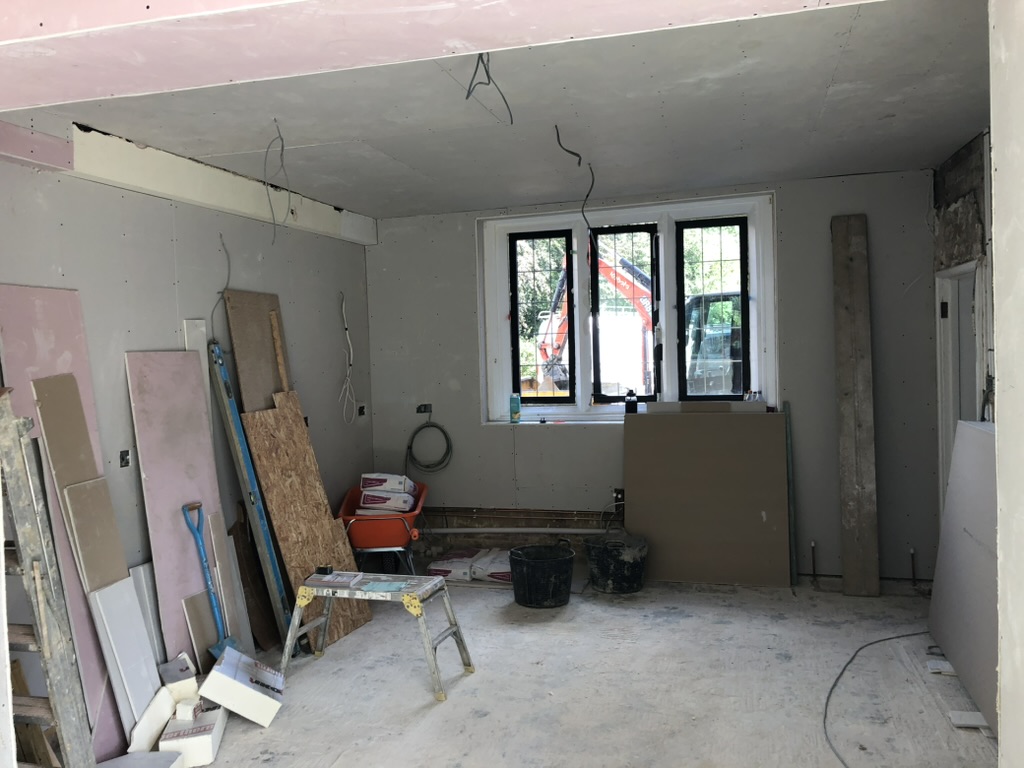
With the floors down, the walls were plastered and the electrics and plumbing were completed, so that every other trade had finished before the stone floor tiles were finally laid.
Stage 6
Repairing and tanking the cellar
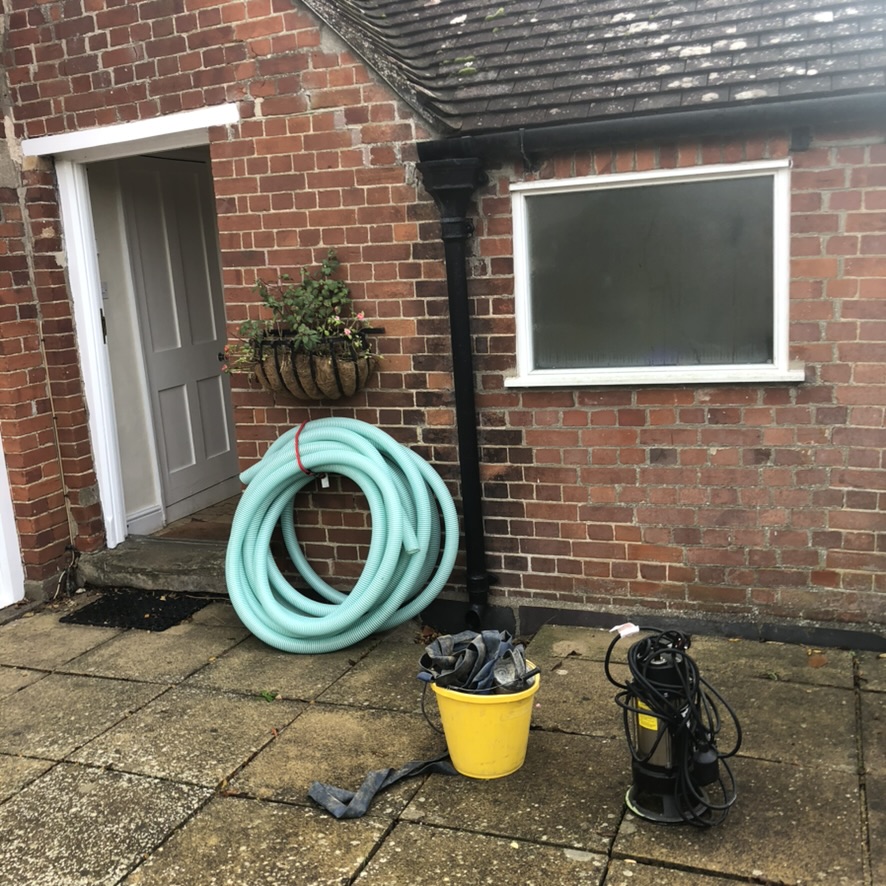
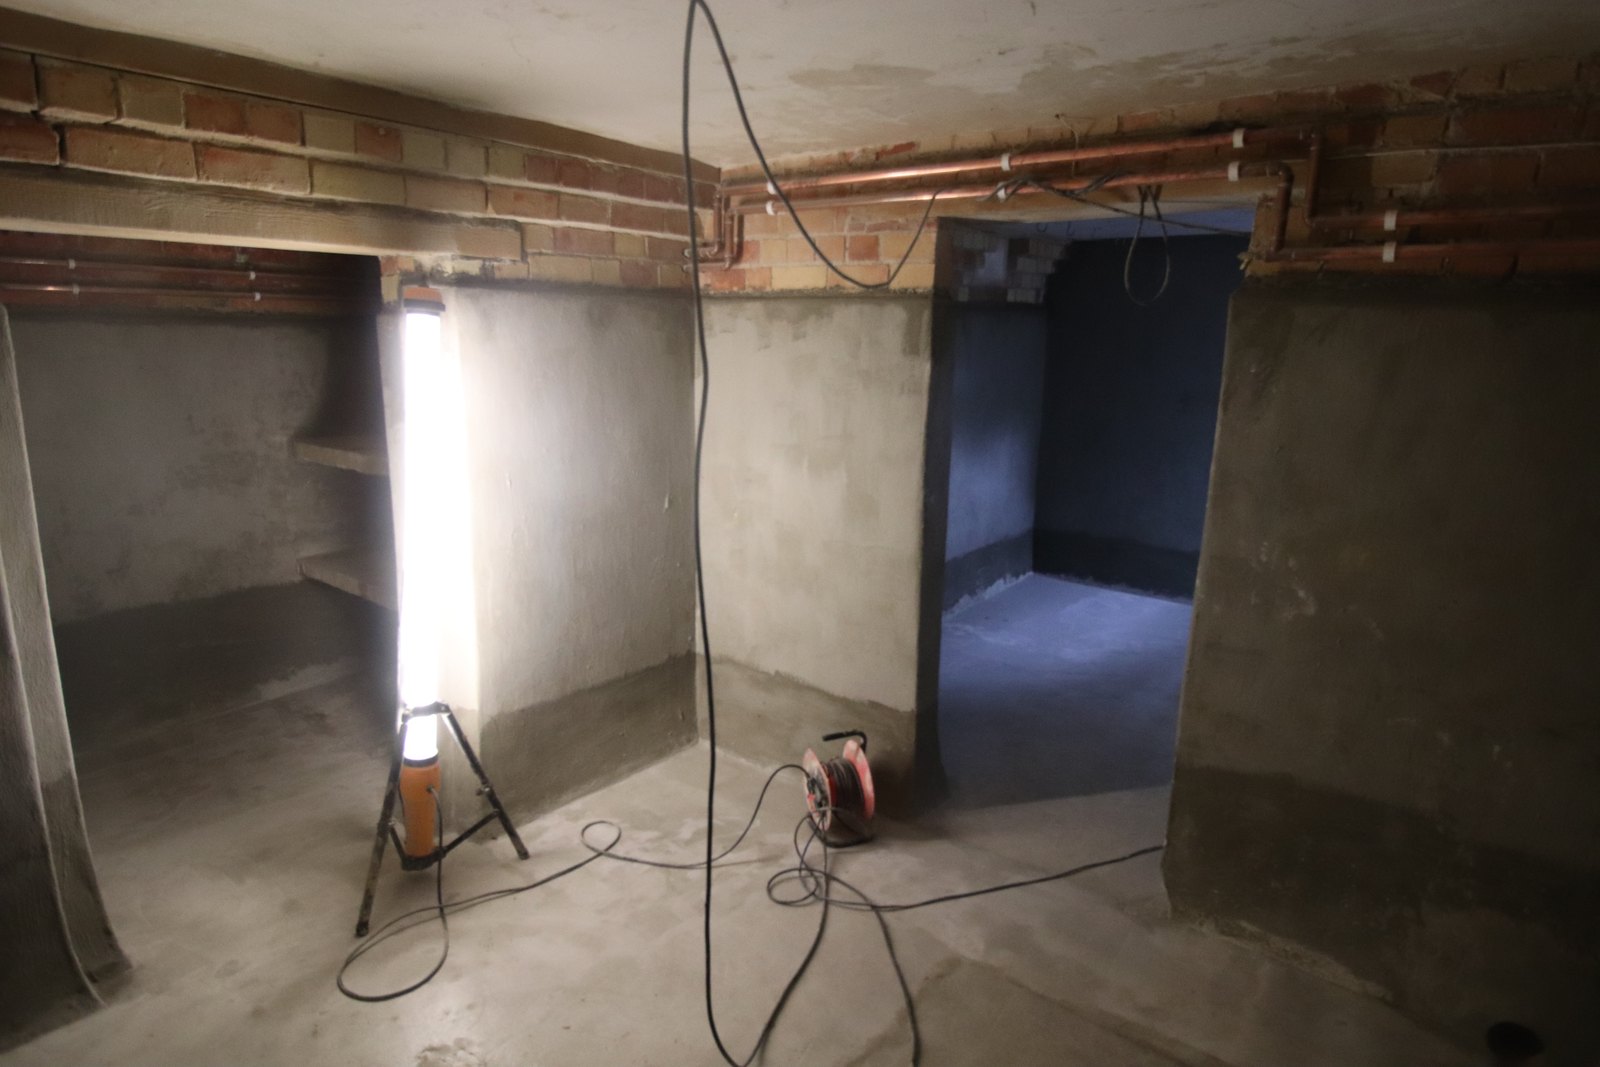
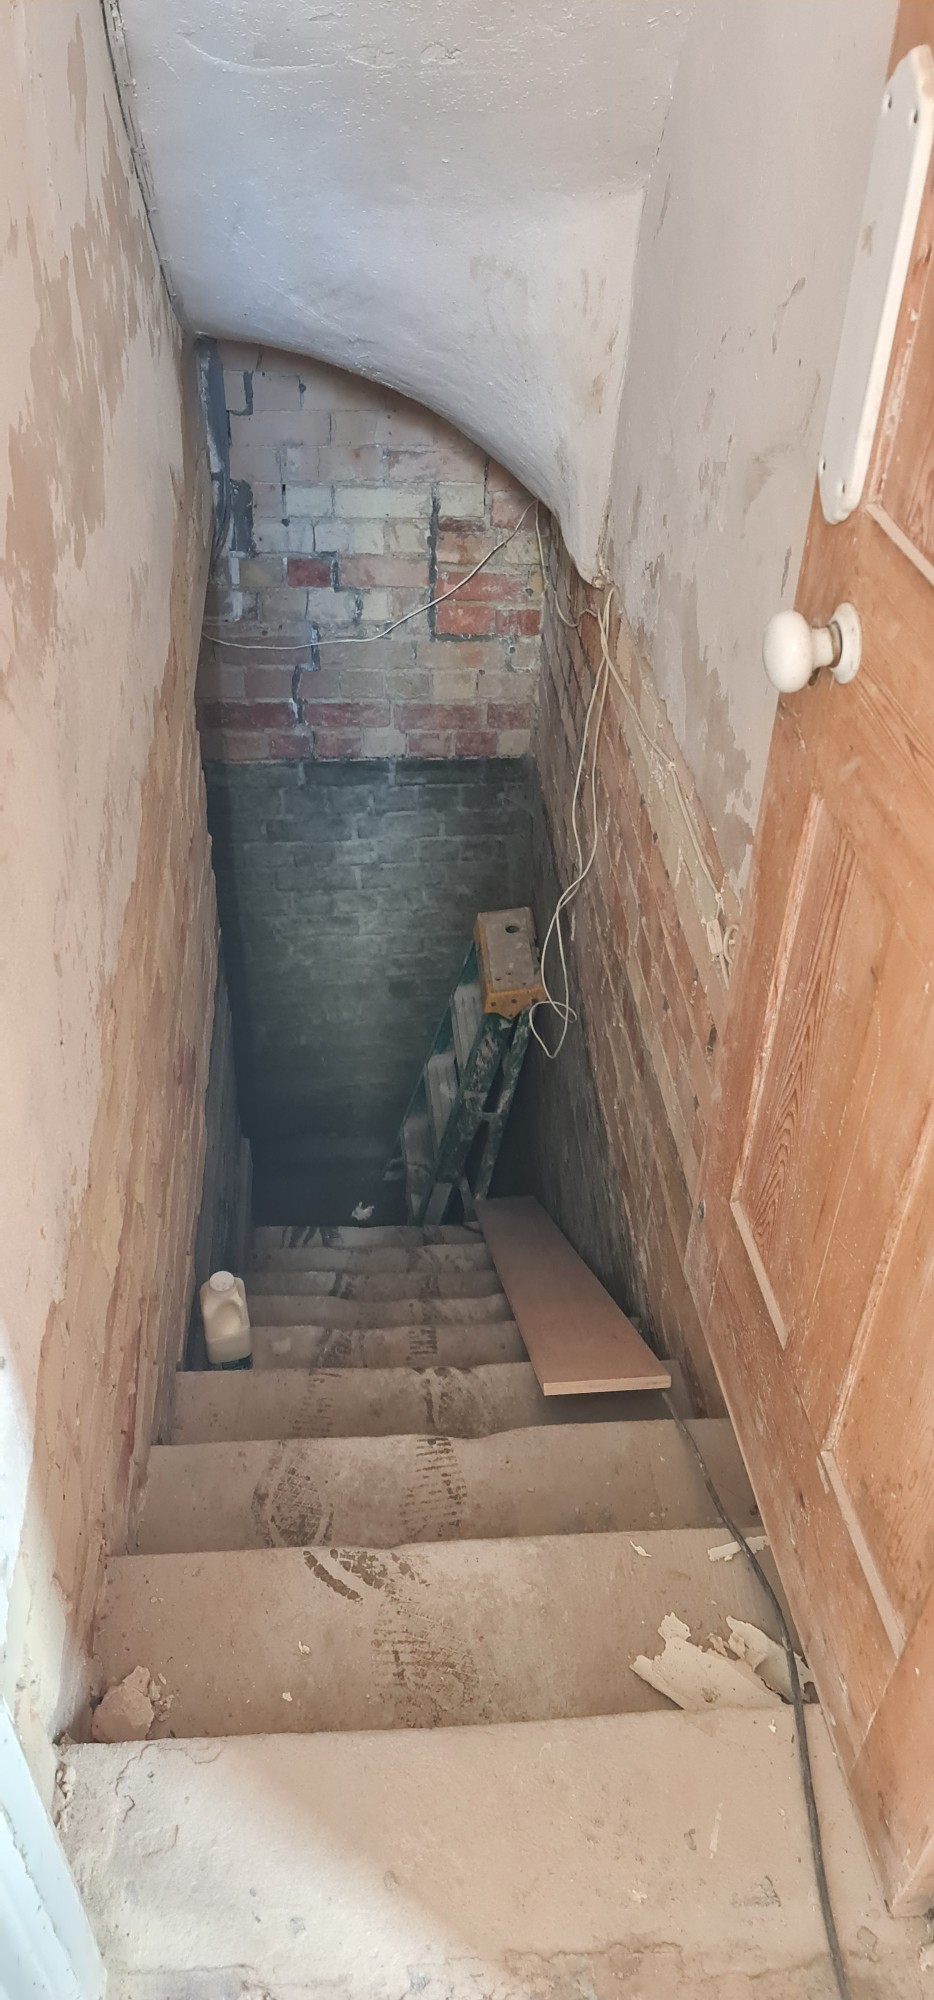
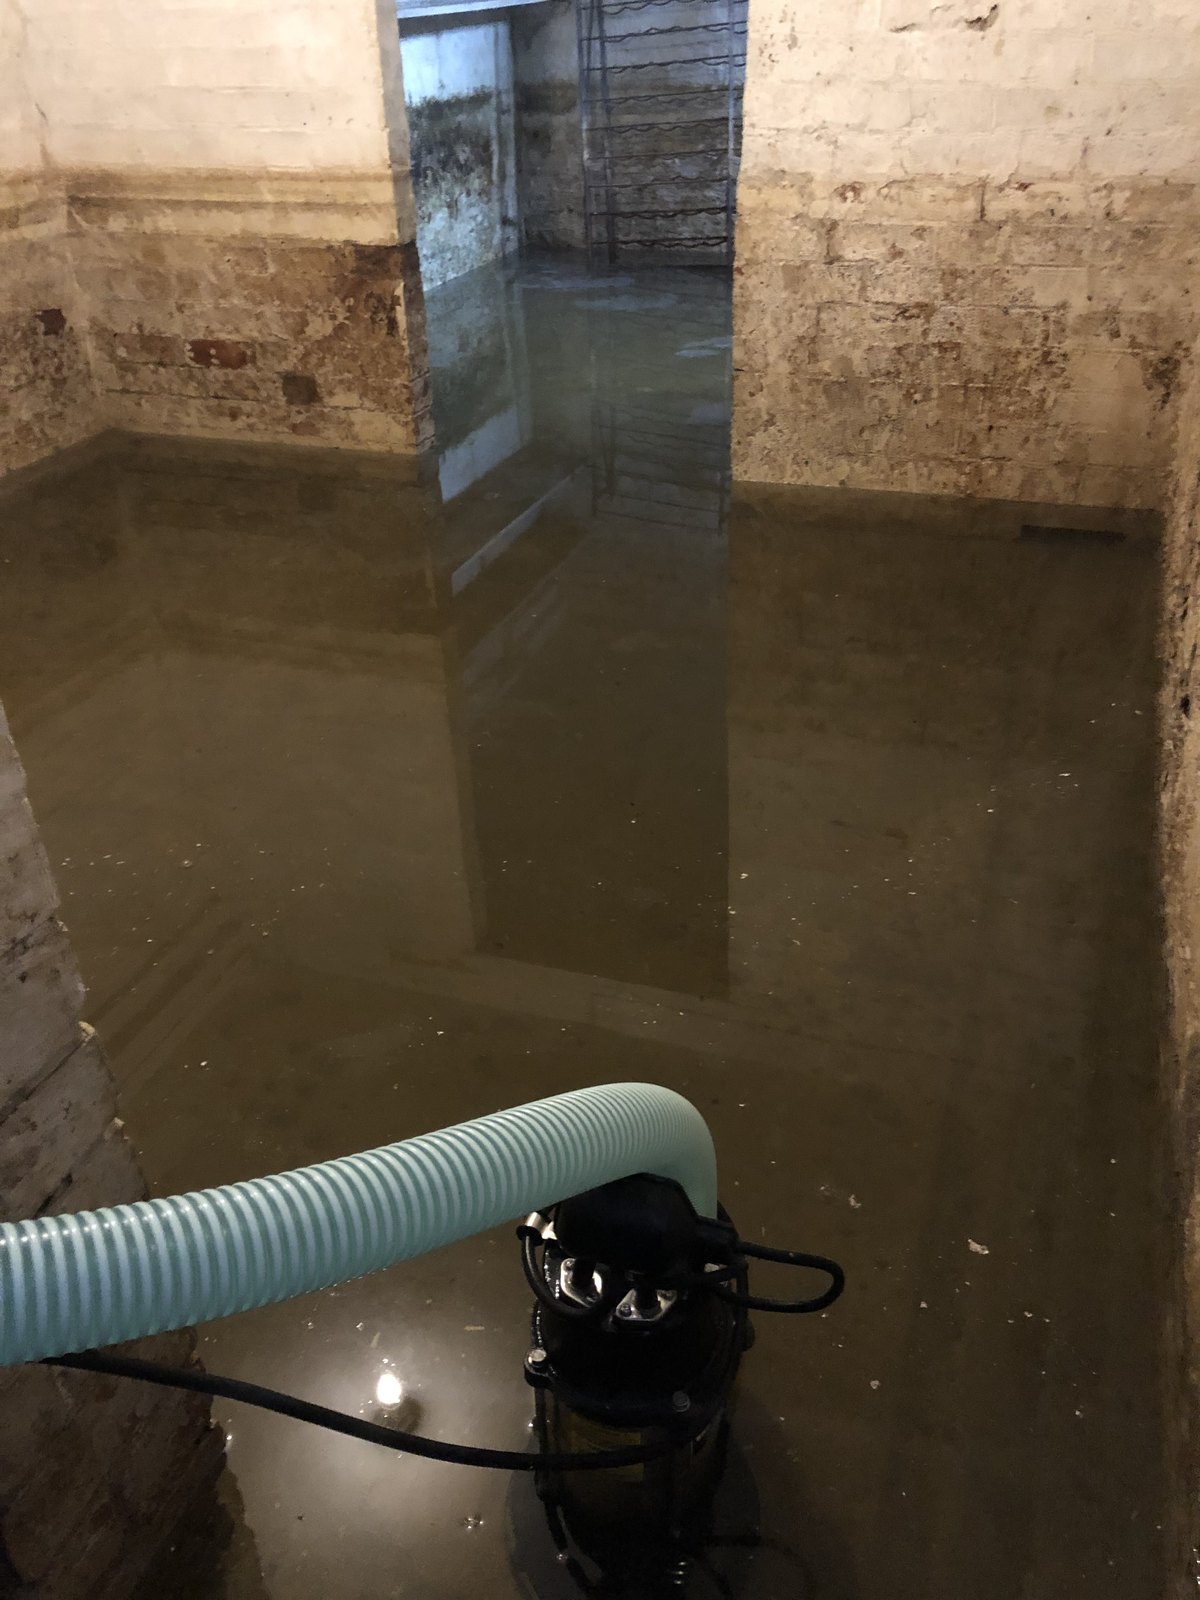
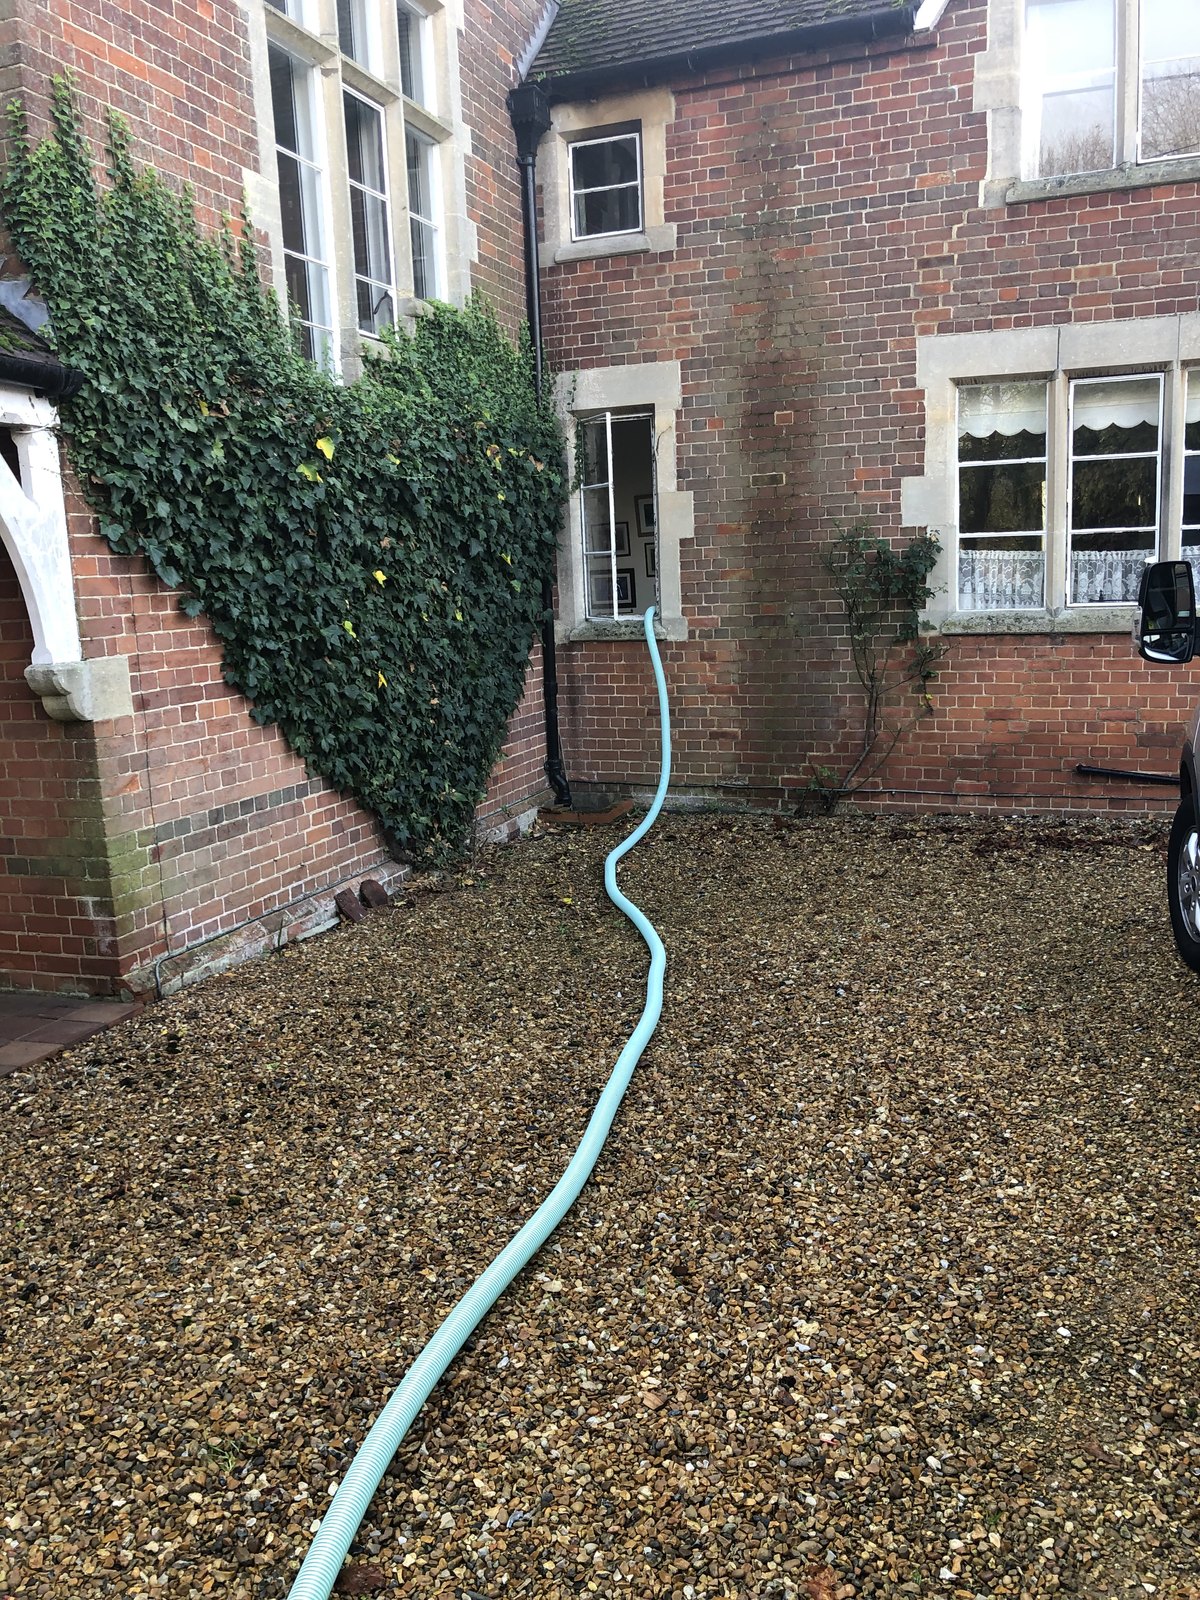
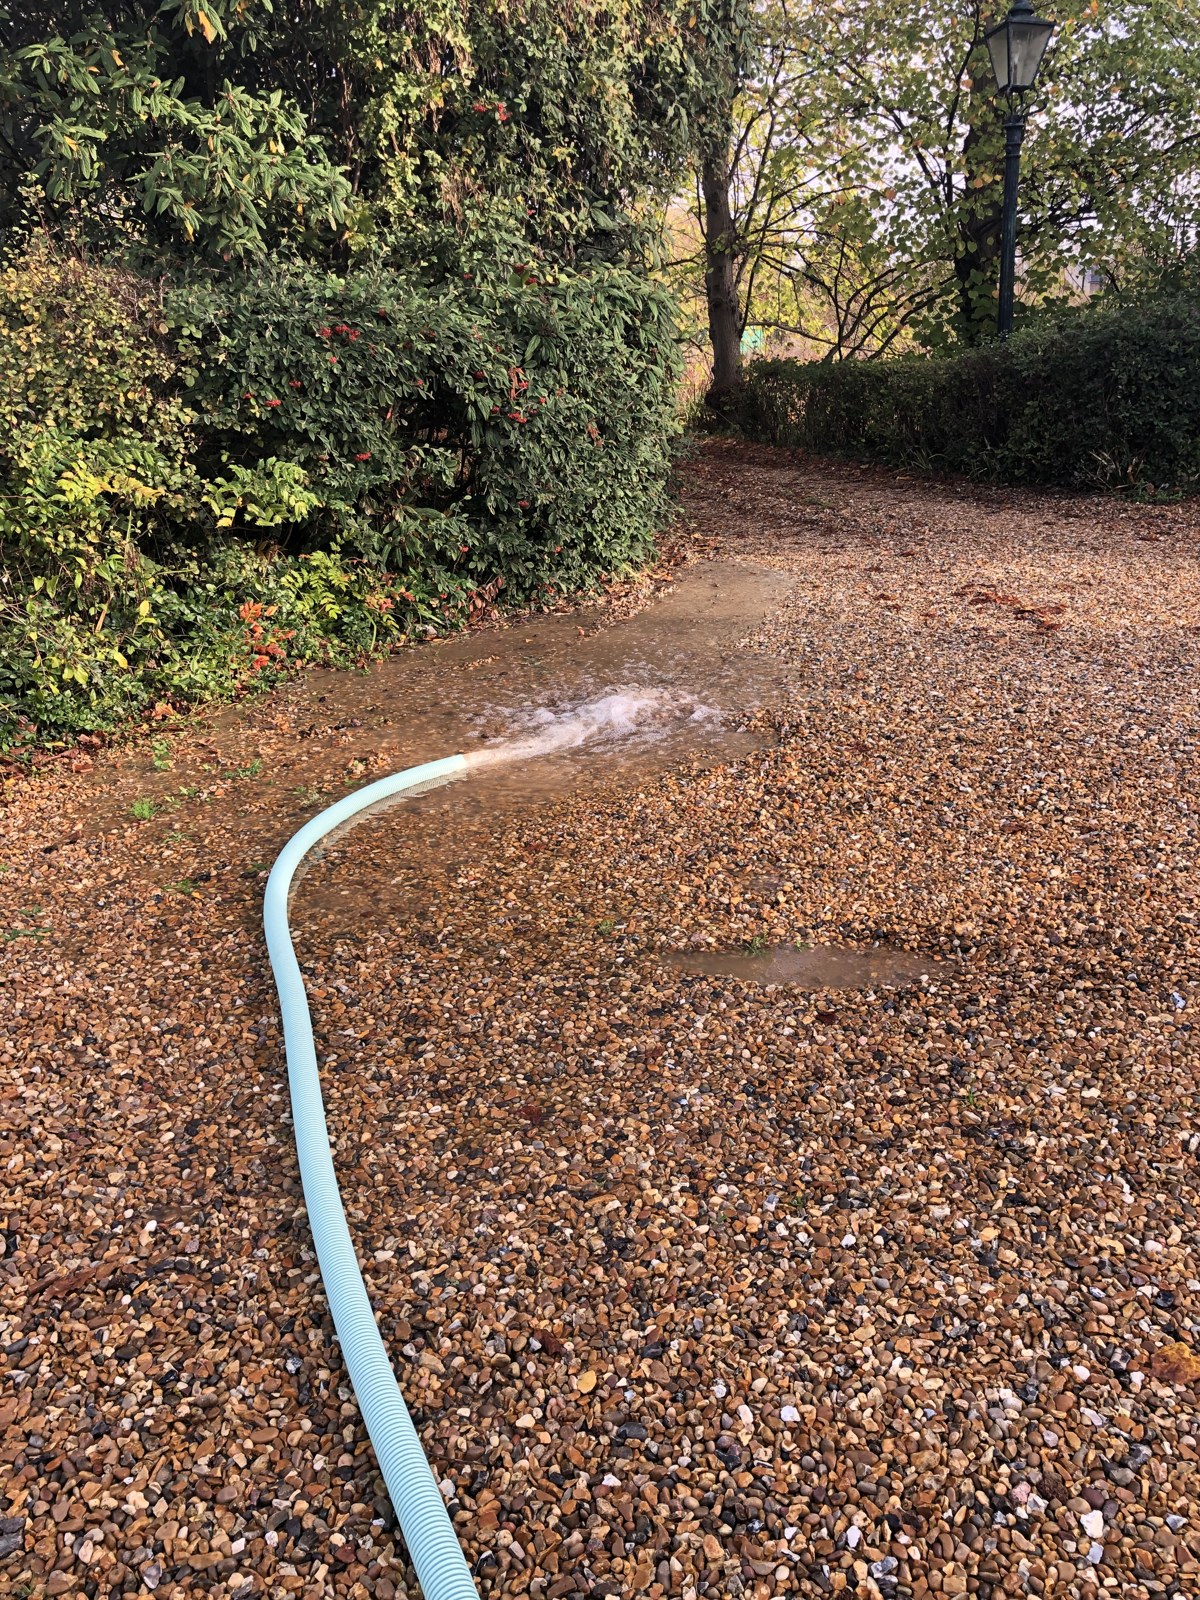
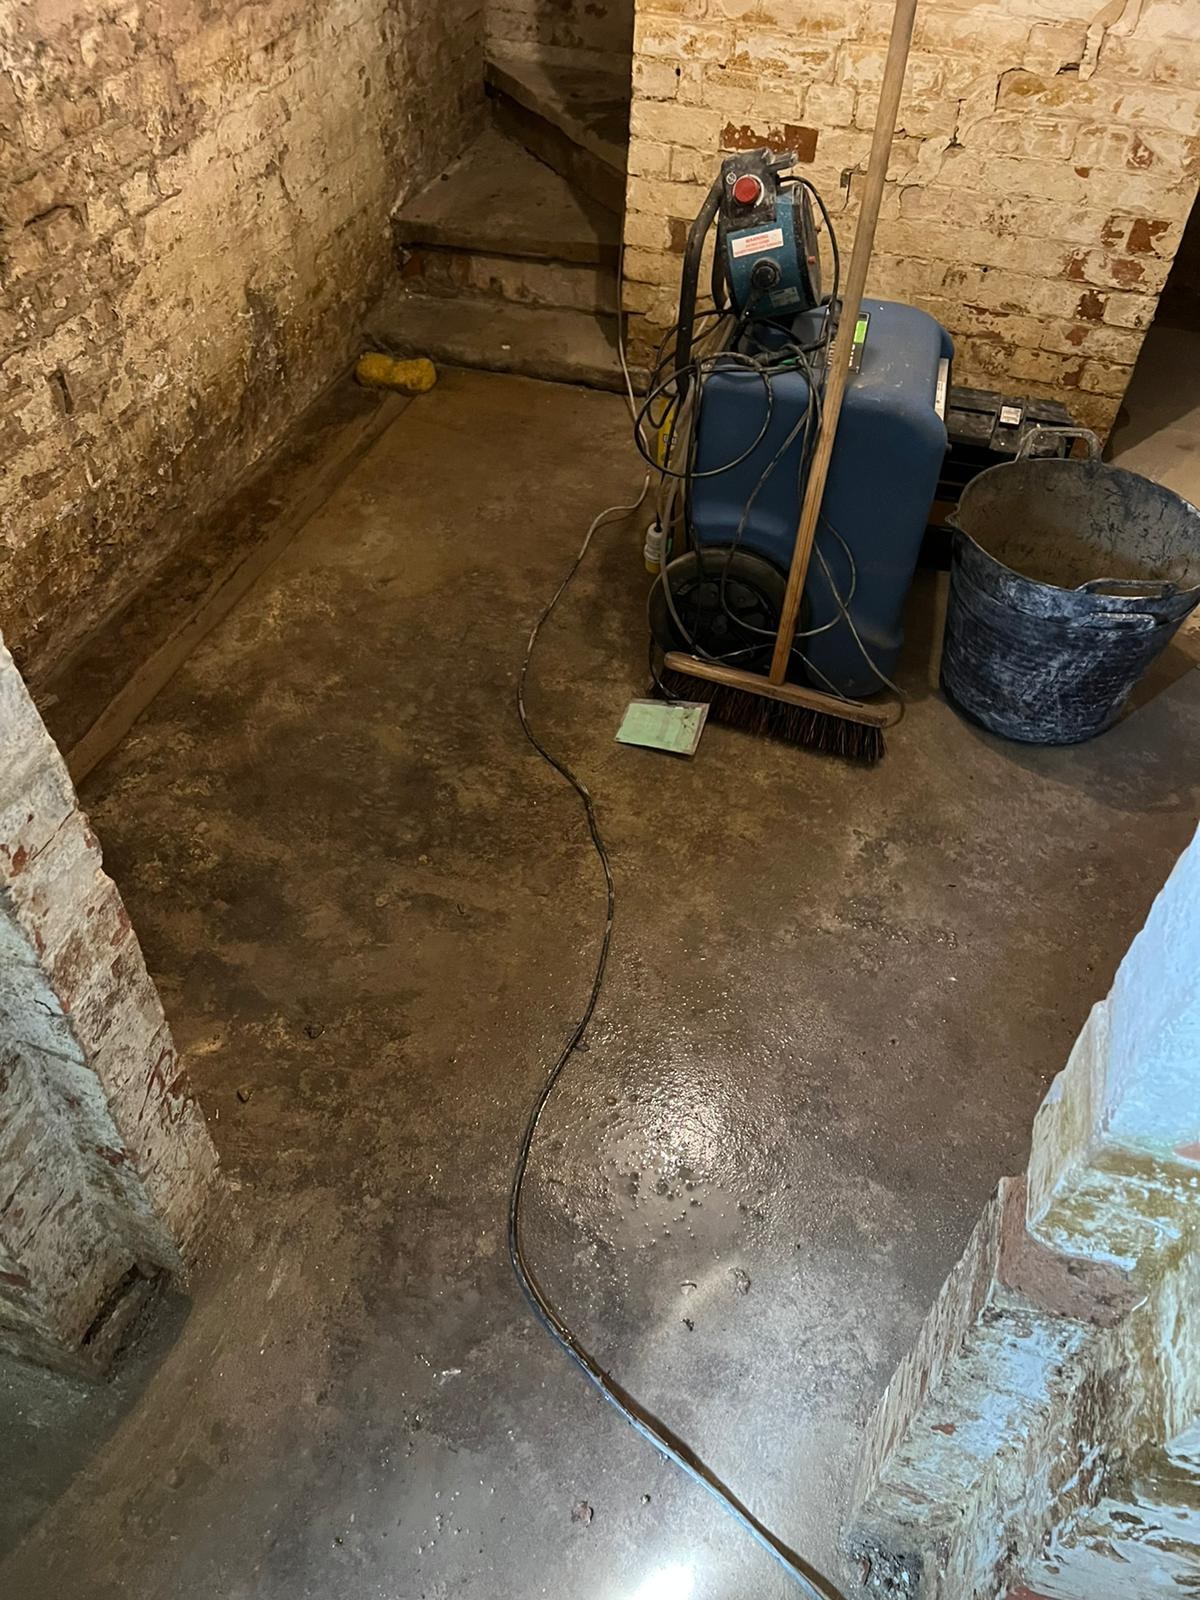
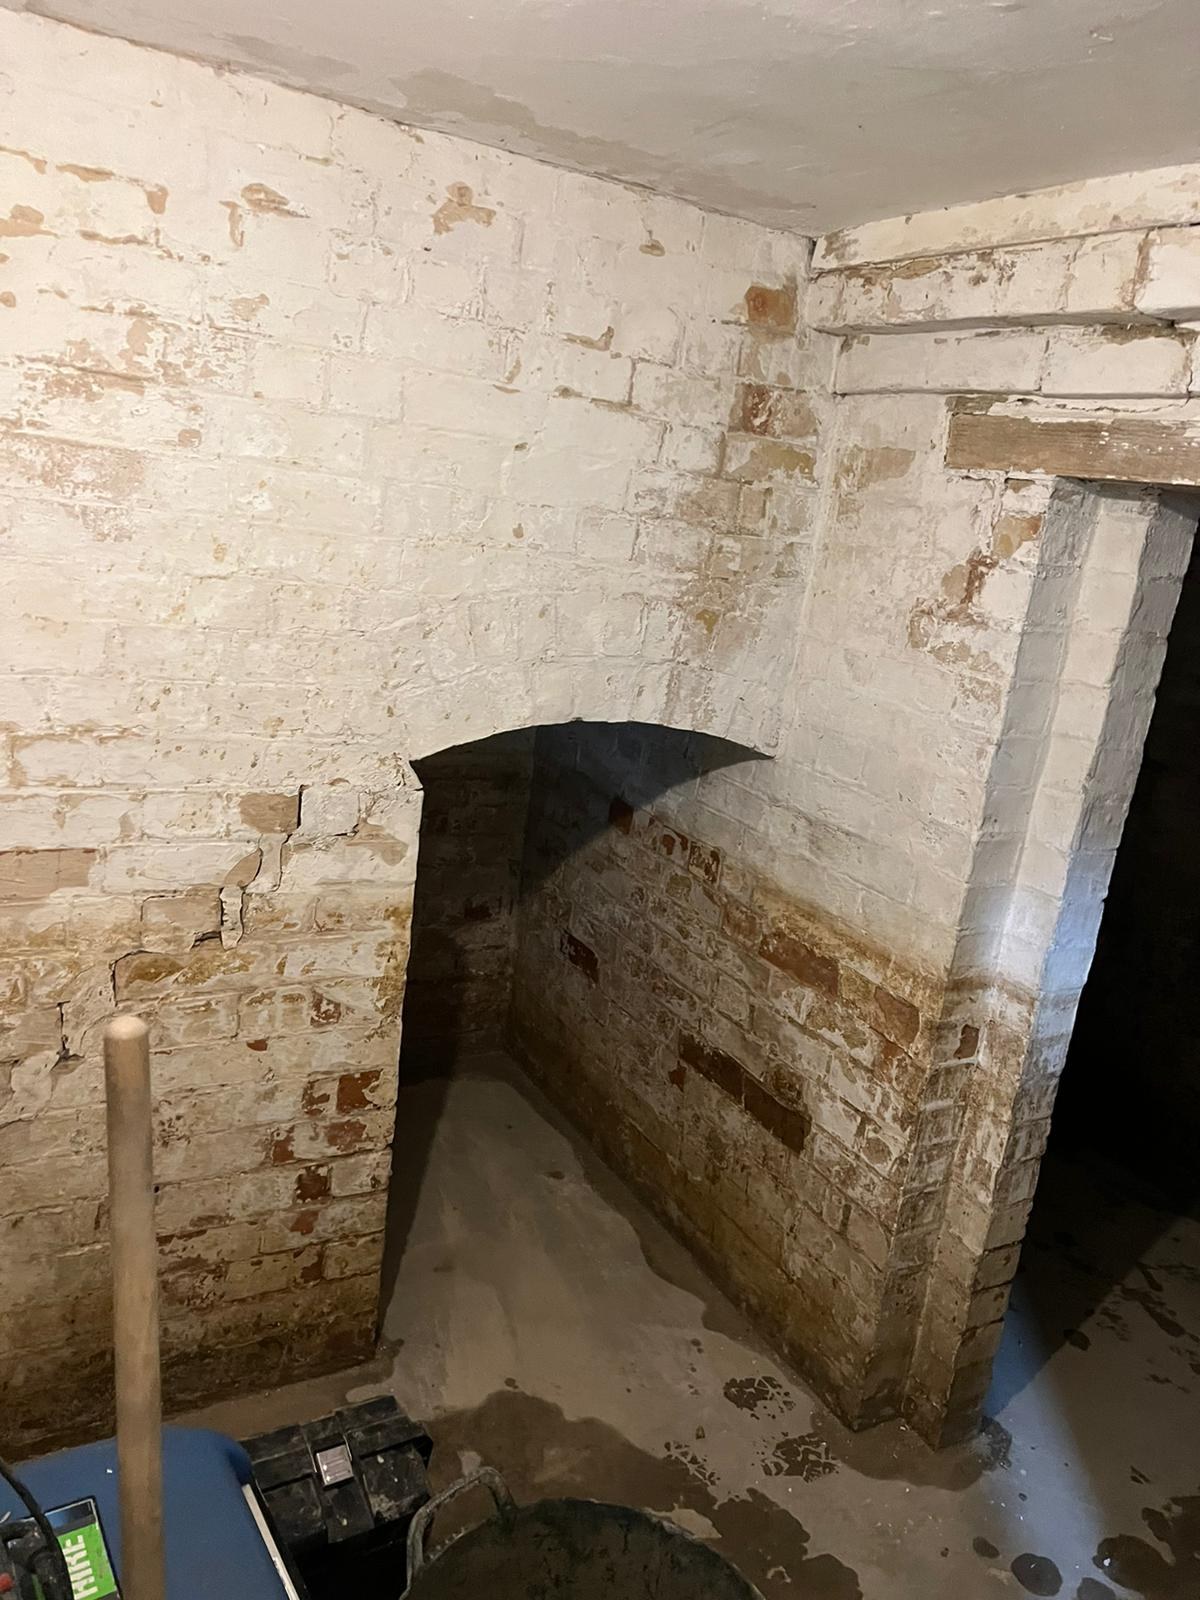
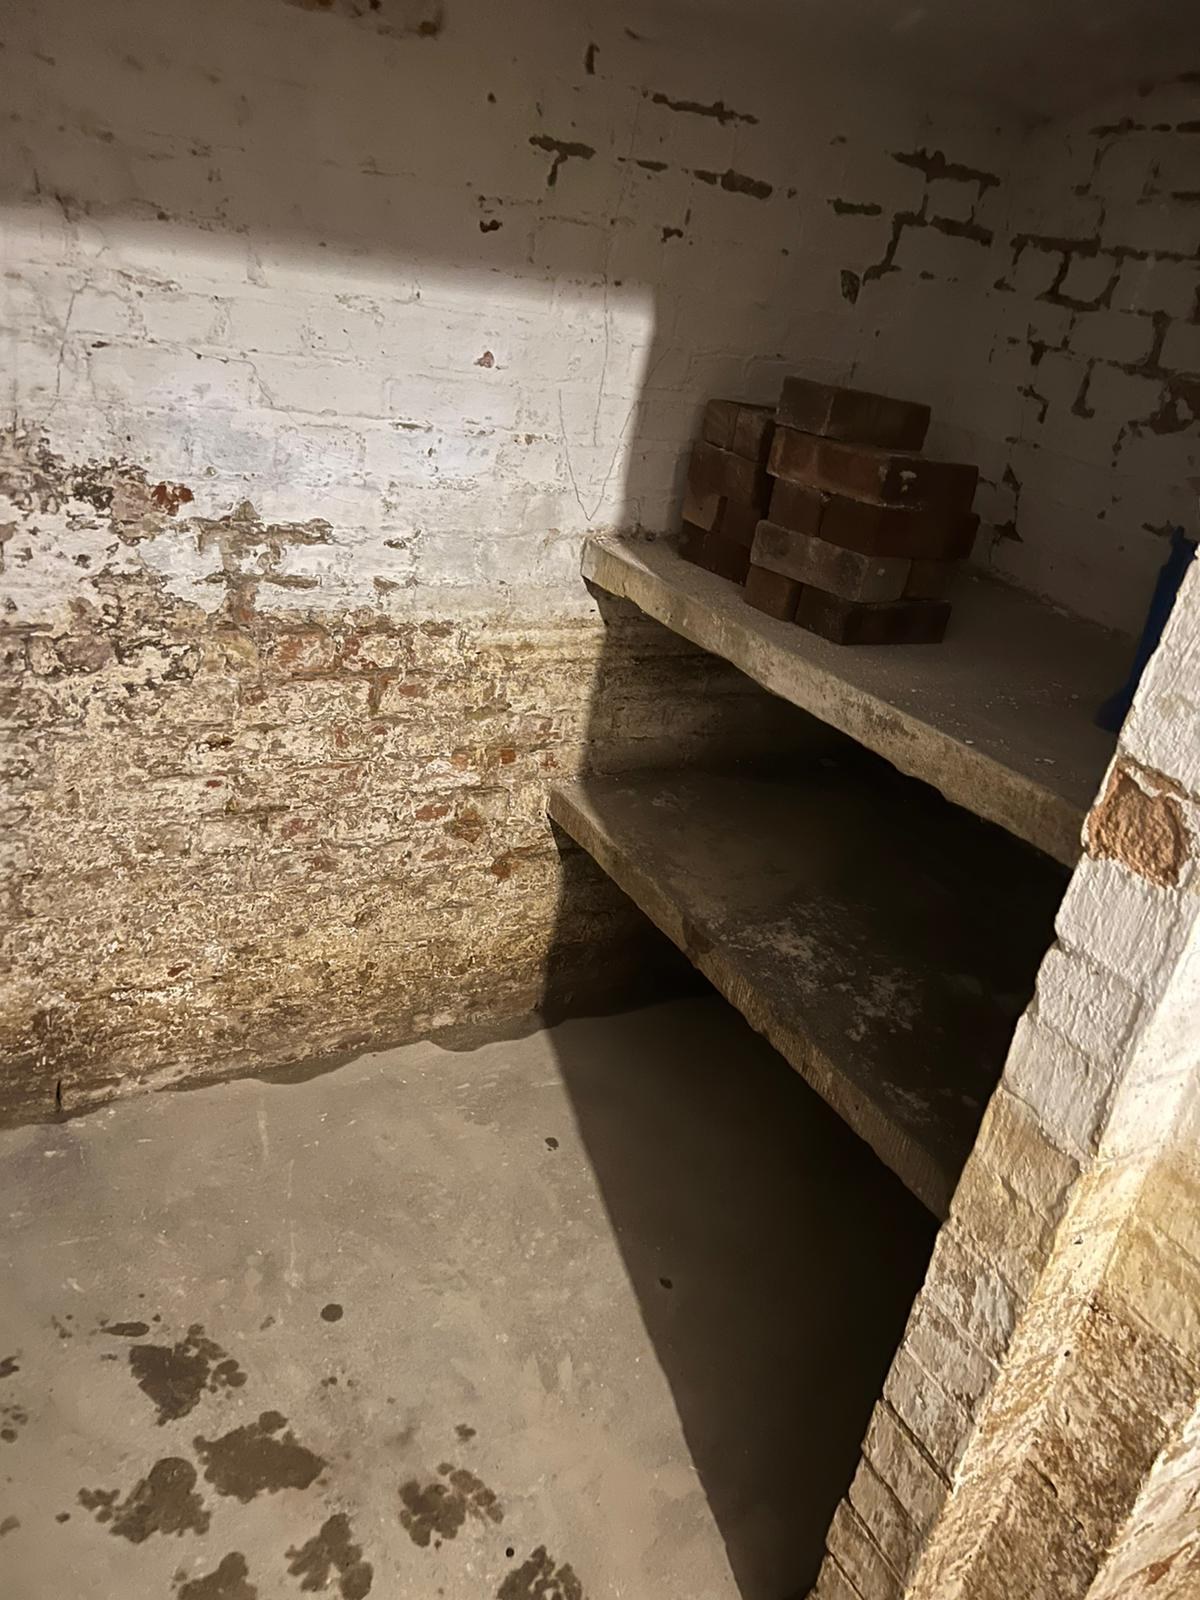
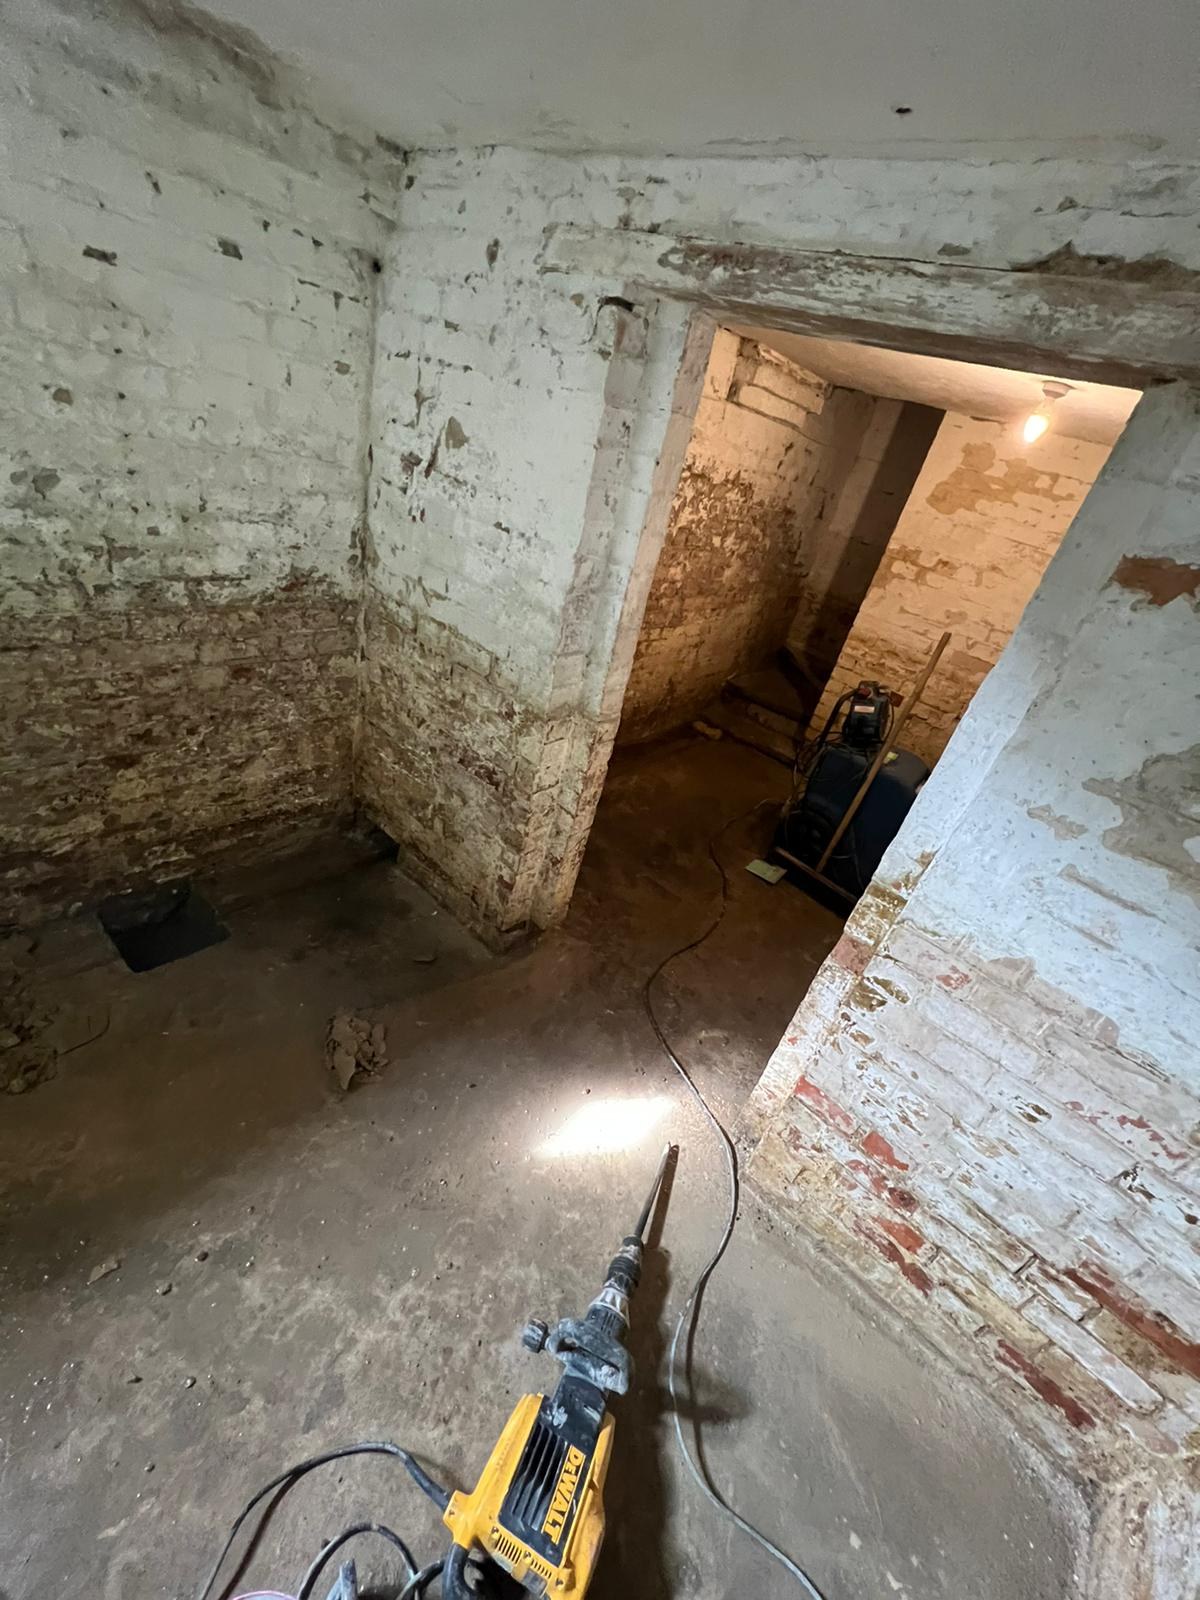
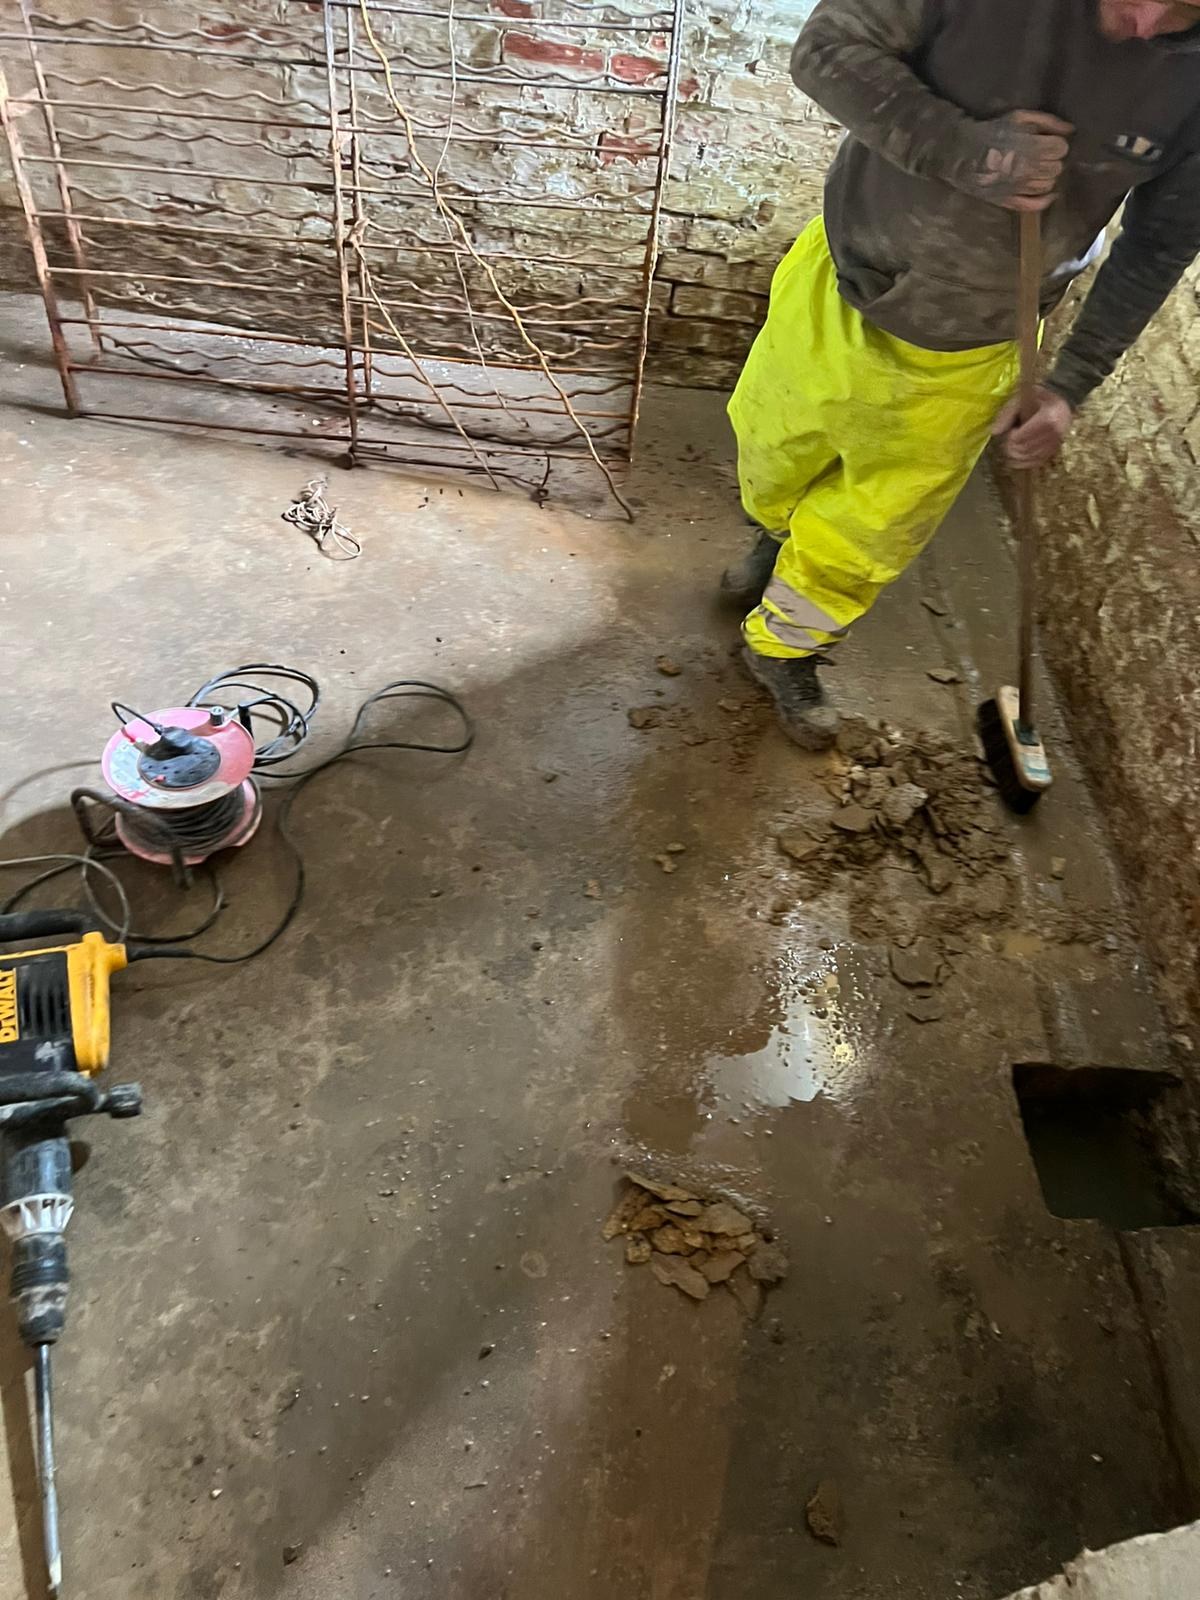
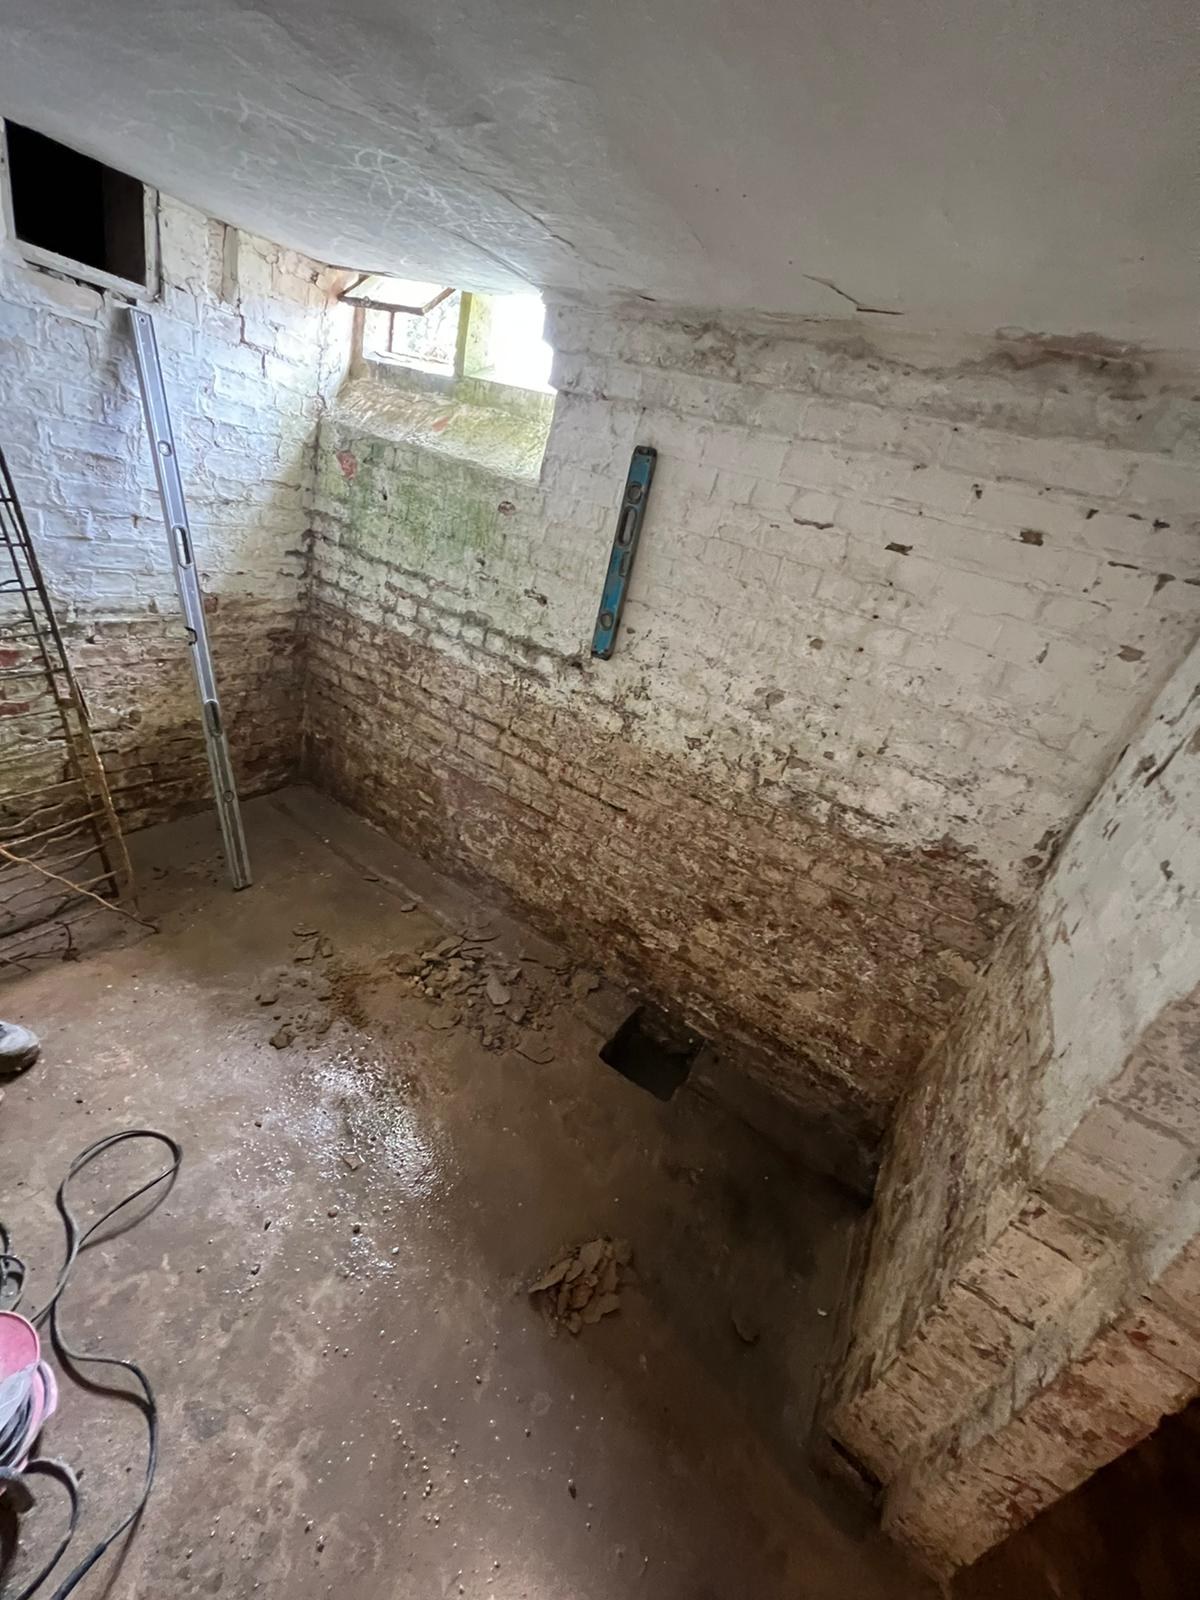
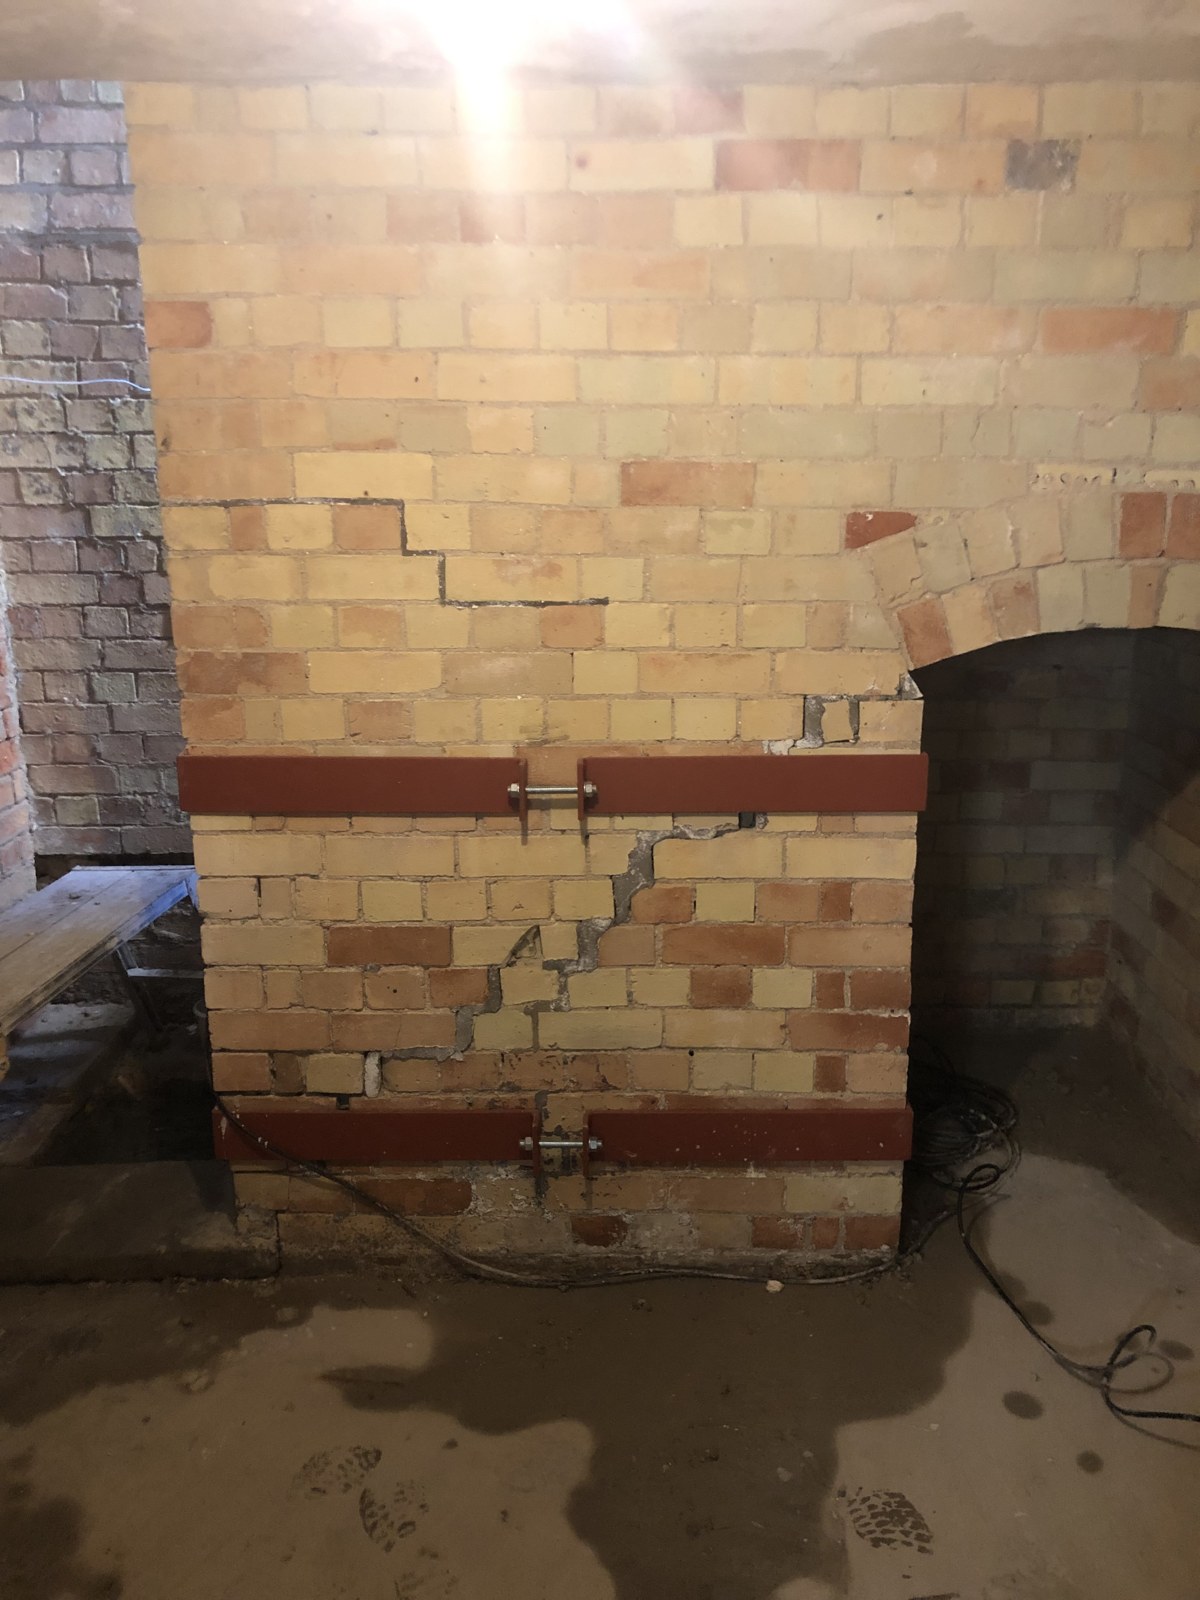
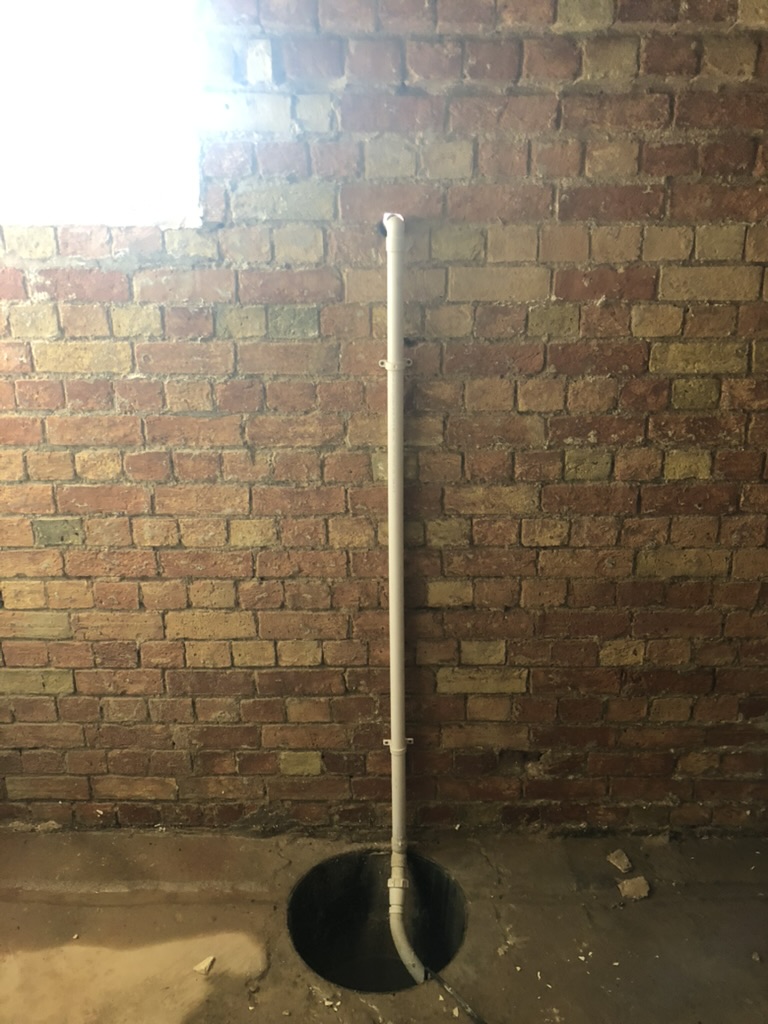
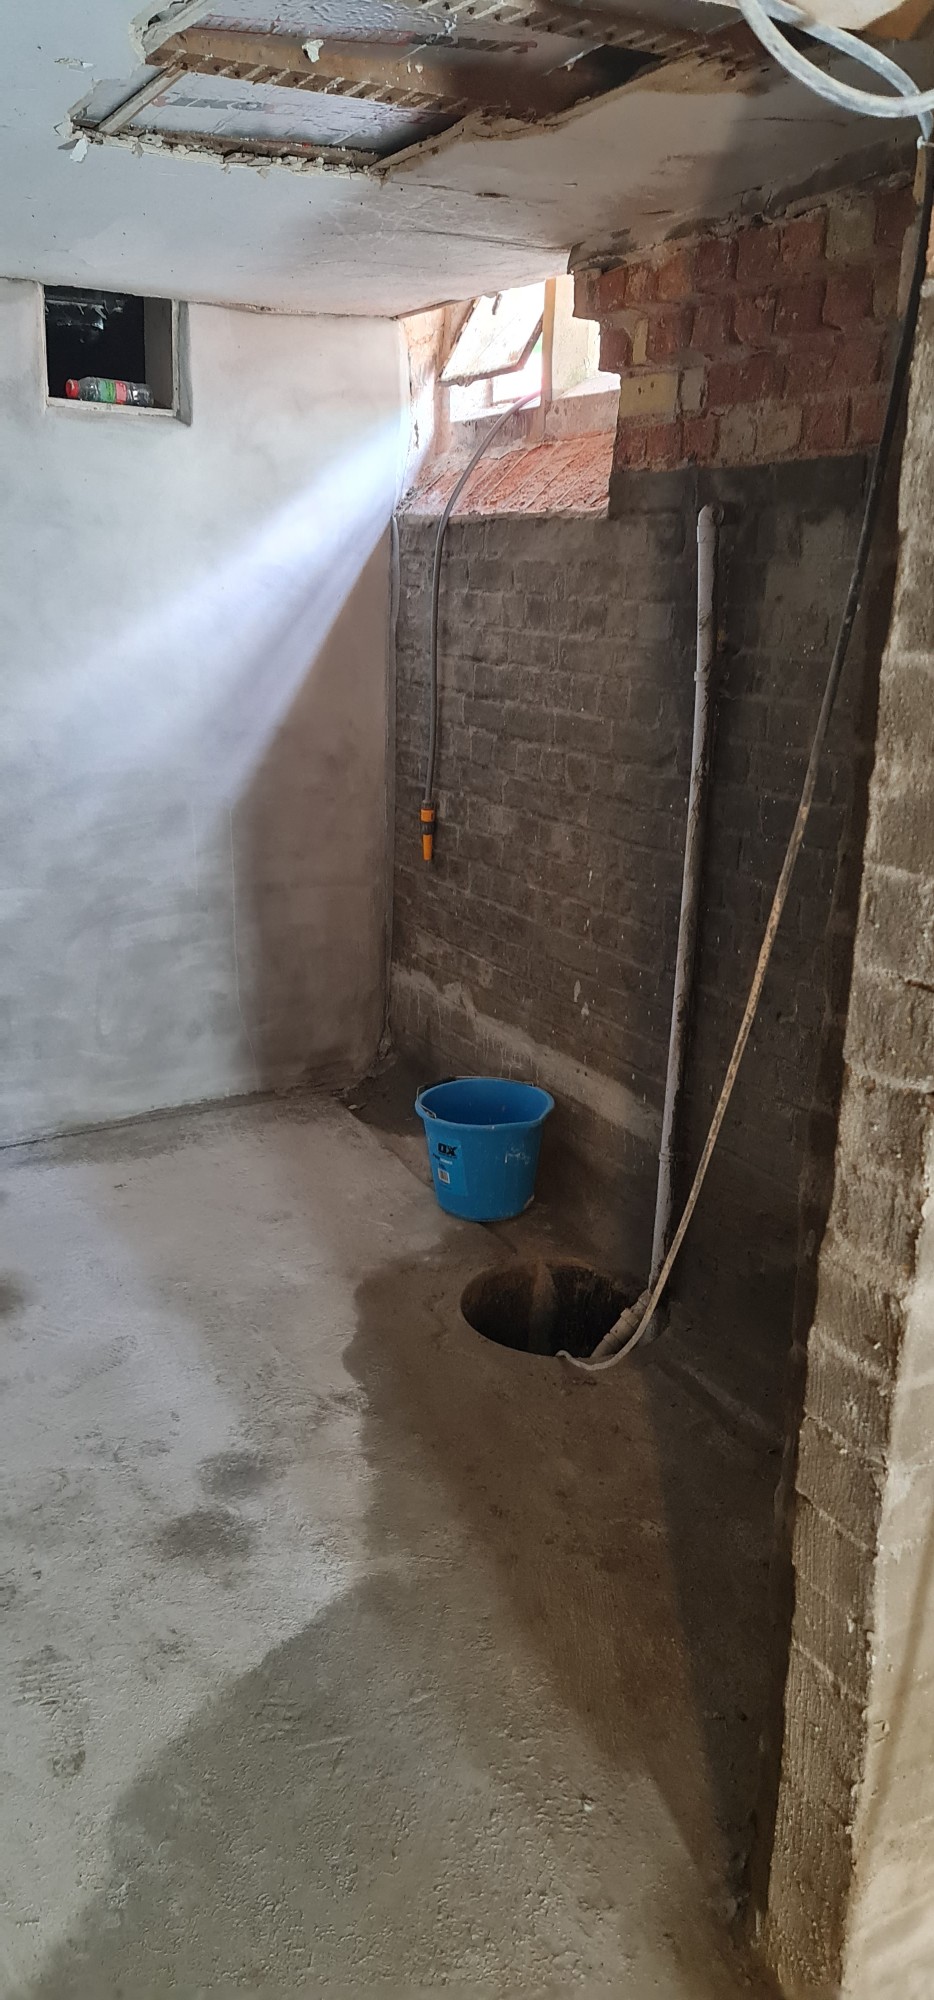
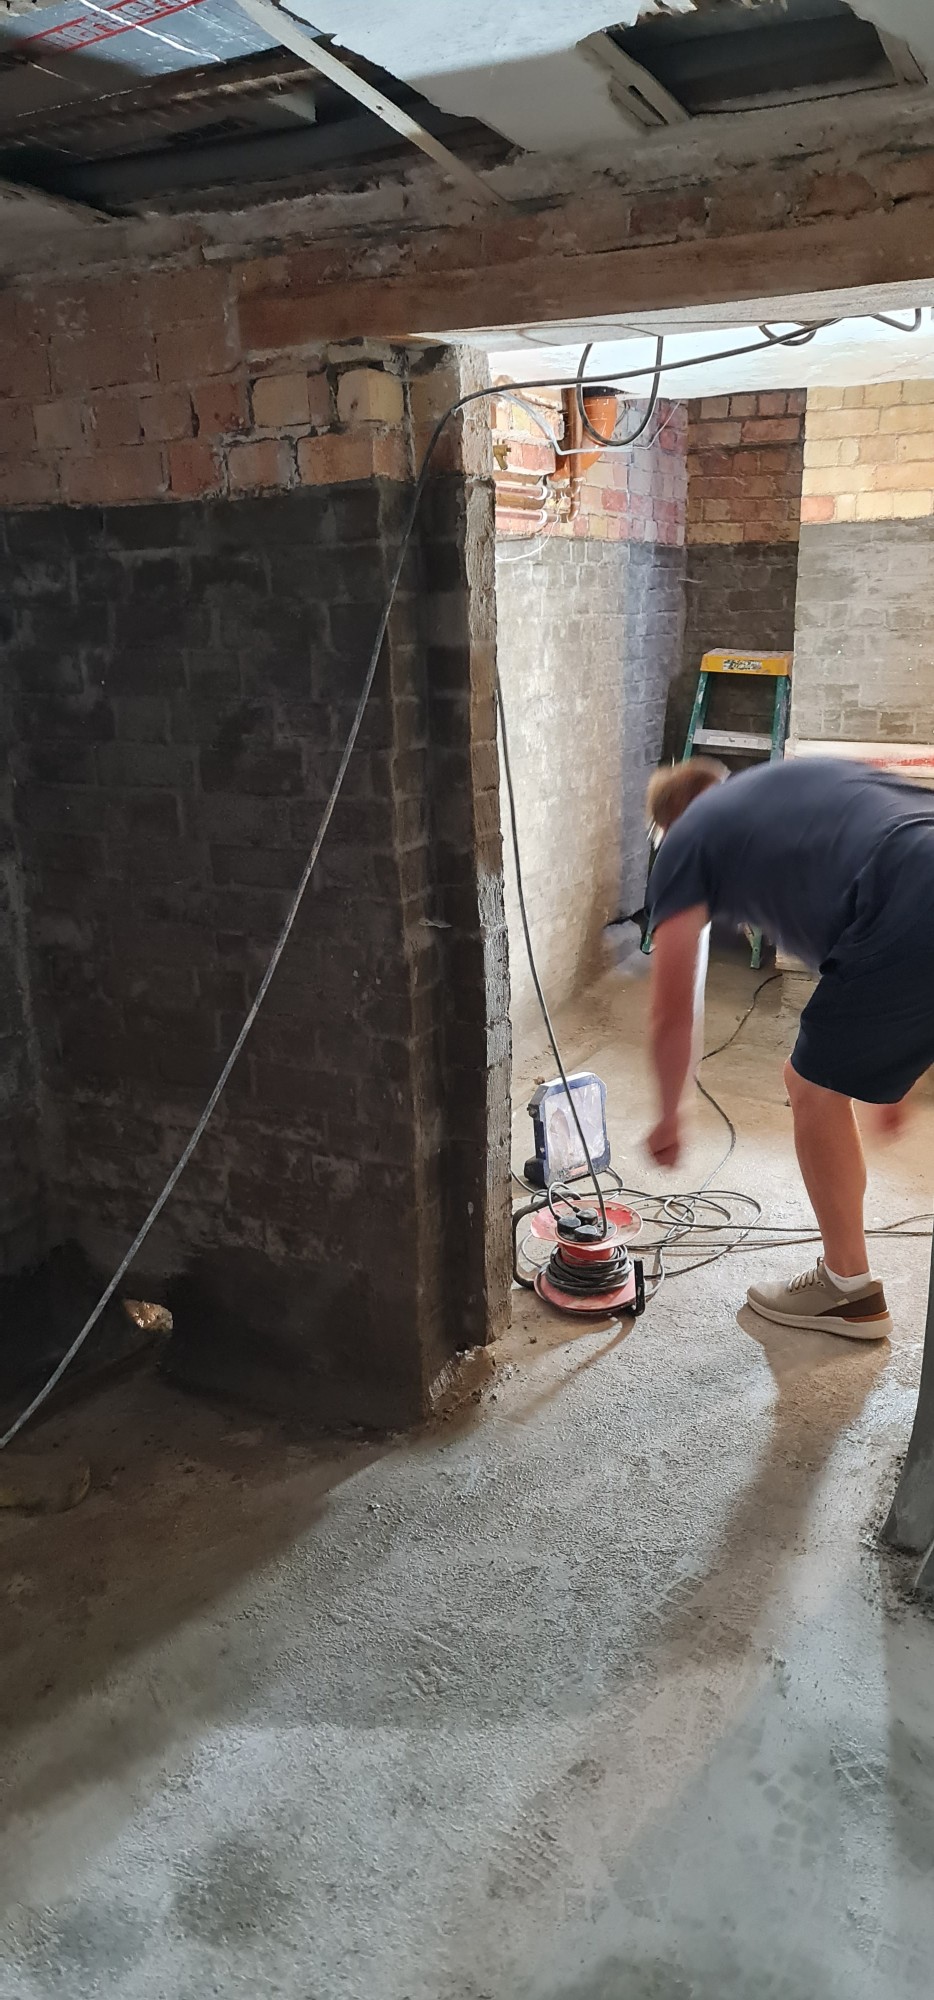
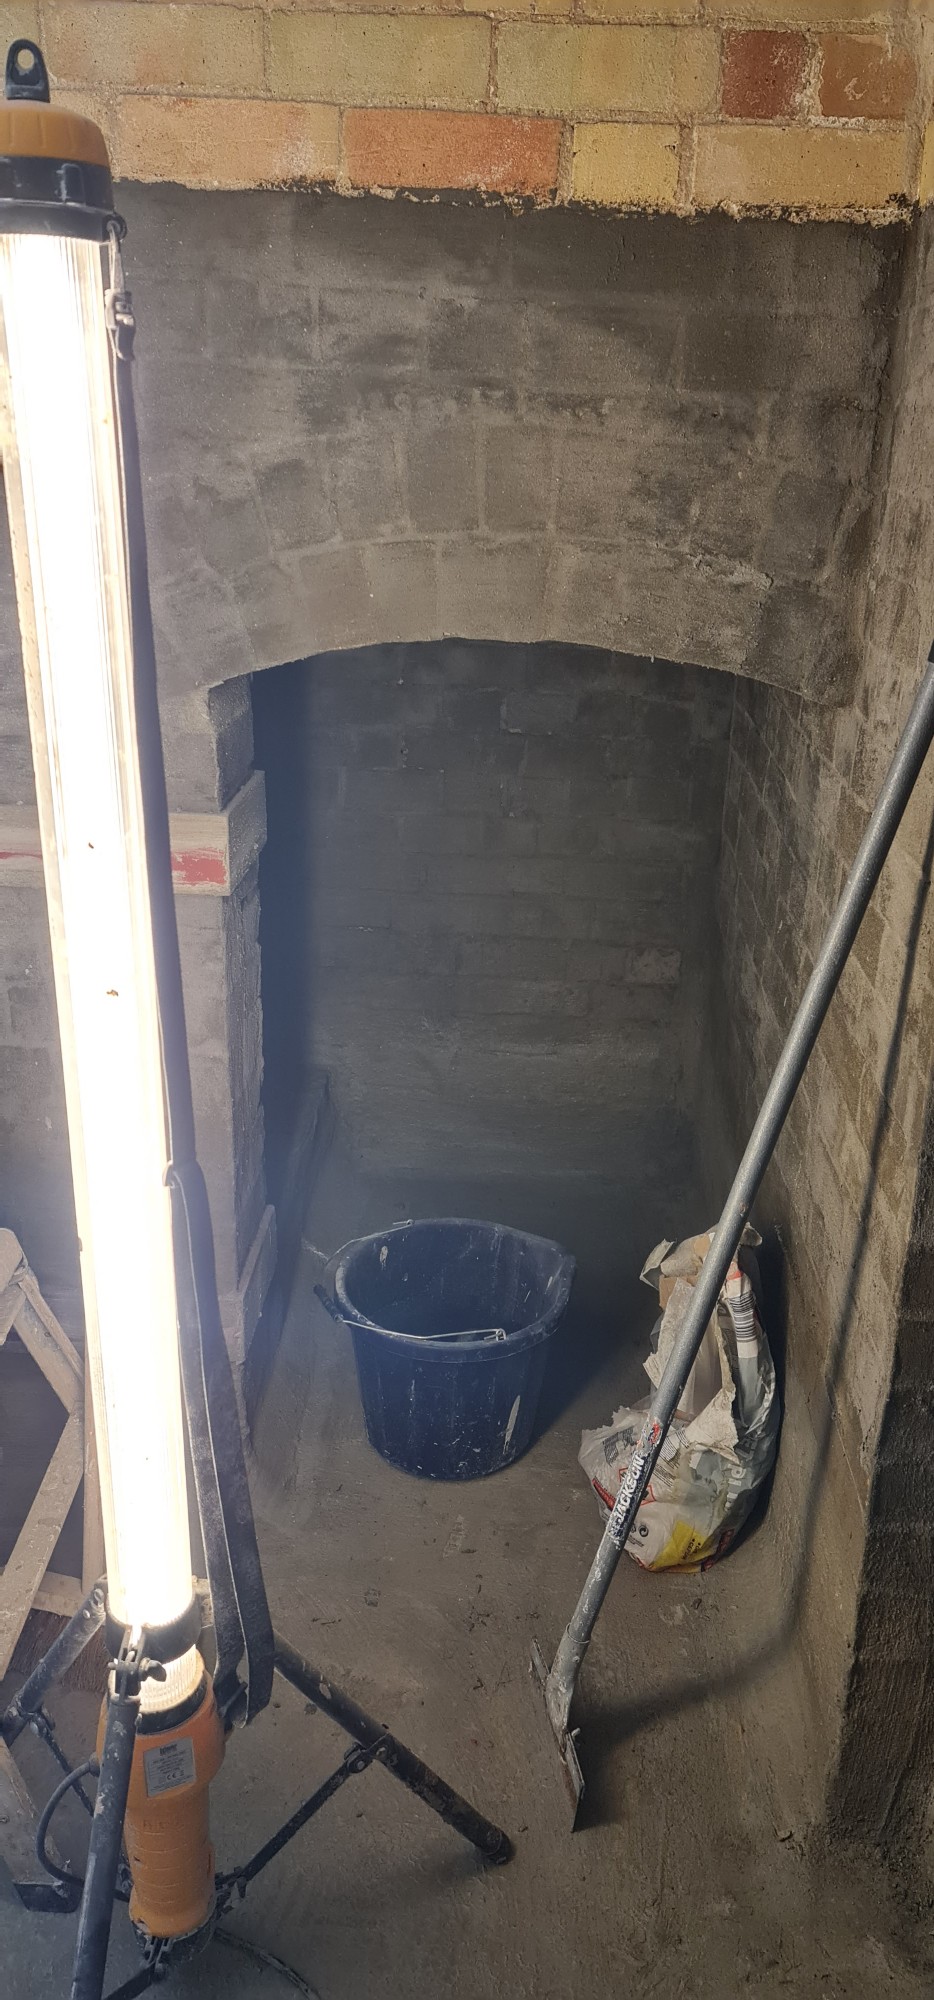
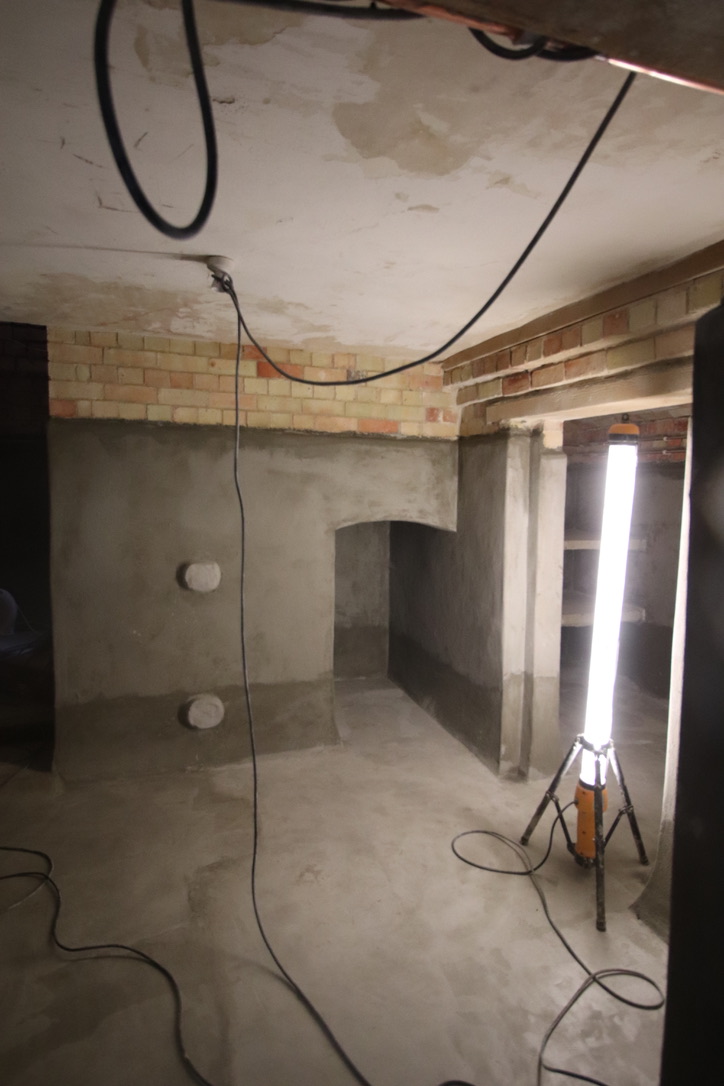
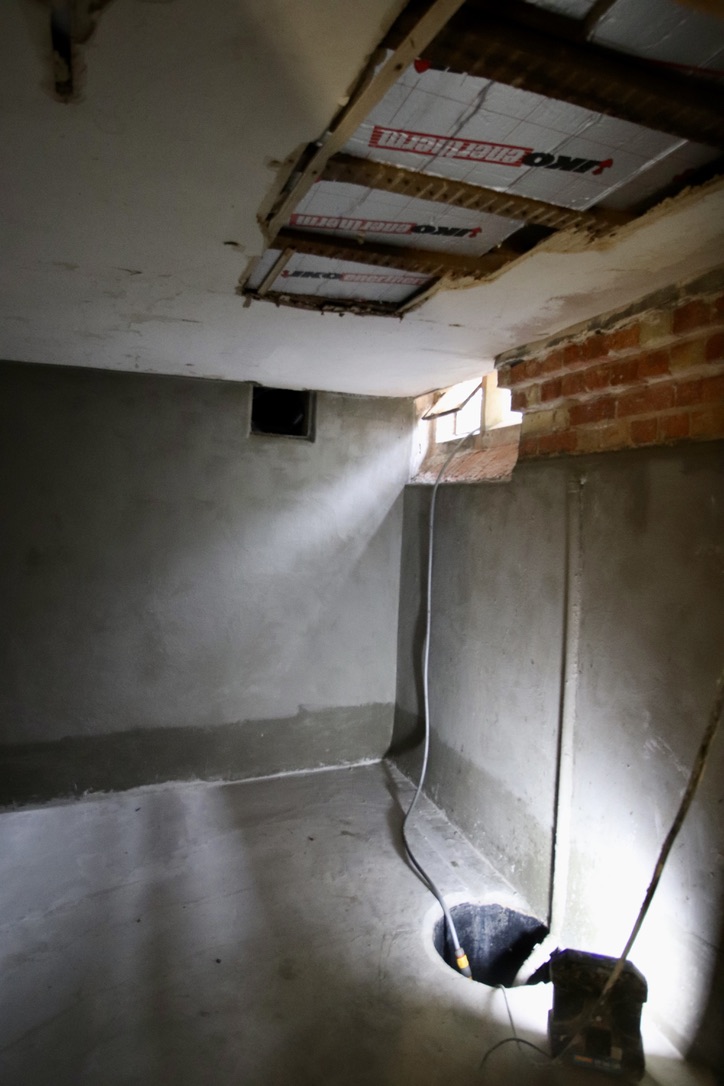
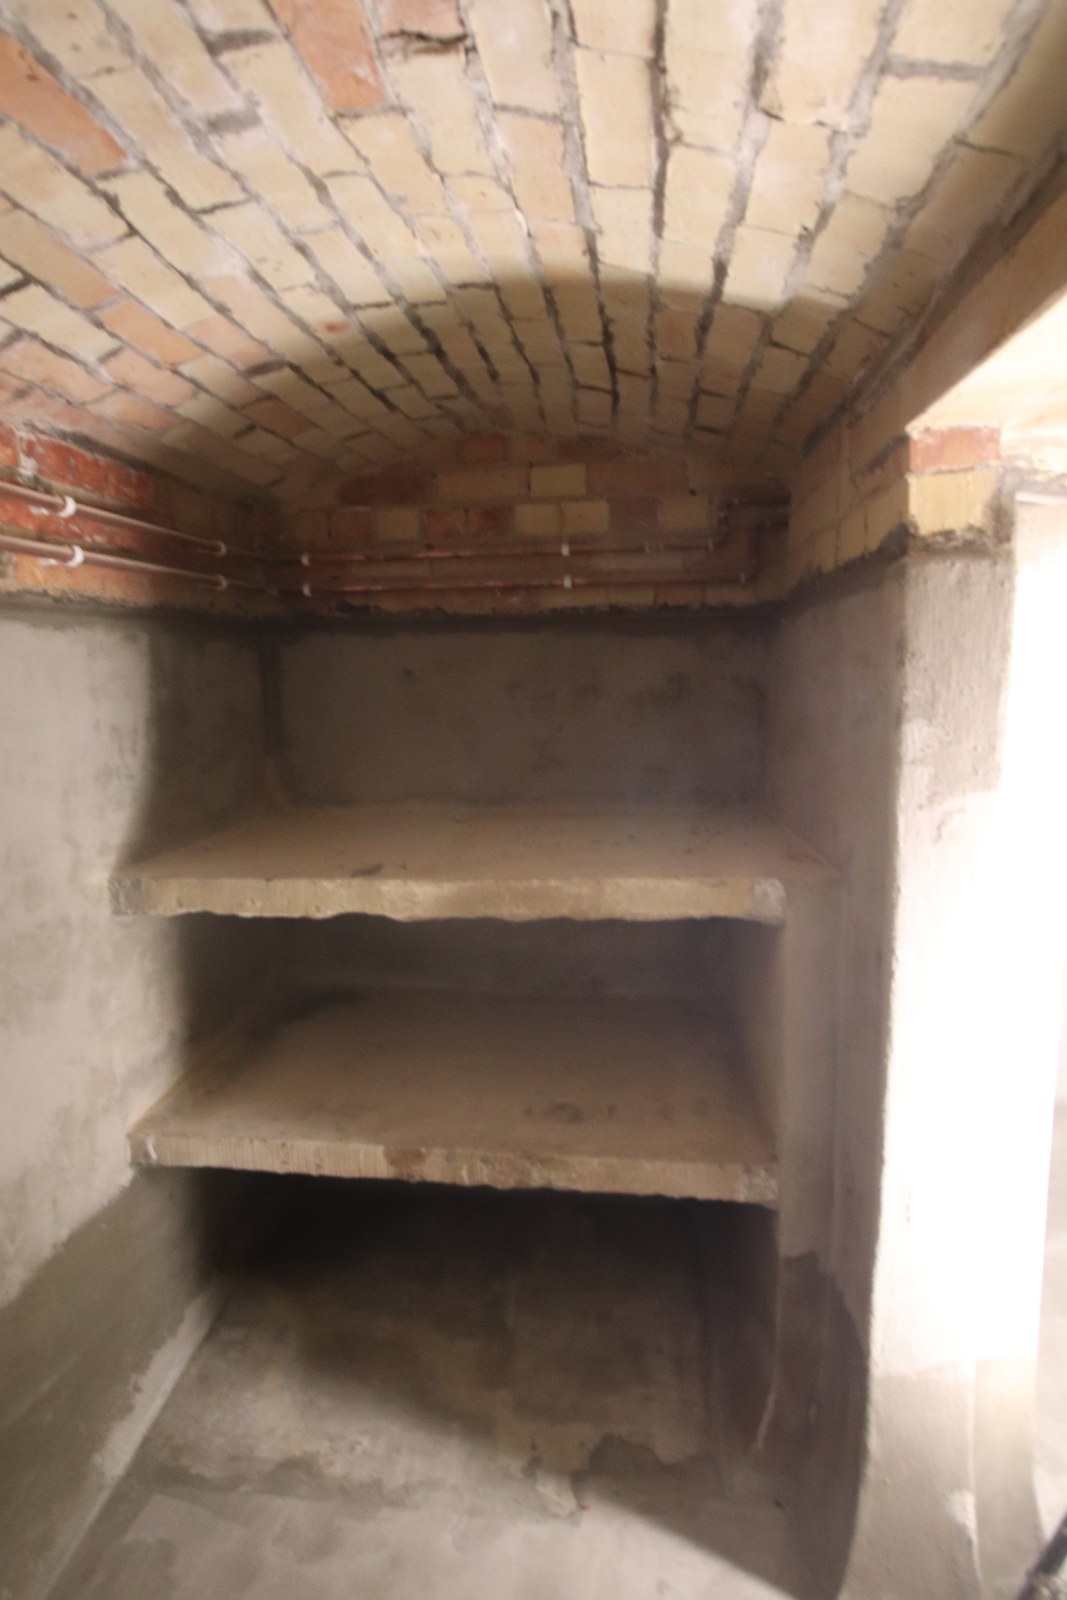
The cellar had previously held around four feet of water. We pumped it out and ran a dehumidifier to help the walls dry. One section of wall was badly cracked, so we fitted a structural brace to secure it. Before the tanking went on, all the brickwork was sandblasted and cleaned by a specialist to give a sound surface. We then tanked the cellar and installed a sump pump to keep it dry, making it a usable space again.
Outside, we repointed the basement windows, added ventilation and replaced damaged bricks, to protect the newly tanked cellar.
Stage 7
Digging a sump
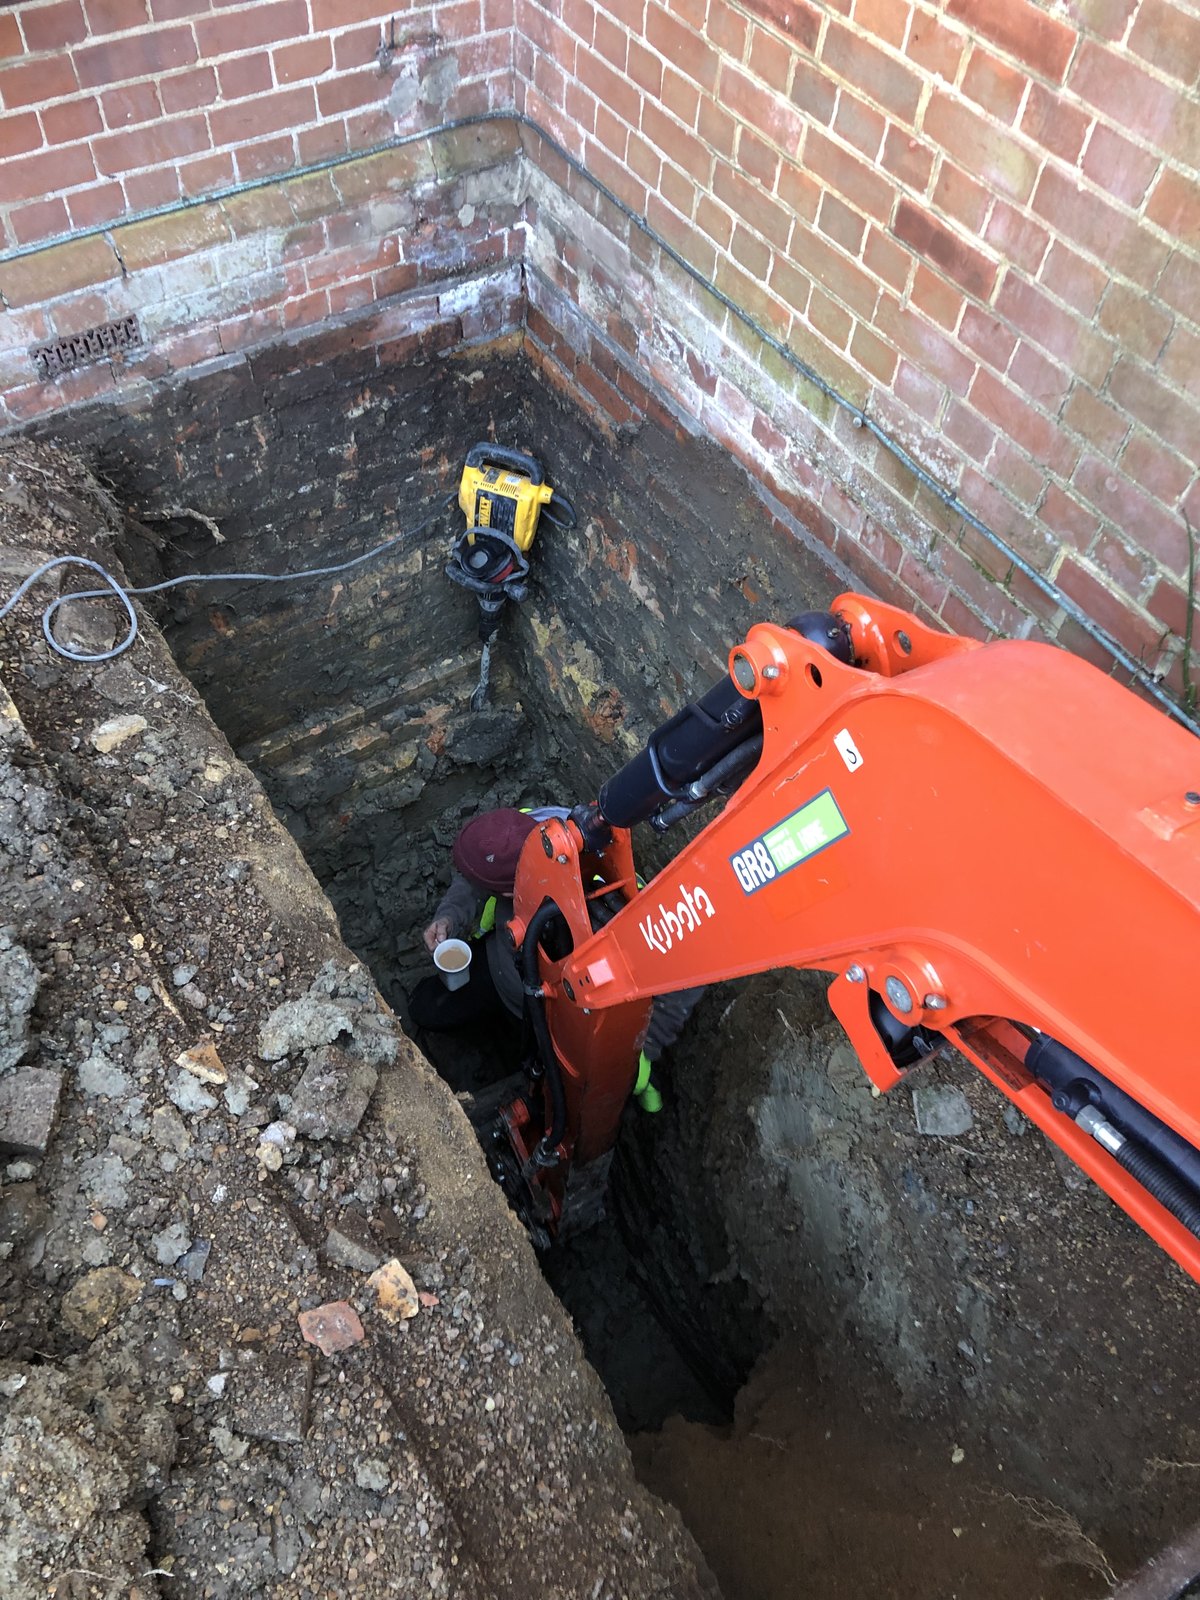
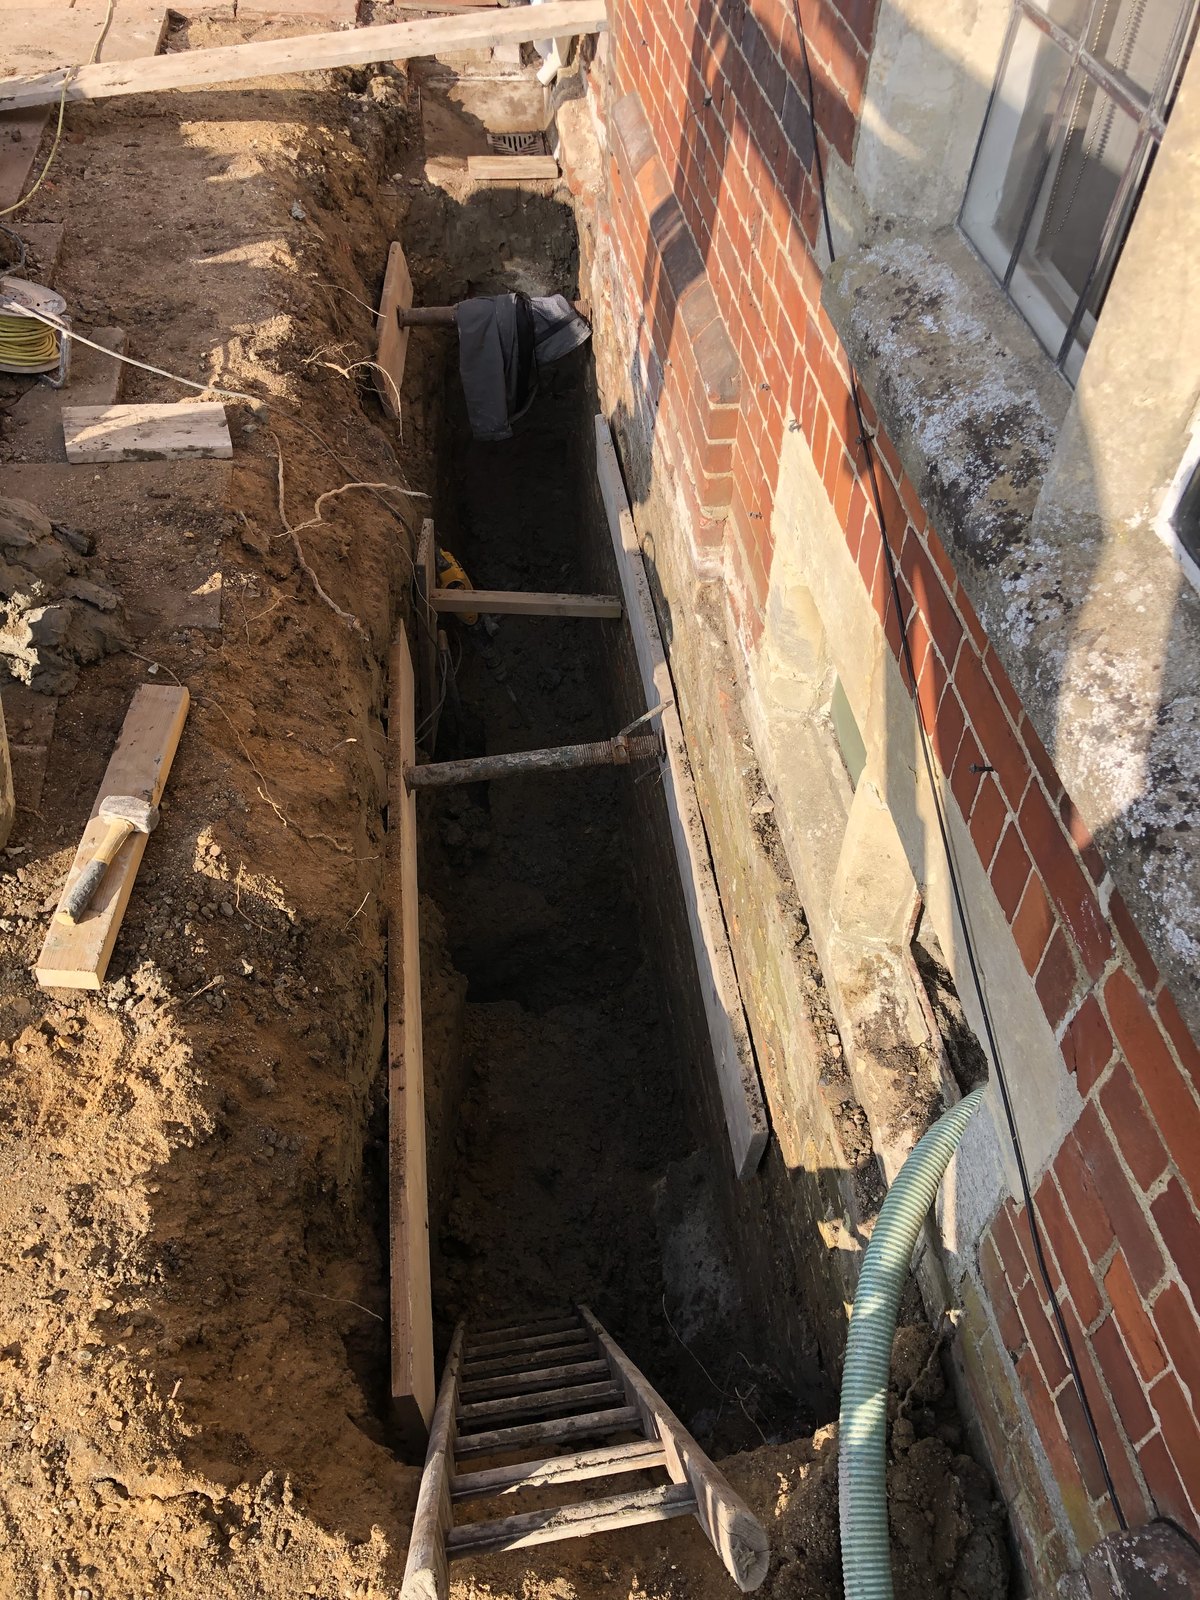
To keep water away from the cellar for good, we dug down alongside the house to the full depth of the cellar and installed a sump. Pipework runs from the sump to a soakaway in the garden, so groundwater is continually drawn away from the cellar walls and the newly tanked cellar stays dry.
Stage 8
An unexpected find!
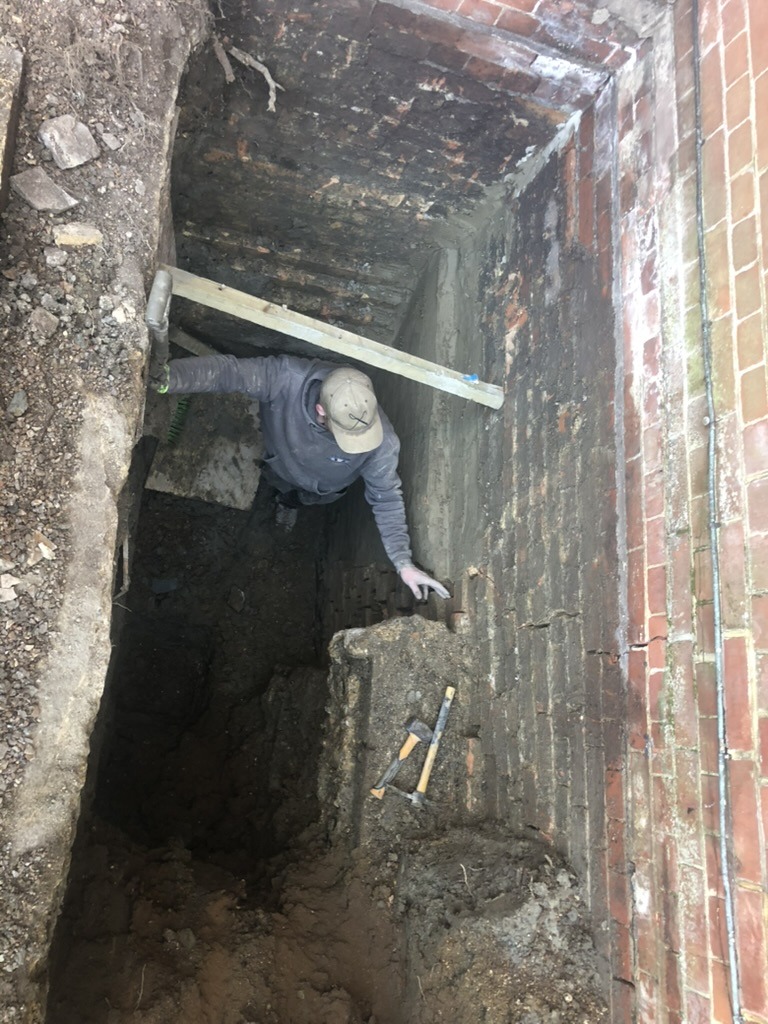
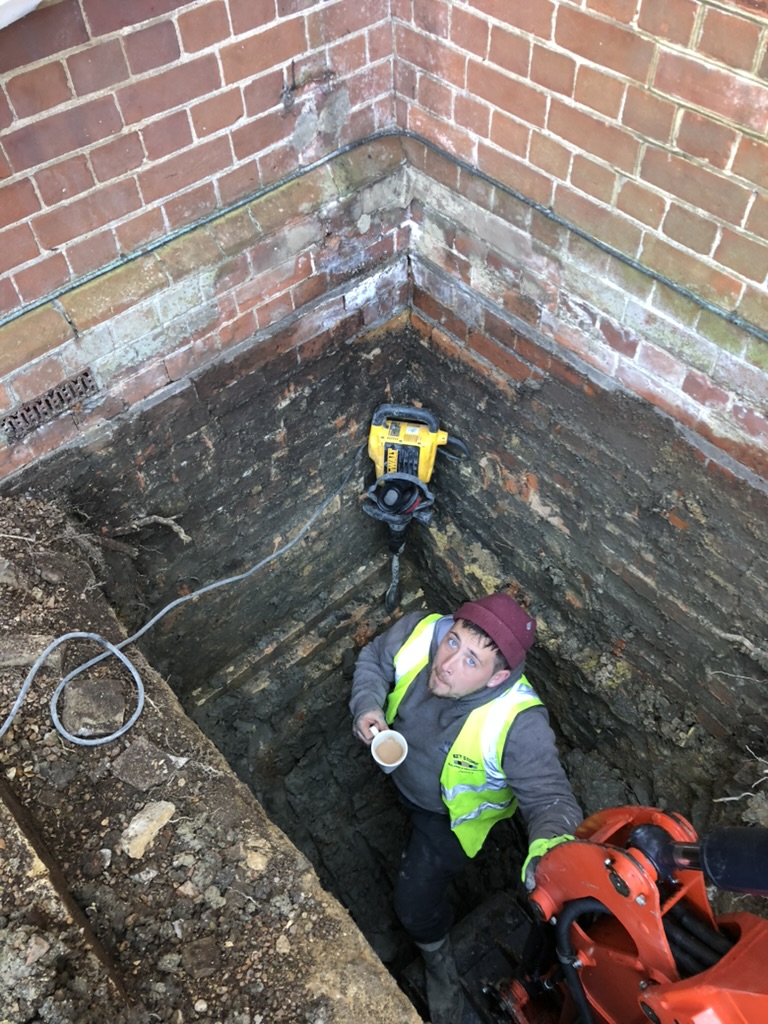
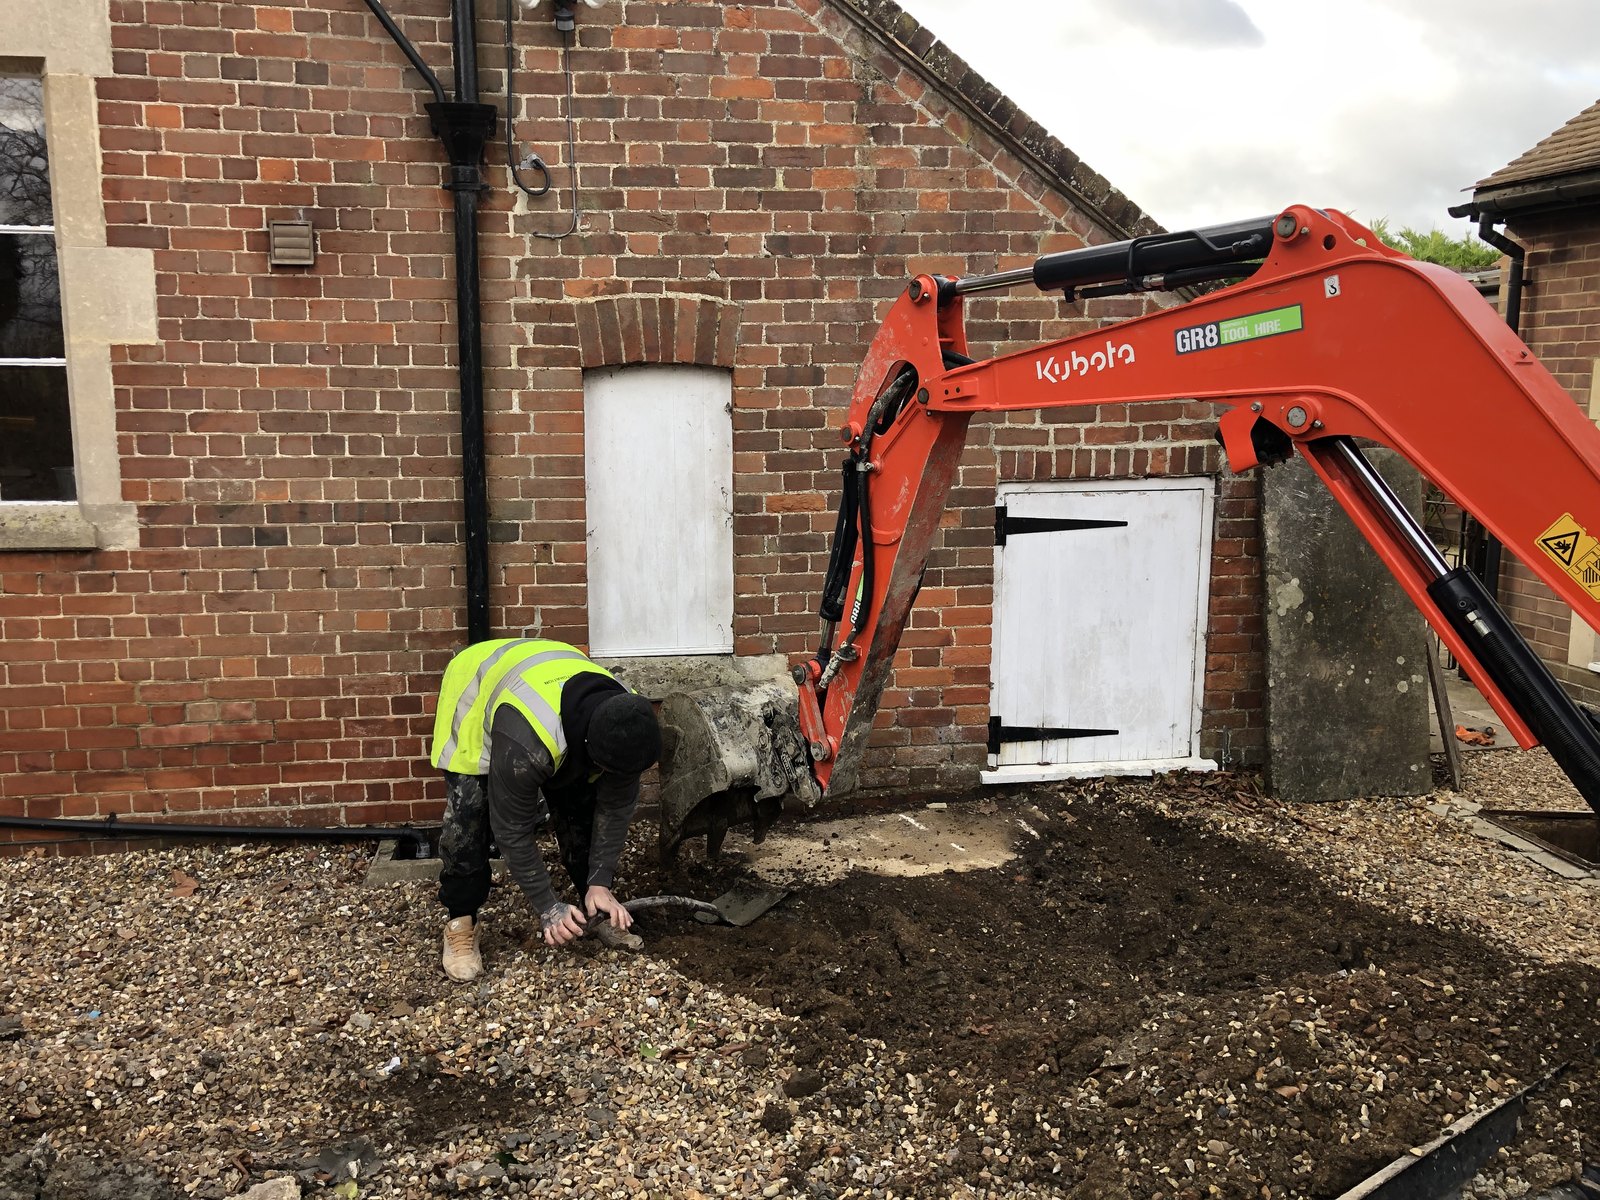
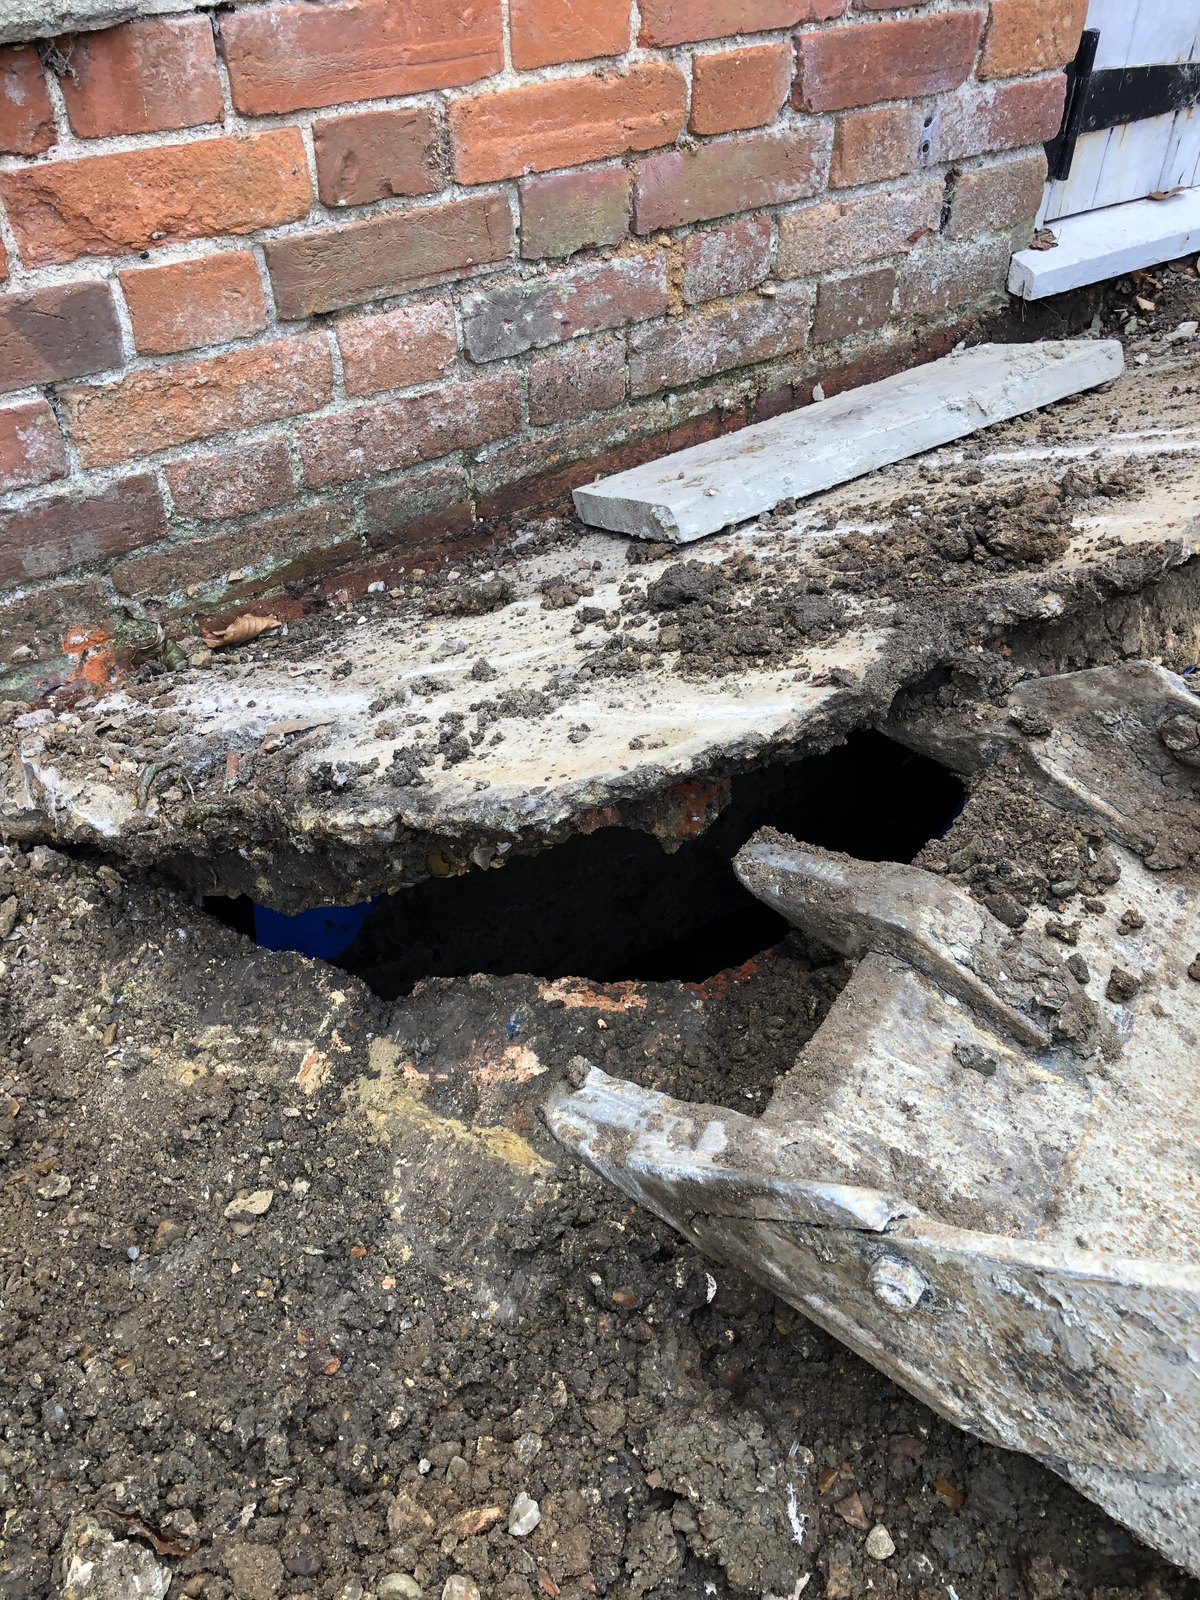
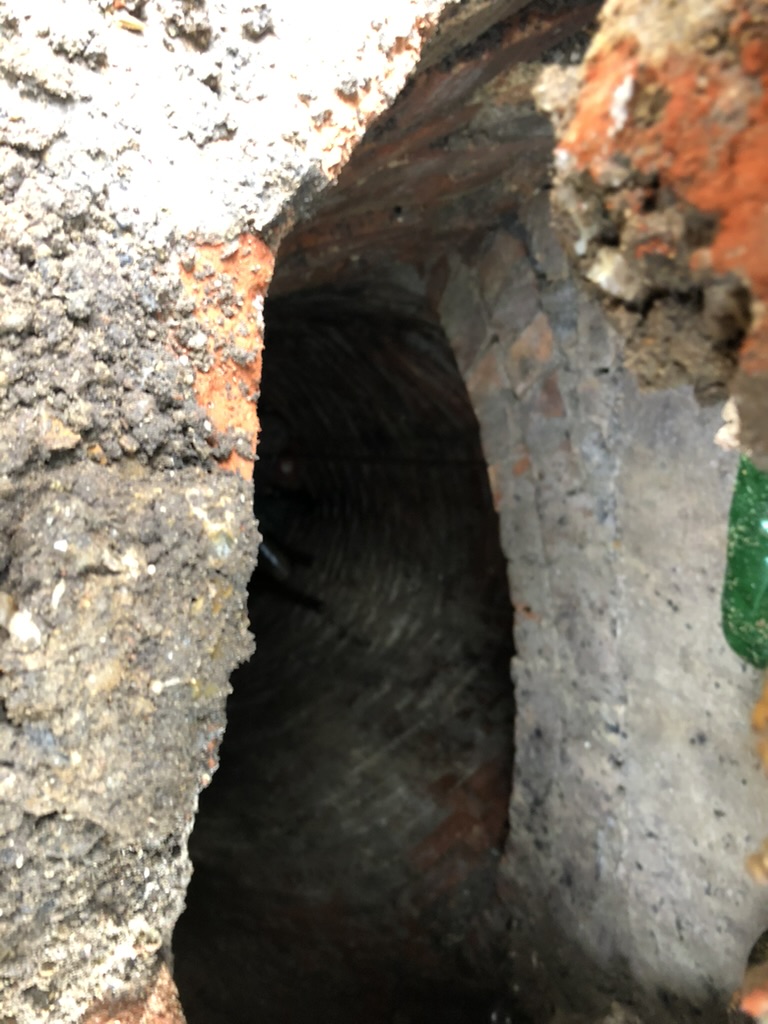
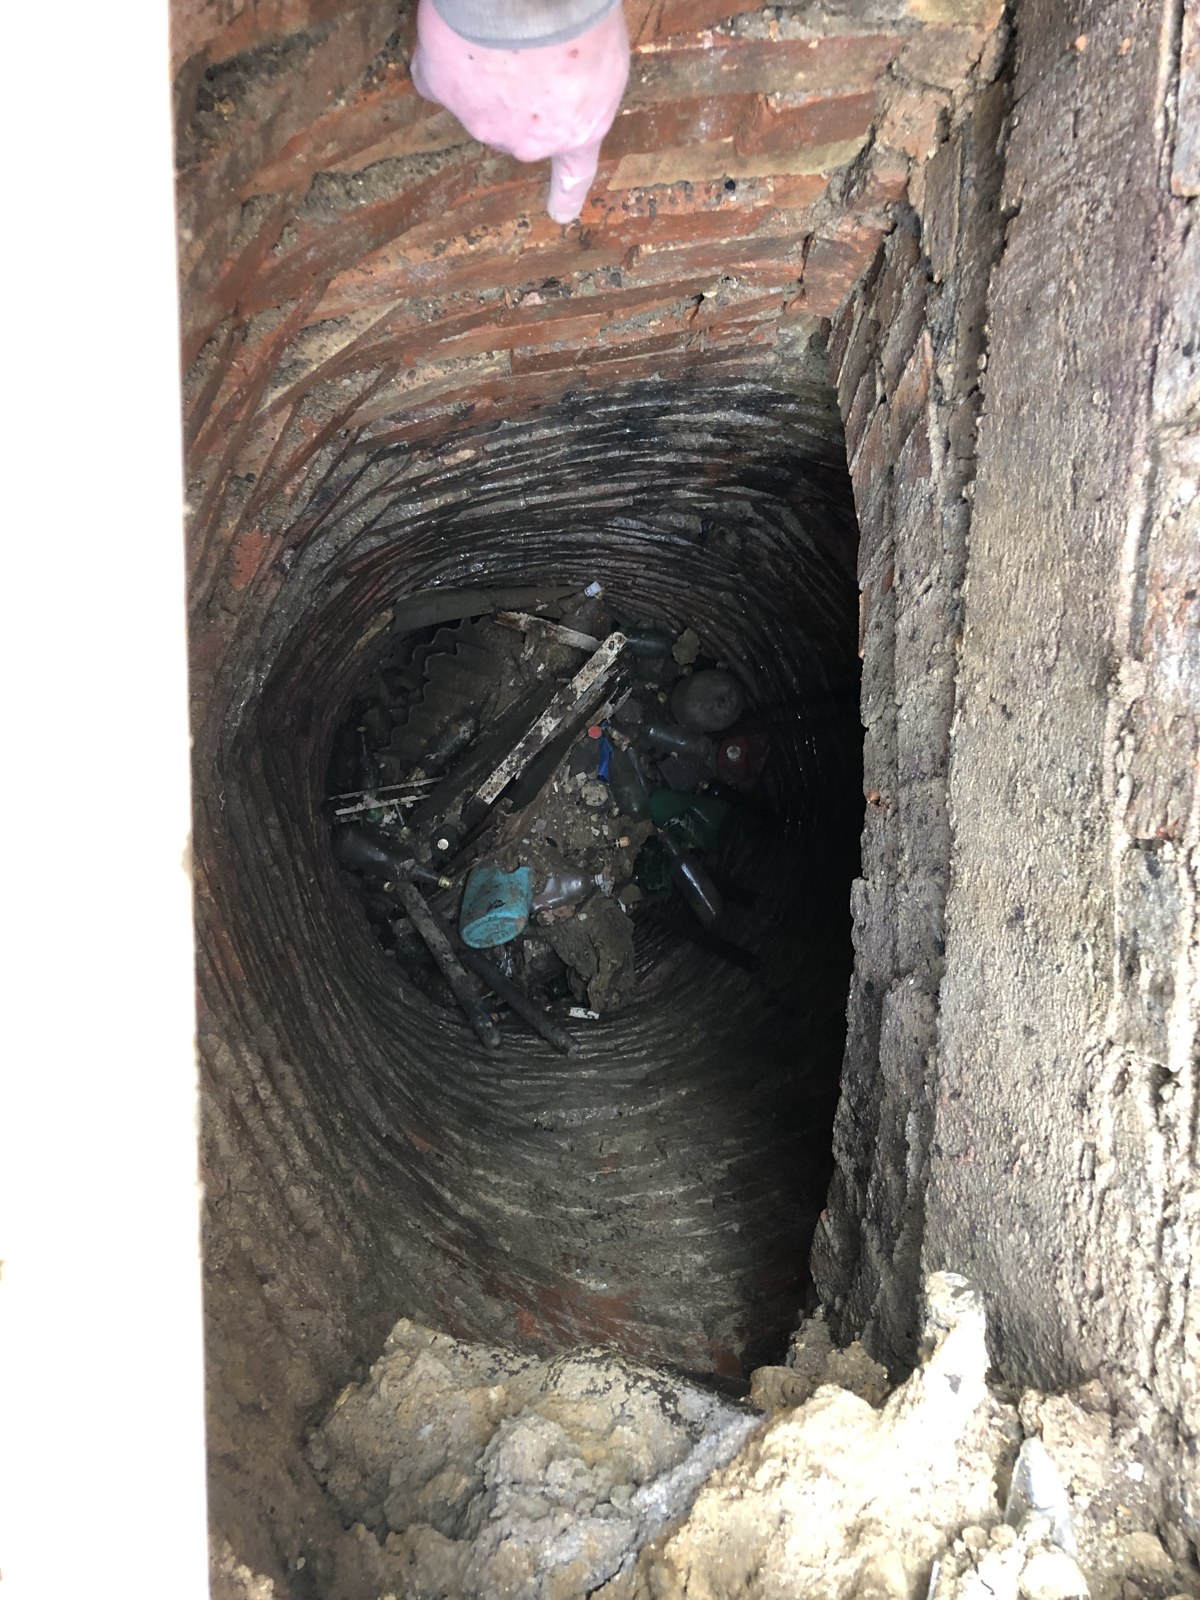
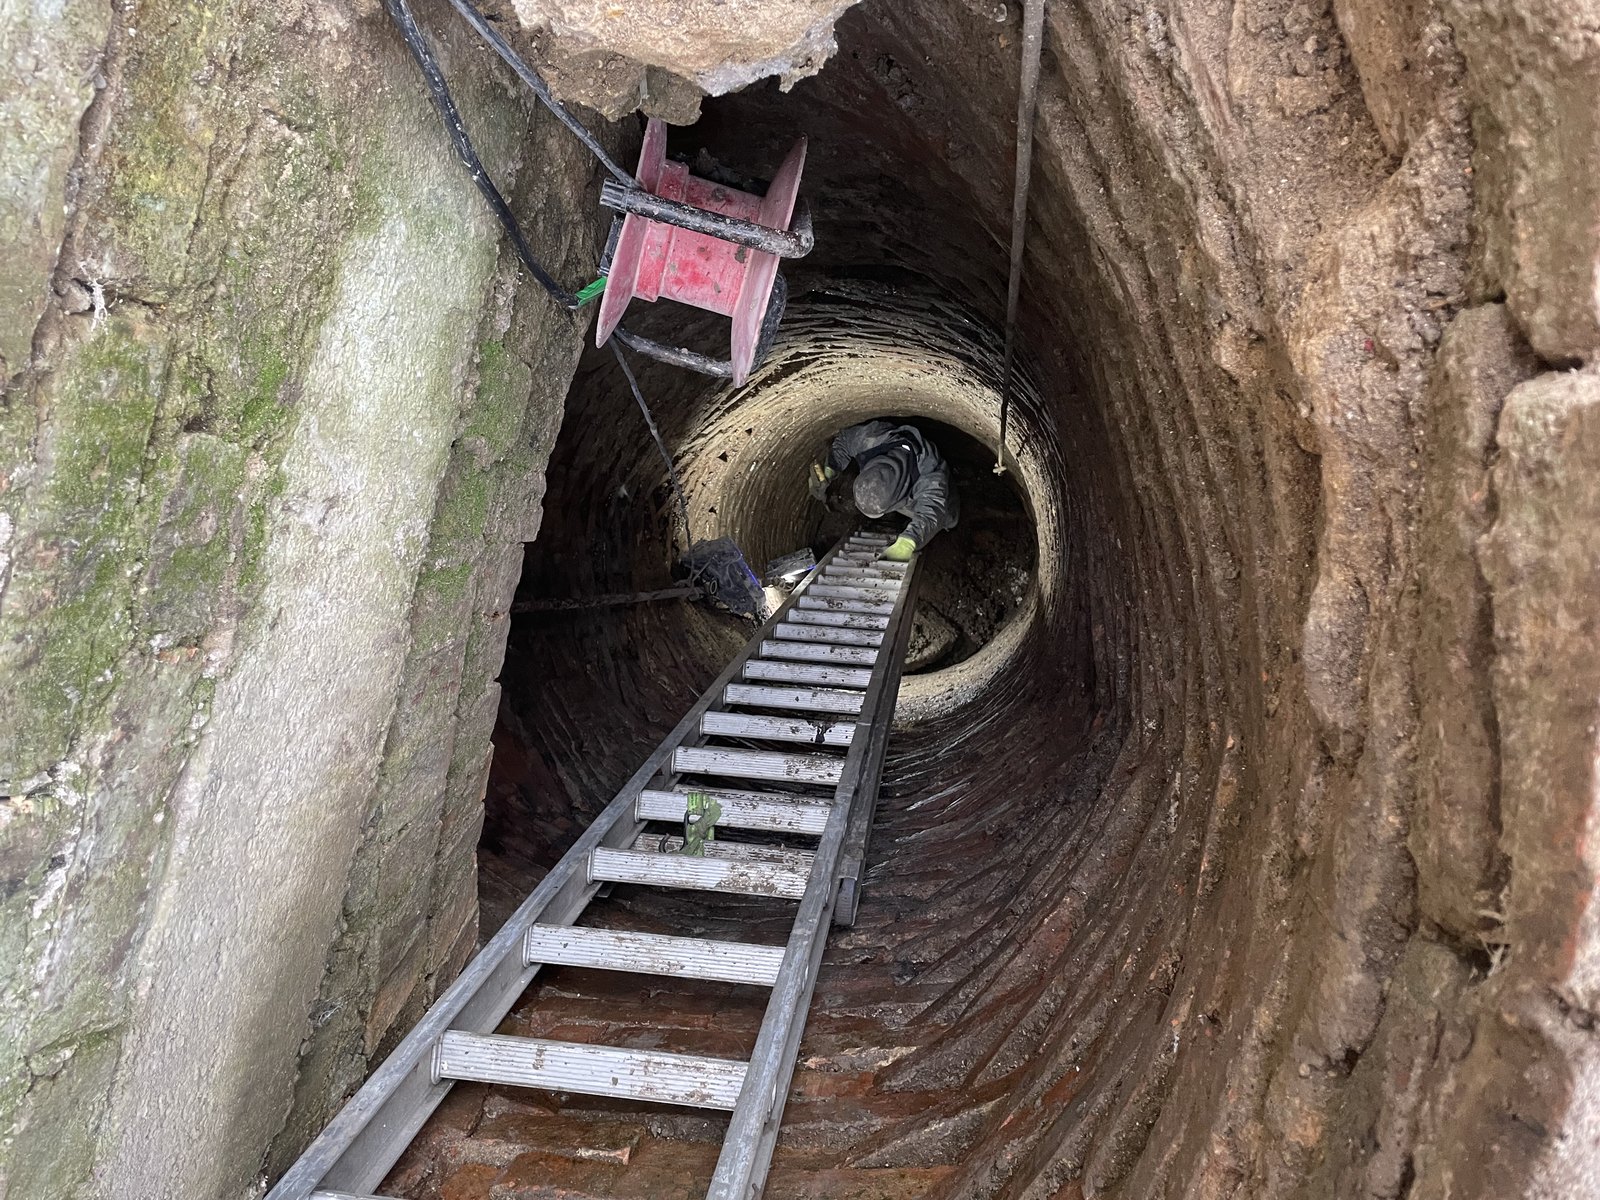
While digging the sump, we made an unexpected discovery: an old well that even the owners had no idea was there.
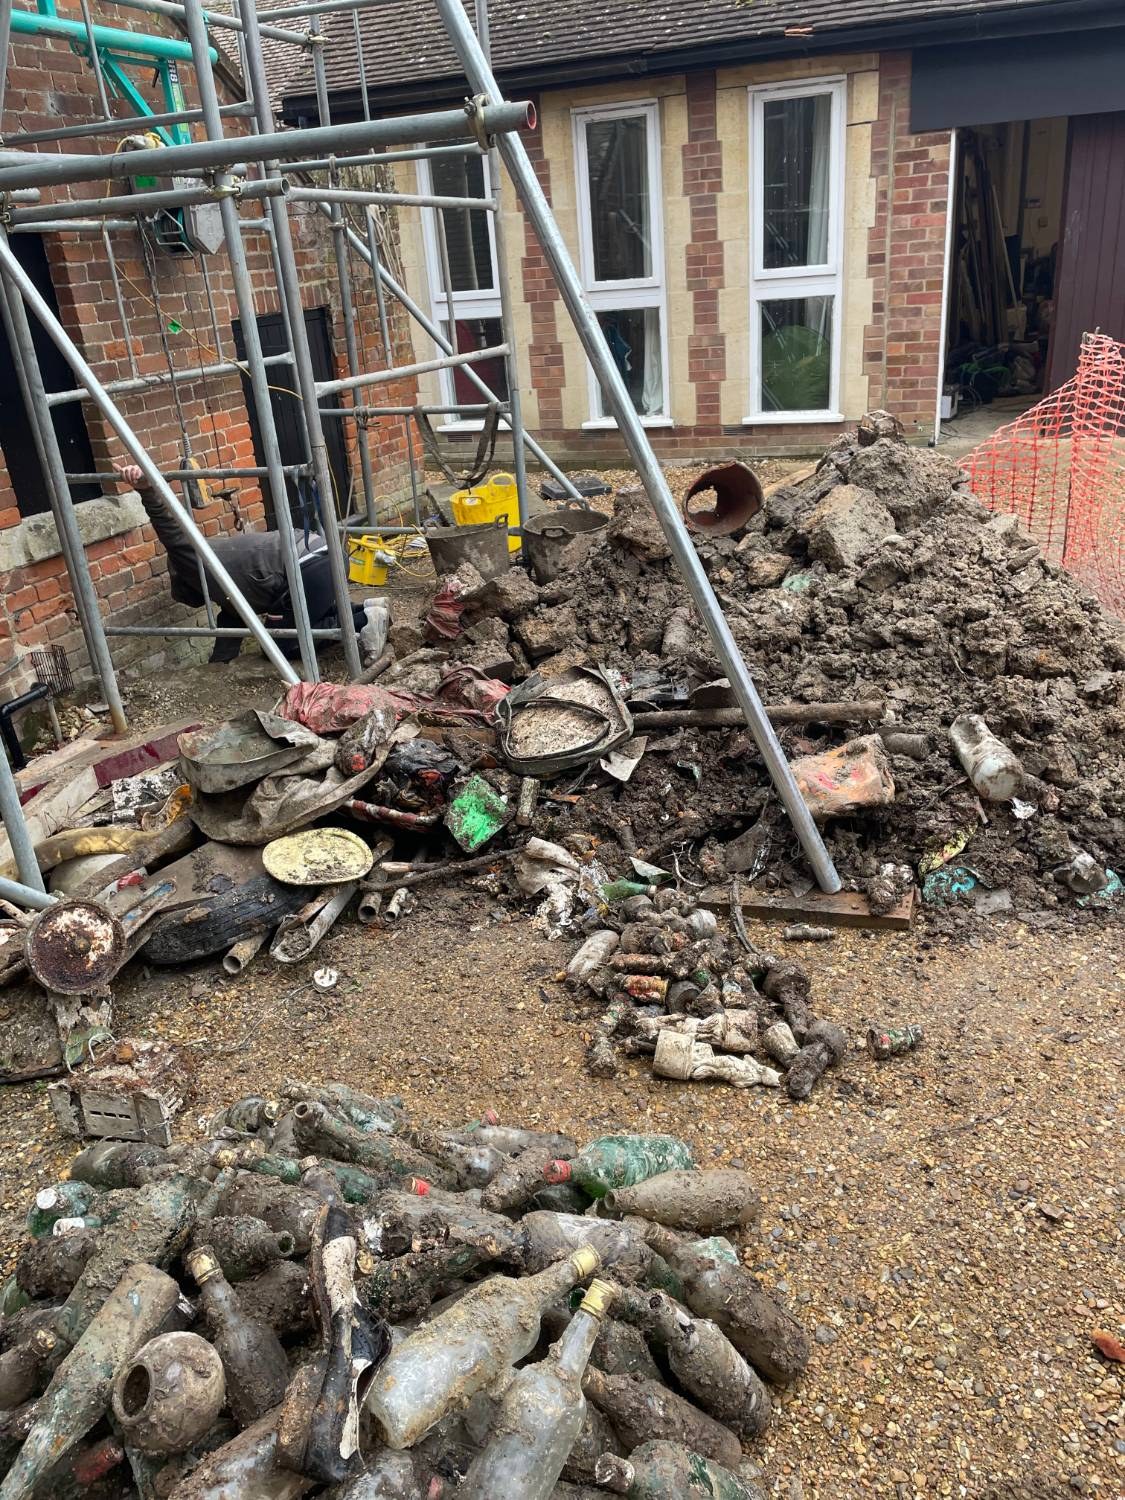
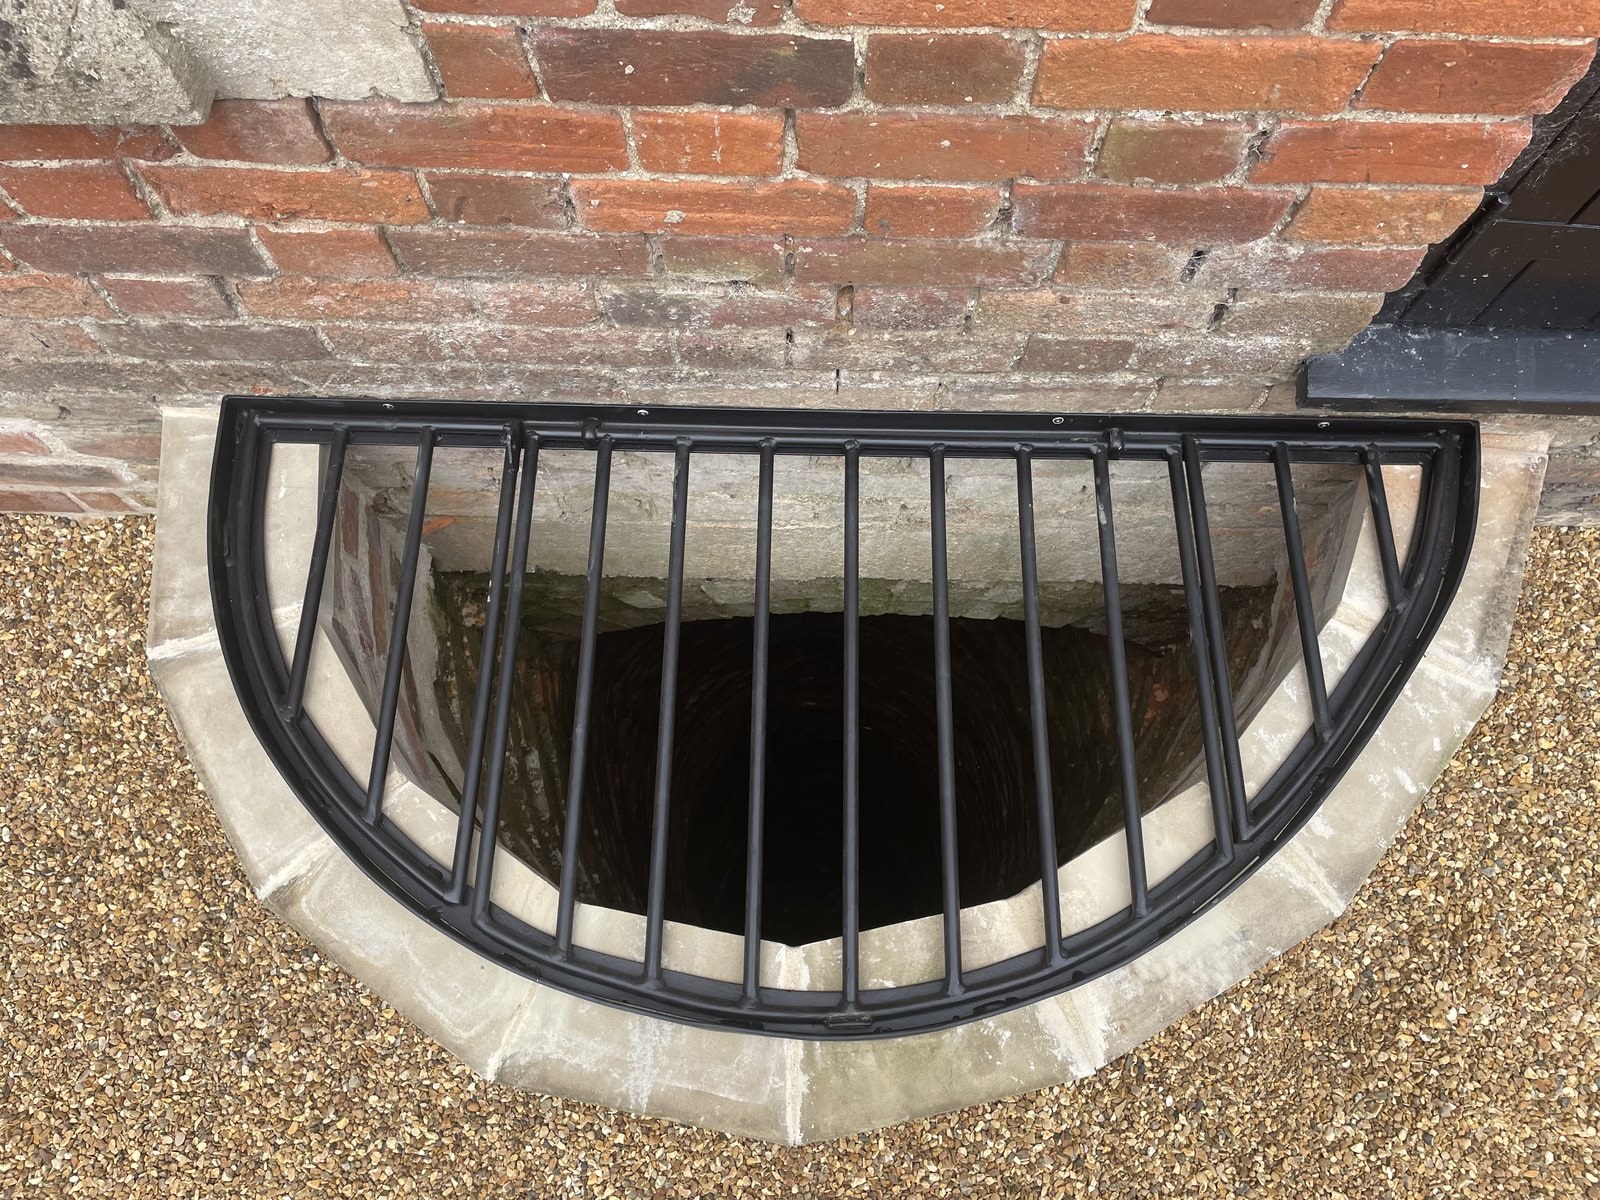
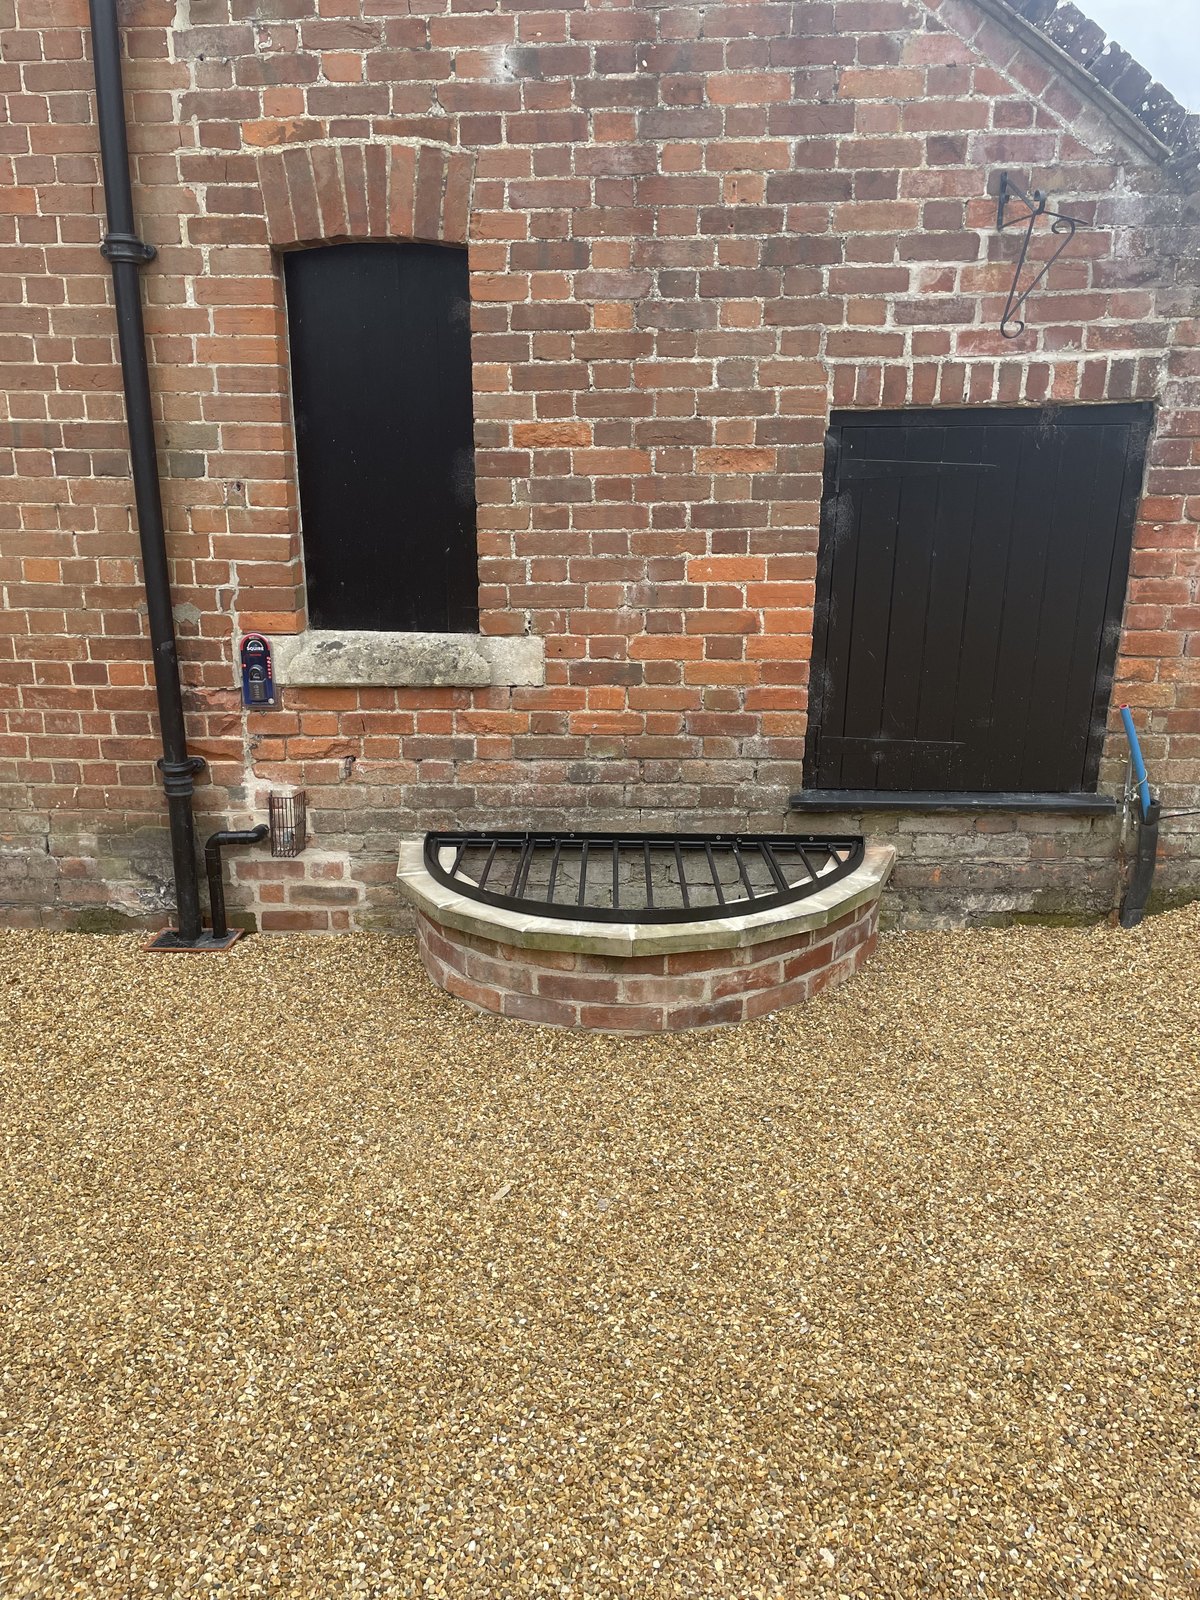
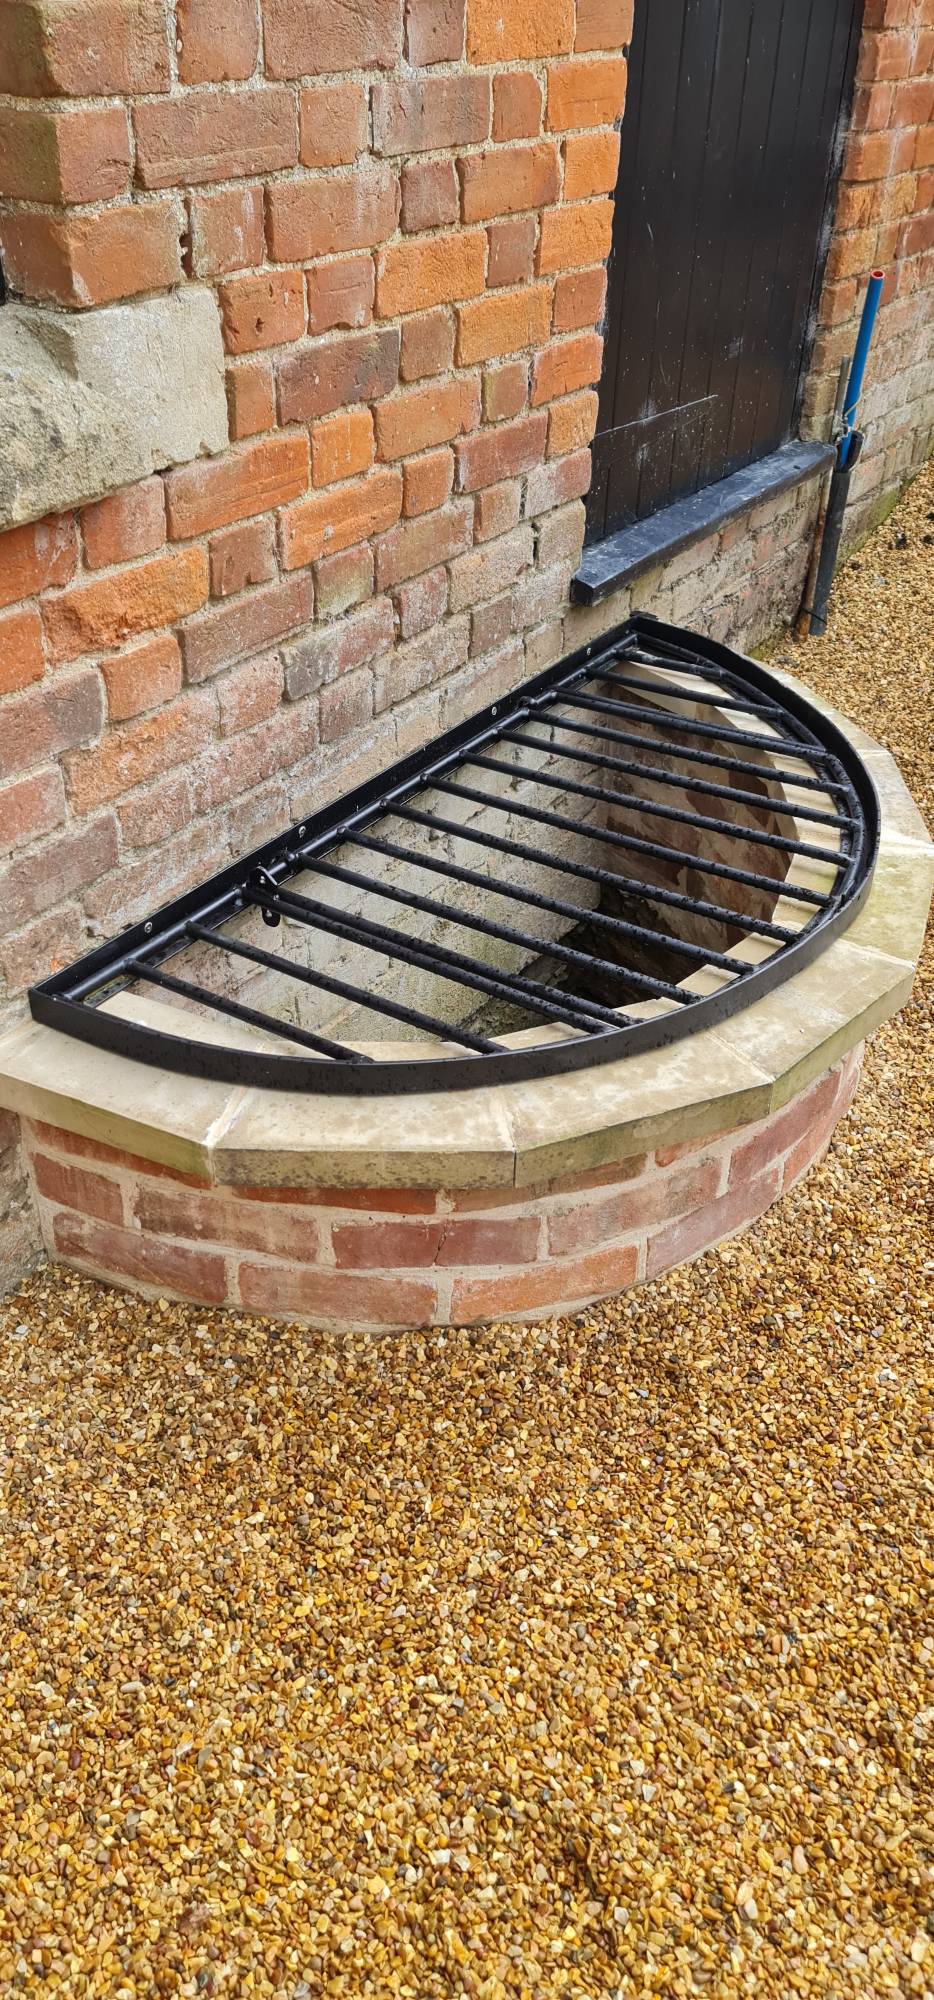
It was a deep circular well lined with red brick, its closely laid courses following the curve of the shaft. We excavated it to a depth of 9 metres, exposing the original brick lining and clearing out the rubbish that had filled the well over the years, from old bottles to asbestos, which was removed safely. We finished the top with a brick dwarf wall and a bespoke cast-iron cover. We have recommended that the owners use the well in future as a sustainable source of water for the greenhouse and gardens.
Curious to see how it compared, we looked up the wells recorded around Wilburton on the British Geological Survey’s GeoIndex and found four others nearby: two around 3 metres deep, one of 6 metres and one of 10 metres. At 9 metres, and probably deeper had we kept digging, the well at the Old Vicarage is one of the deepest recorded around the village.
Discovery and excavation
The finished well
Stage 9
New heritage windows fitted
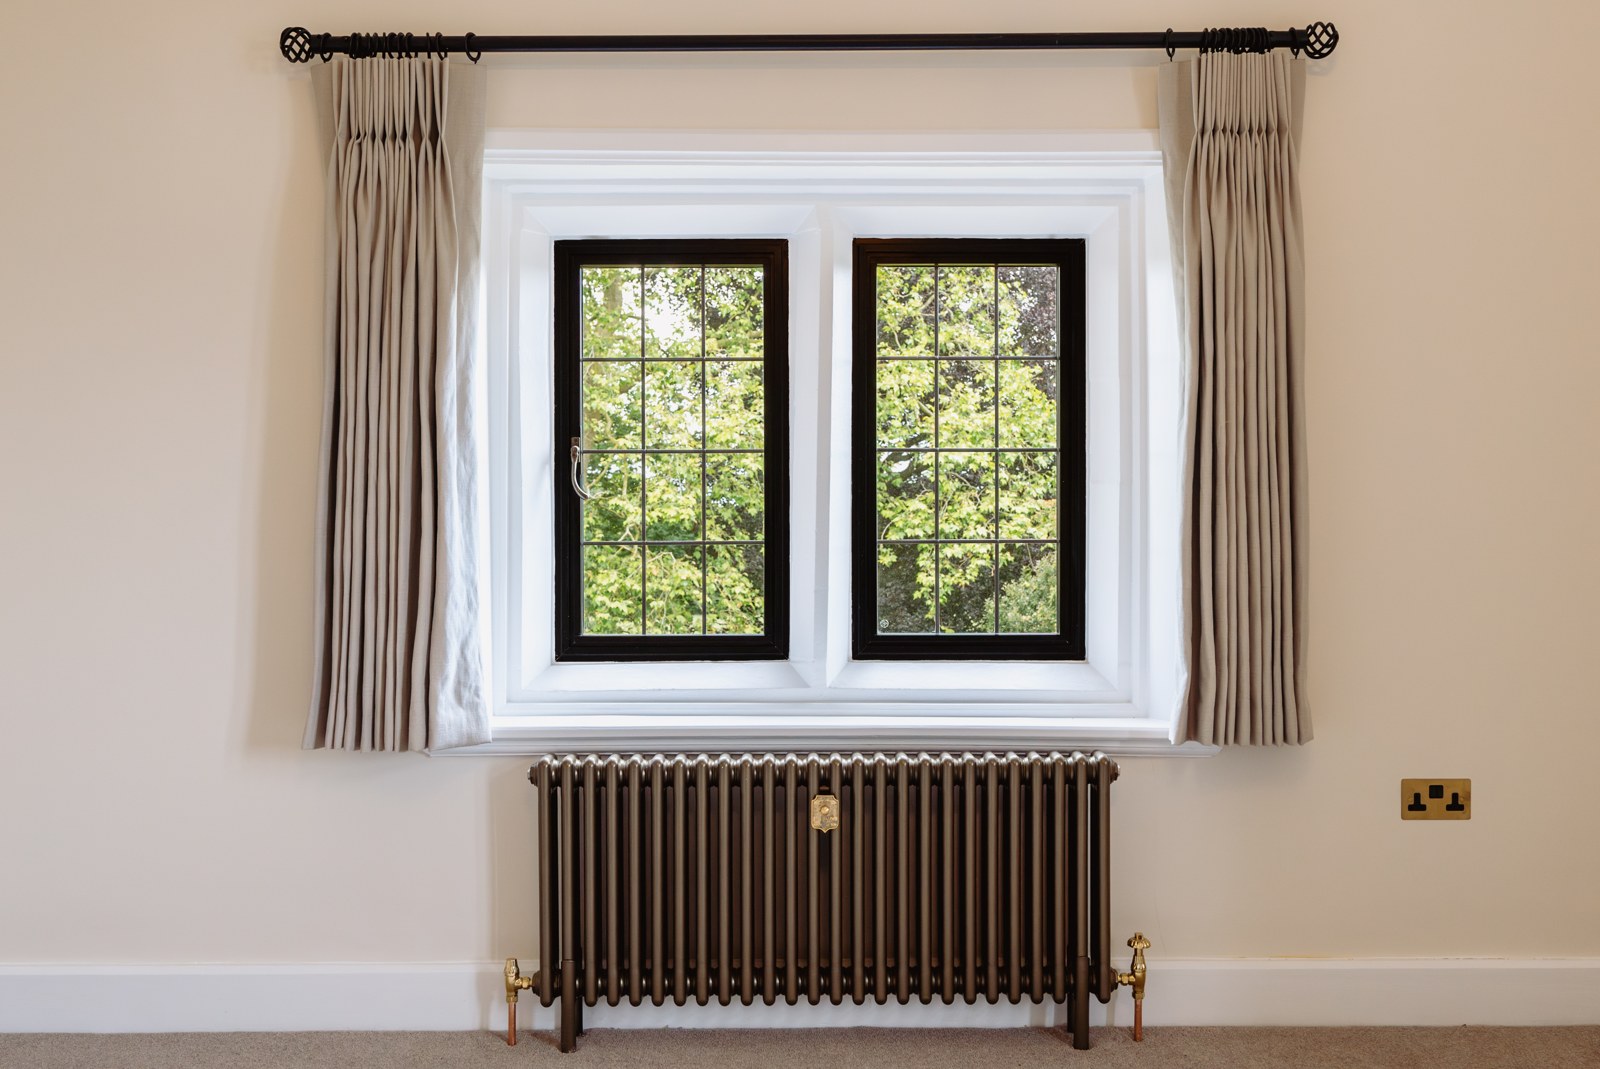
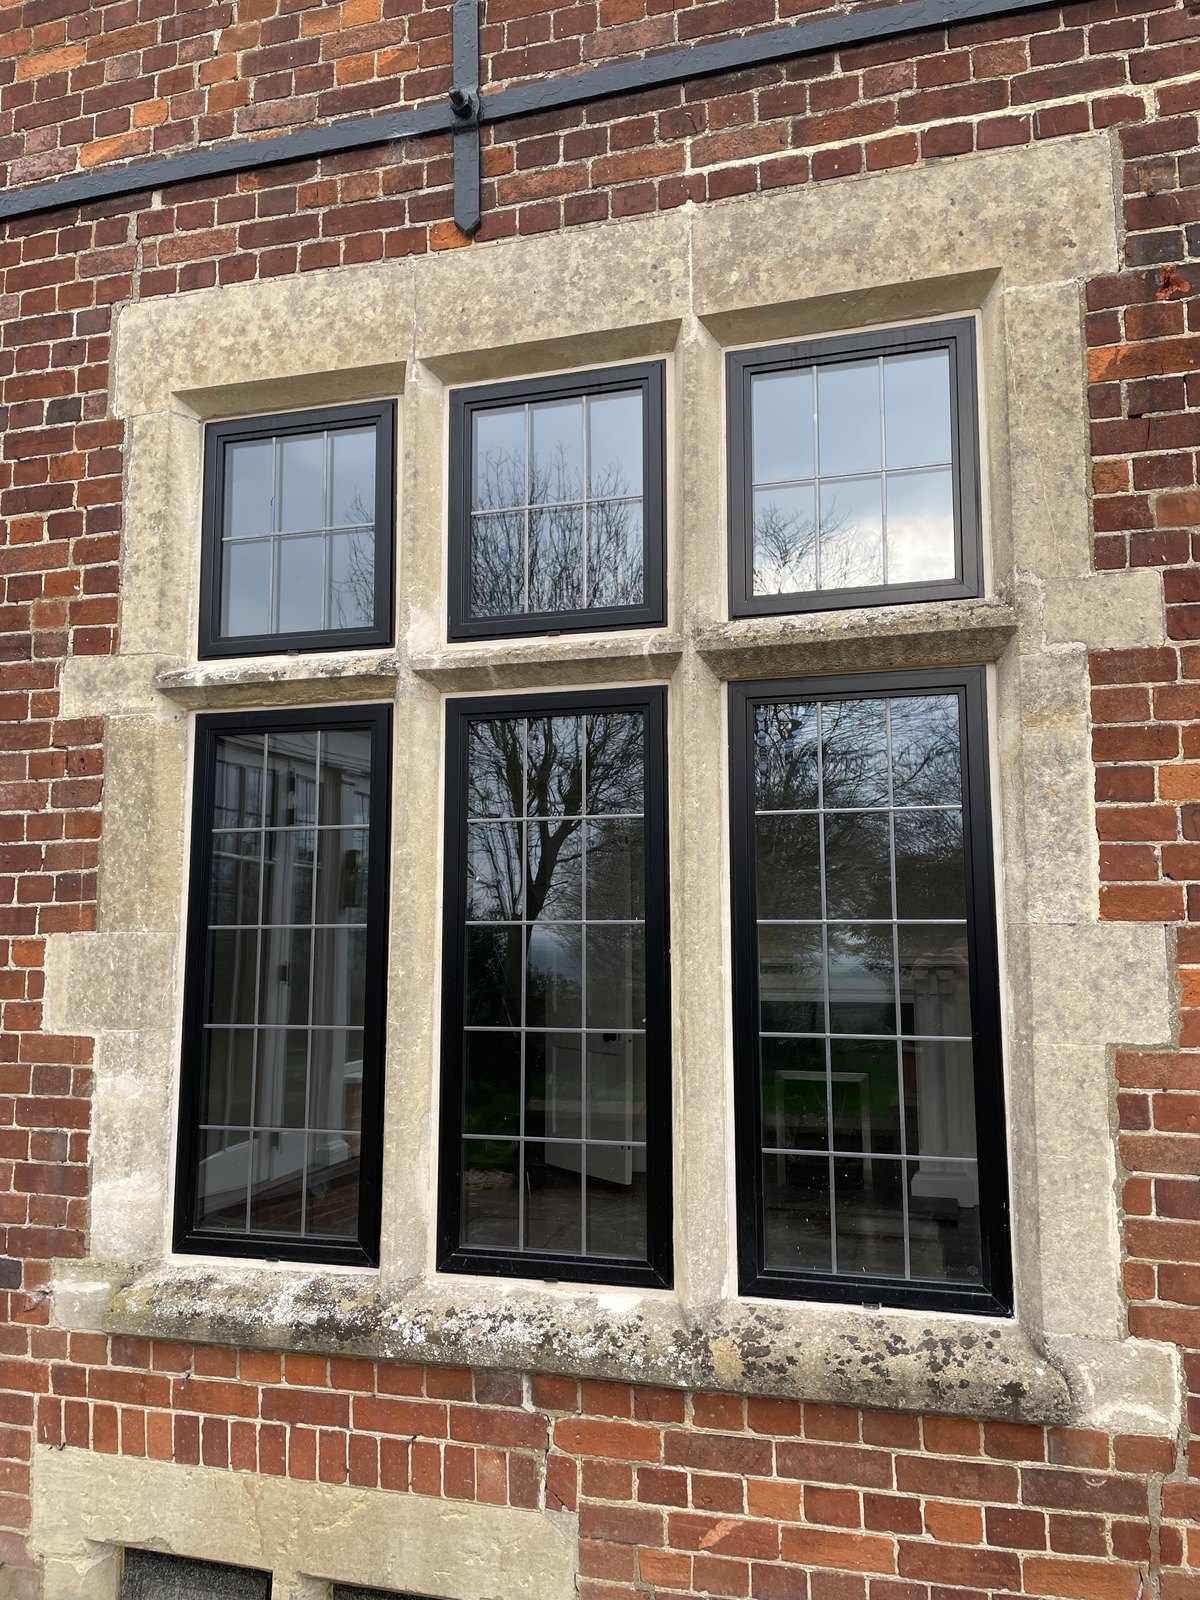
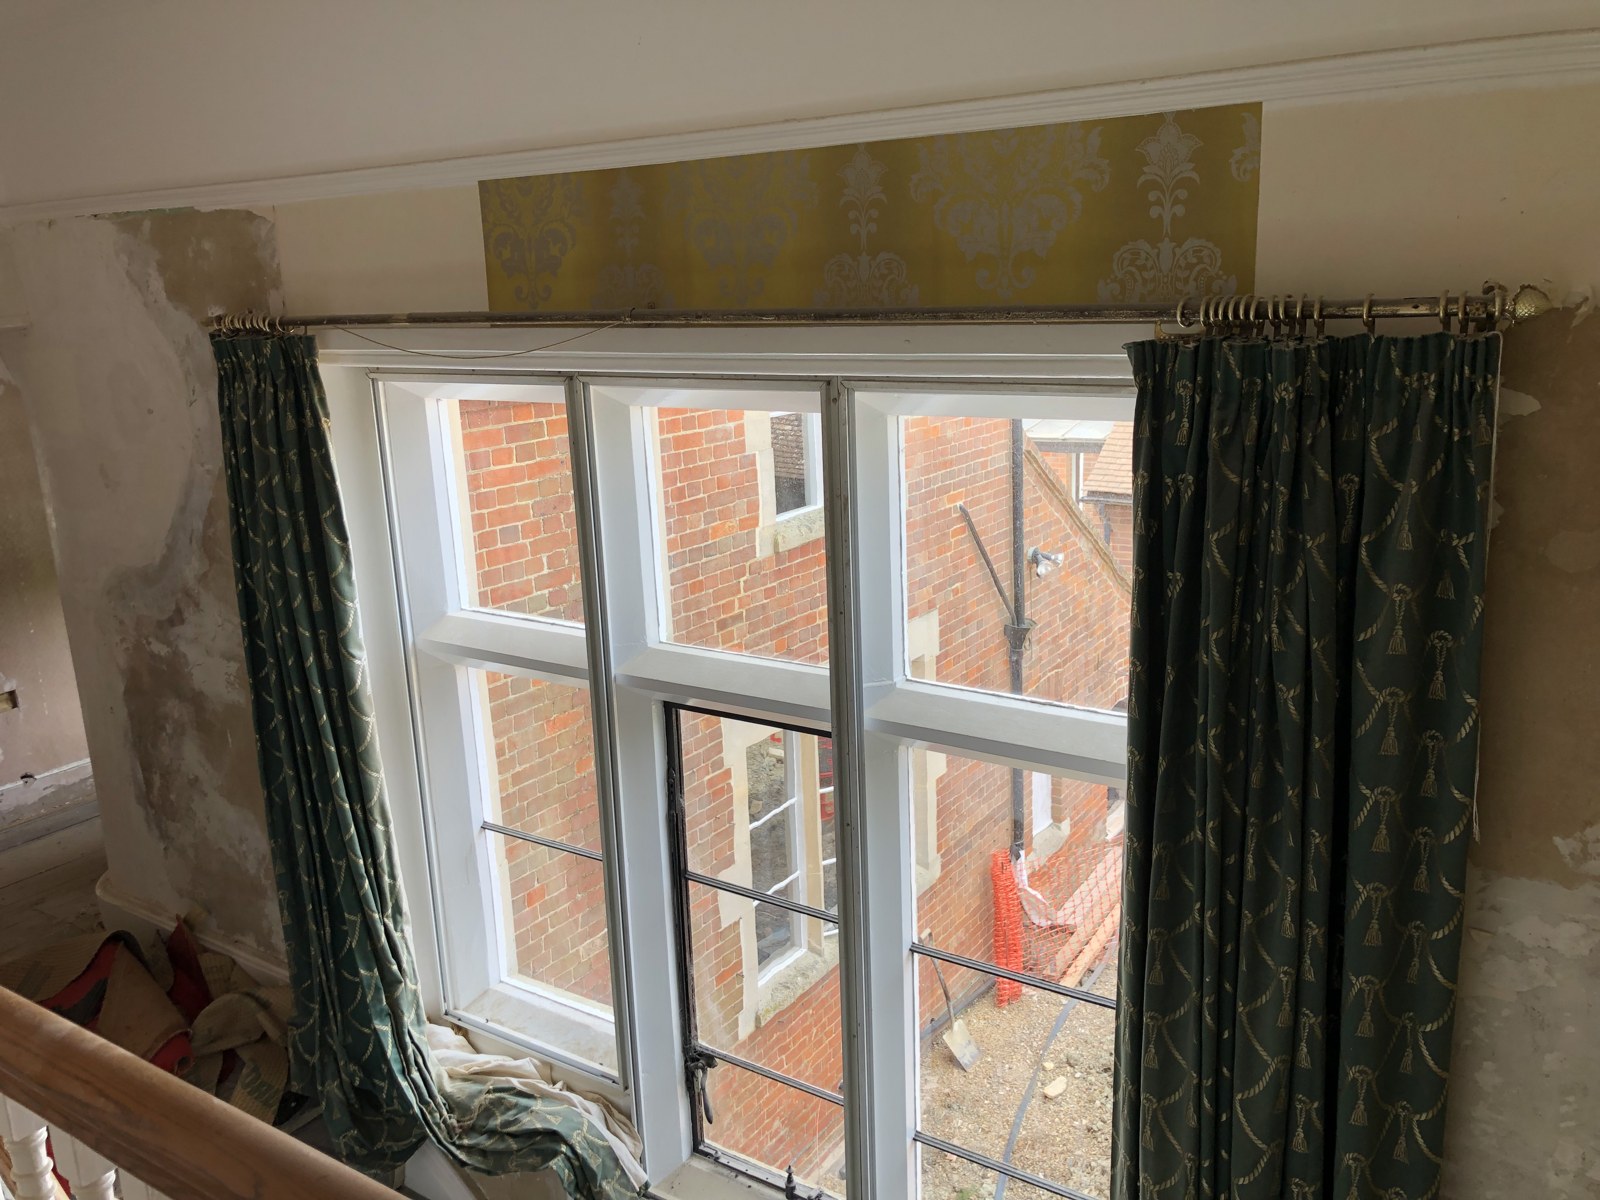
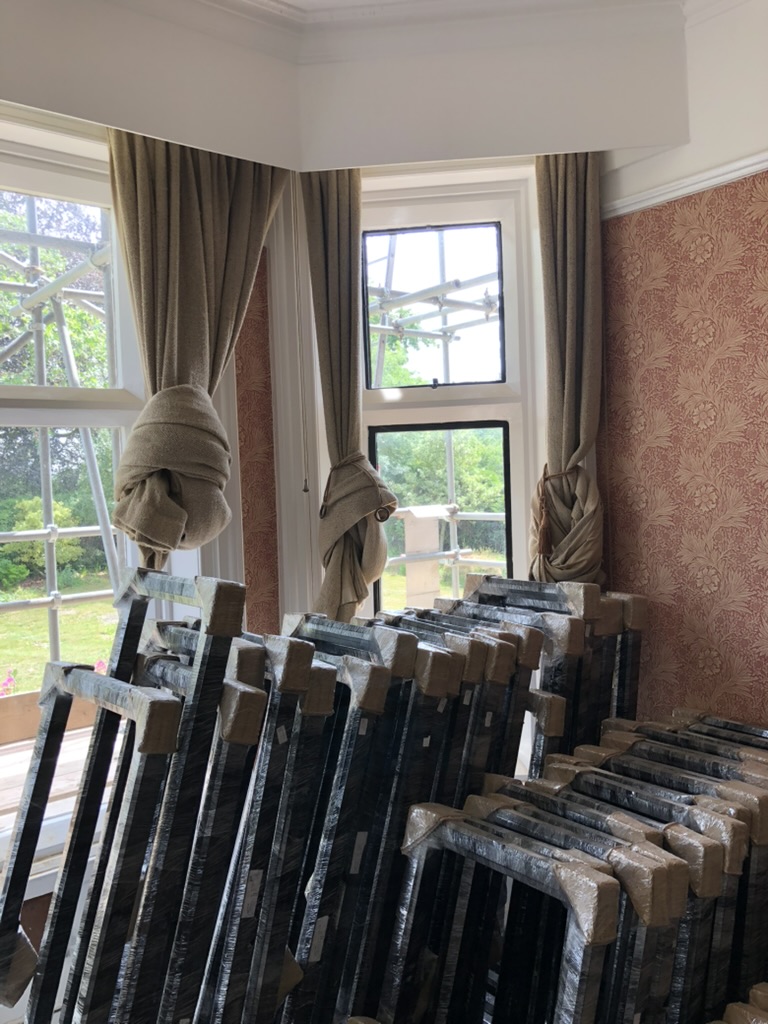
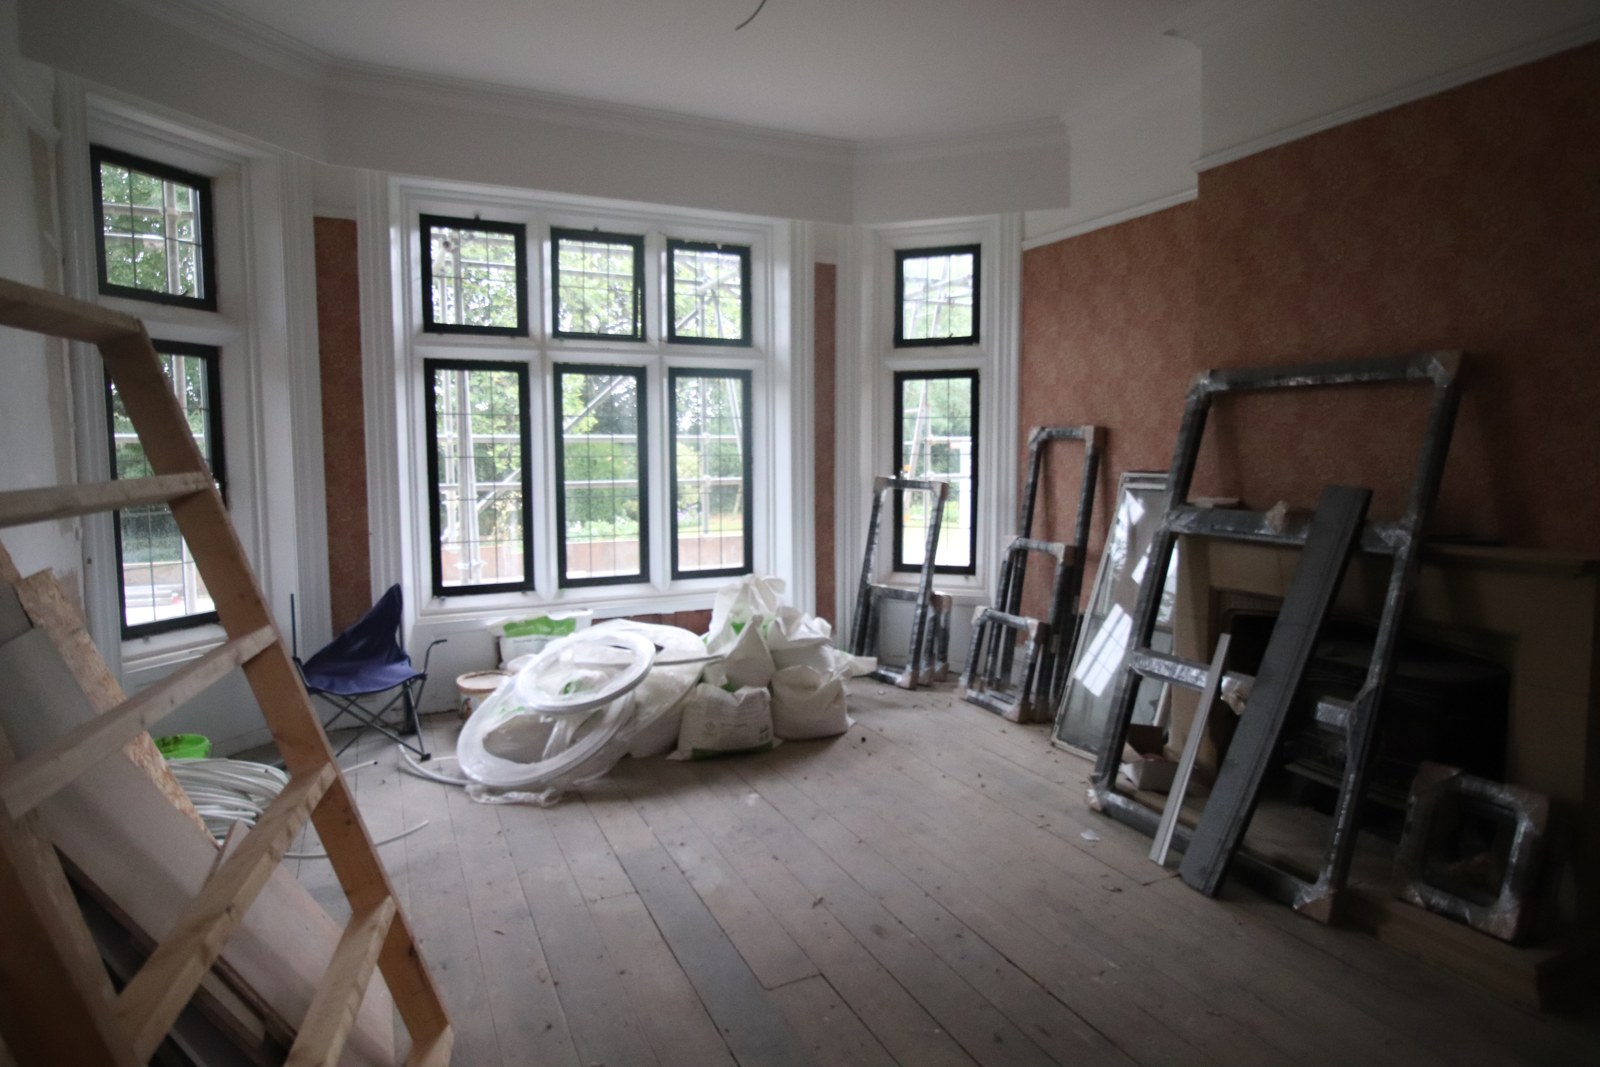
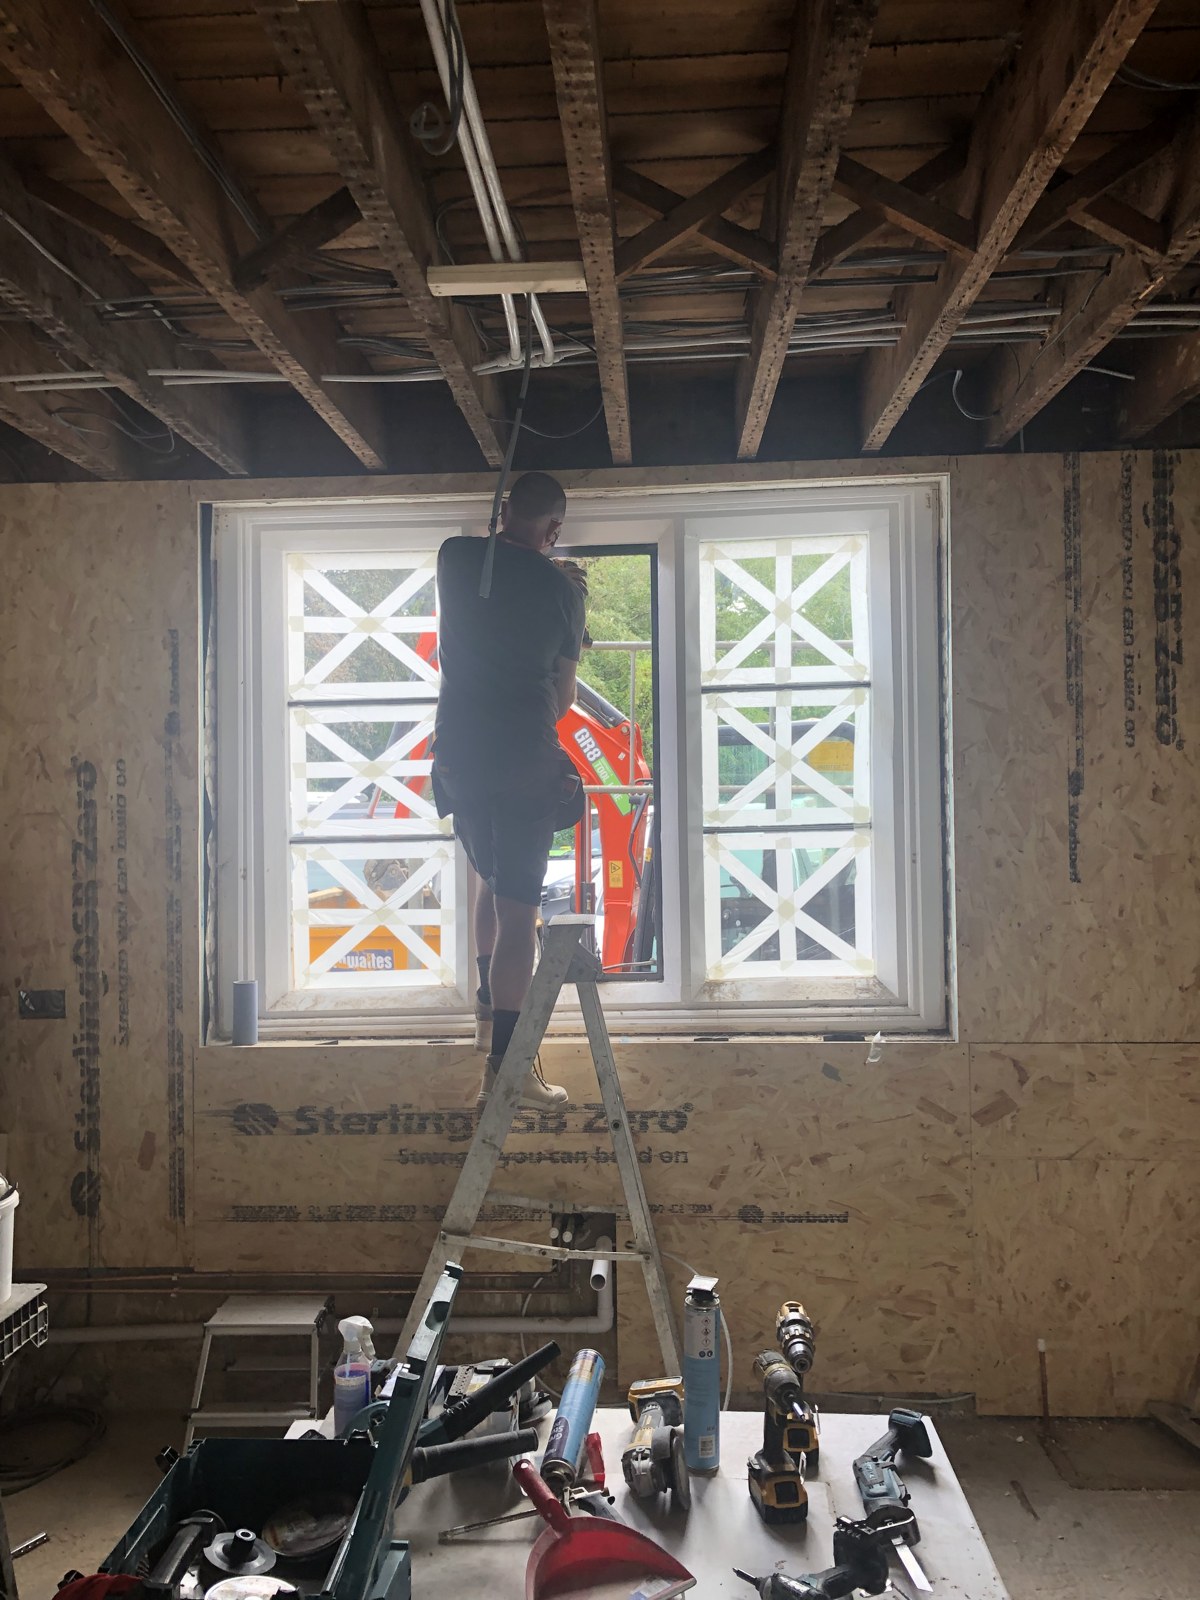
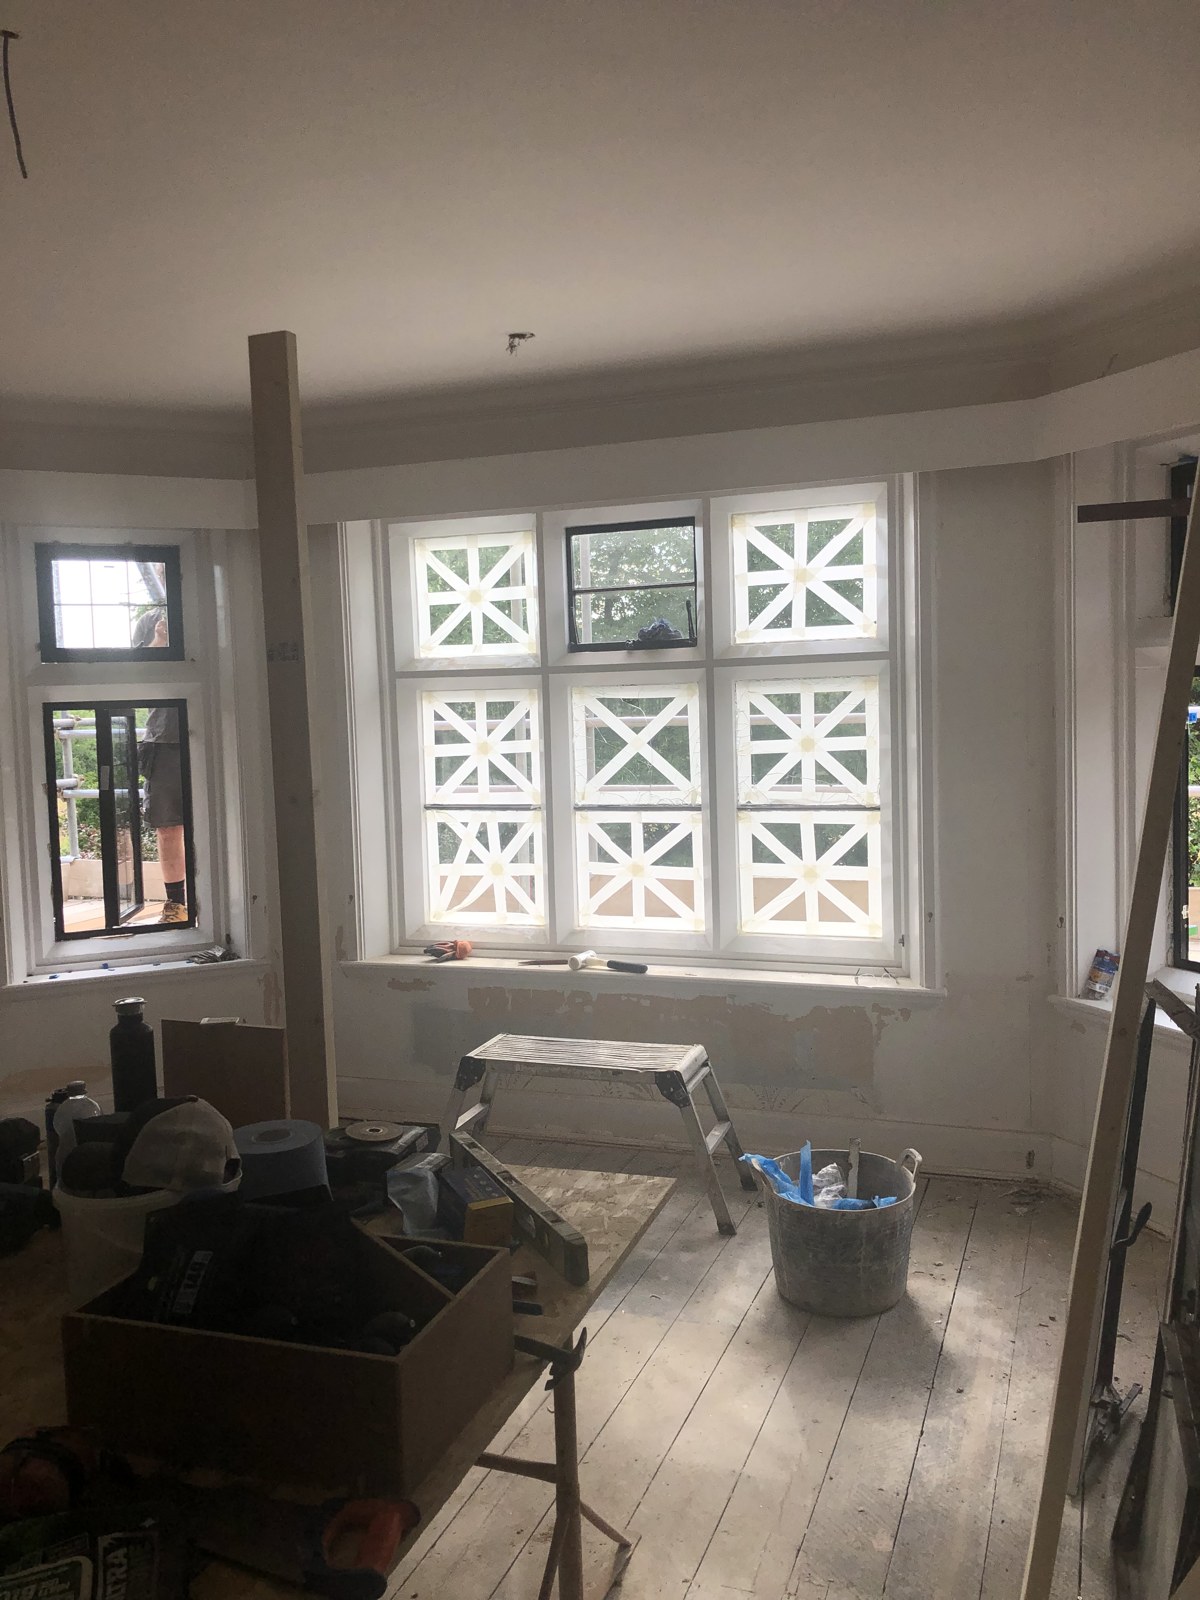
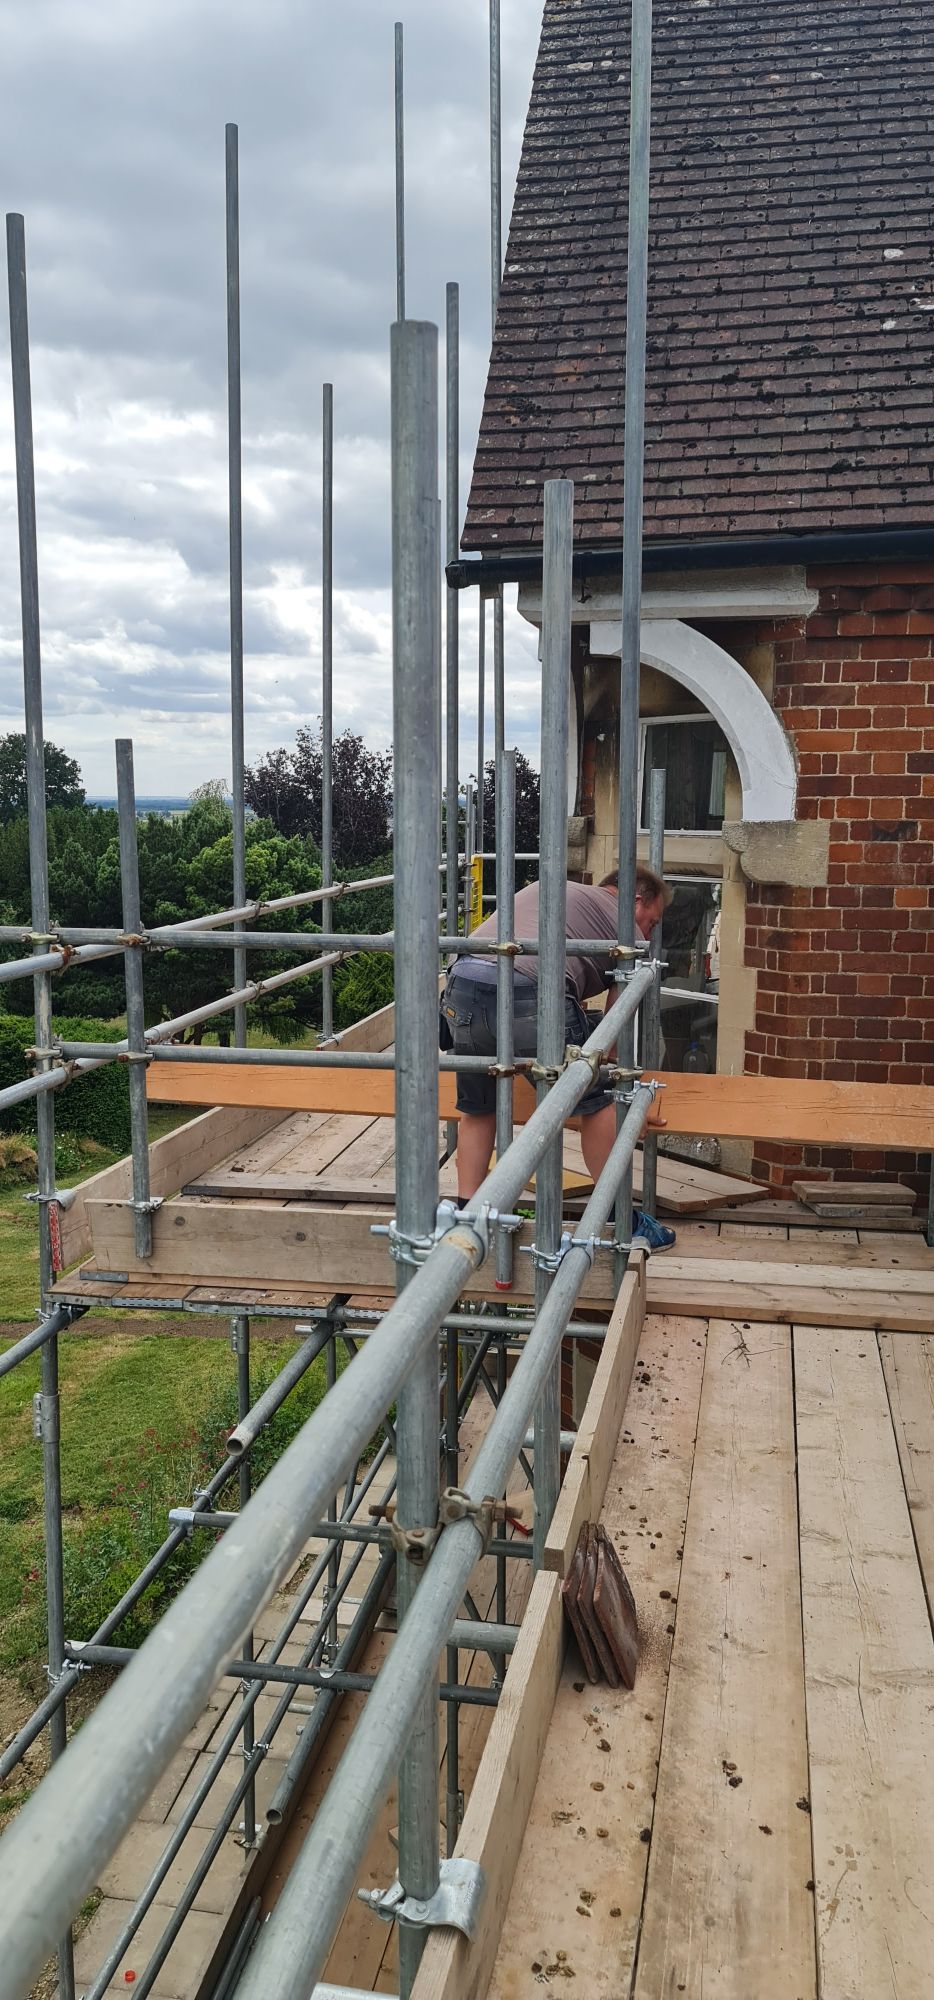
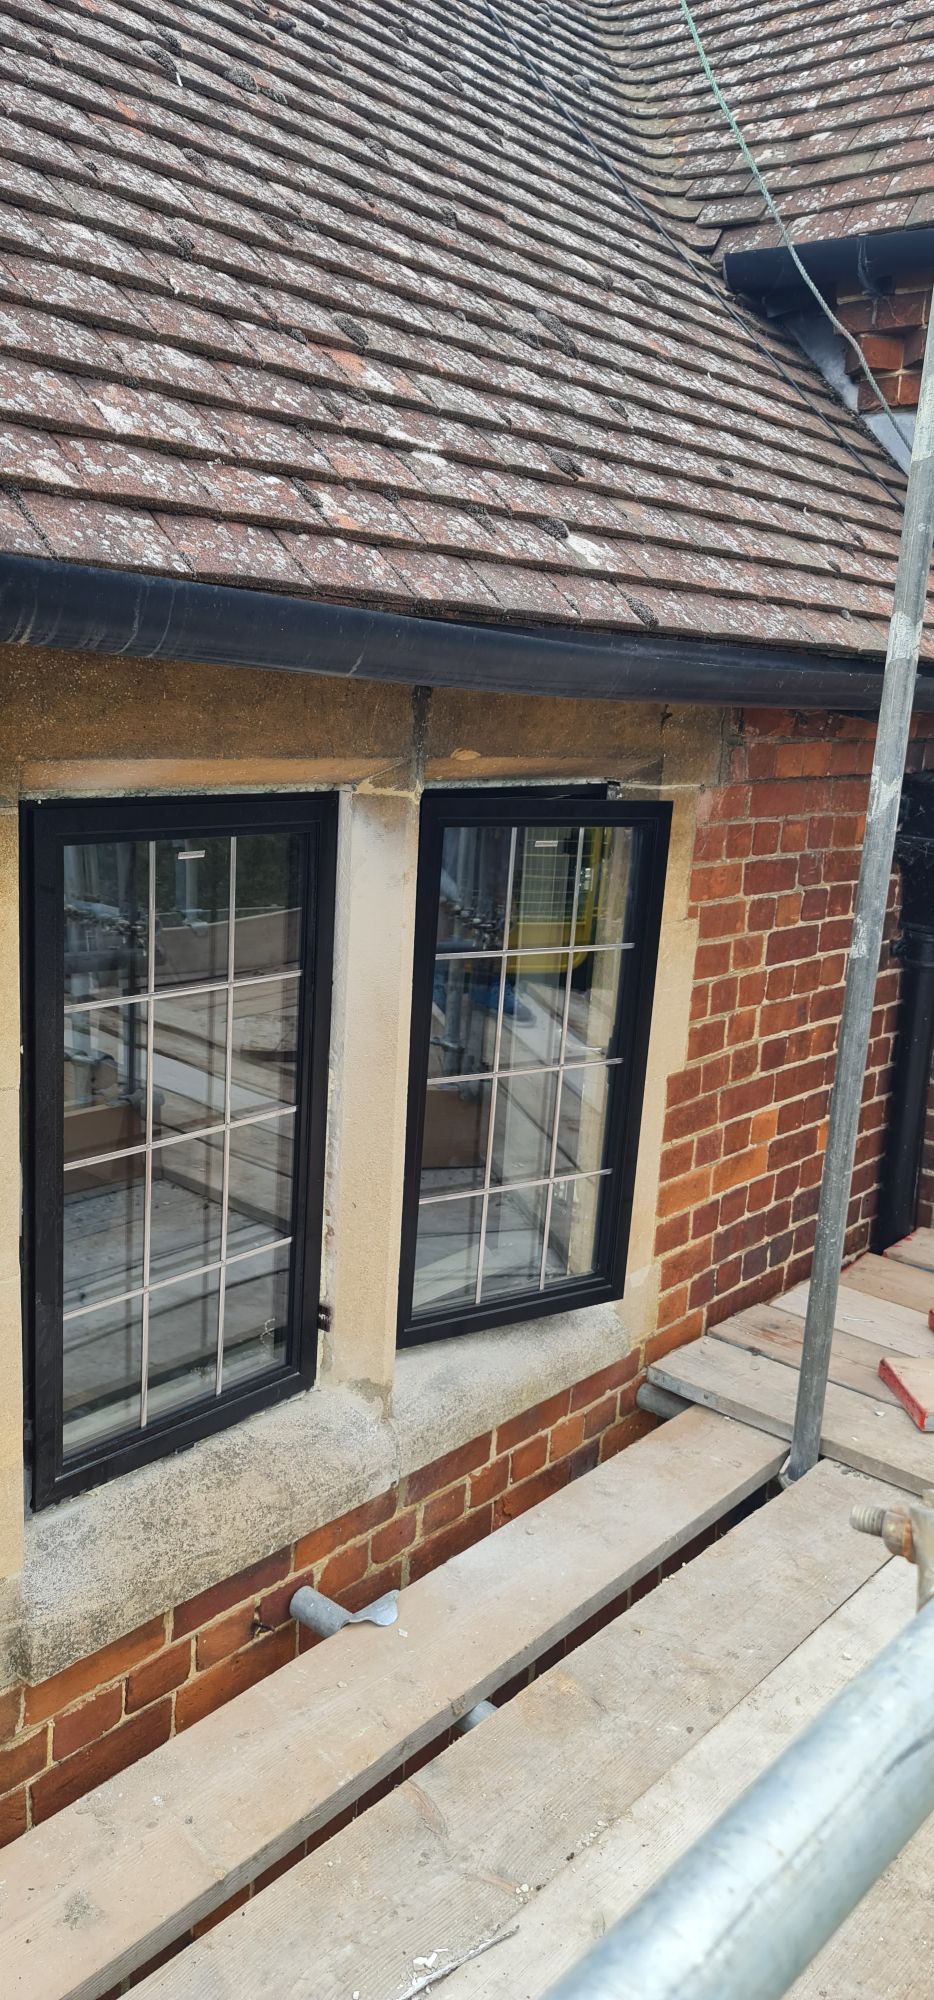
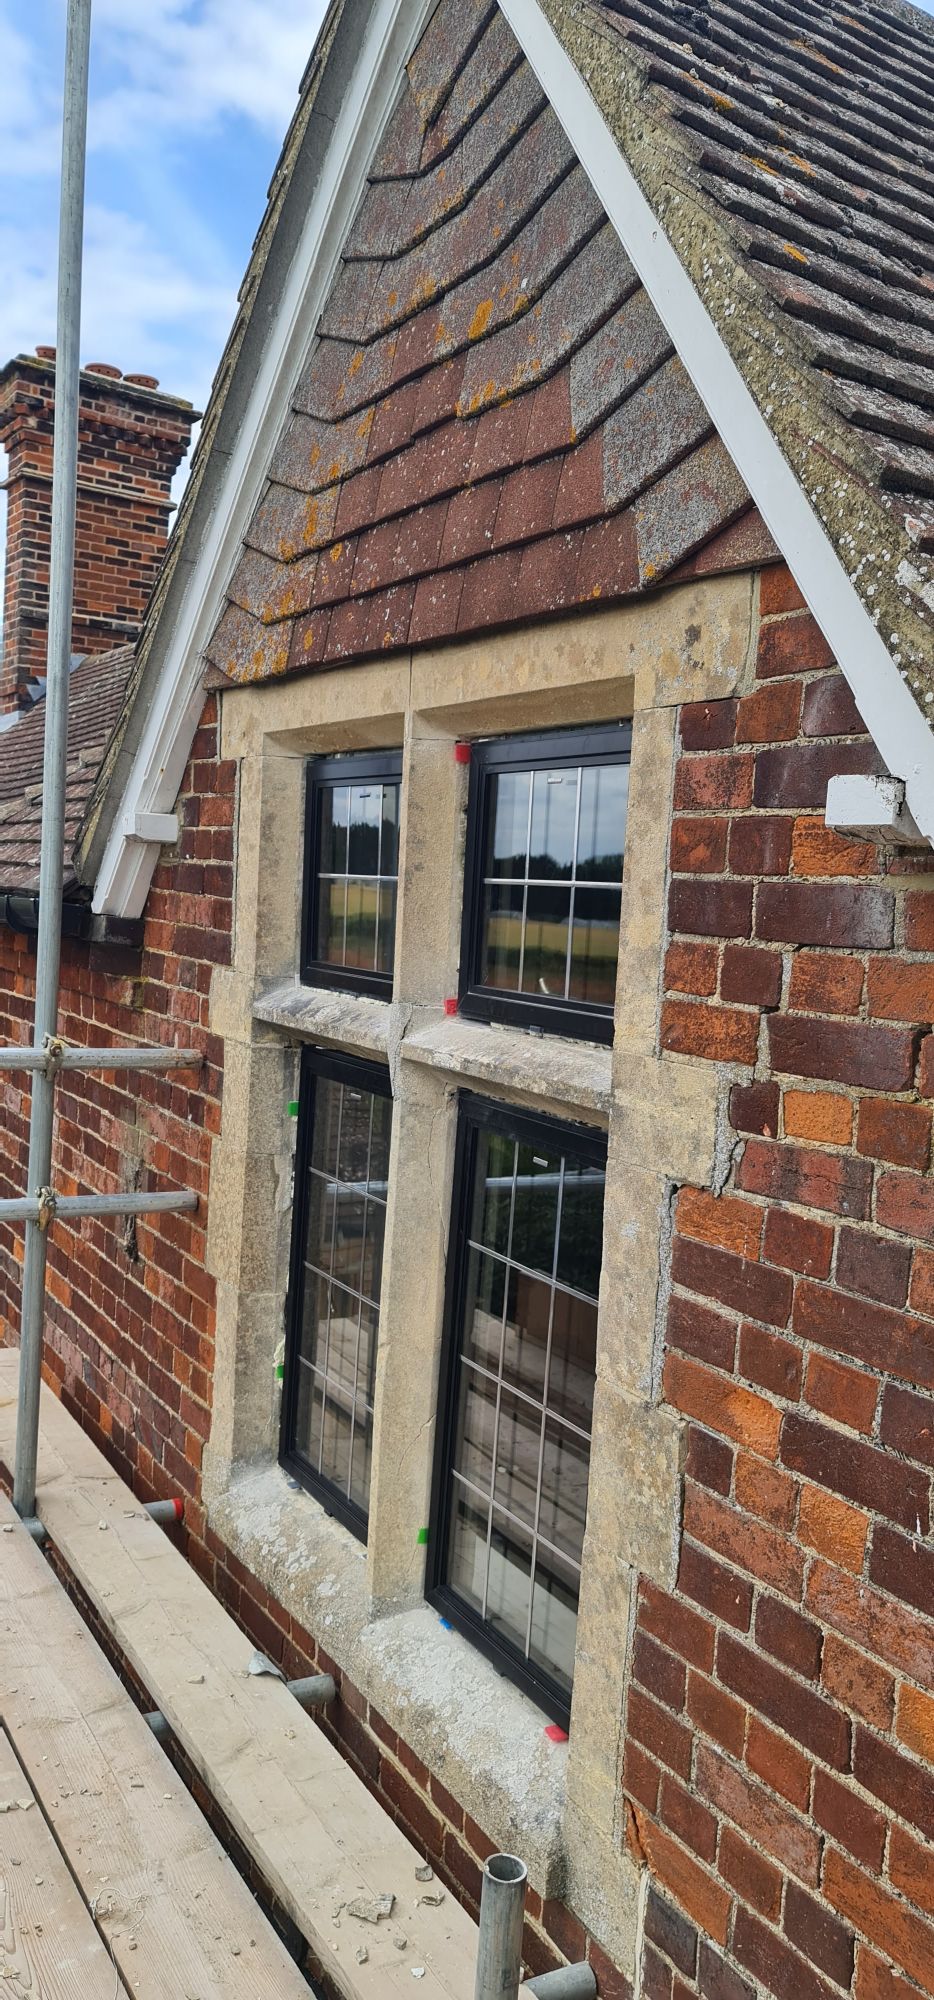
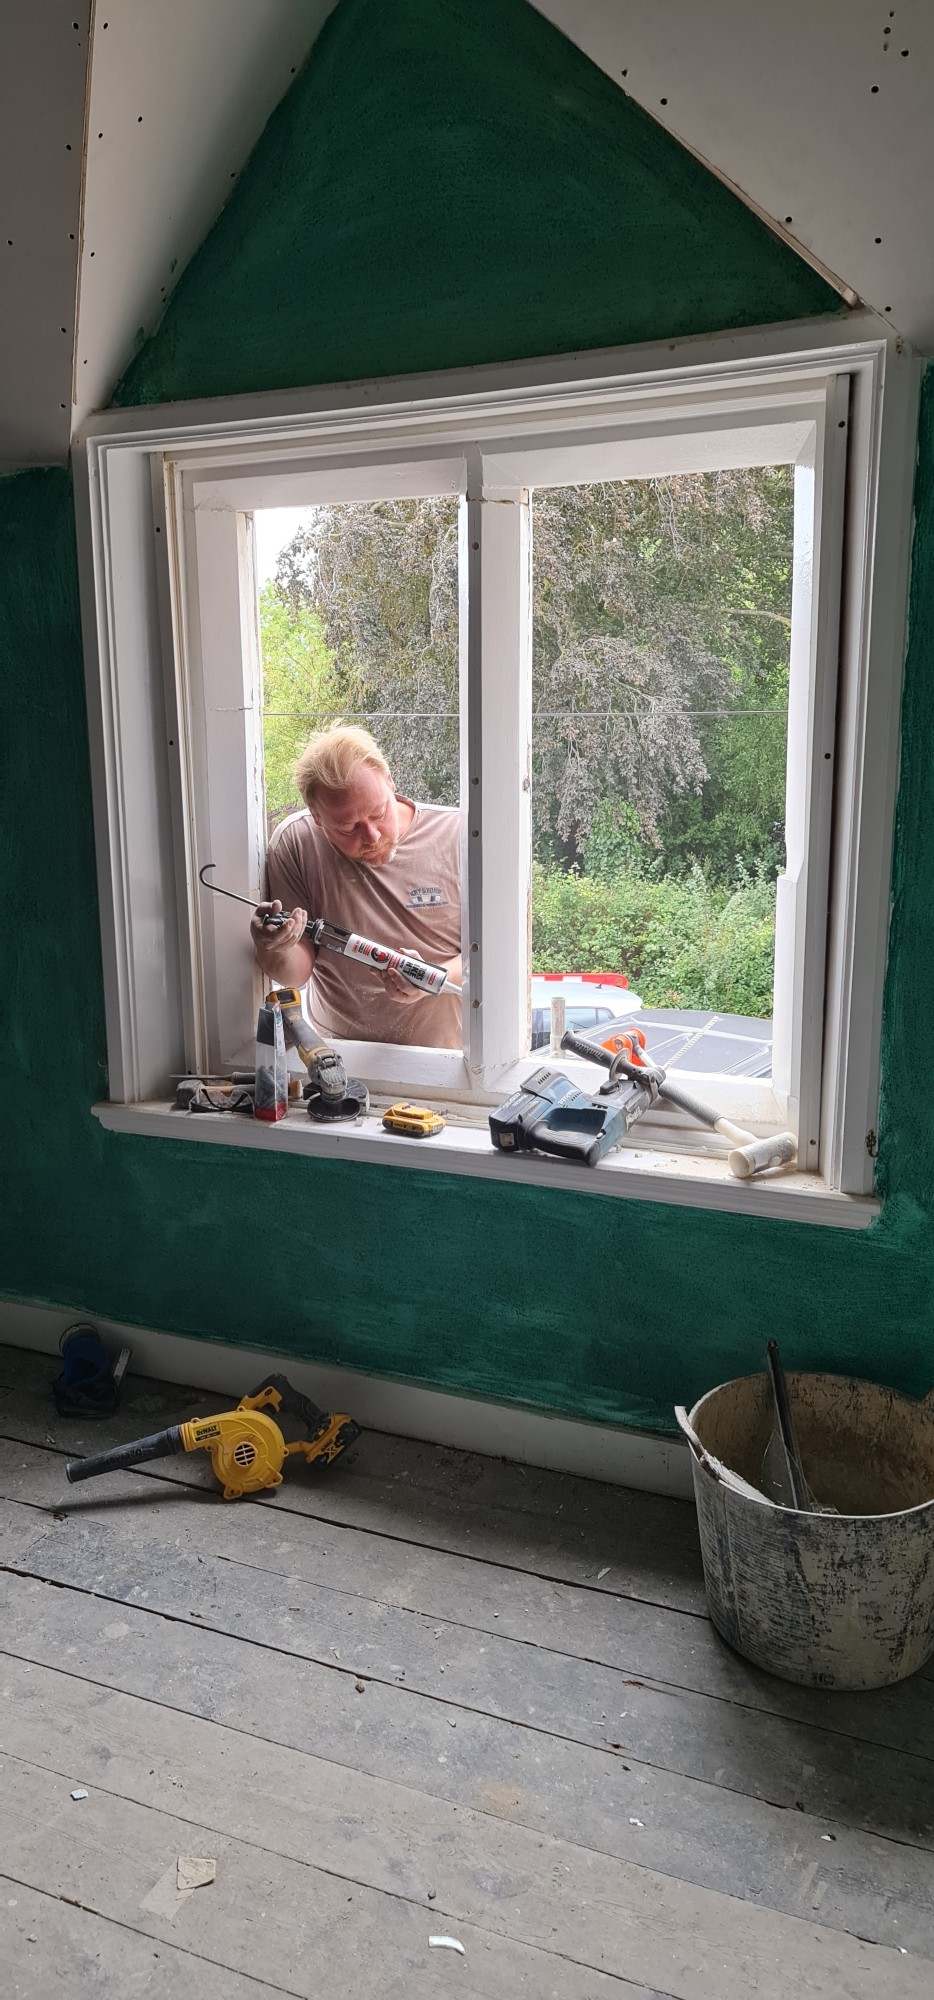
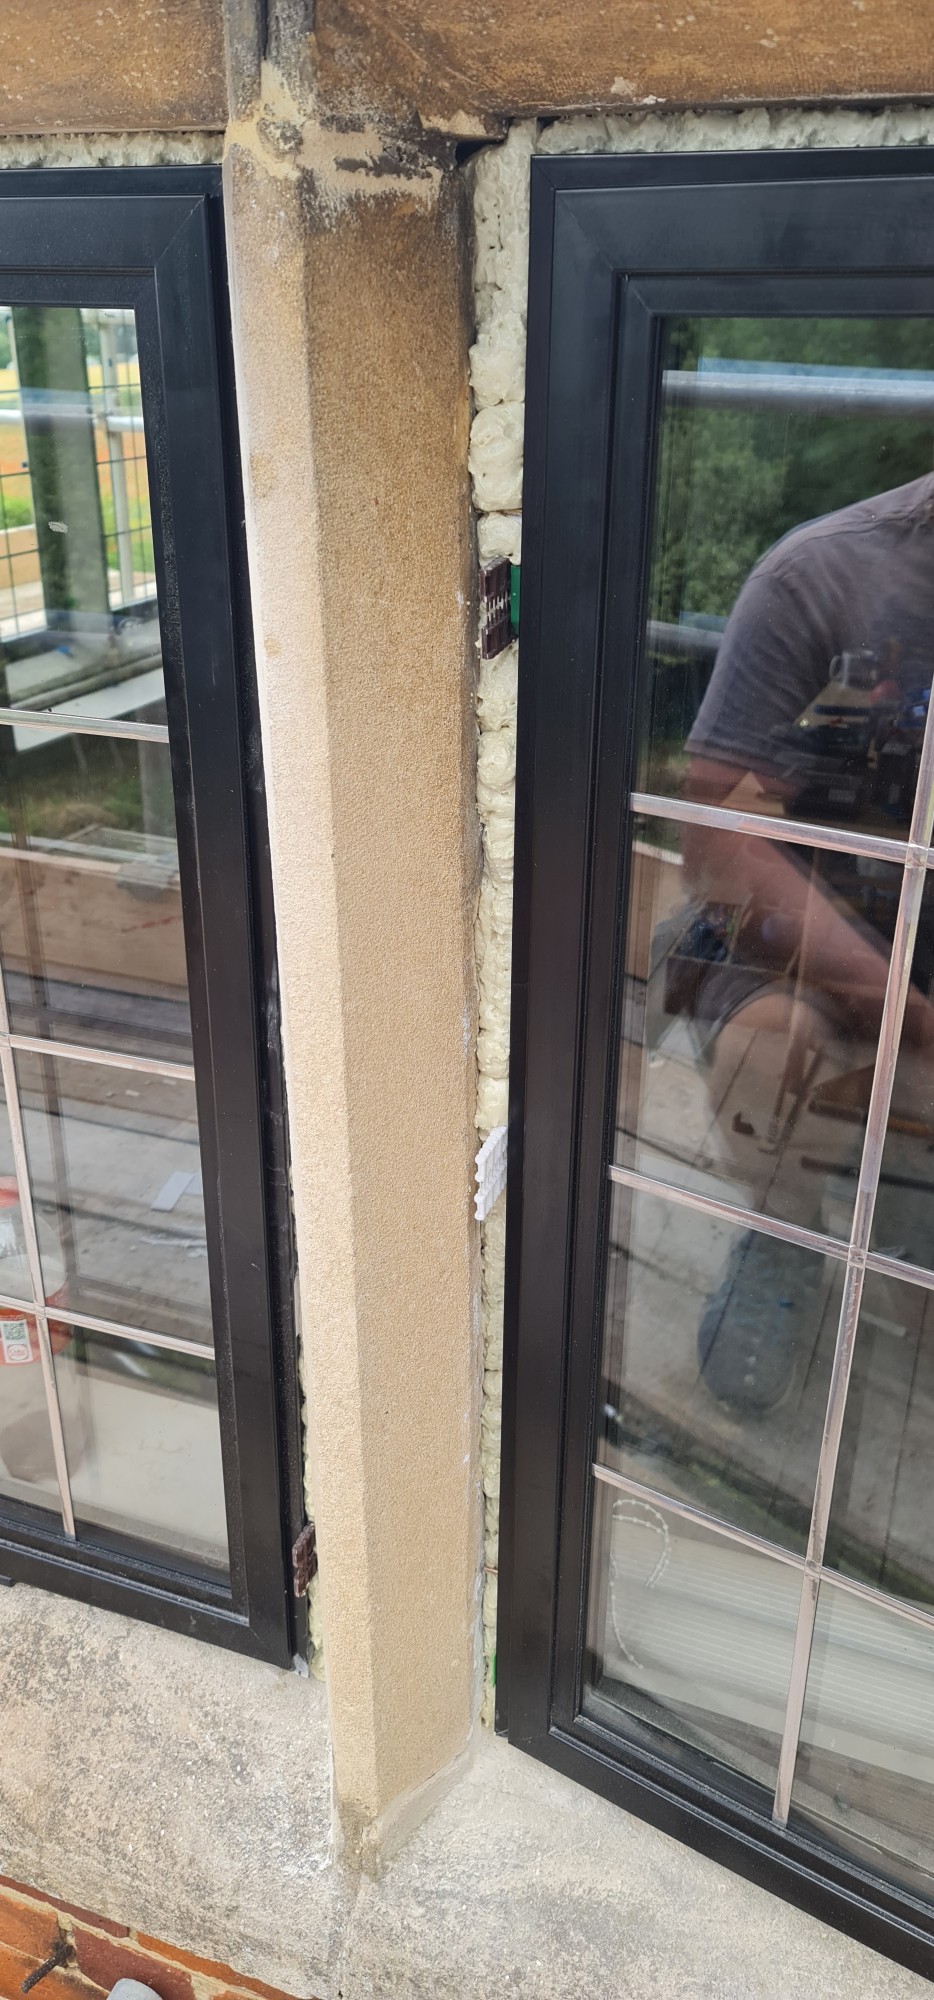
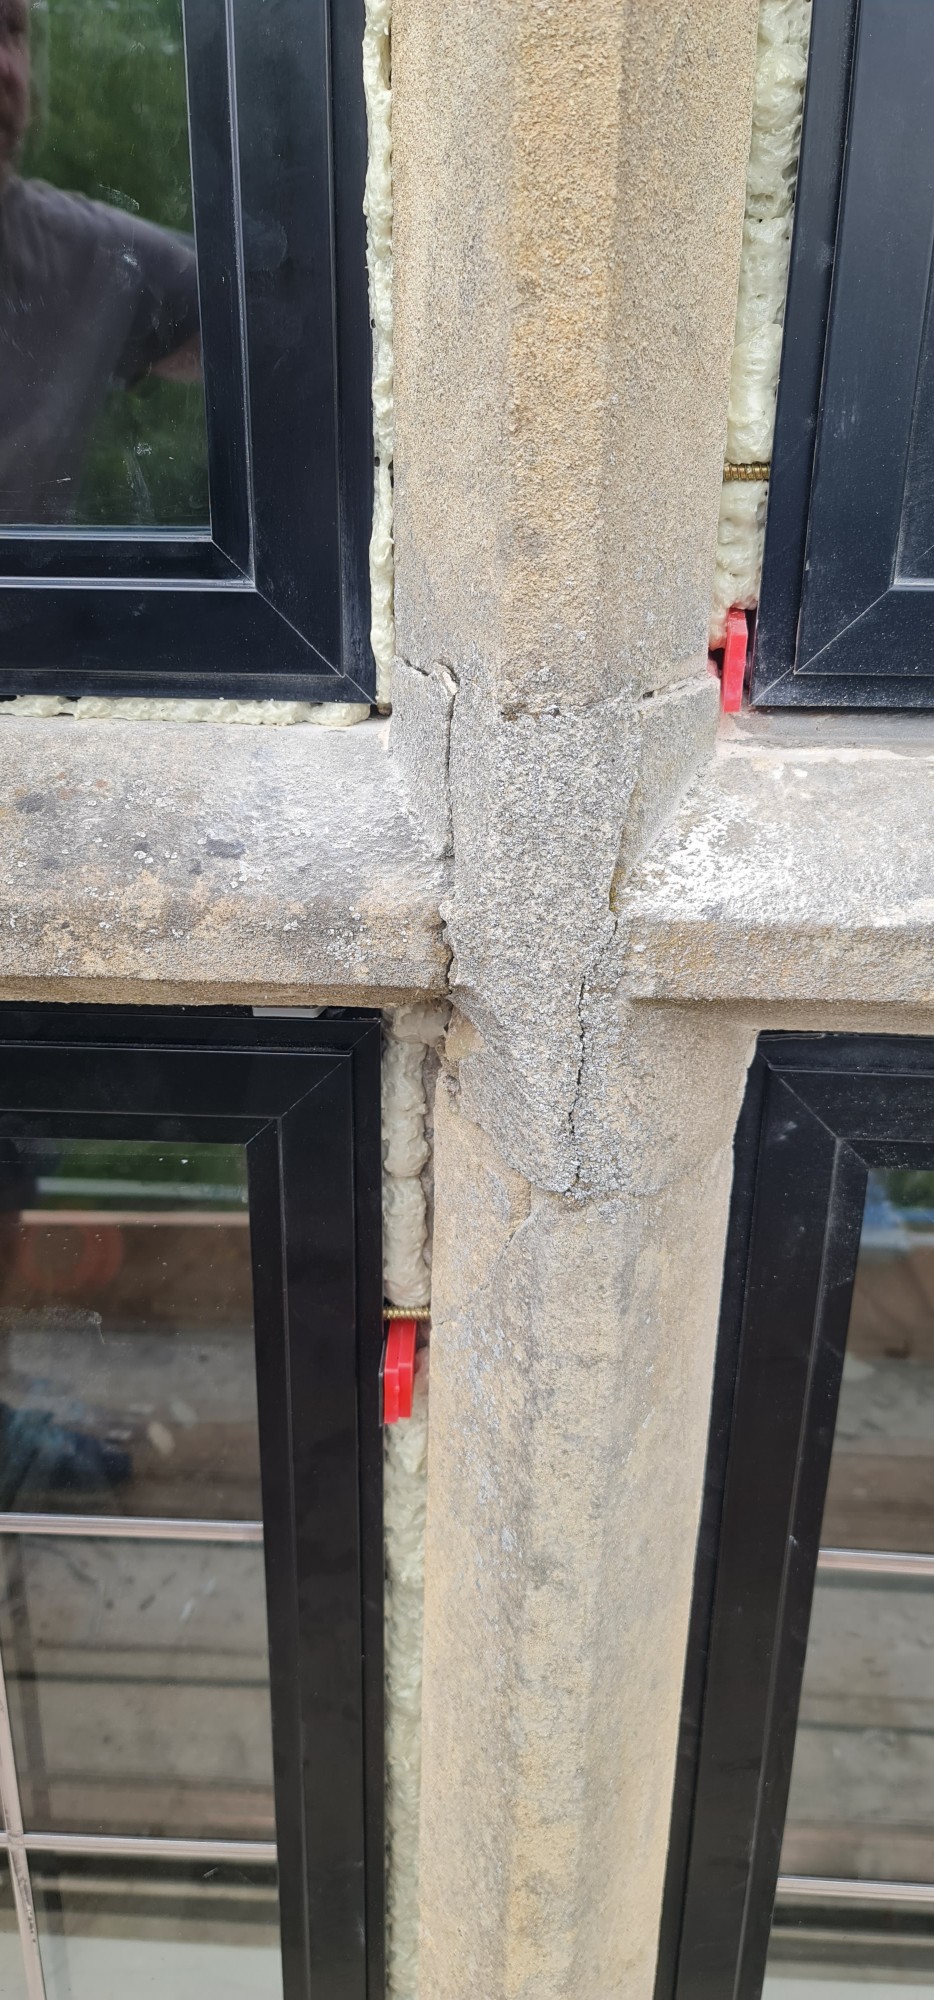
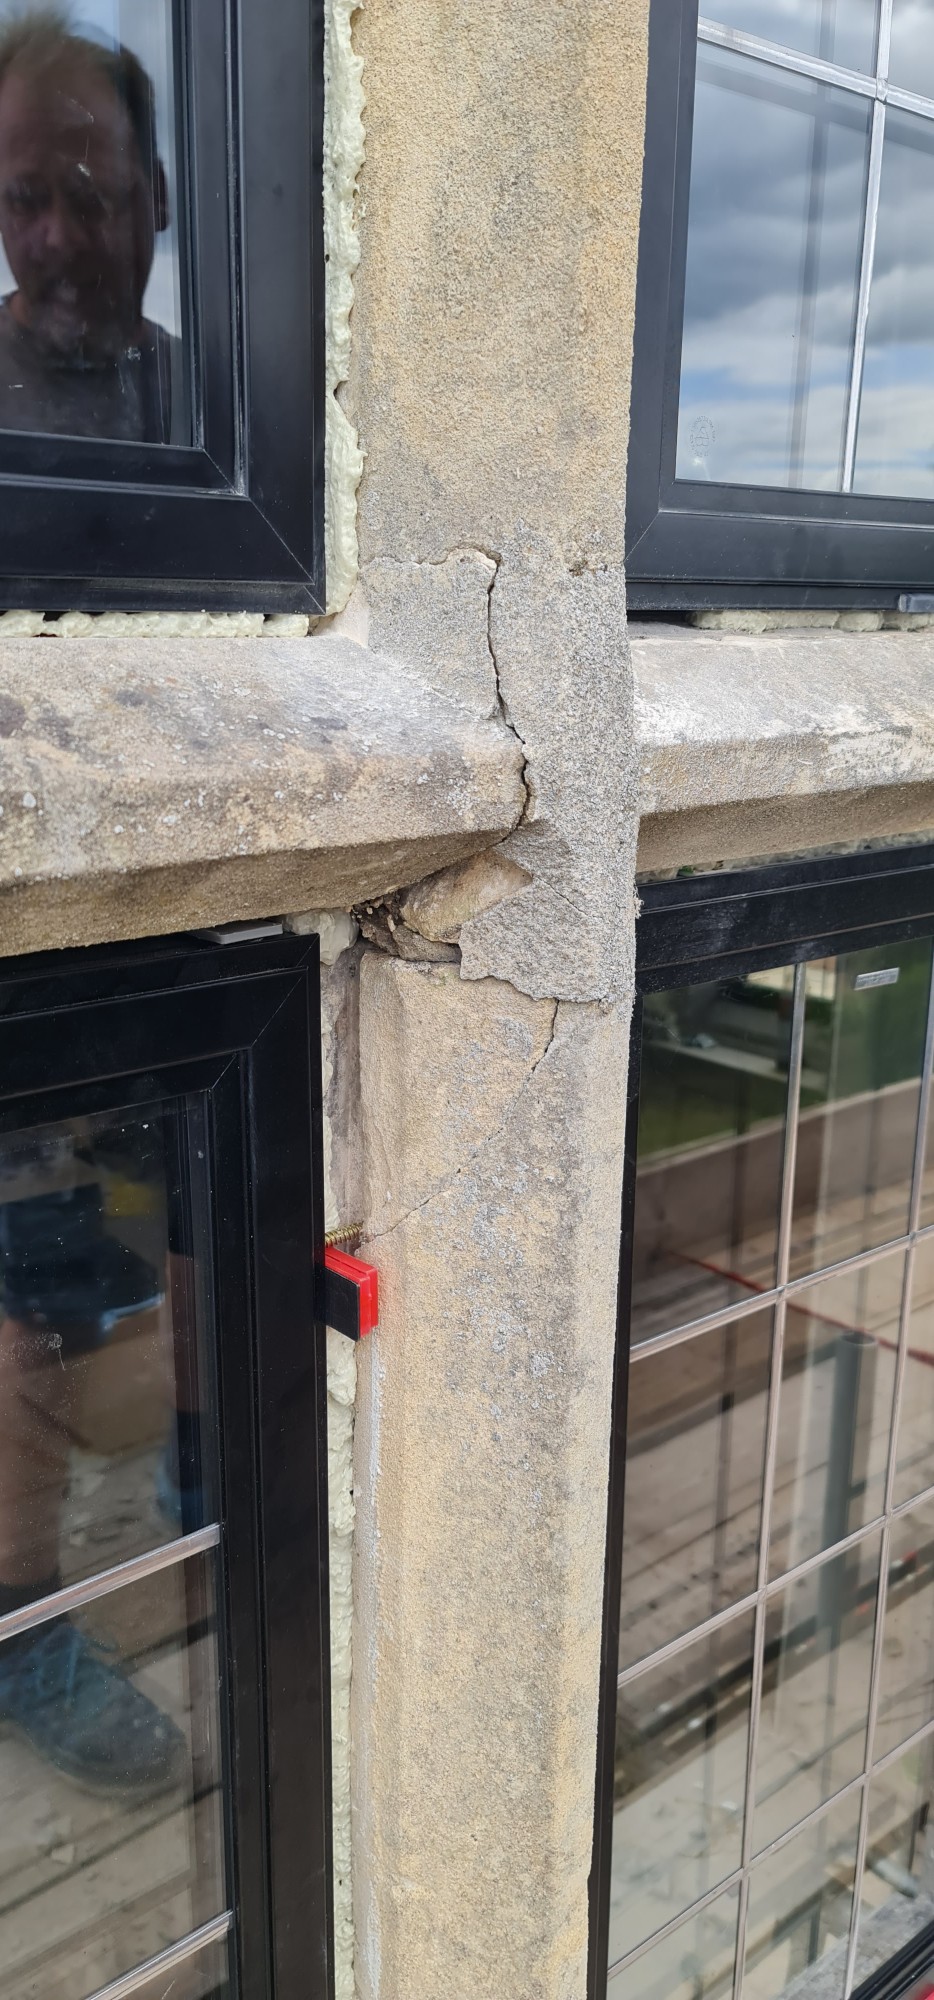
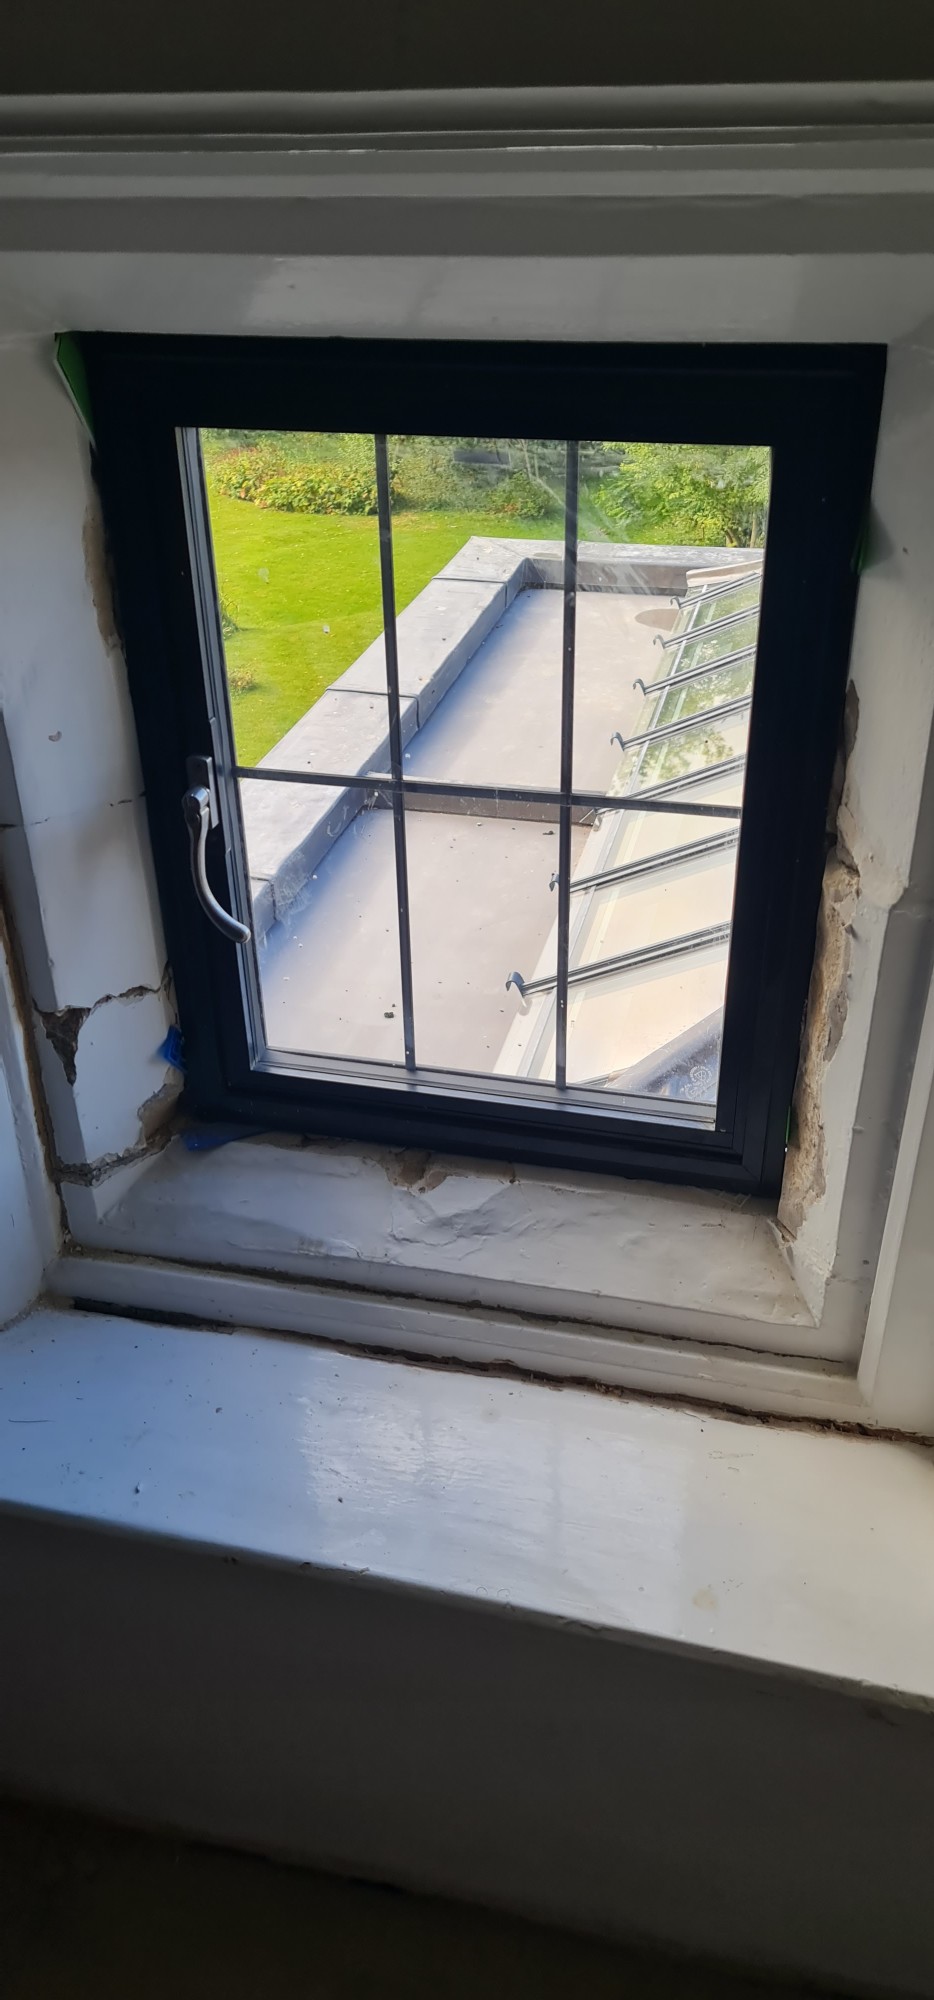
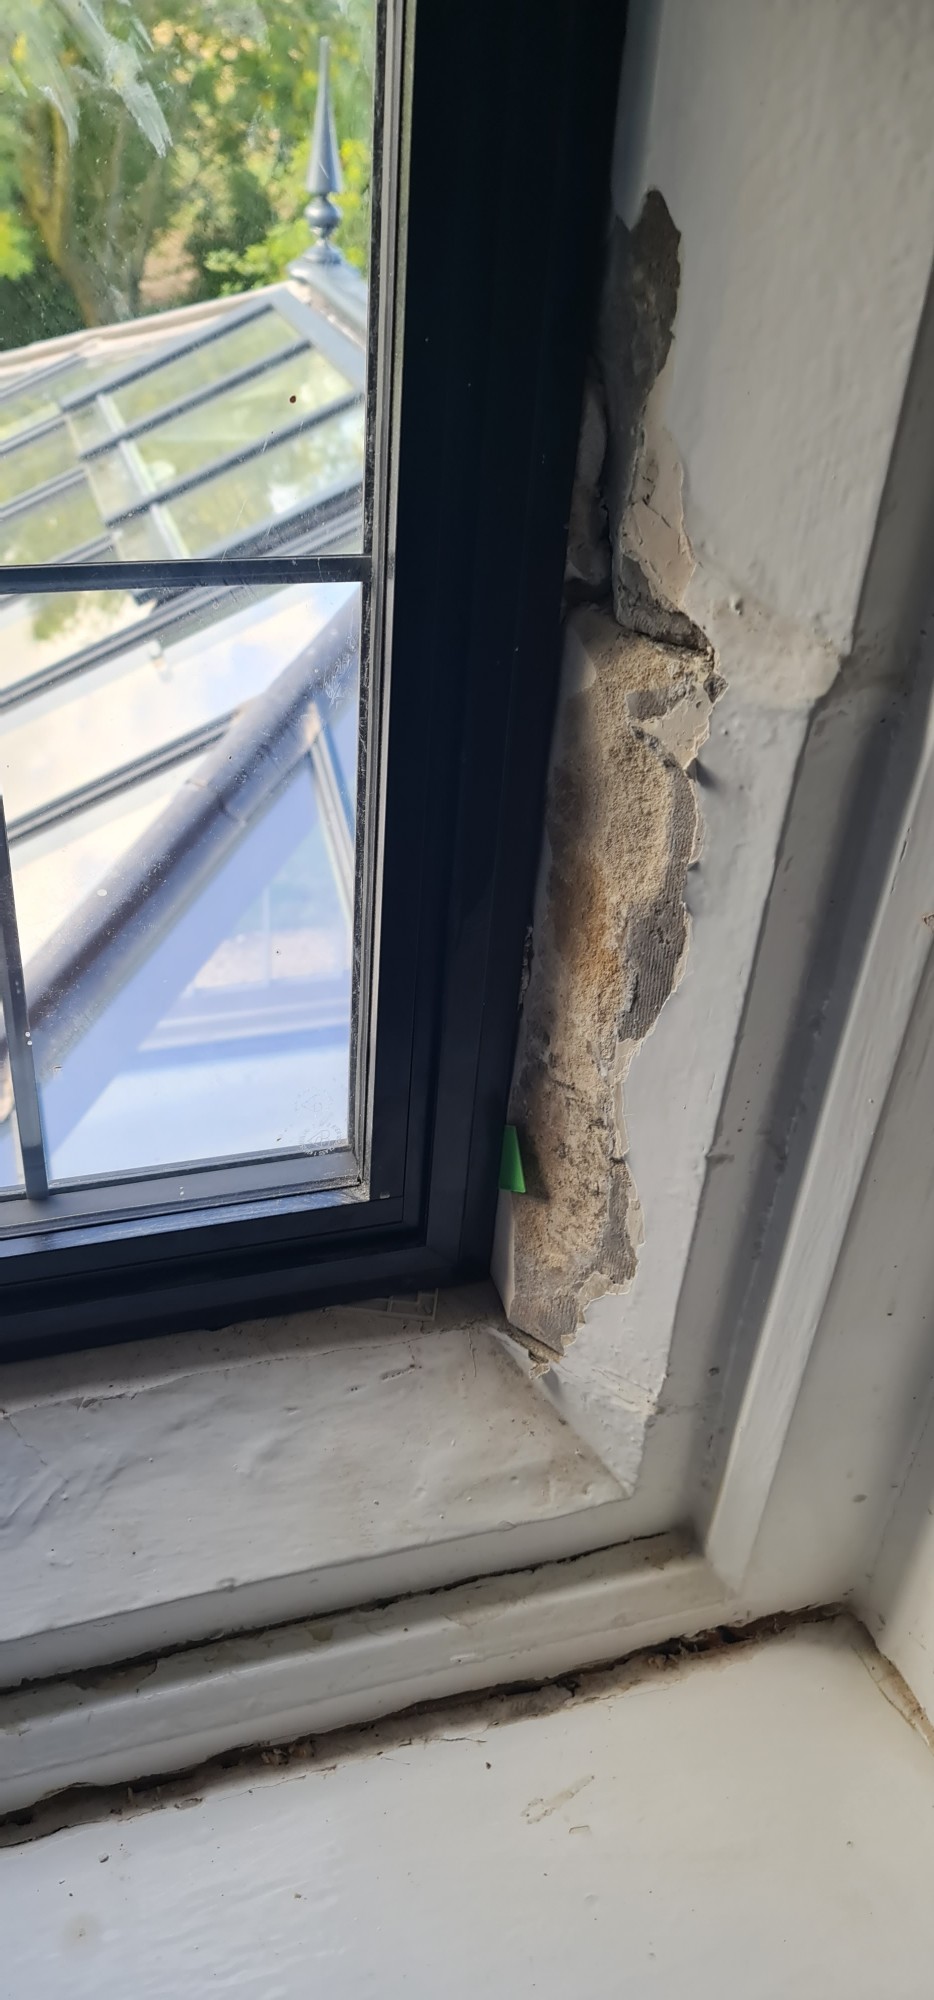
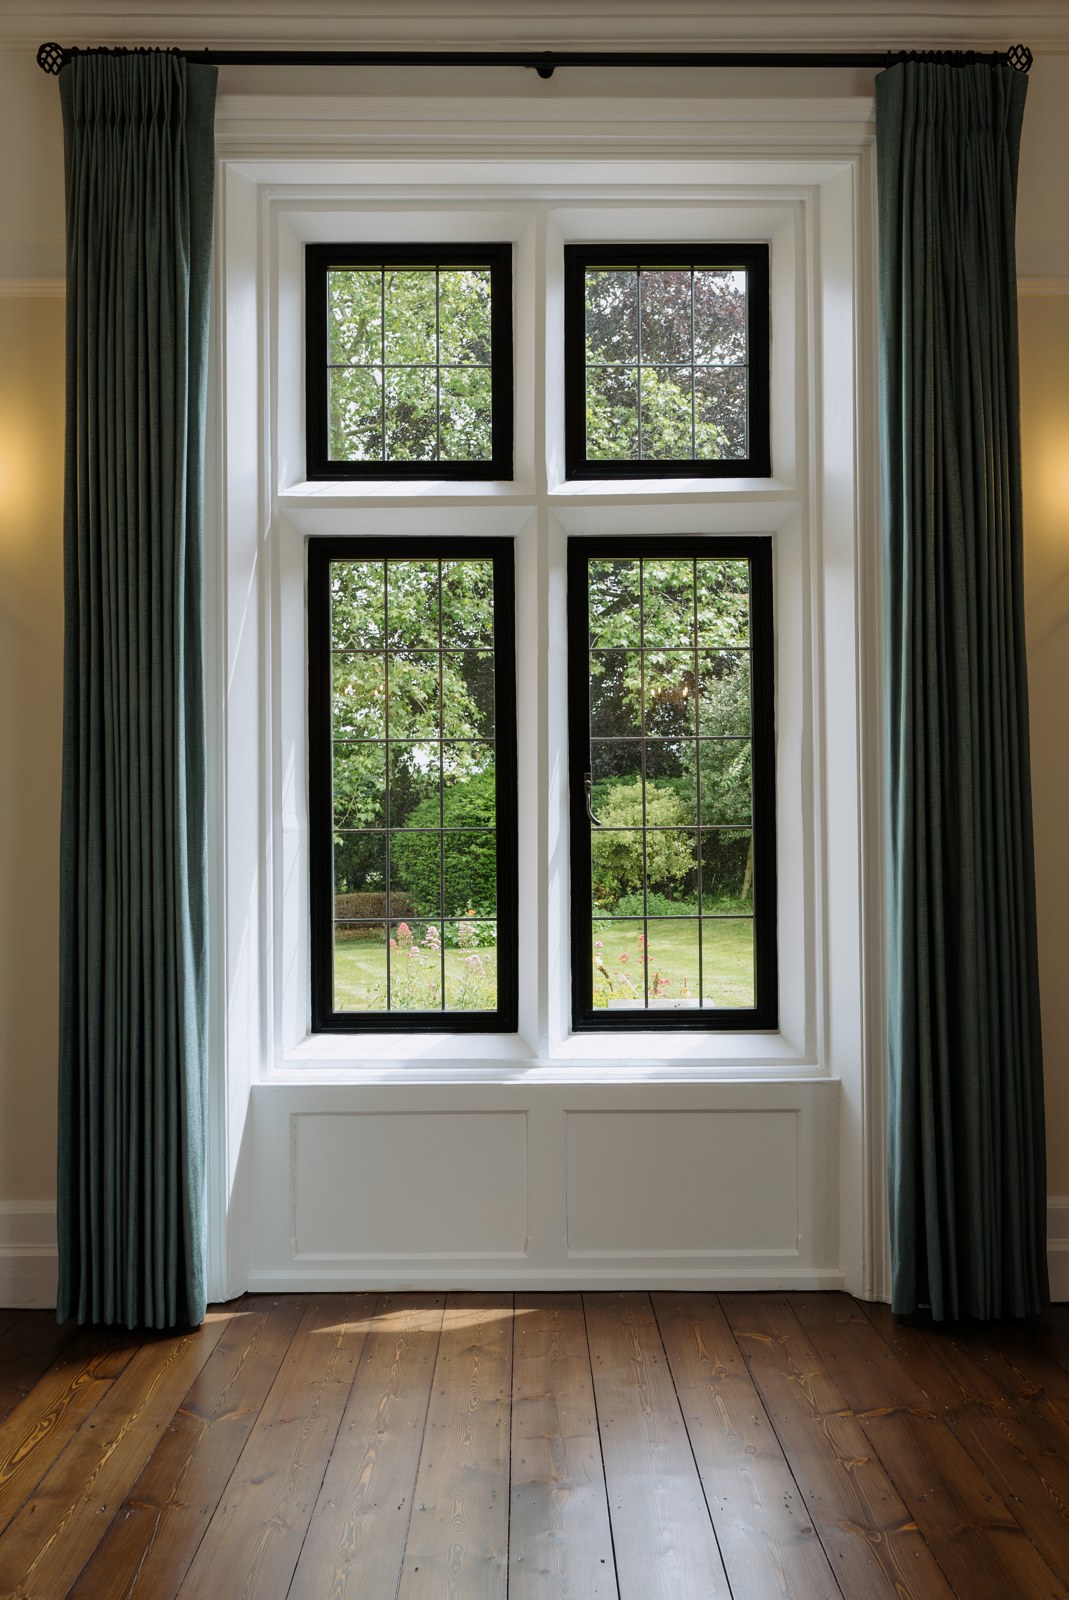
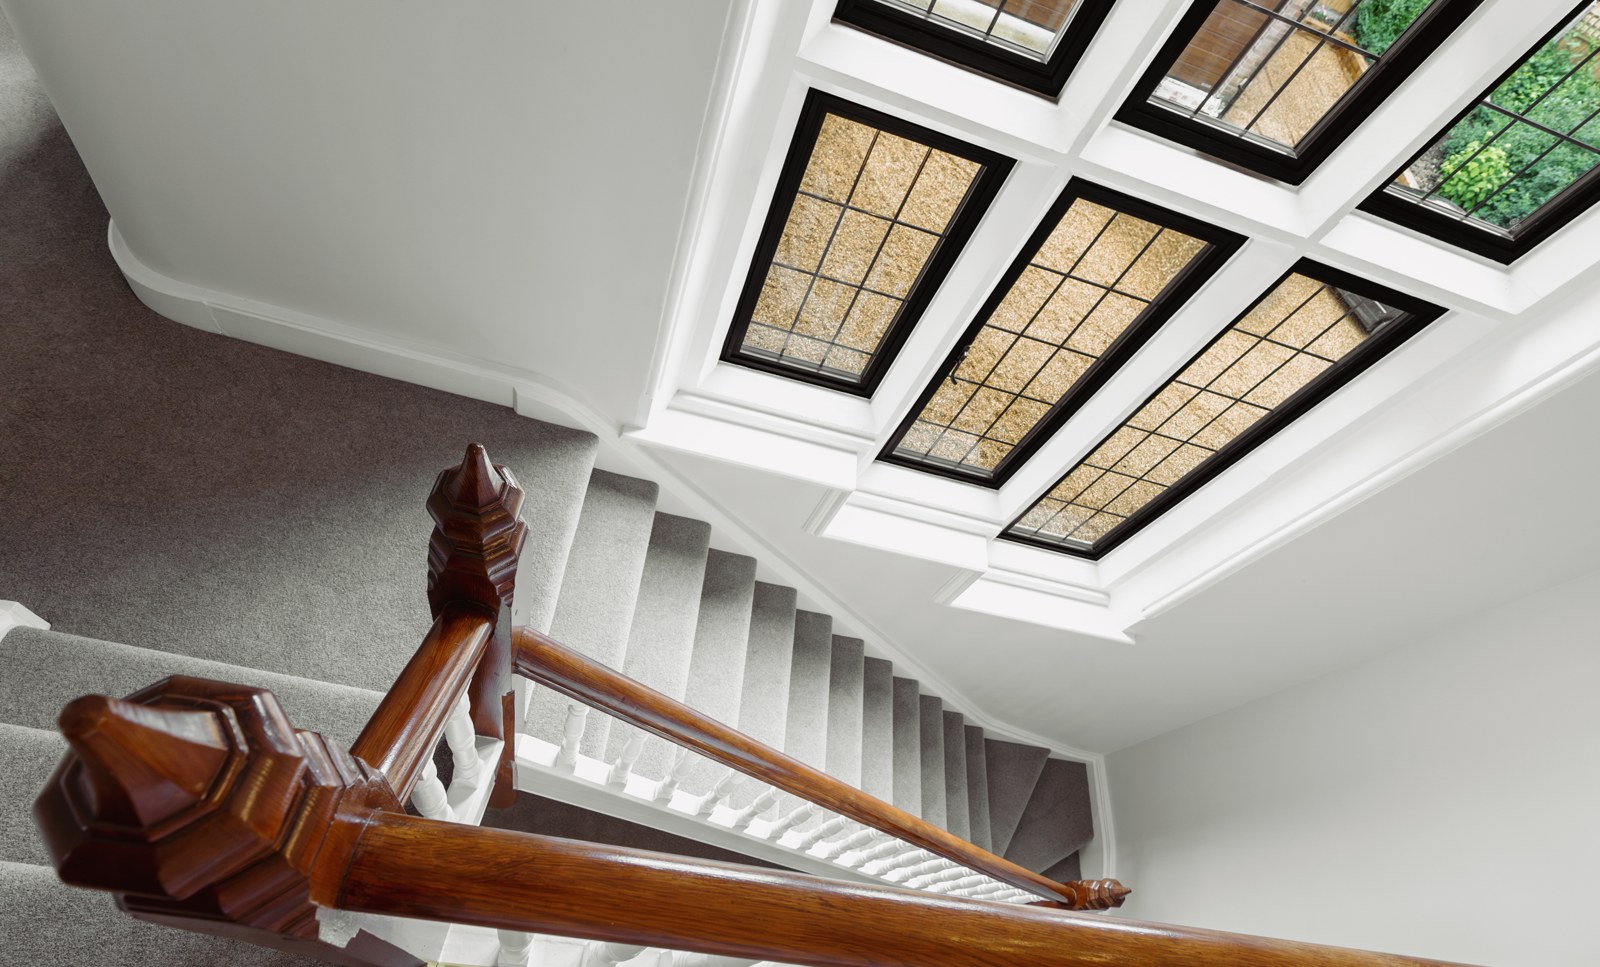
Each of the original Crittall steel window frames had to be carefully cut out by hand, so that the surrounding stonework and brickwork were not disturbed. We then restored the stone mullions and quoins, stitching the stonework back together at three of the bedroom windows, and fitted new heritage windows into the restored stone surrounds. The windows sit within the existing stonework, keeping the proportions that give the elevations their character.
Stage 10
Plastering and decorating
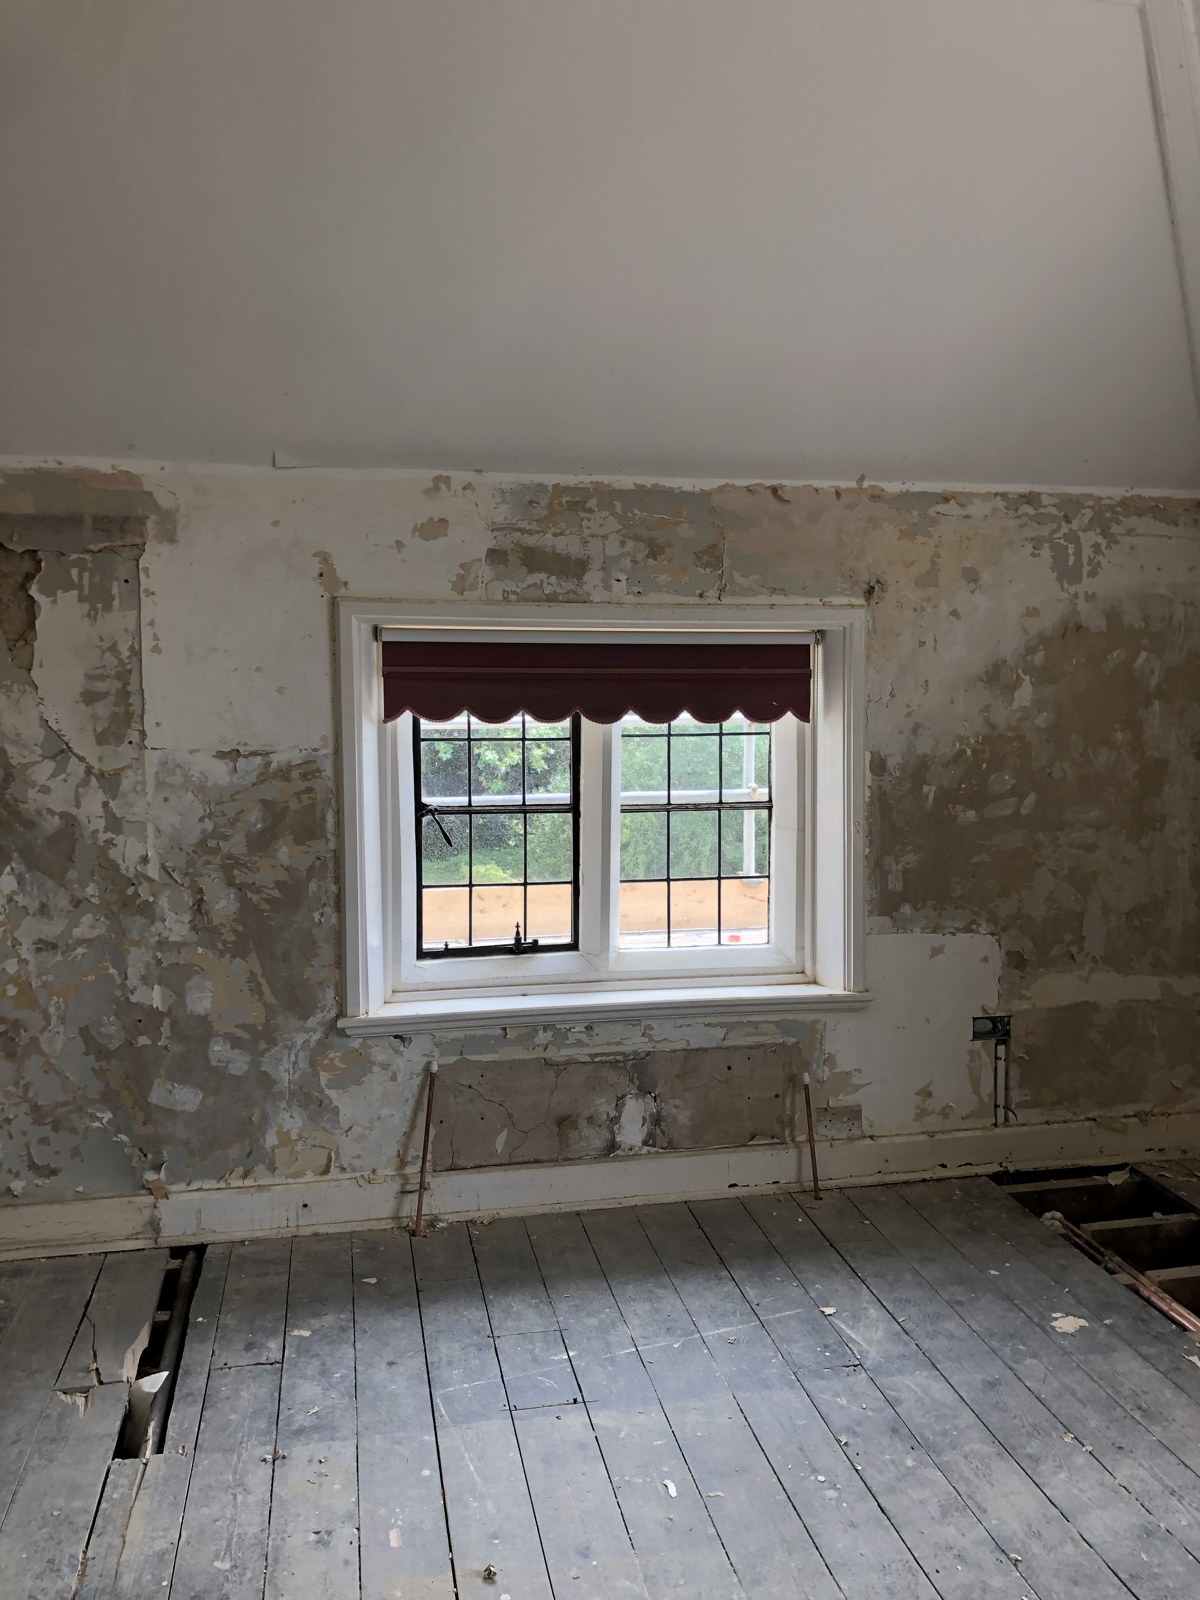
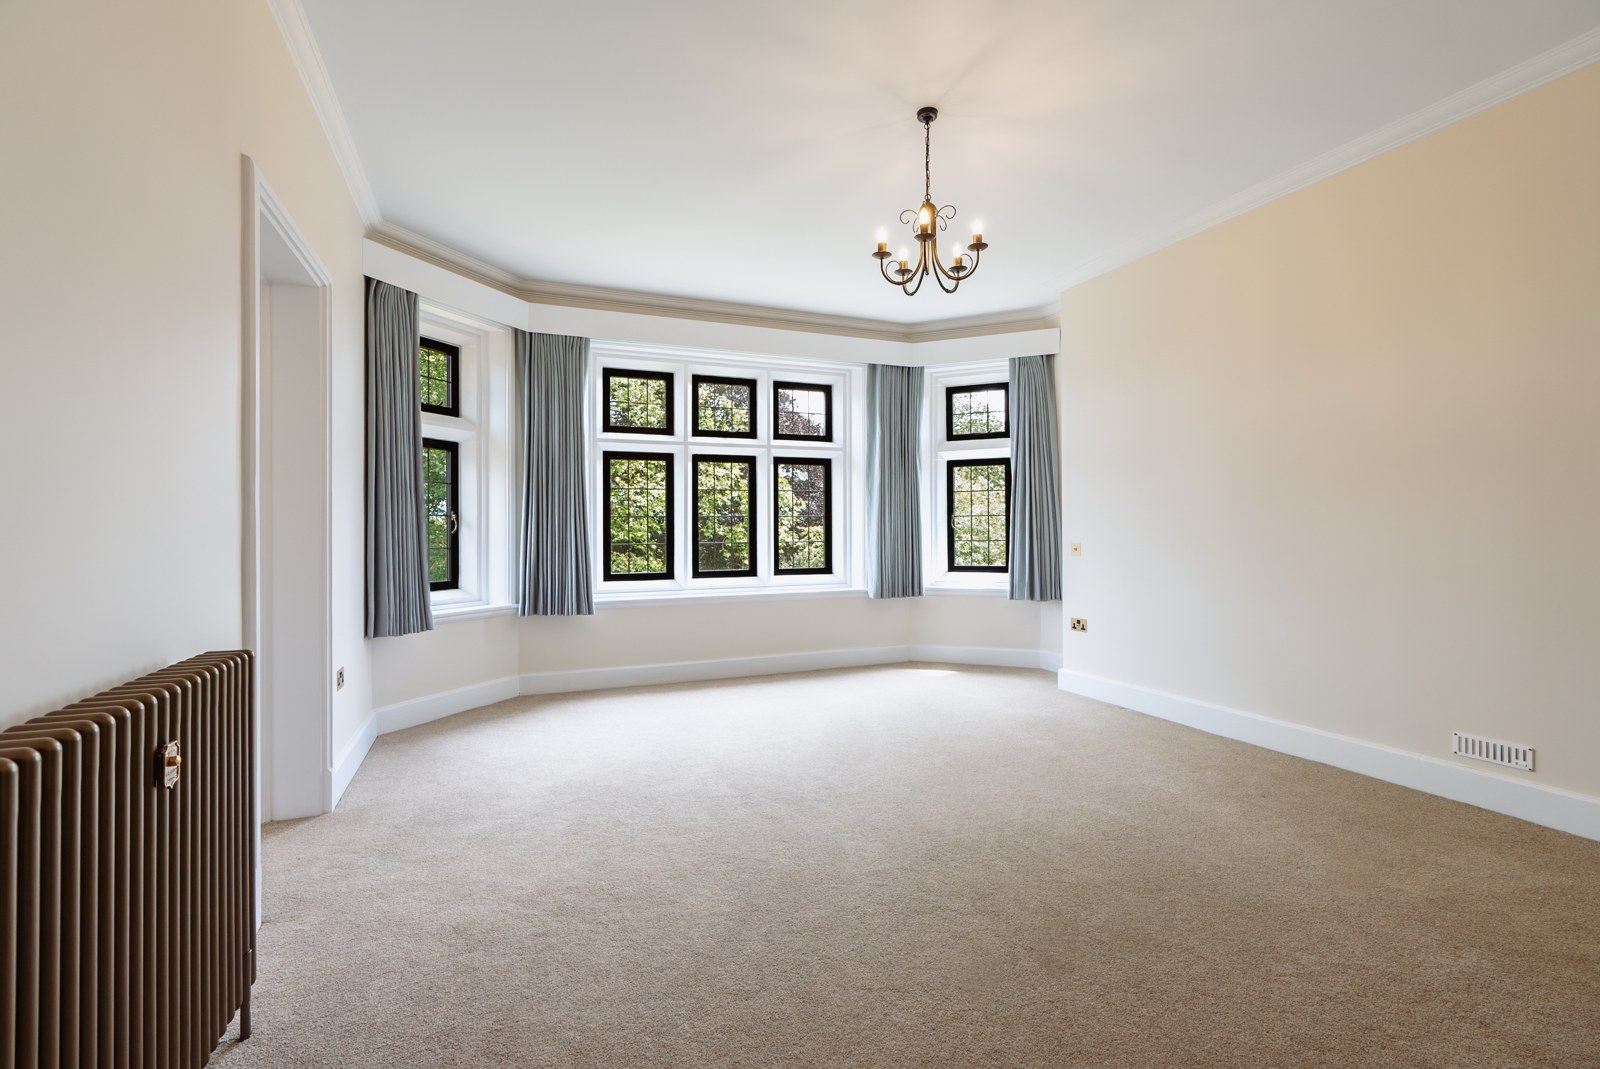
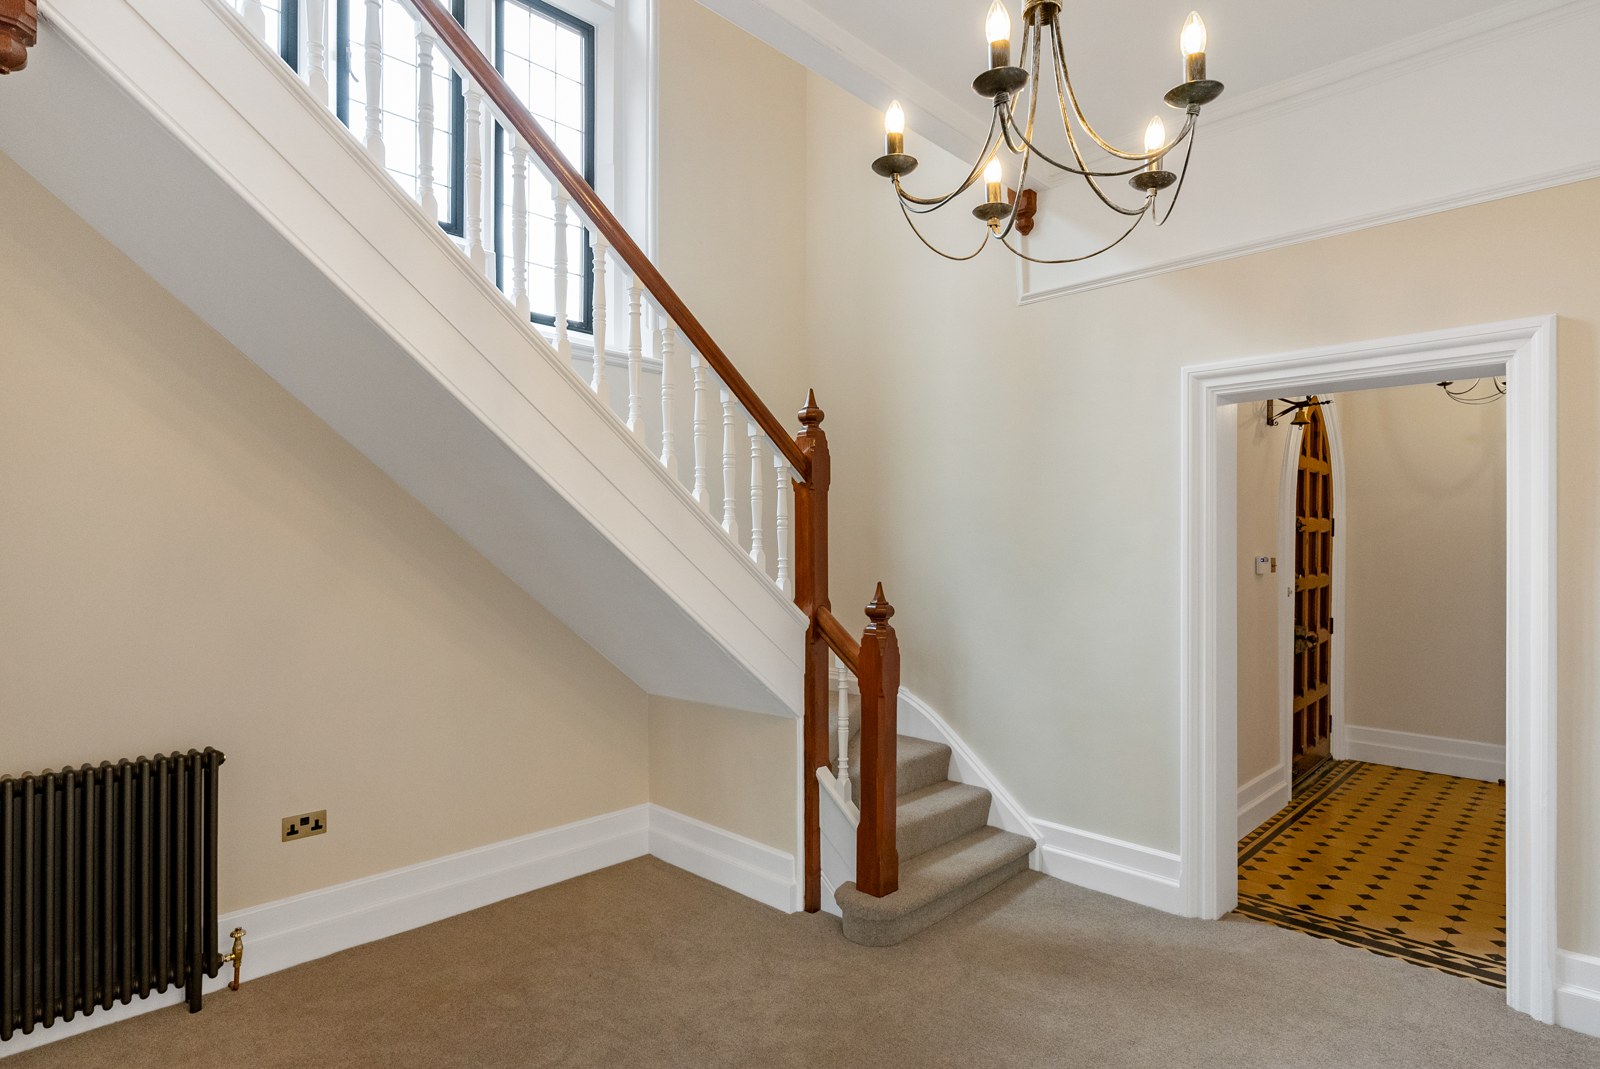
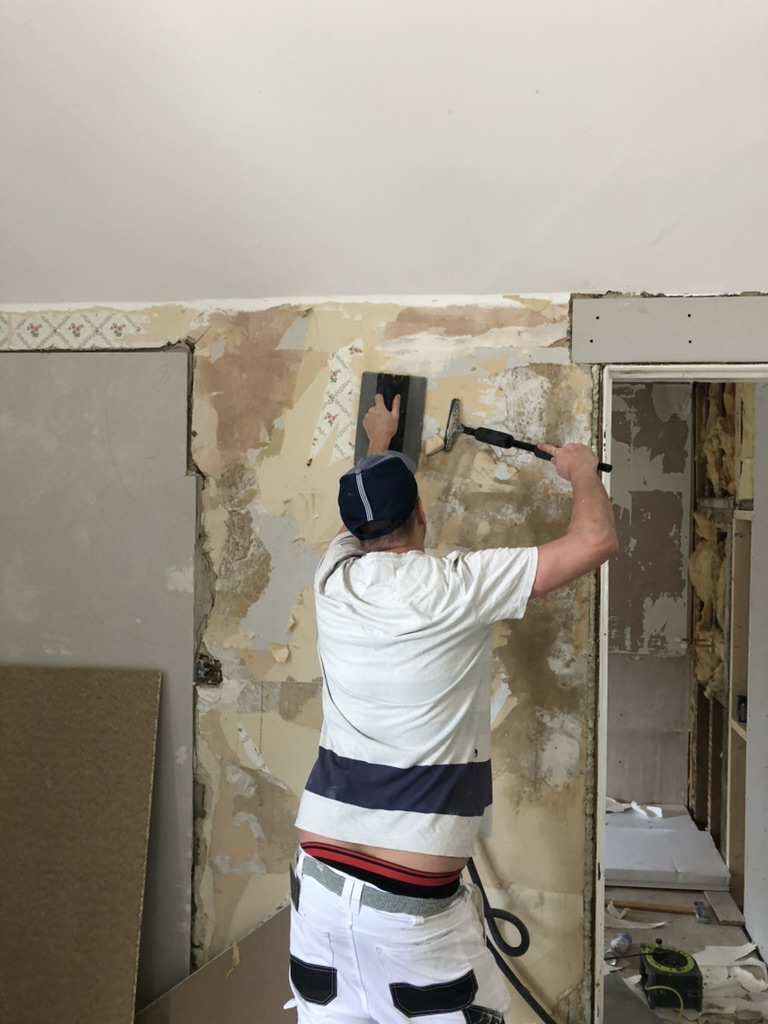
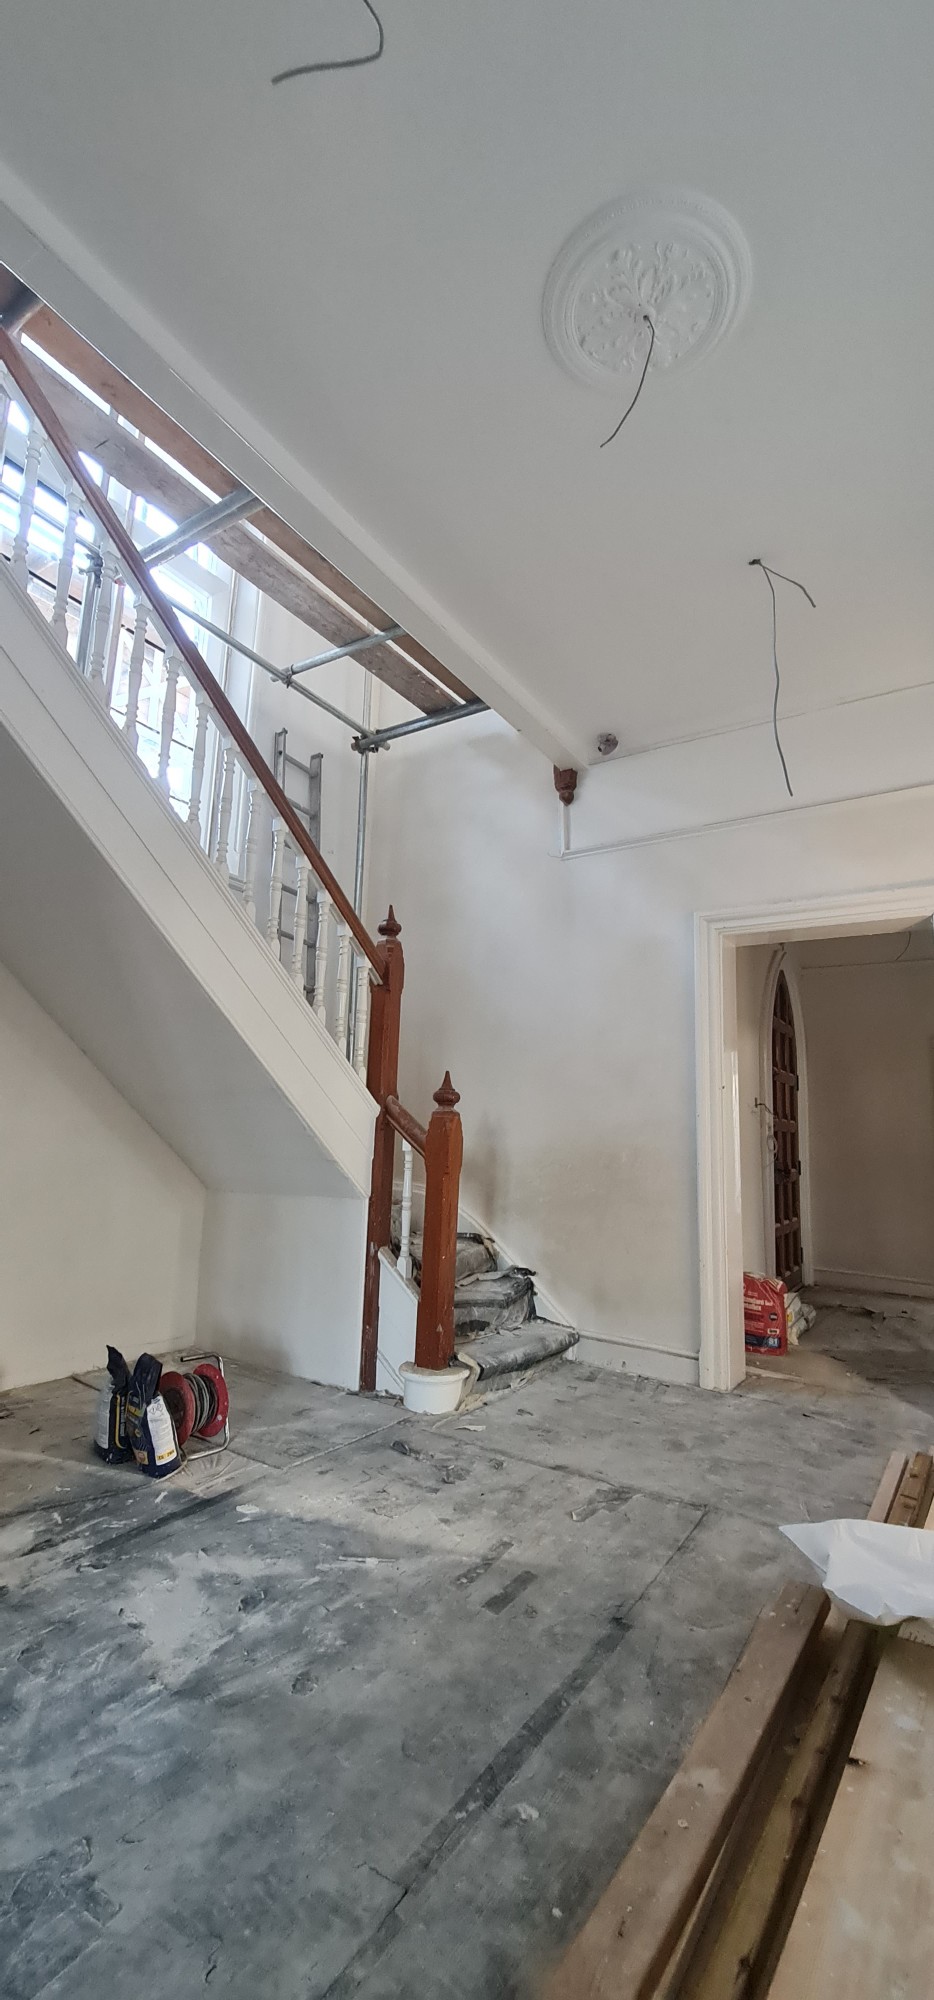
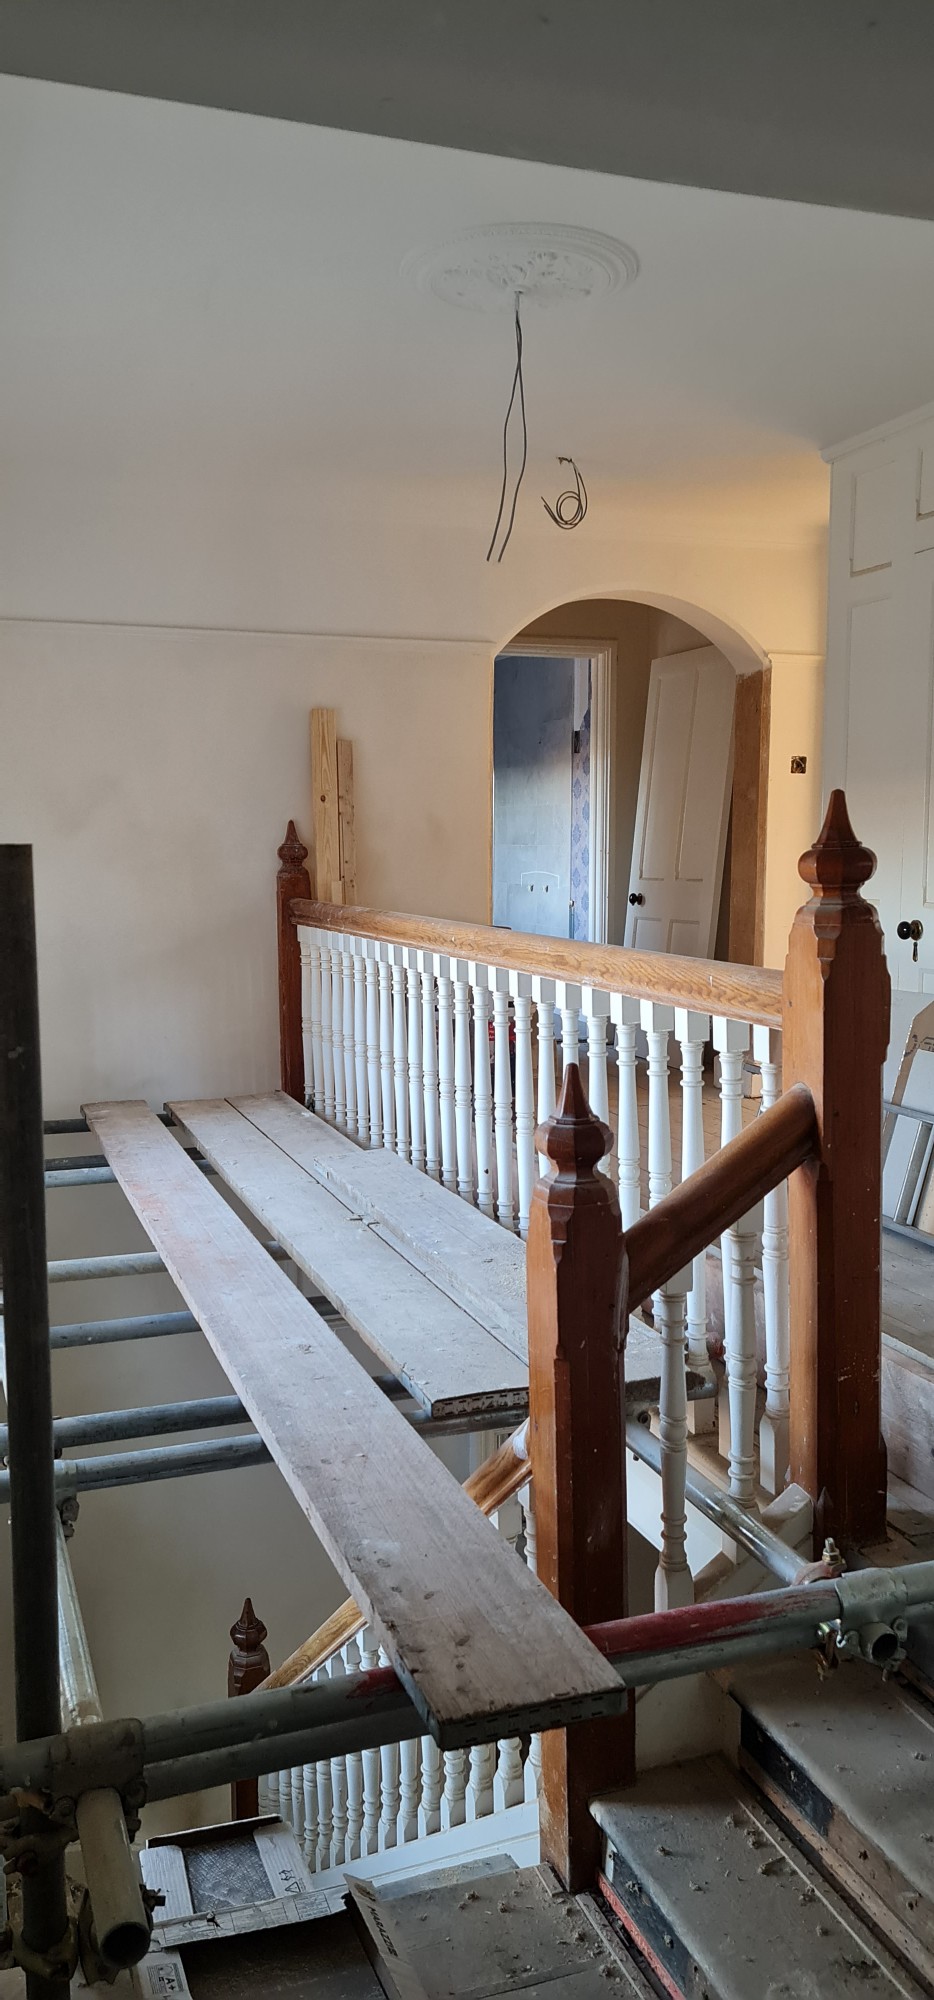
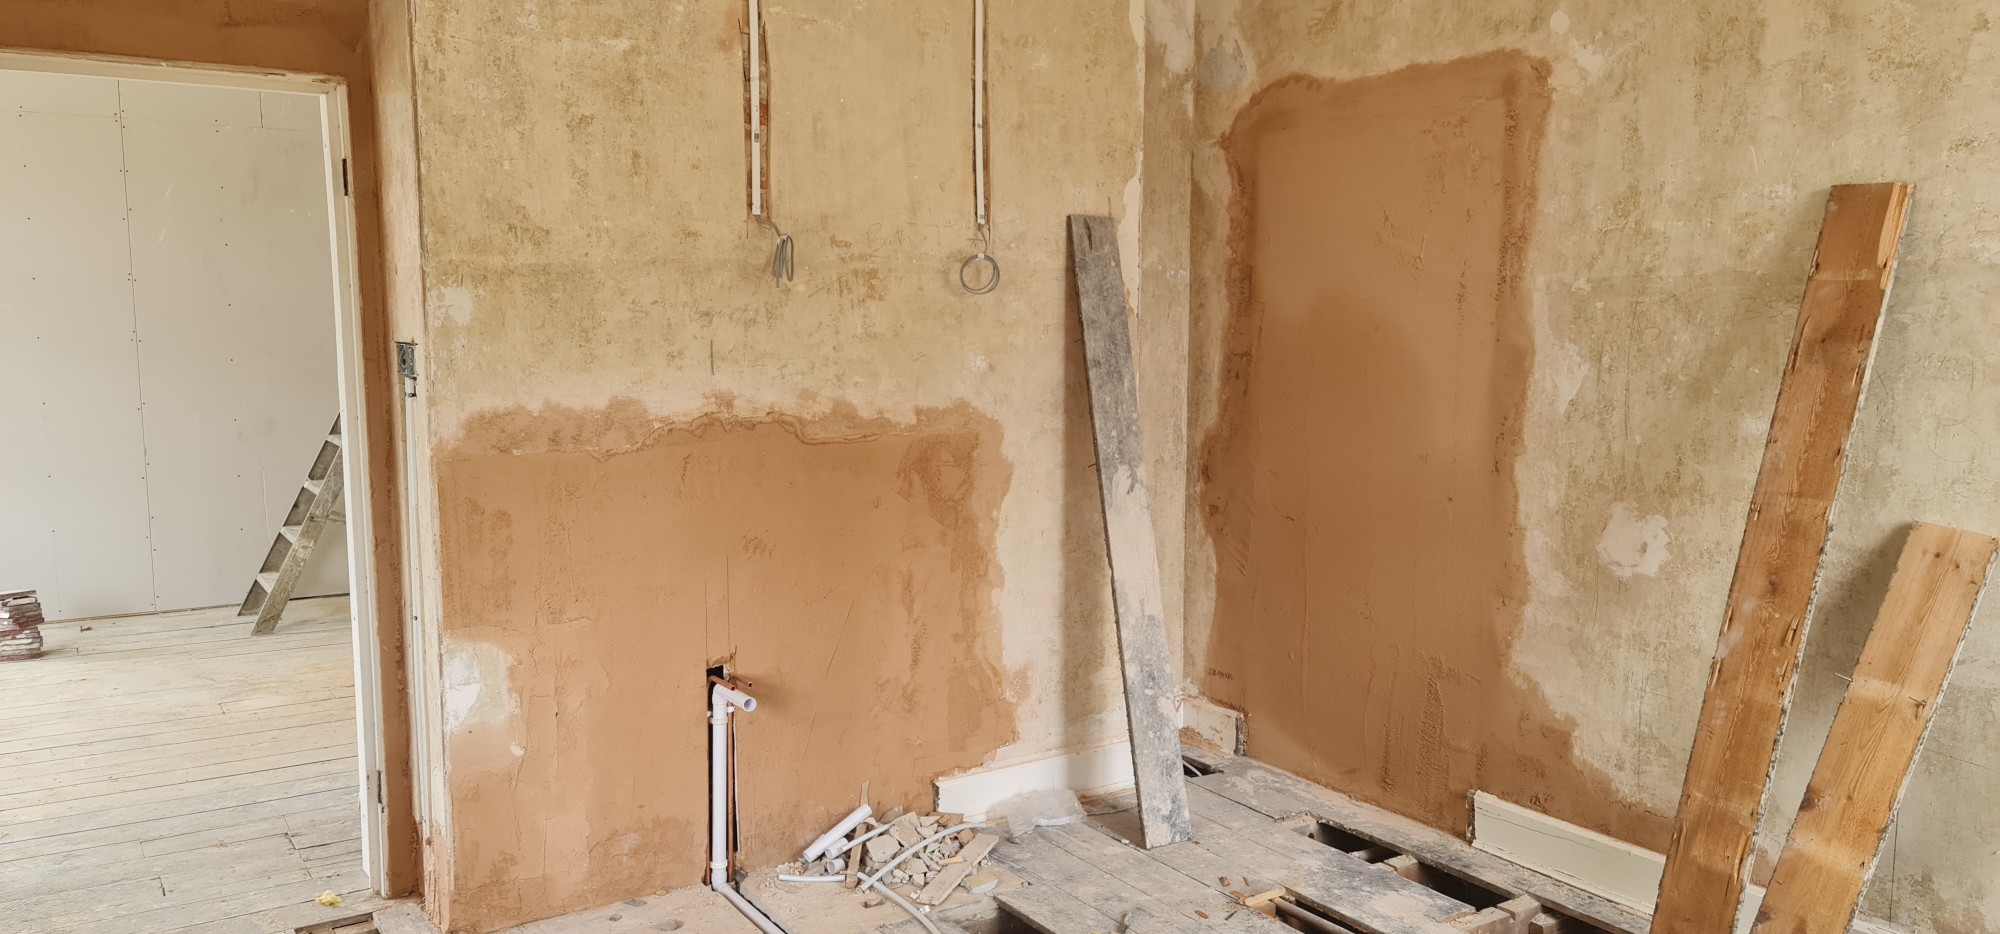
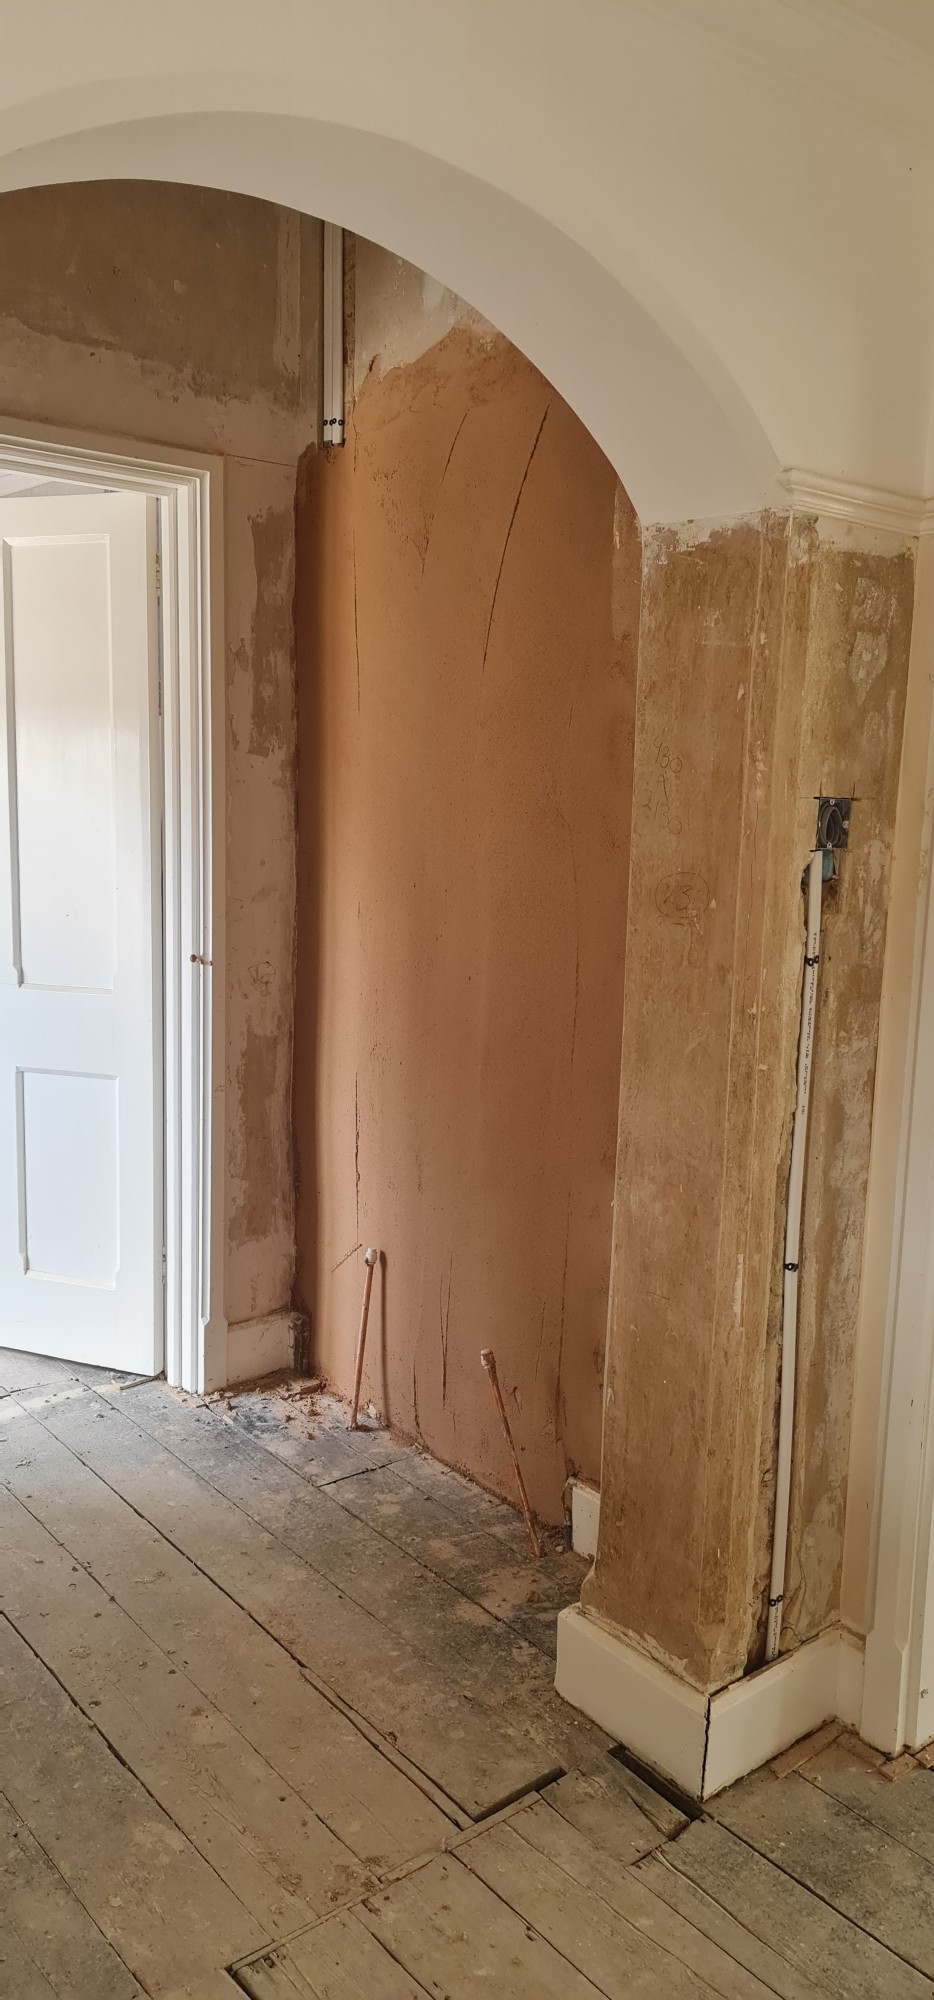
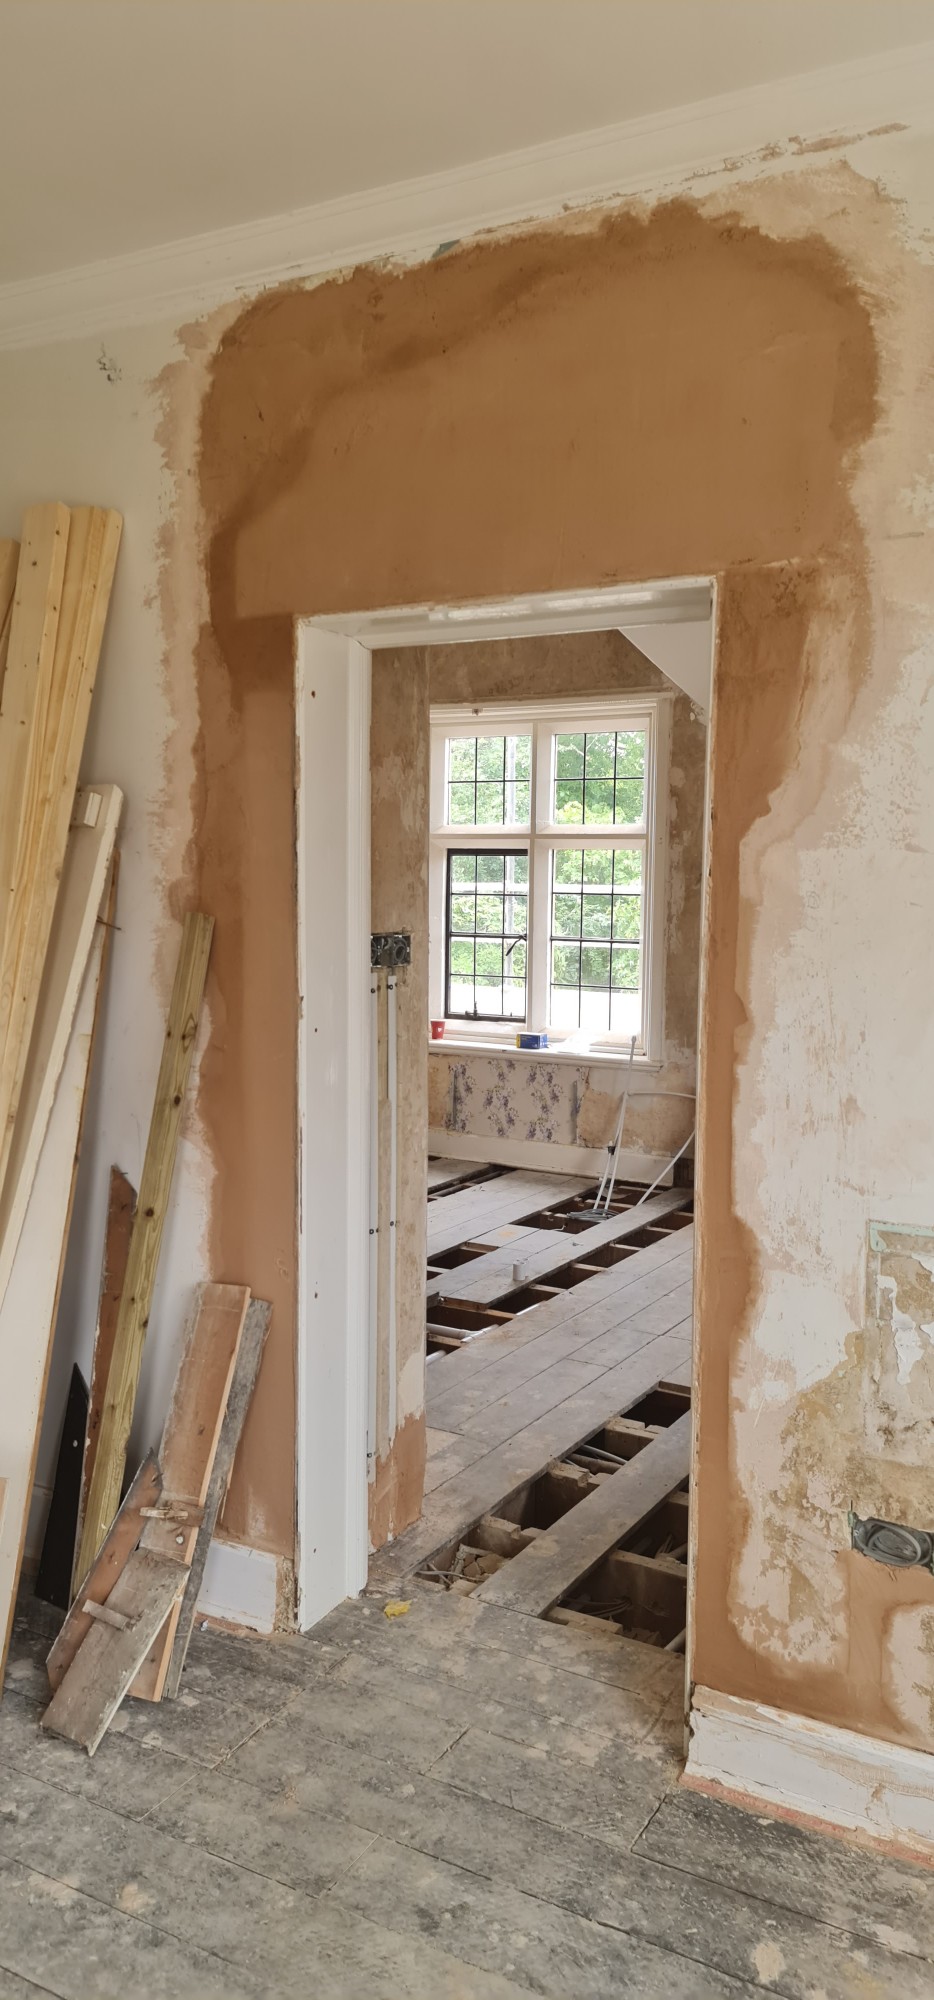
Once the new plumbing, heating and electrics were in, we made good the walls and ceilings throughout the house. Chases and openings were filled, damaged areas were replastered and new doorways were finished neatly, ready for decoration. The house was then decorated throughout, with the original features such as the plaster ceiling roses, arches and cornices kept and refreshed.
Stage 11
Restoring the original wooden floors
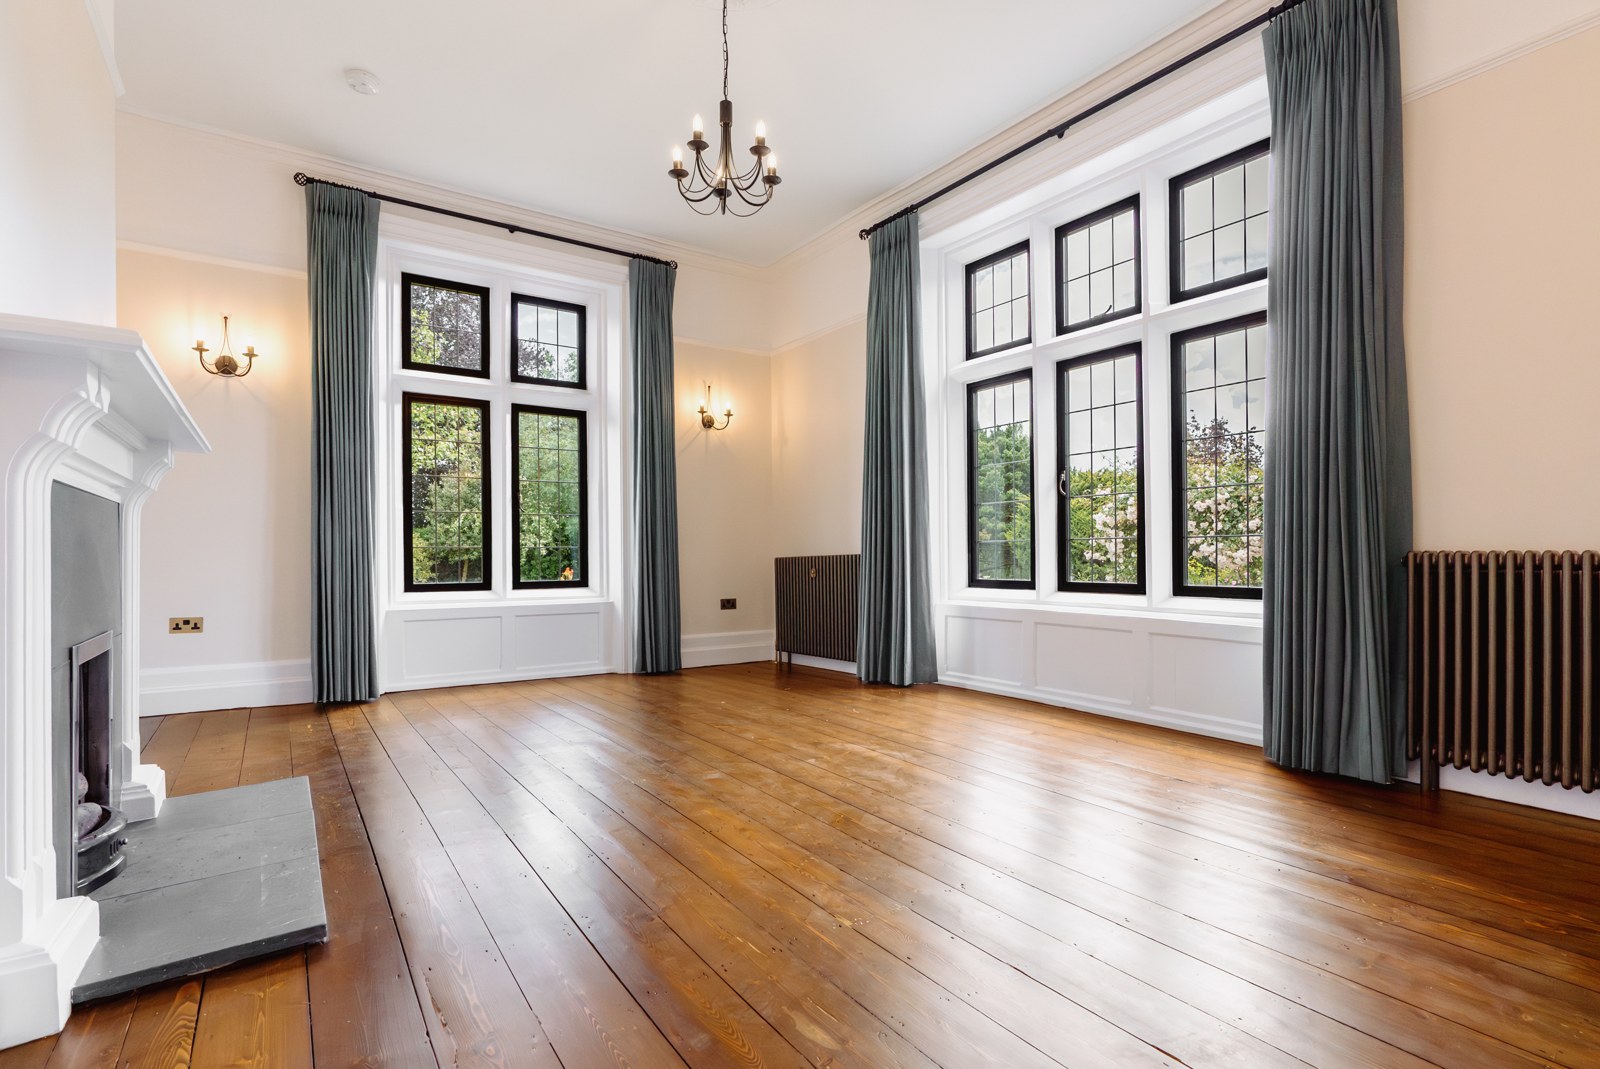
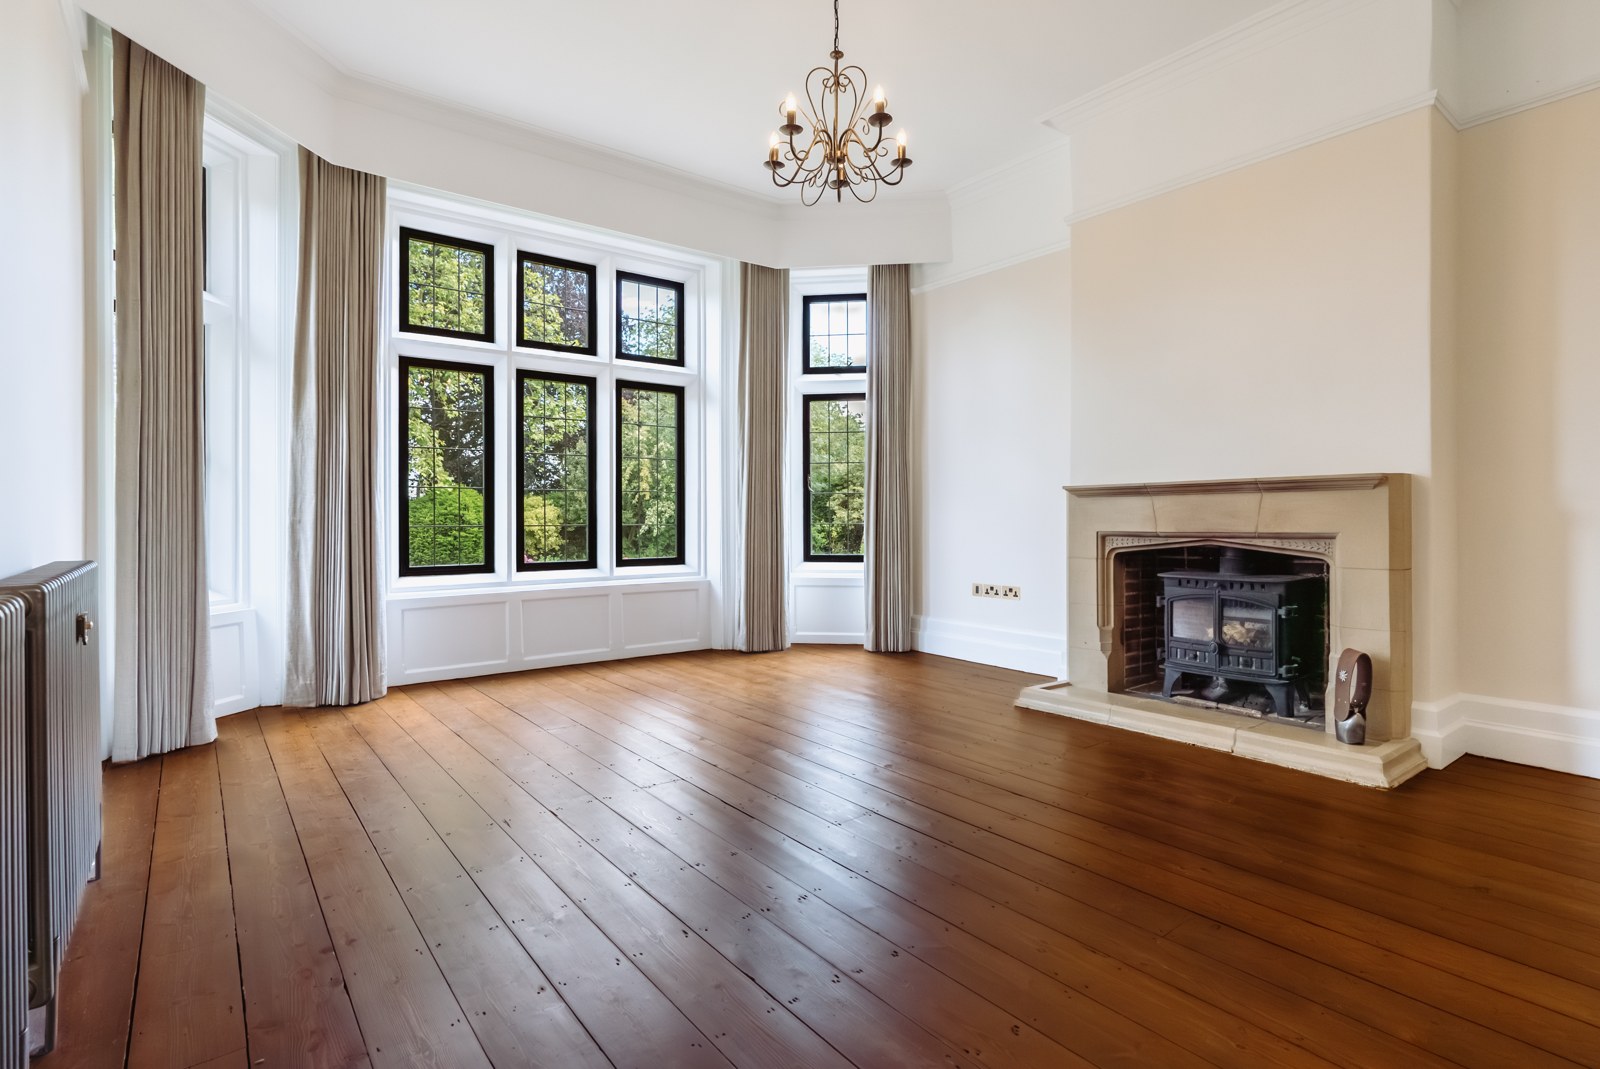
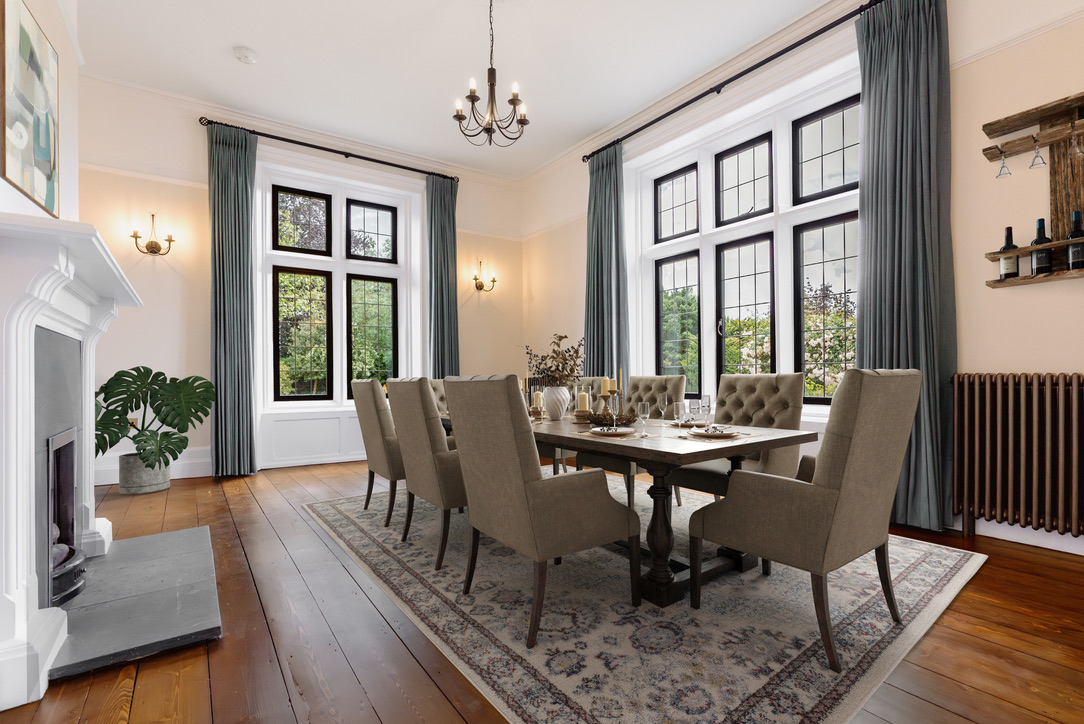
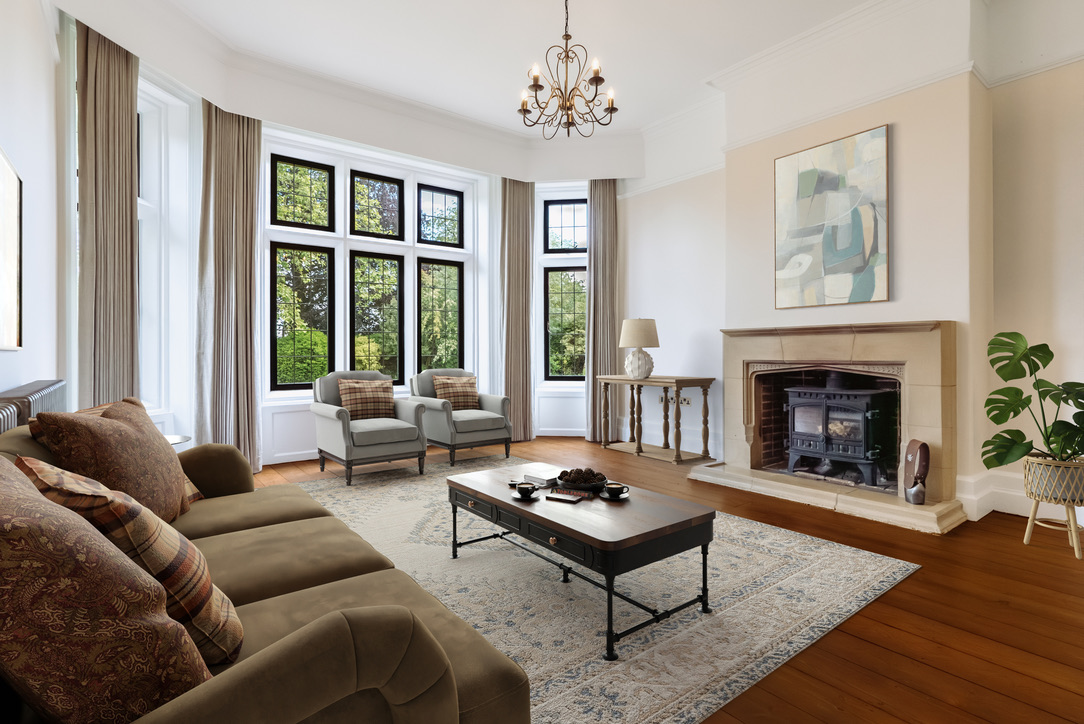
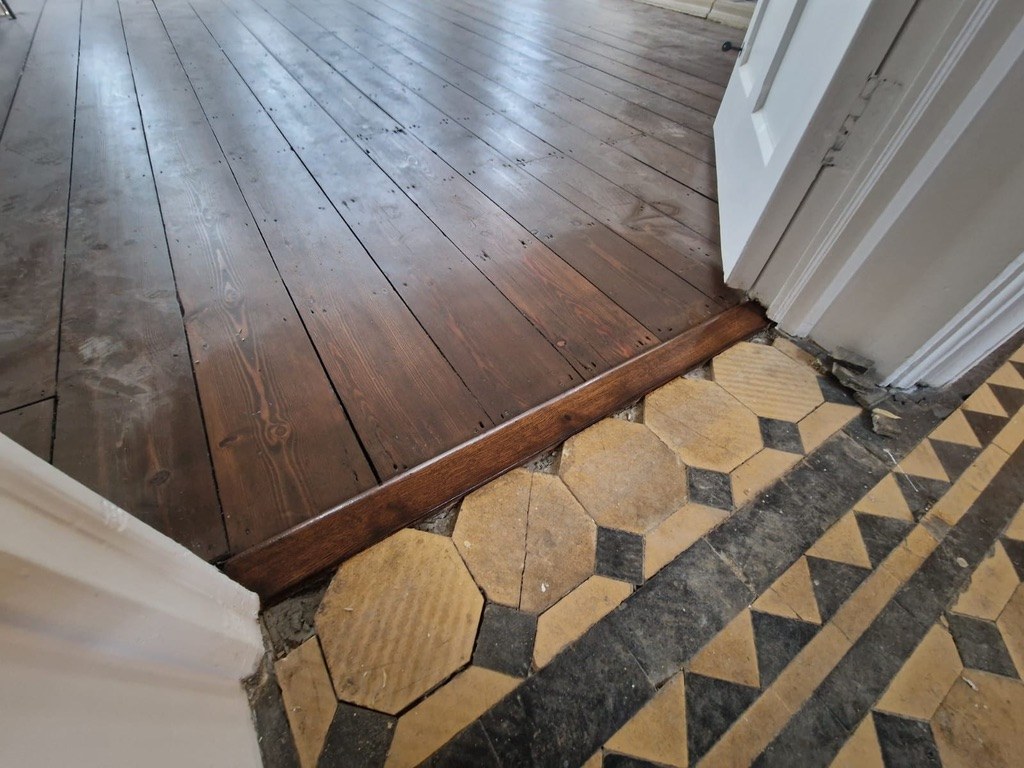
The original pine floorboards in the dining room and lounge were worn and discoloured after years of use. We brought in a specialist floor restorer, who sanded the boards back to clean timber and then restained and sealed them, bringing back the warmth and character of the original floors.
Stage 12
Restoring the Victorian tiled floor
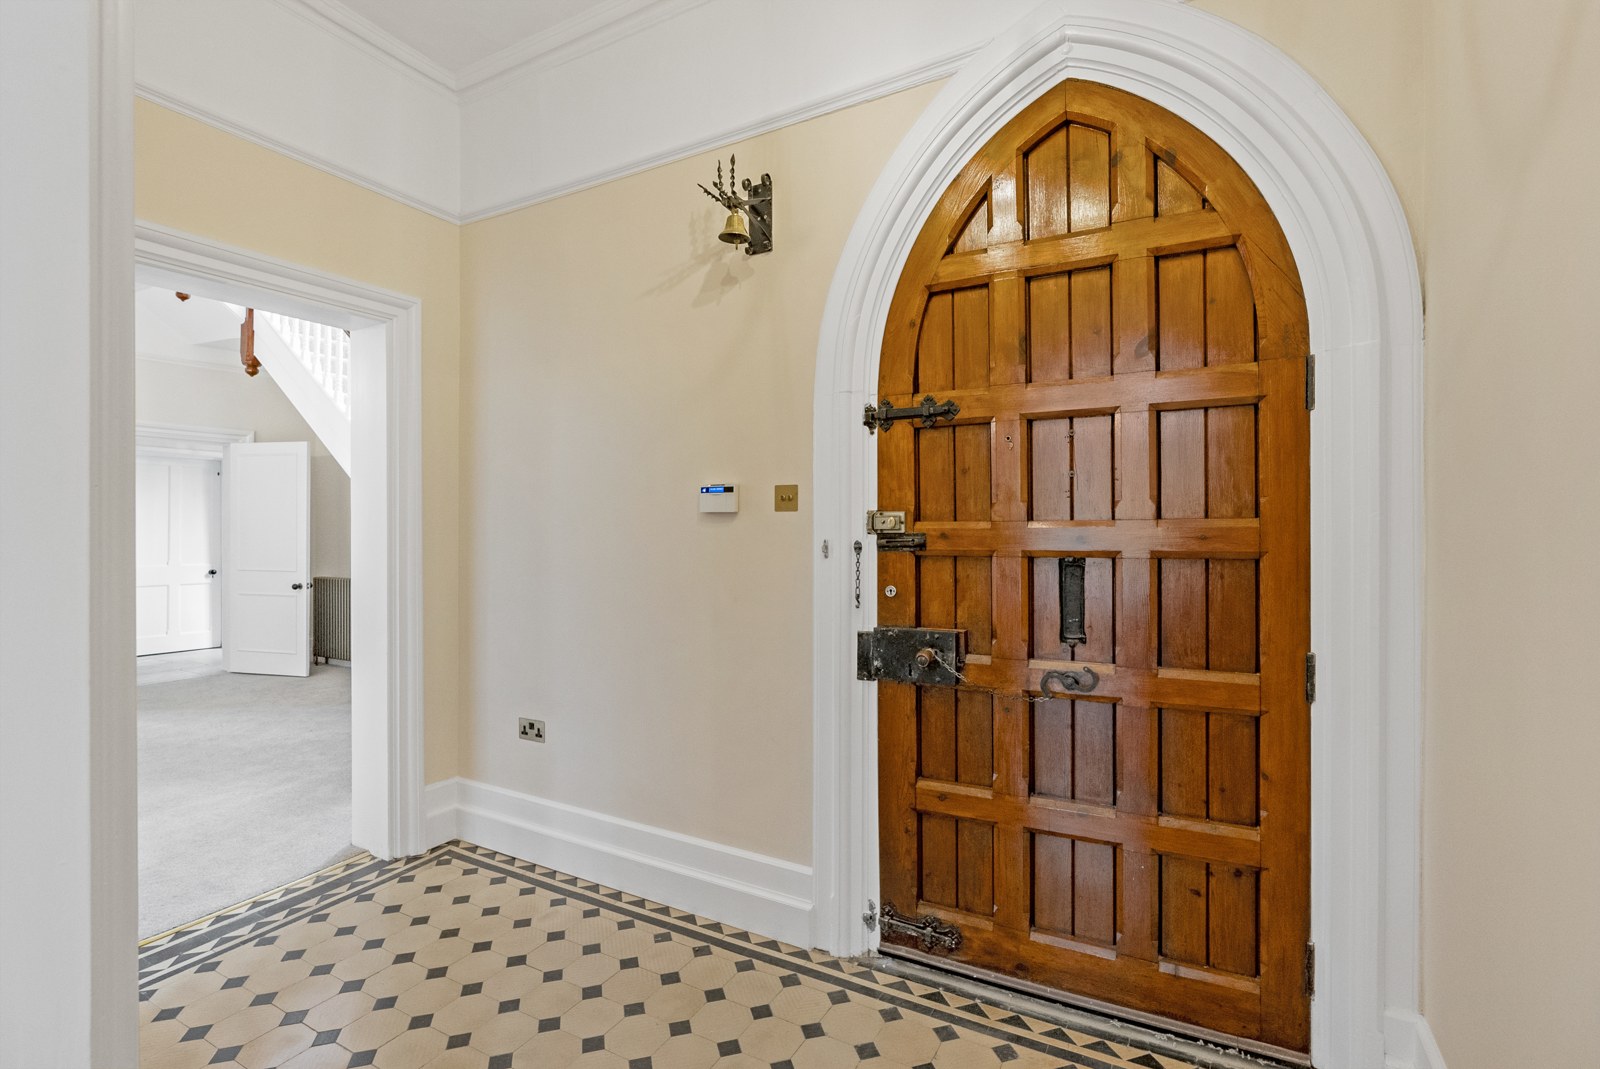
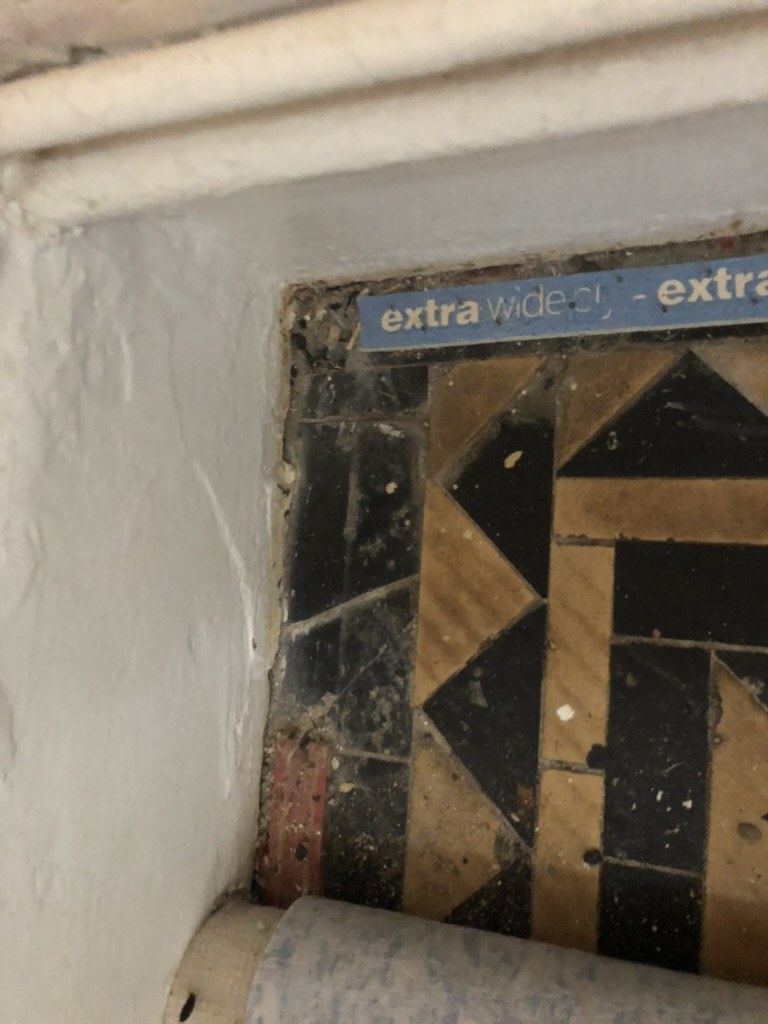
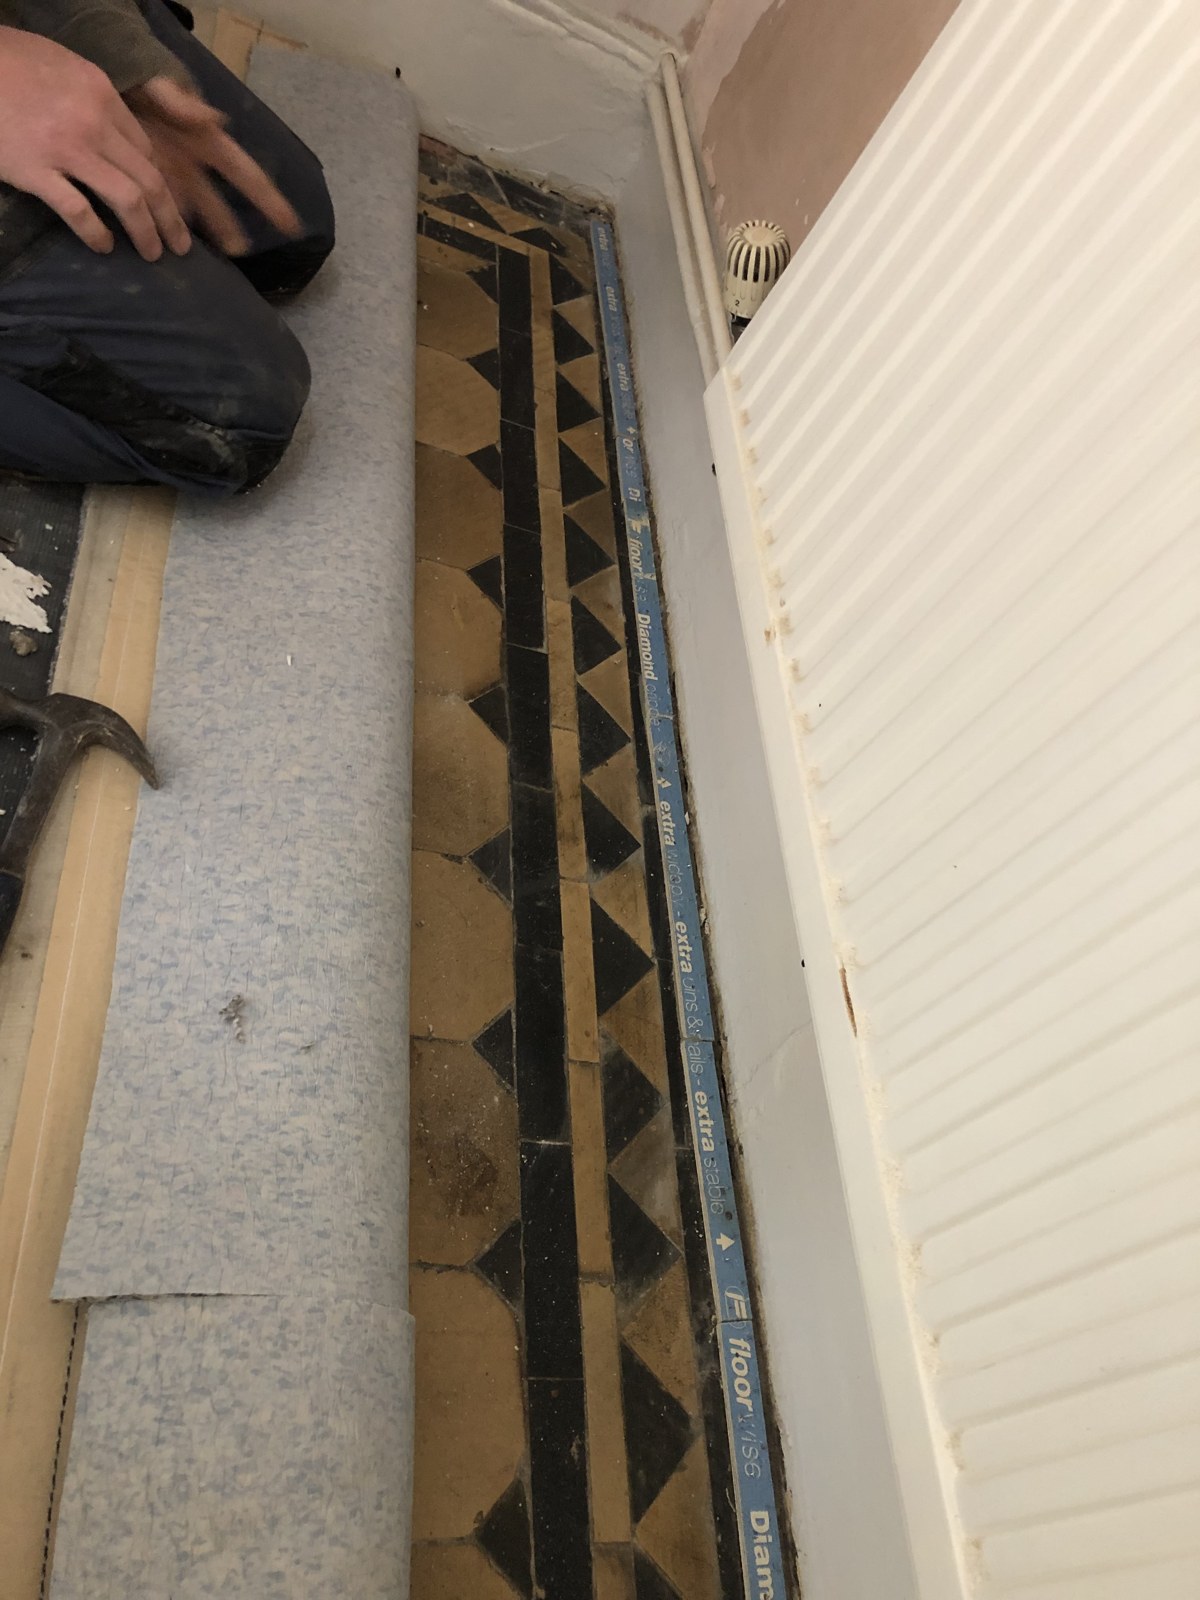
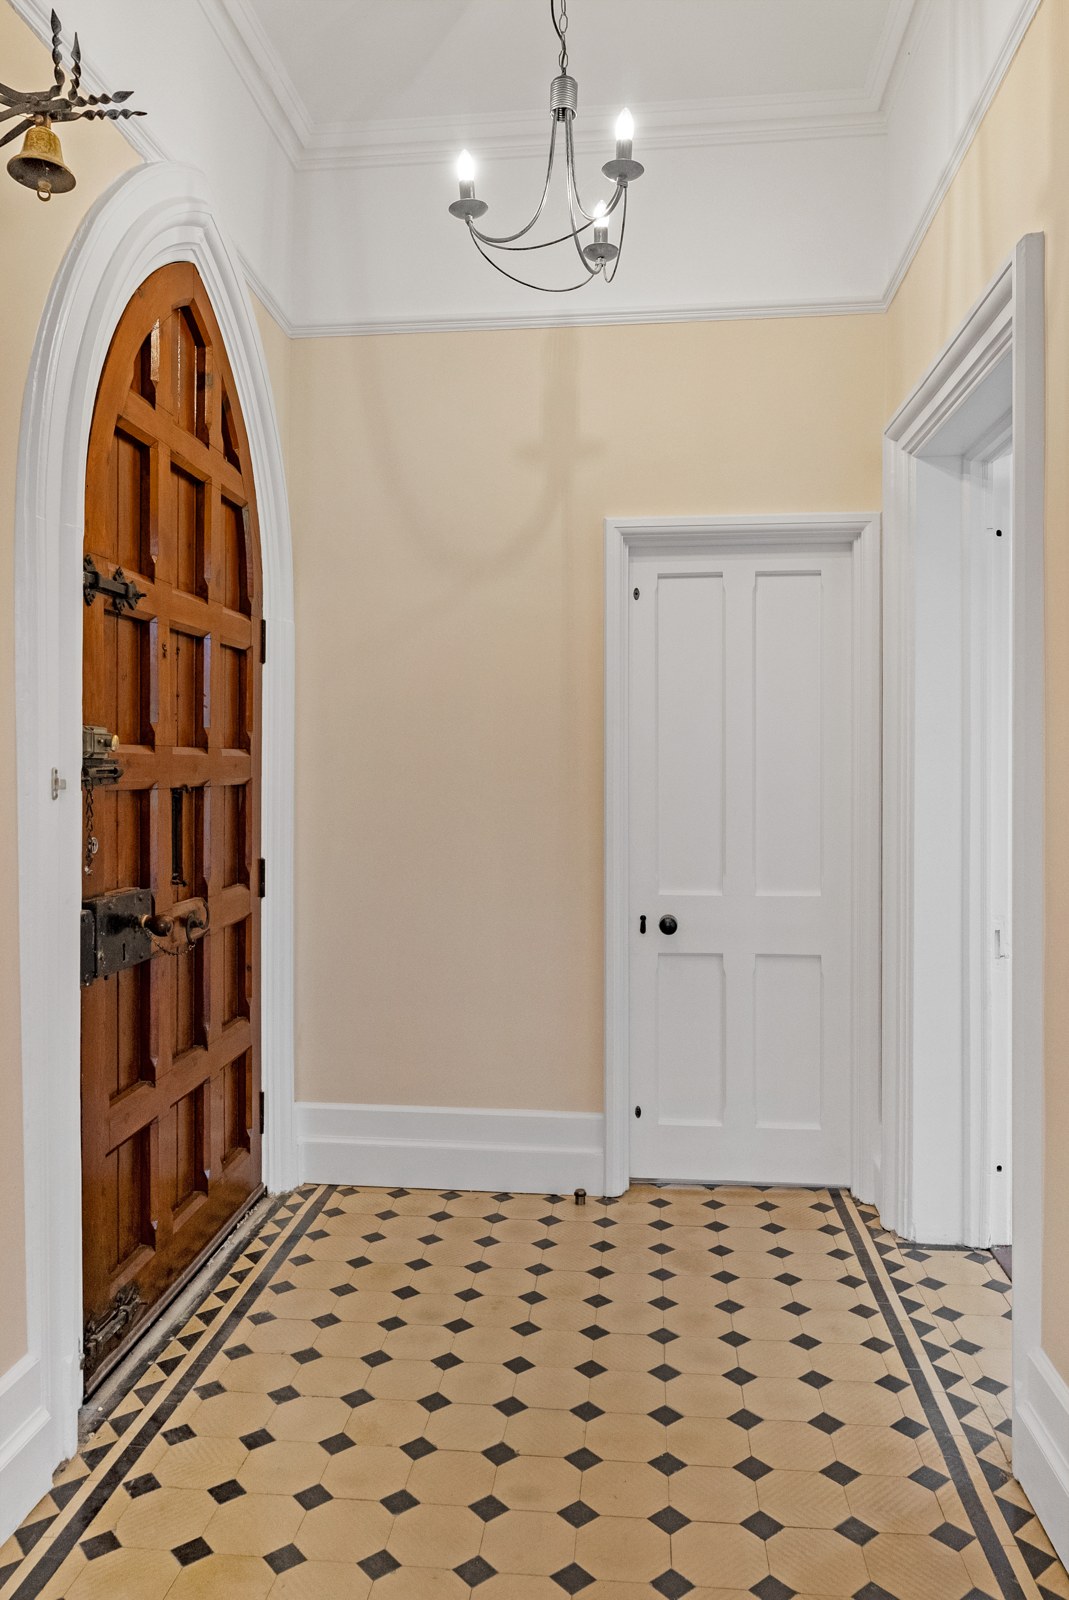
In the hallway we found the original Victorian tiled floor, and brought in a tile specialist to restore it. Damaged tiles were lifted, the base was prepared and the original tiles were relaid in the agreed areas. Specialist cleaning then removed old surface coatings, ingrained dirt and minor blemishes. Once the floor had dried, it was given several coats of protective sealer, keeping the original tiles and refreshing their finish.
Stage 13
Fitting the kitchen
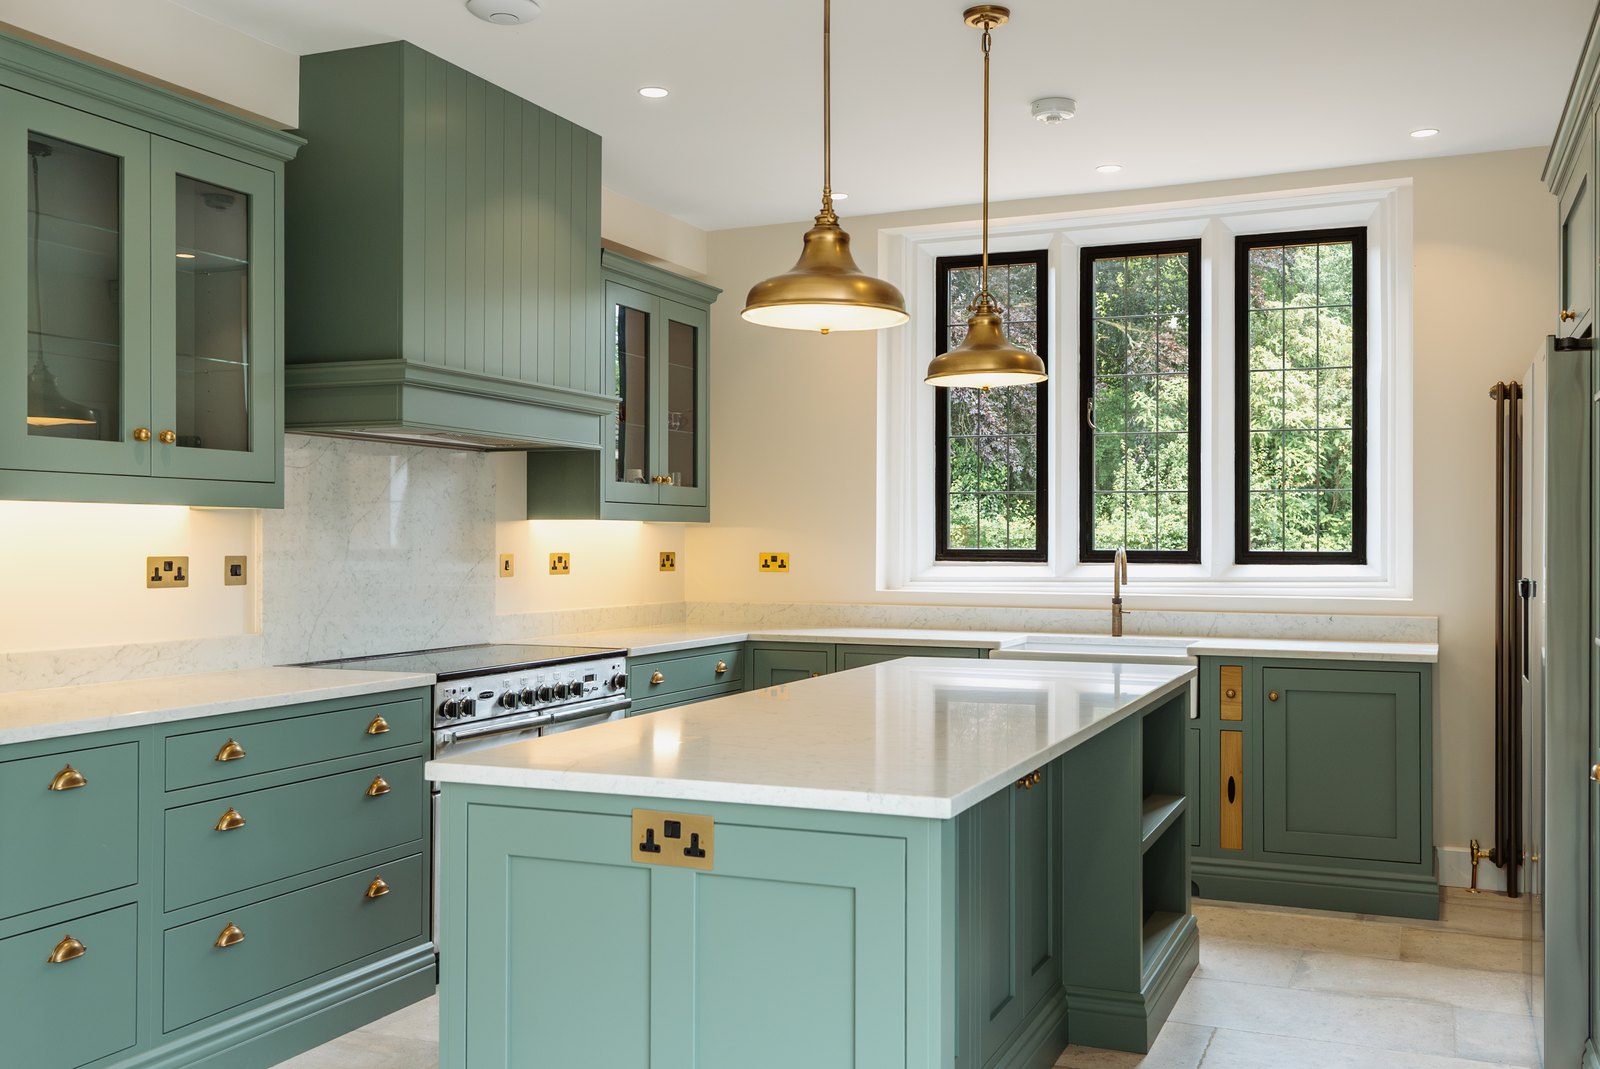
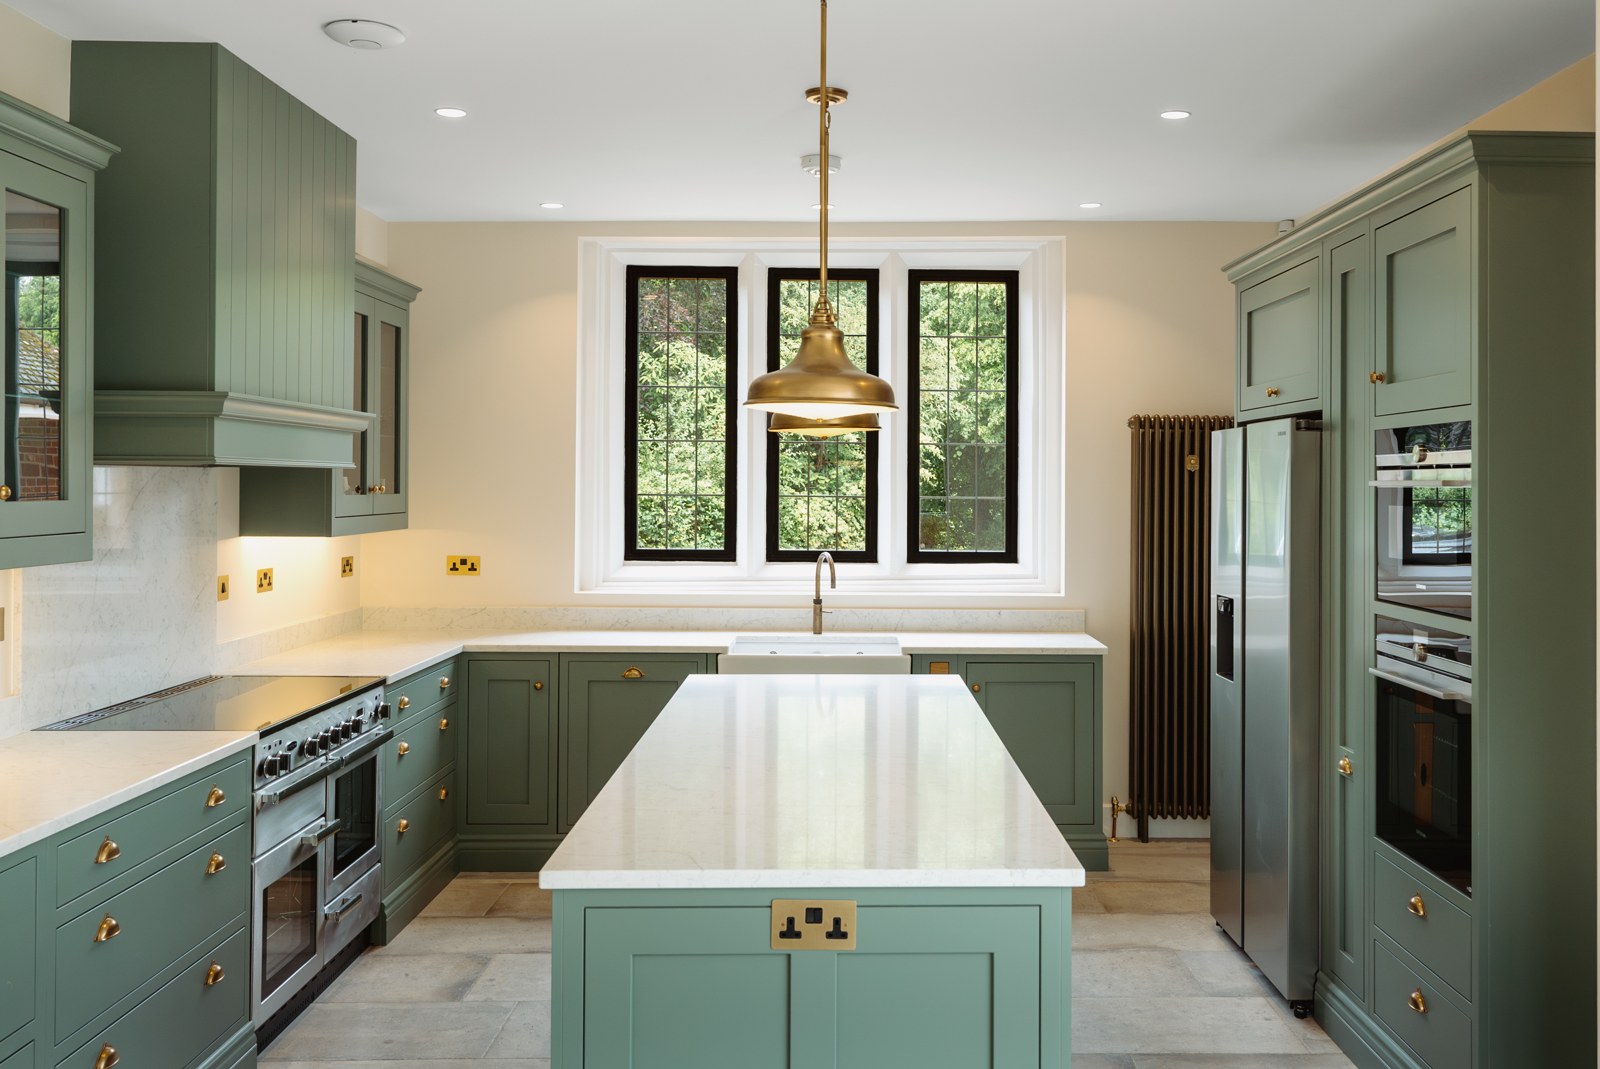
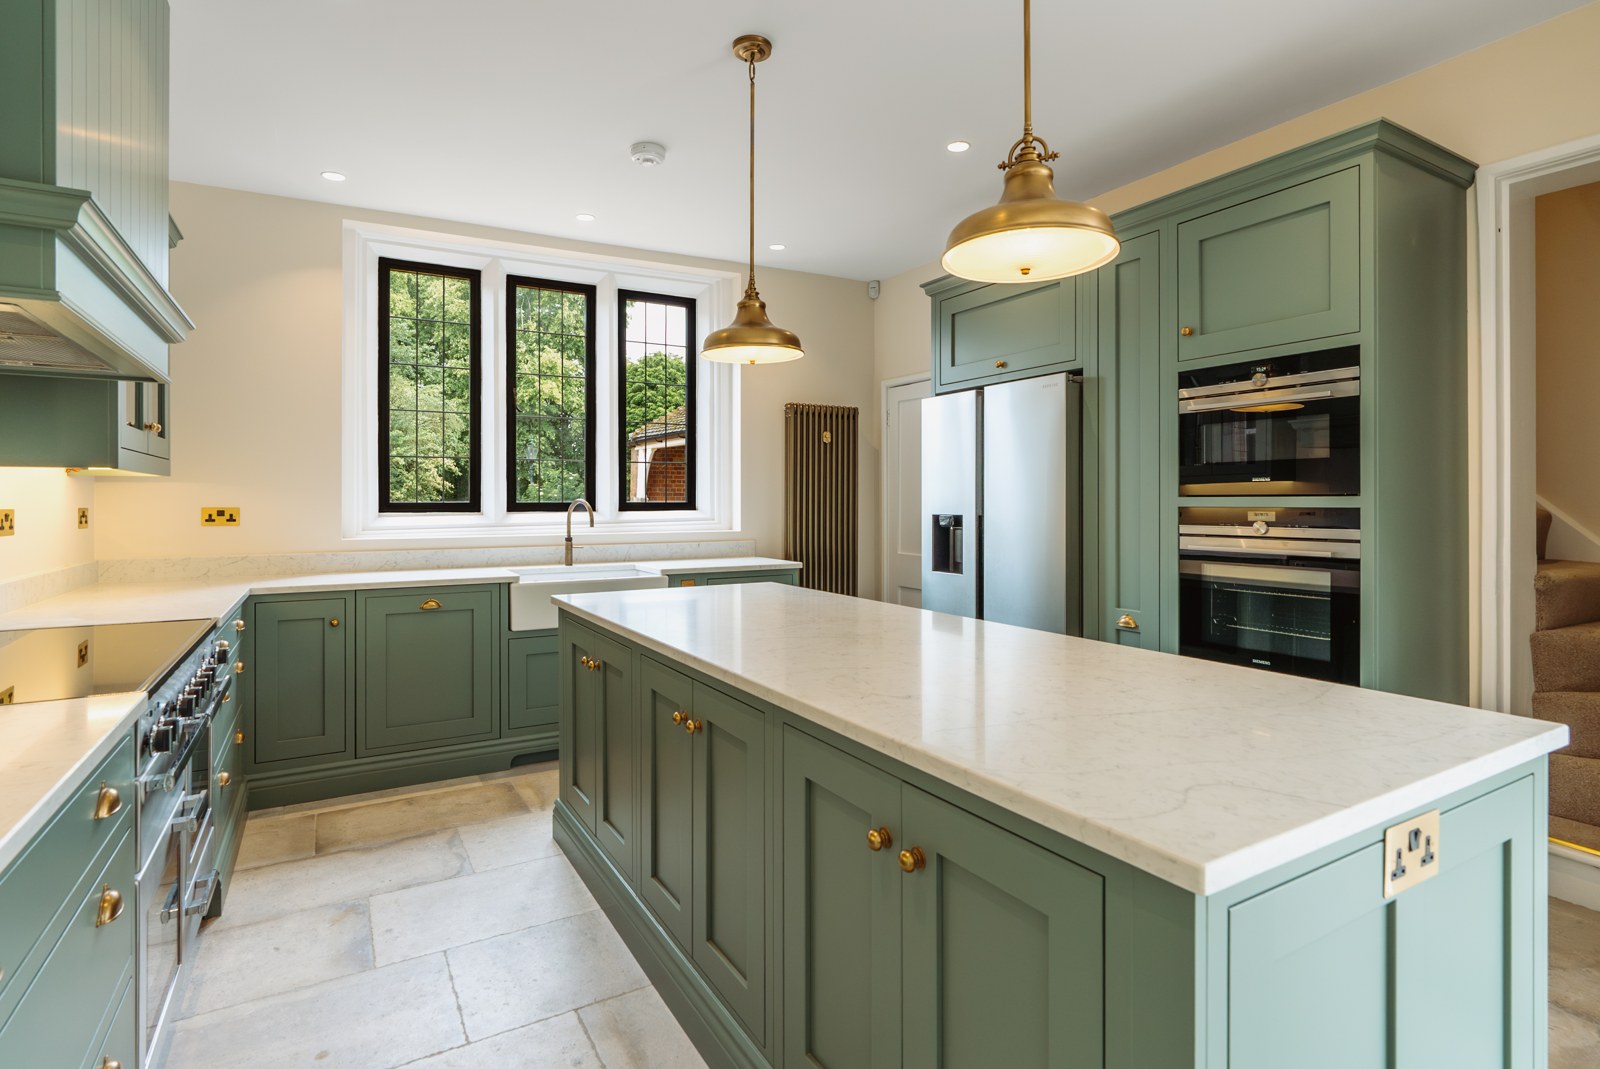
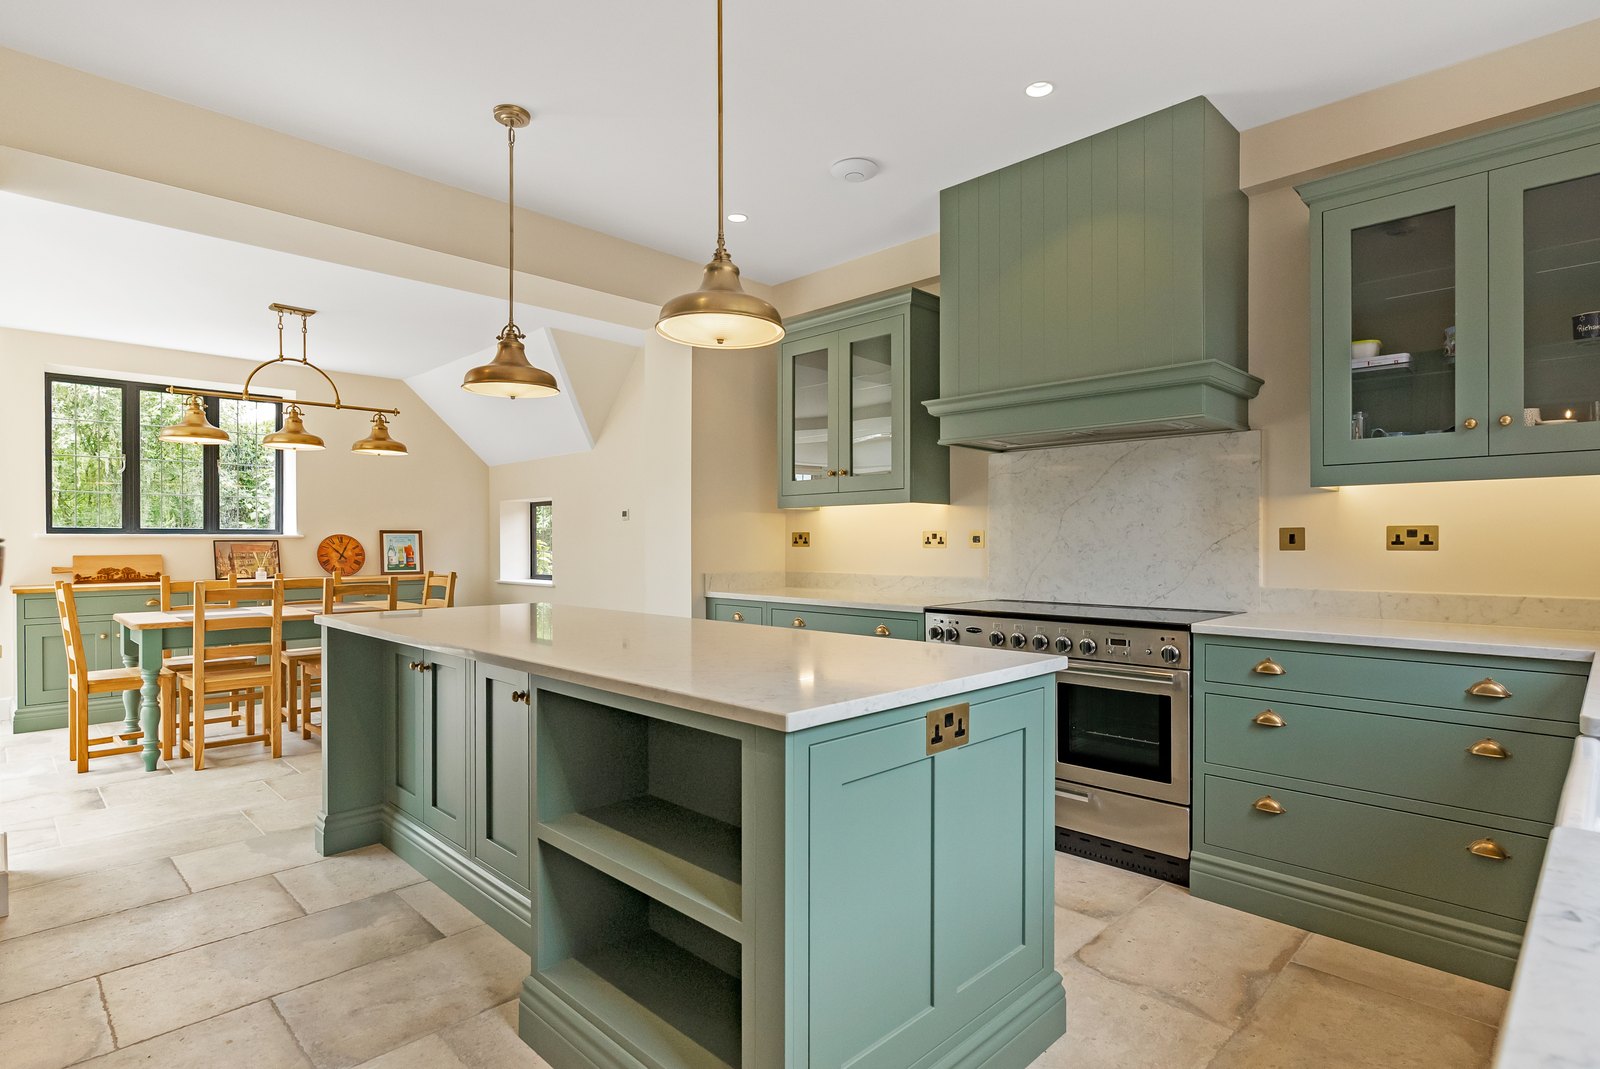
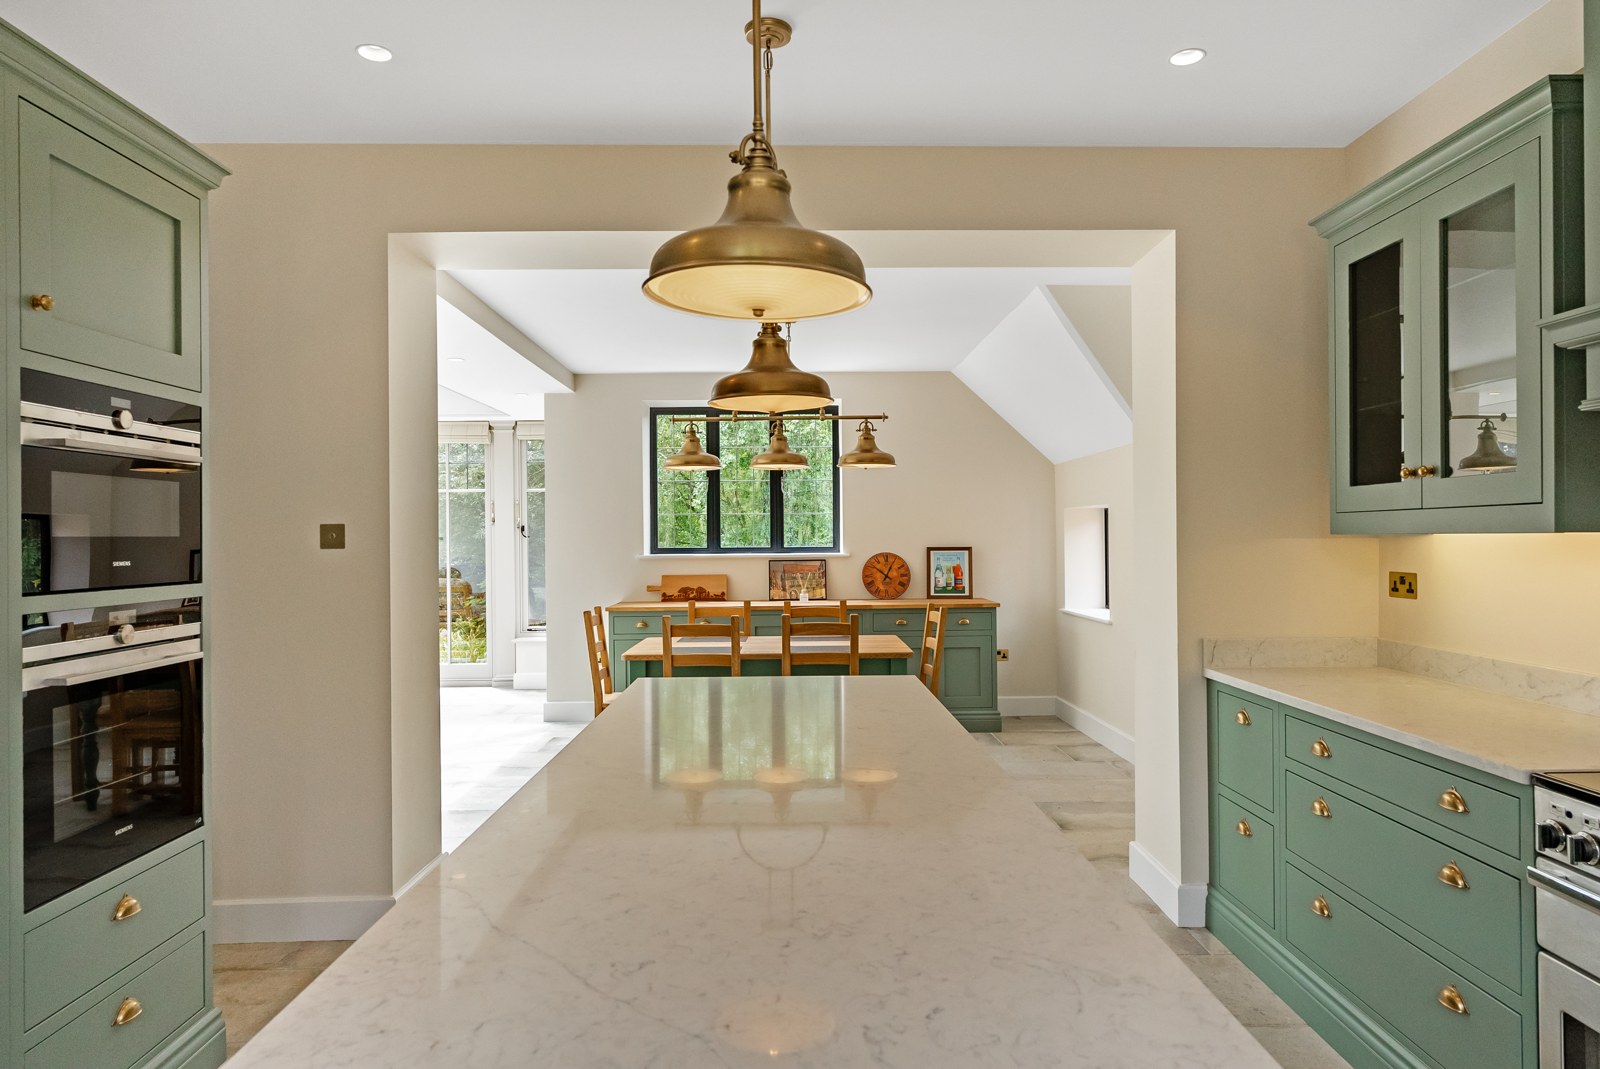
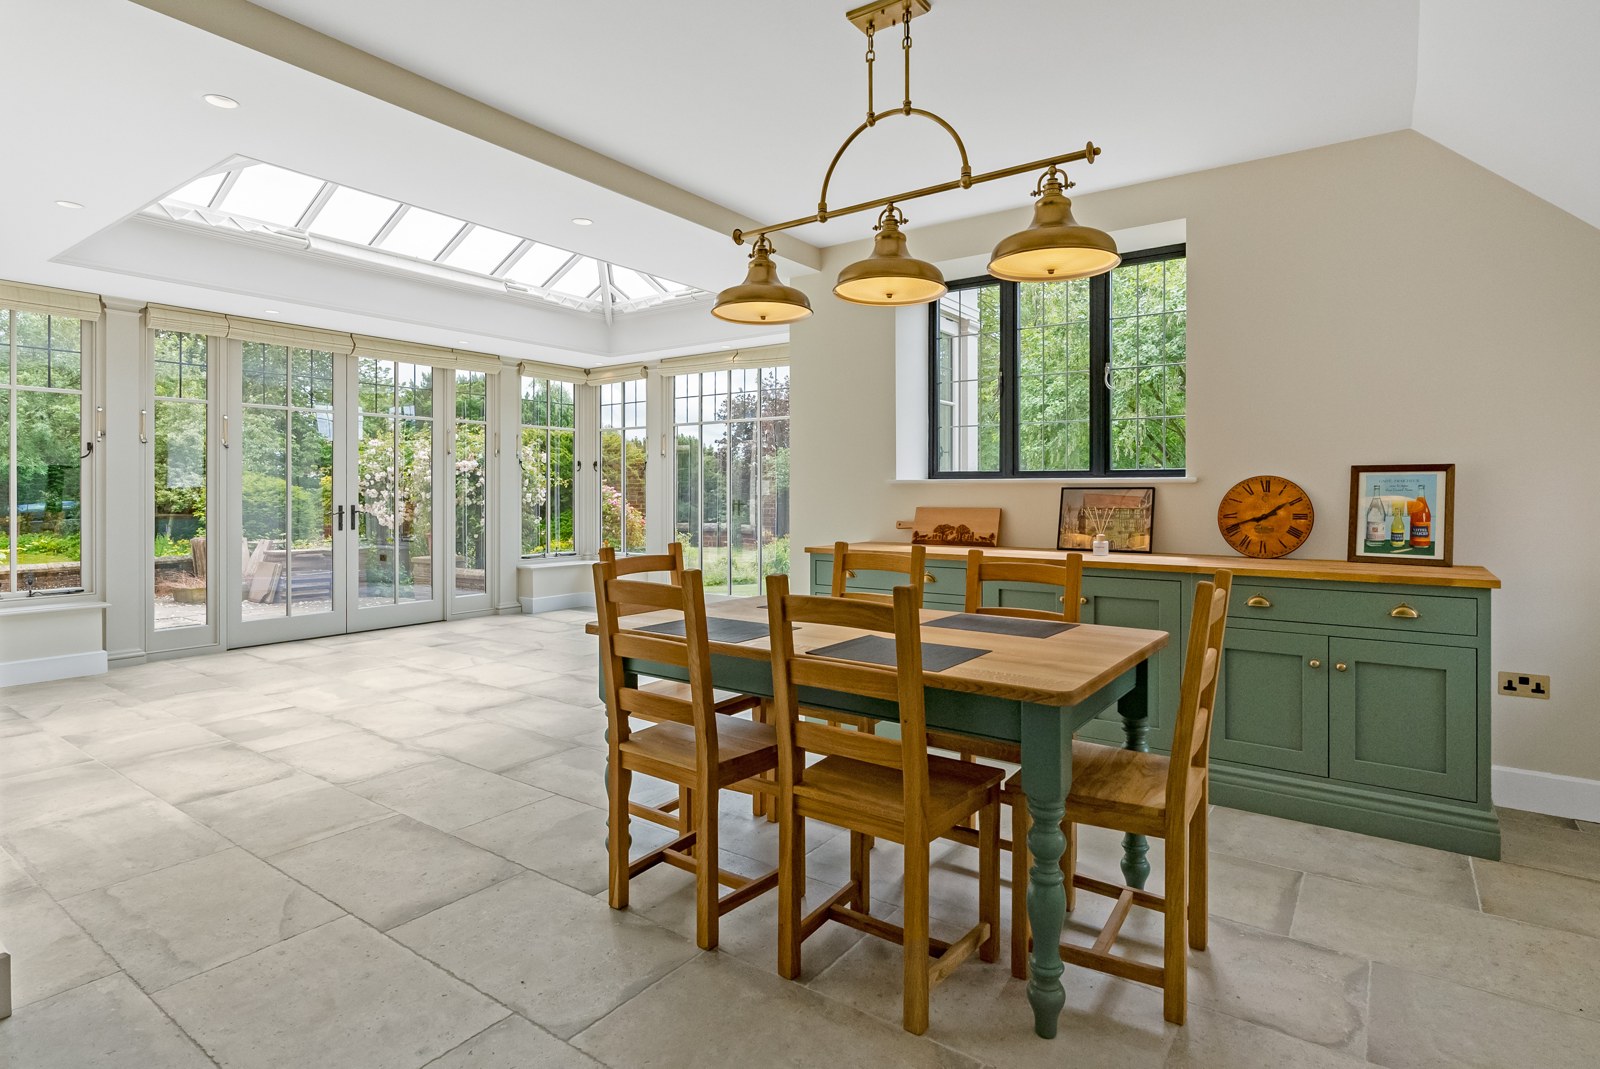
We fitted the new kitchen in the opened-up kitchen and breakfast room, with an island at its centre and views through to the orangery.
Stage 14
Fitting the utility room
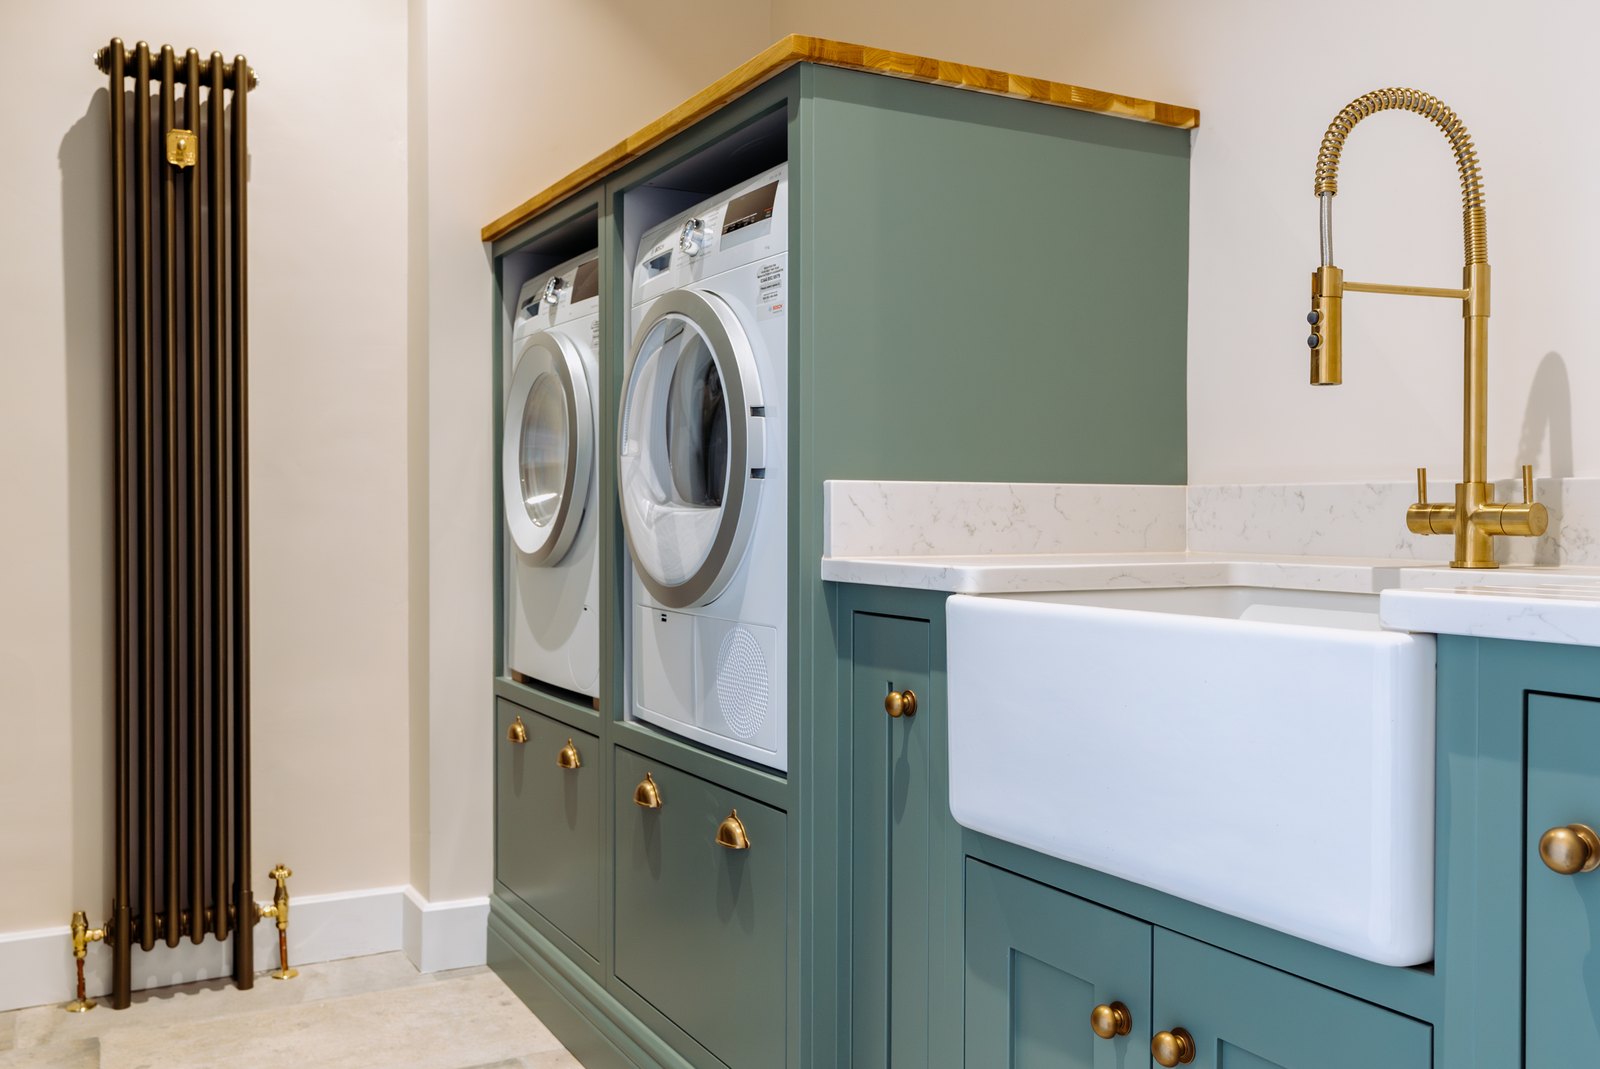
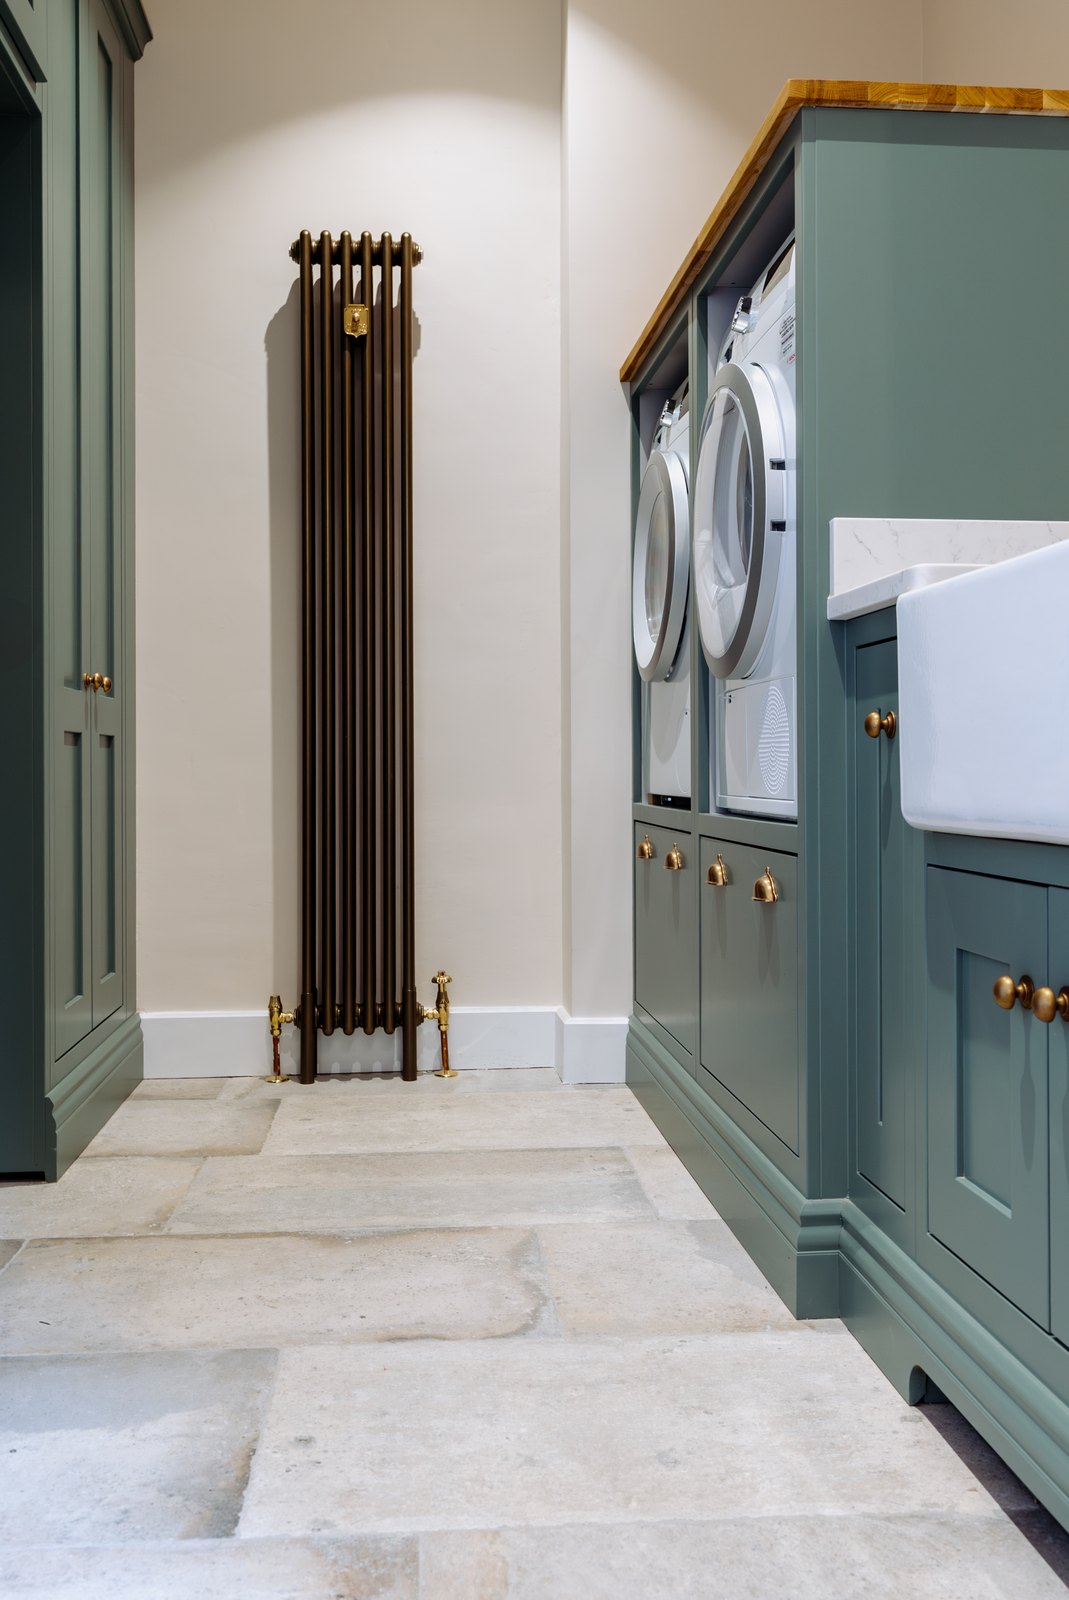
We fitted out the utility room alongside the kitchen, with tall housing for the washing machine and dryer and a butler sink.
Stage 15
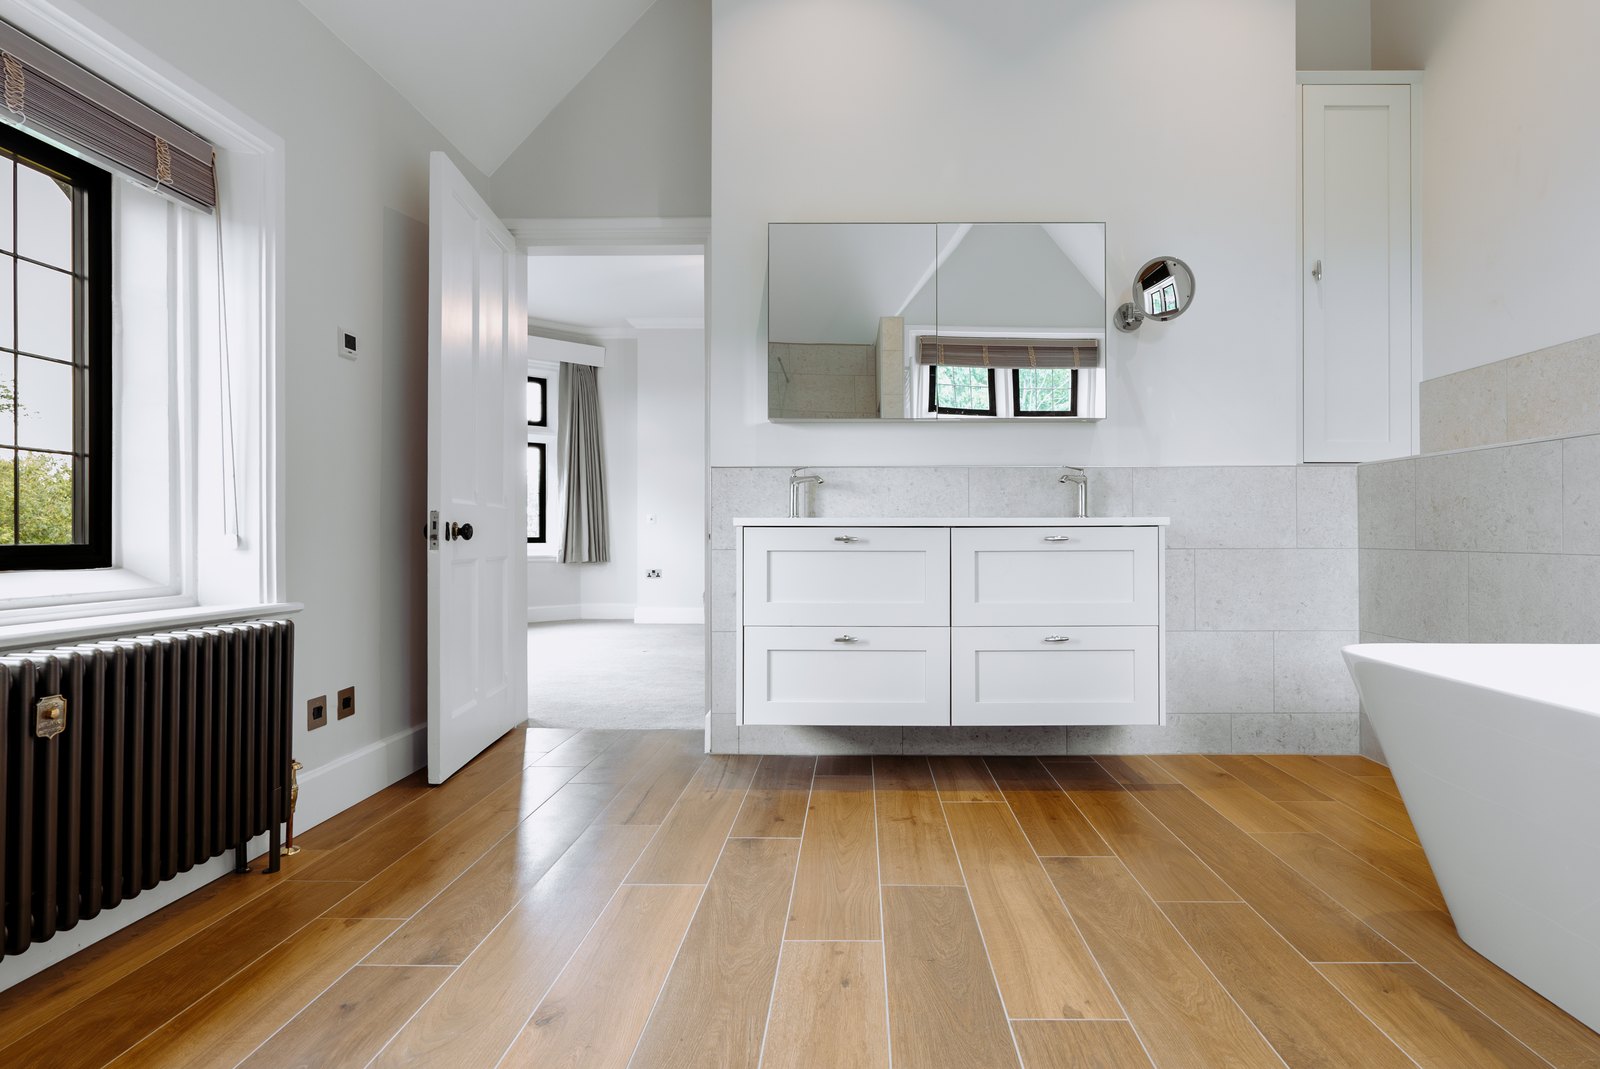
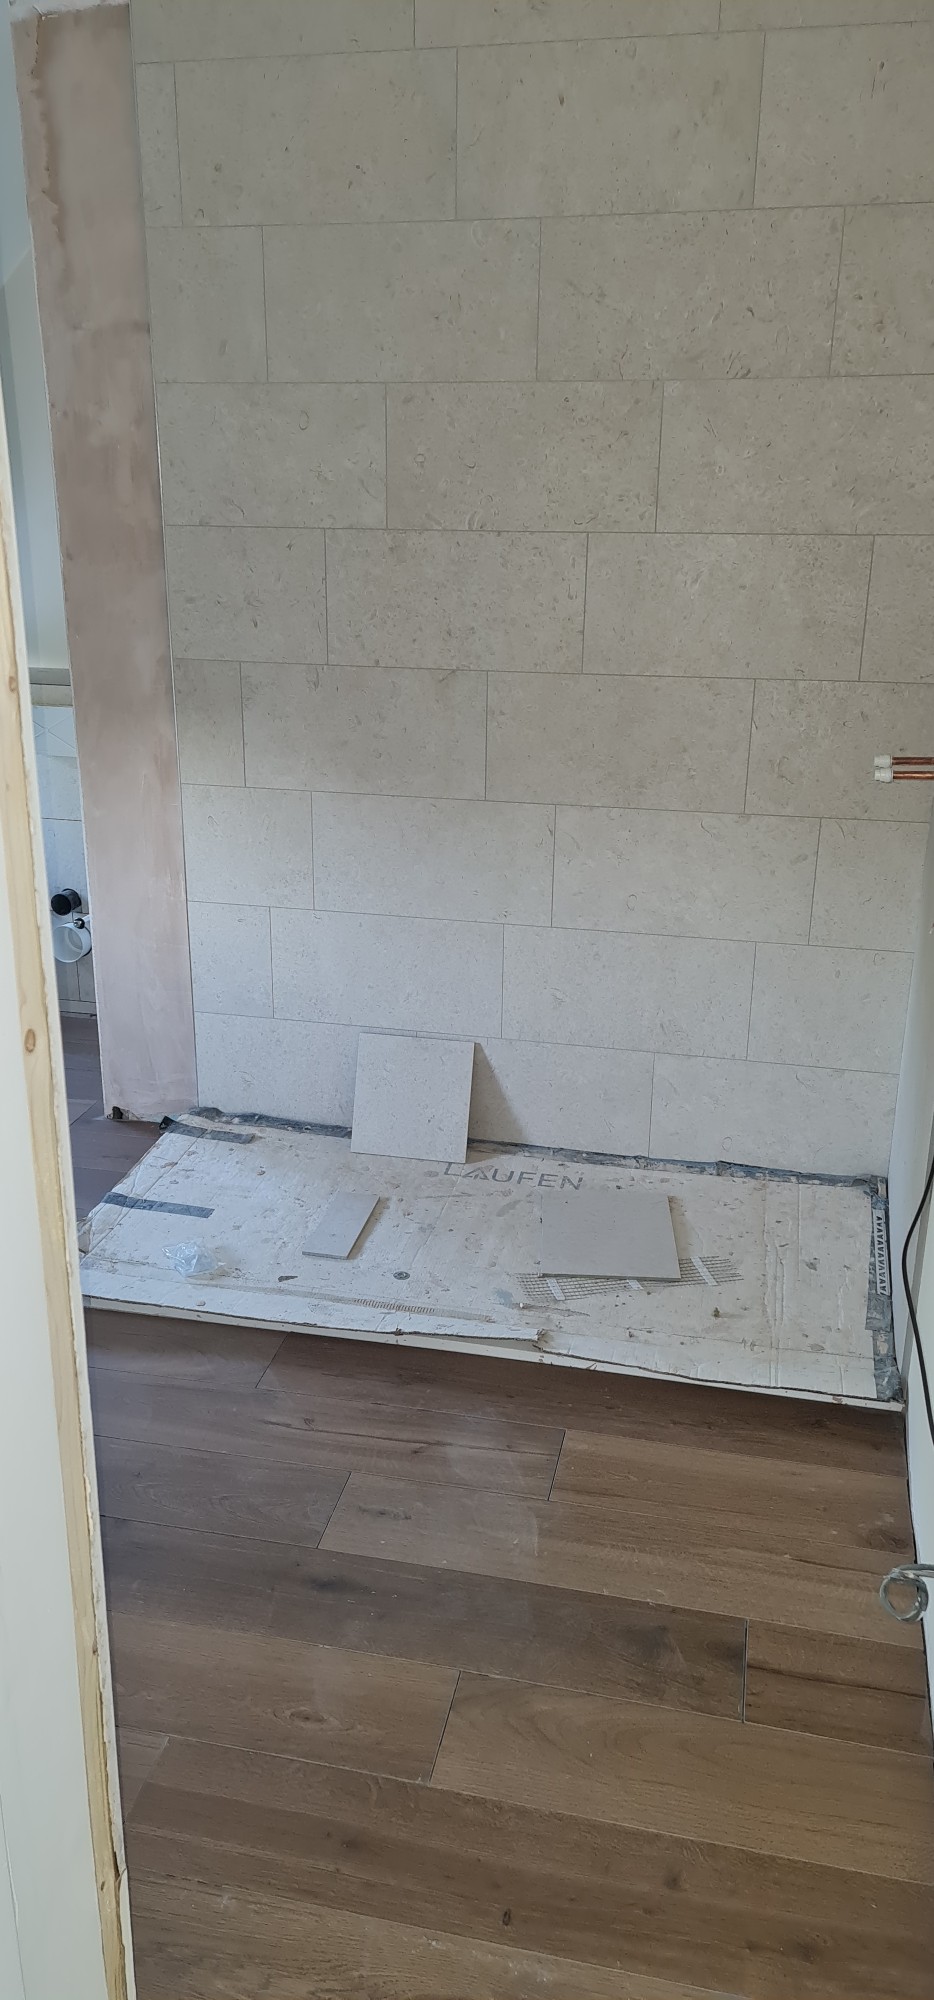
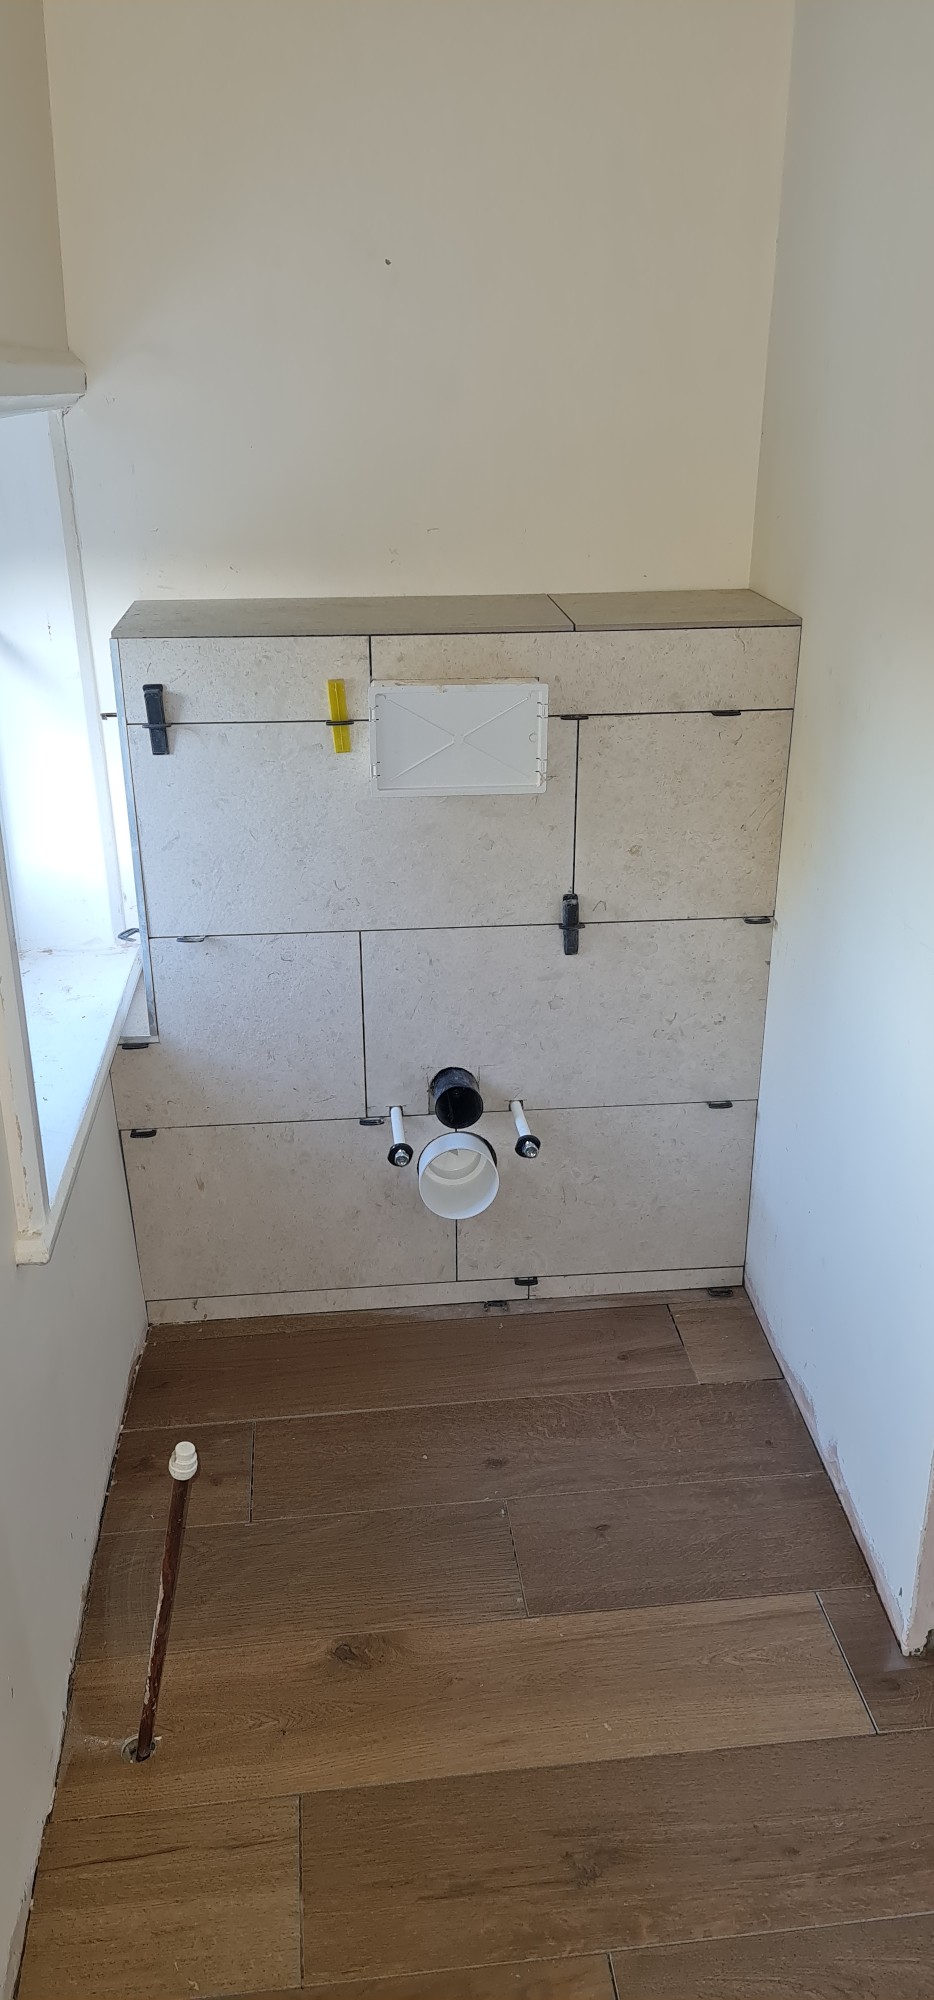
The master en-suite
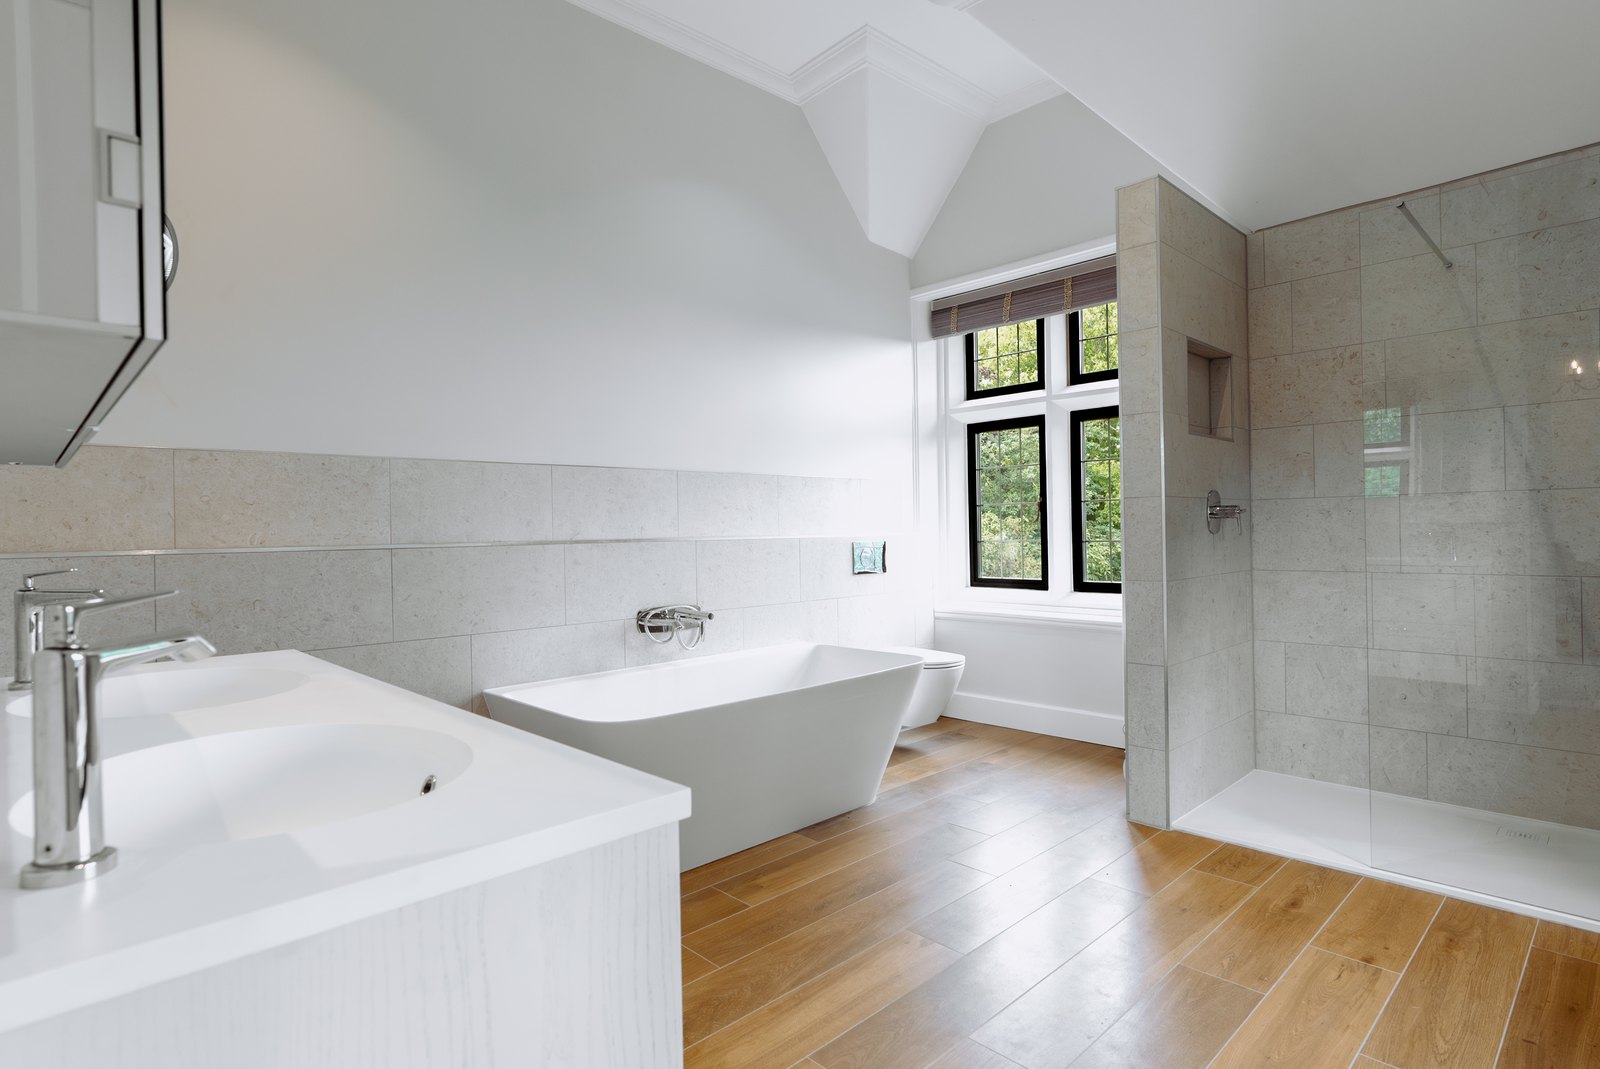
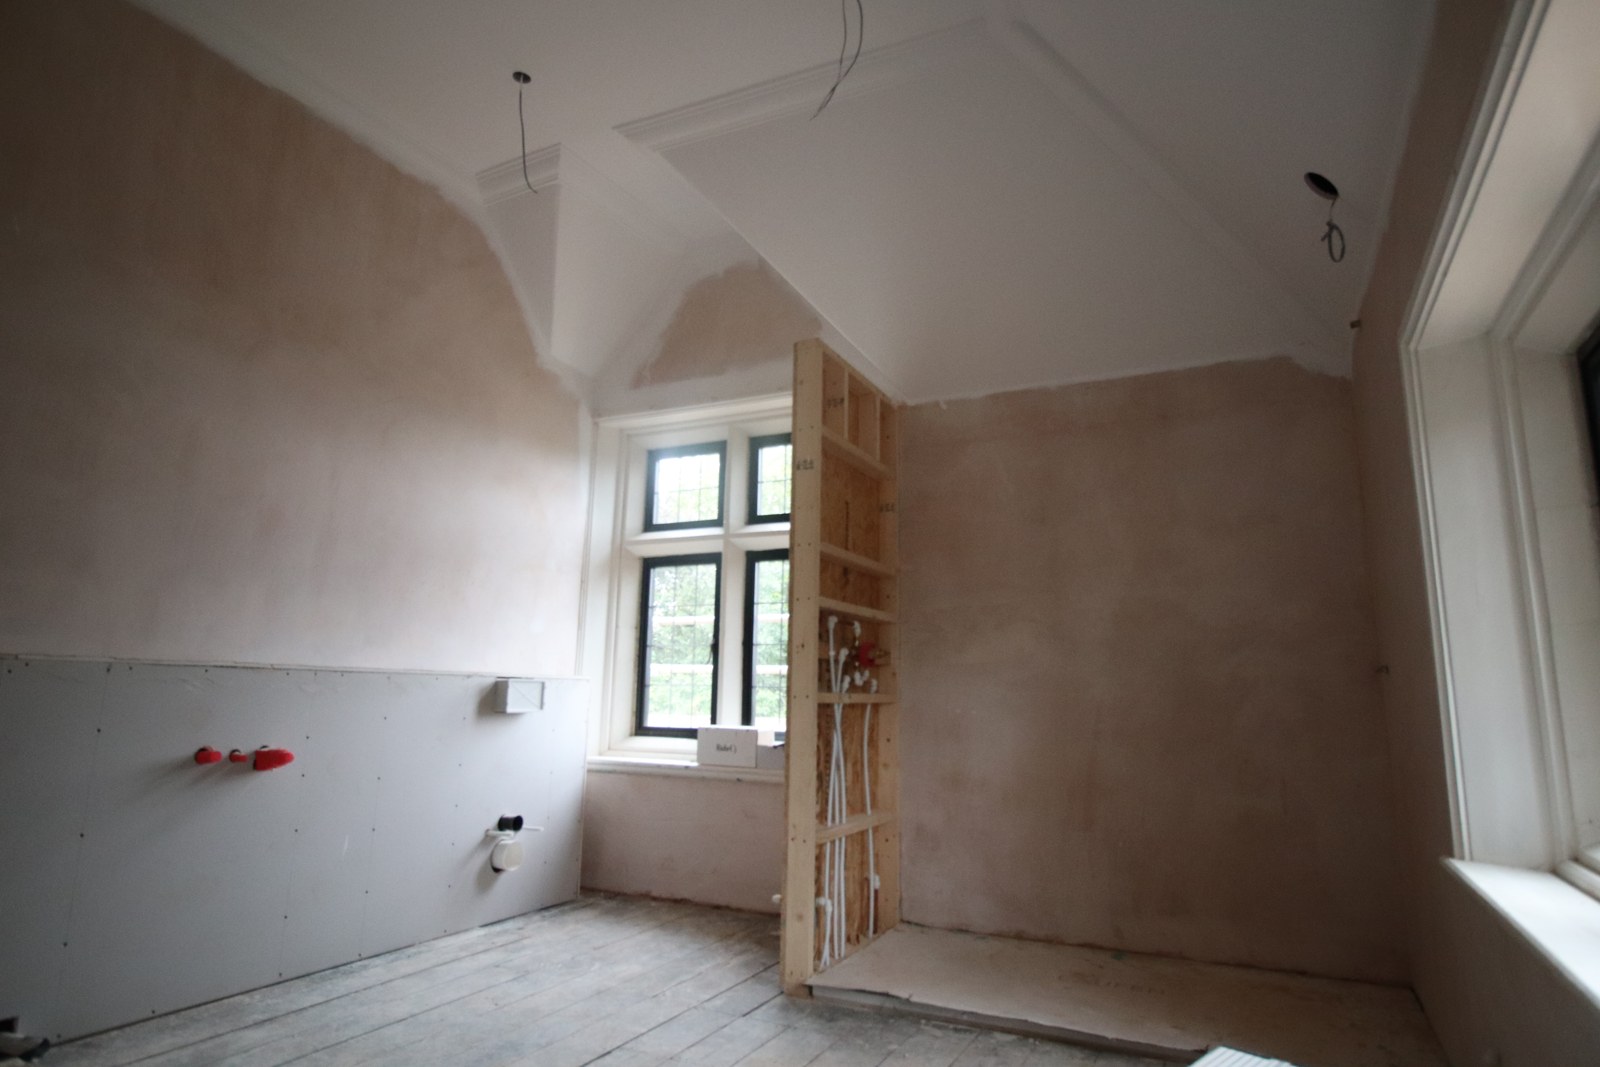
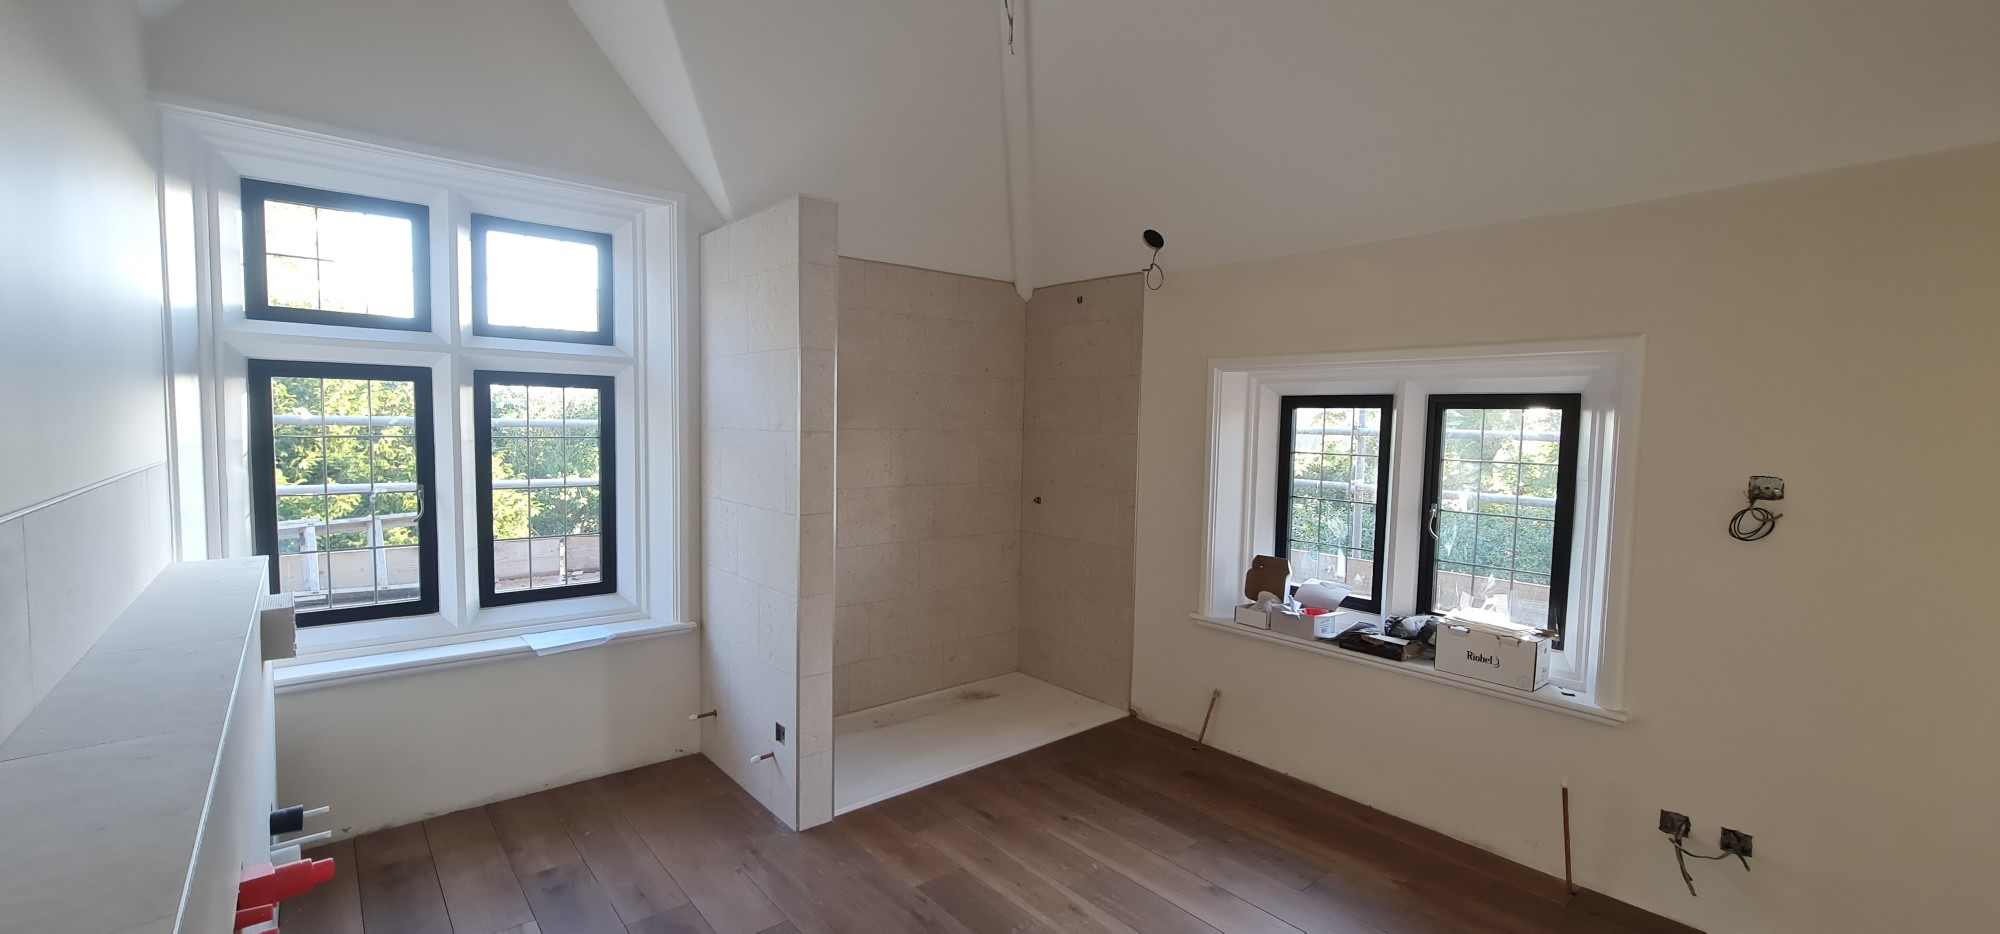
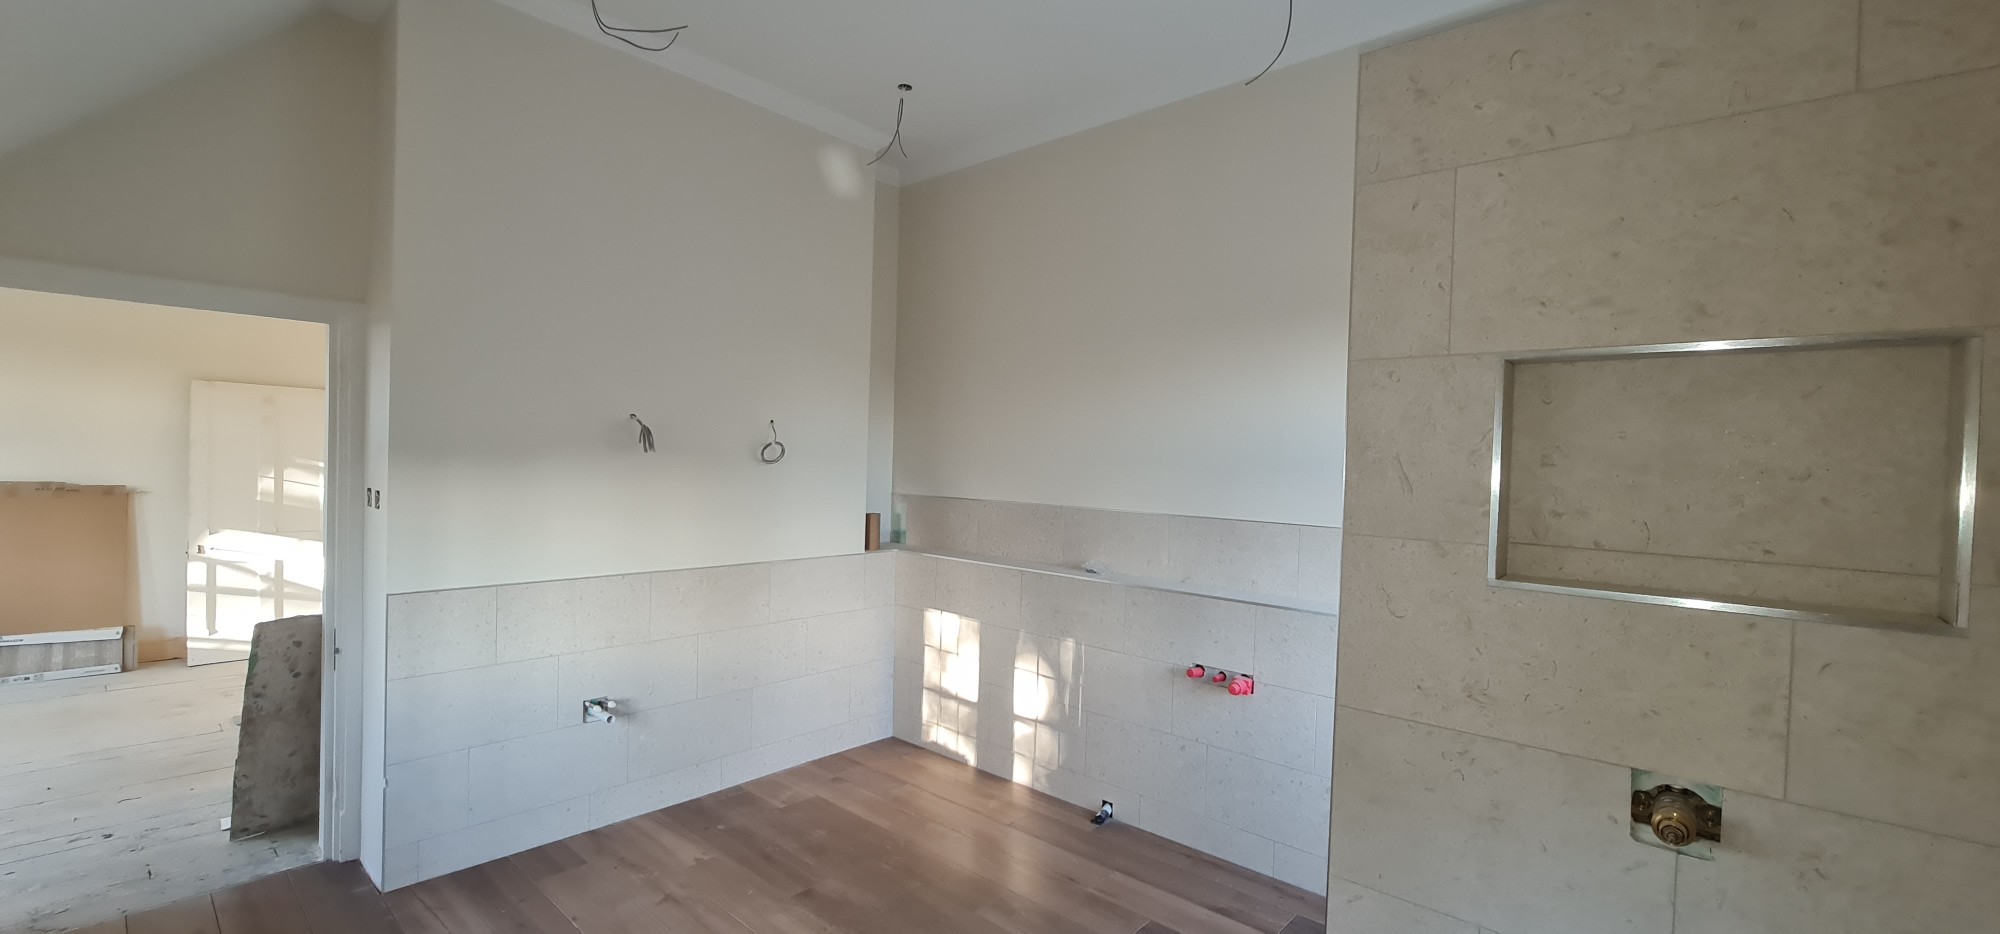
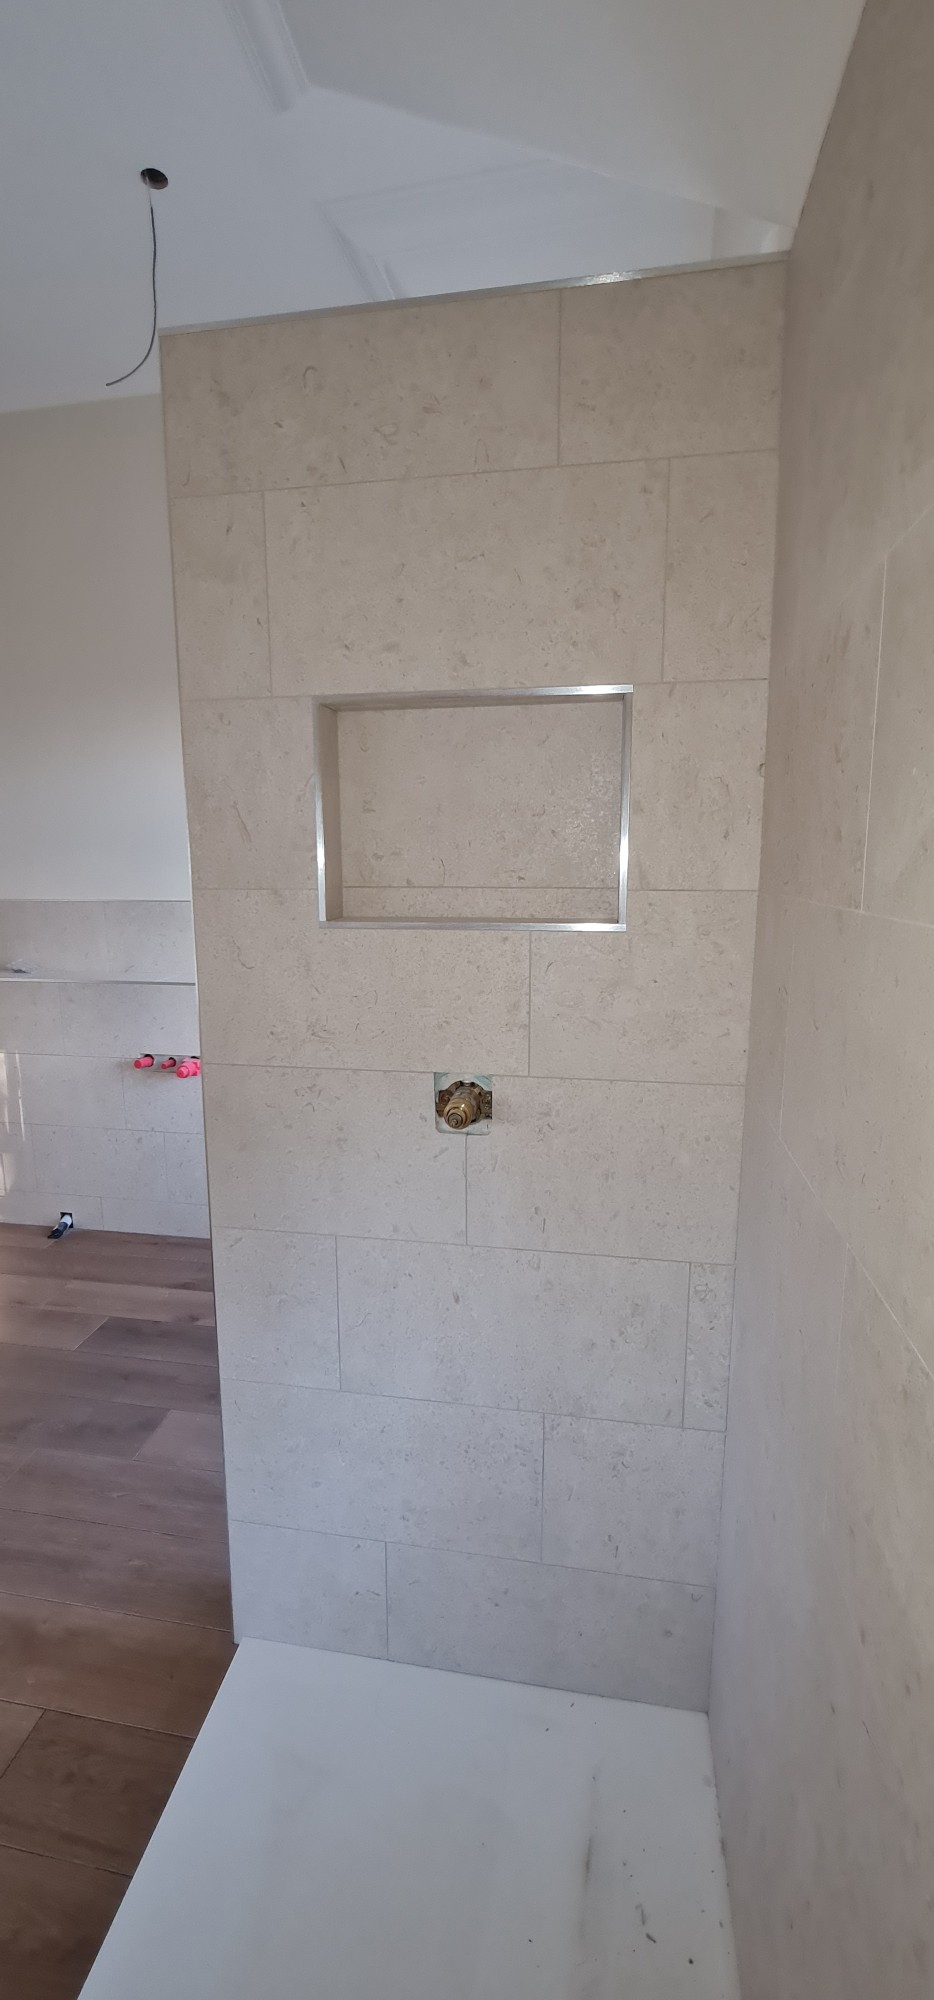
The new master en-suite was formed from what had been a separate bedroom next door. We knocked through from the master bedroom and converted the room into a spacious en-suite. The pipework behind the bath, toilet and shower was boxed in, and we built a dividing wall with a recessed shelf for the walk-in shower and a fitted cupboard in the alcove.
Stage 16
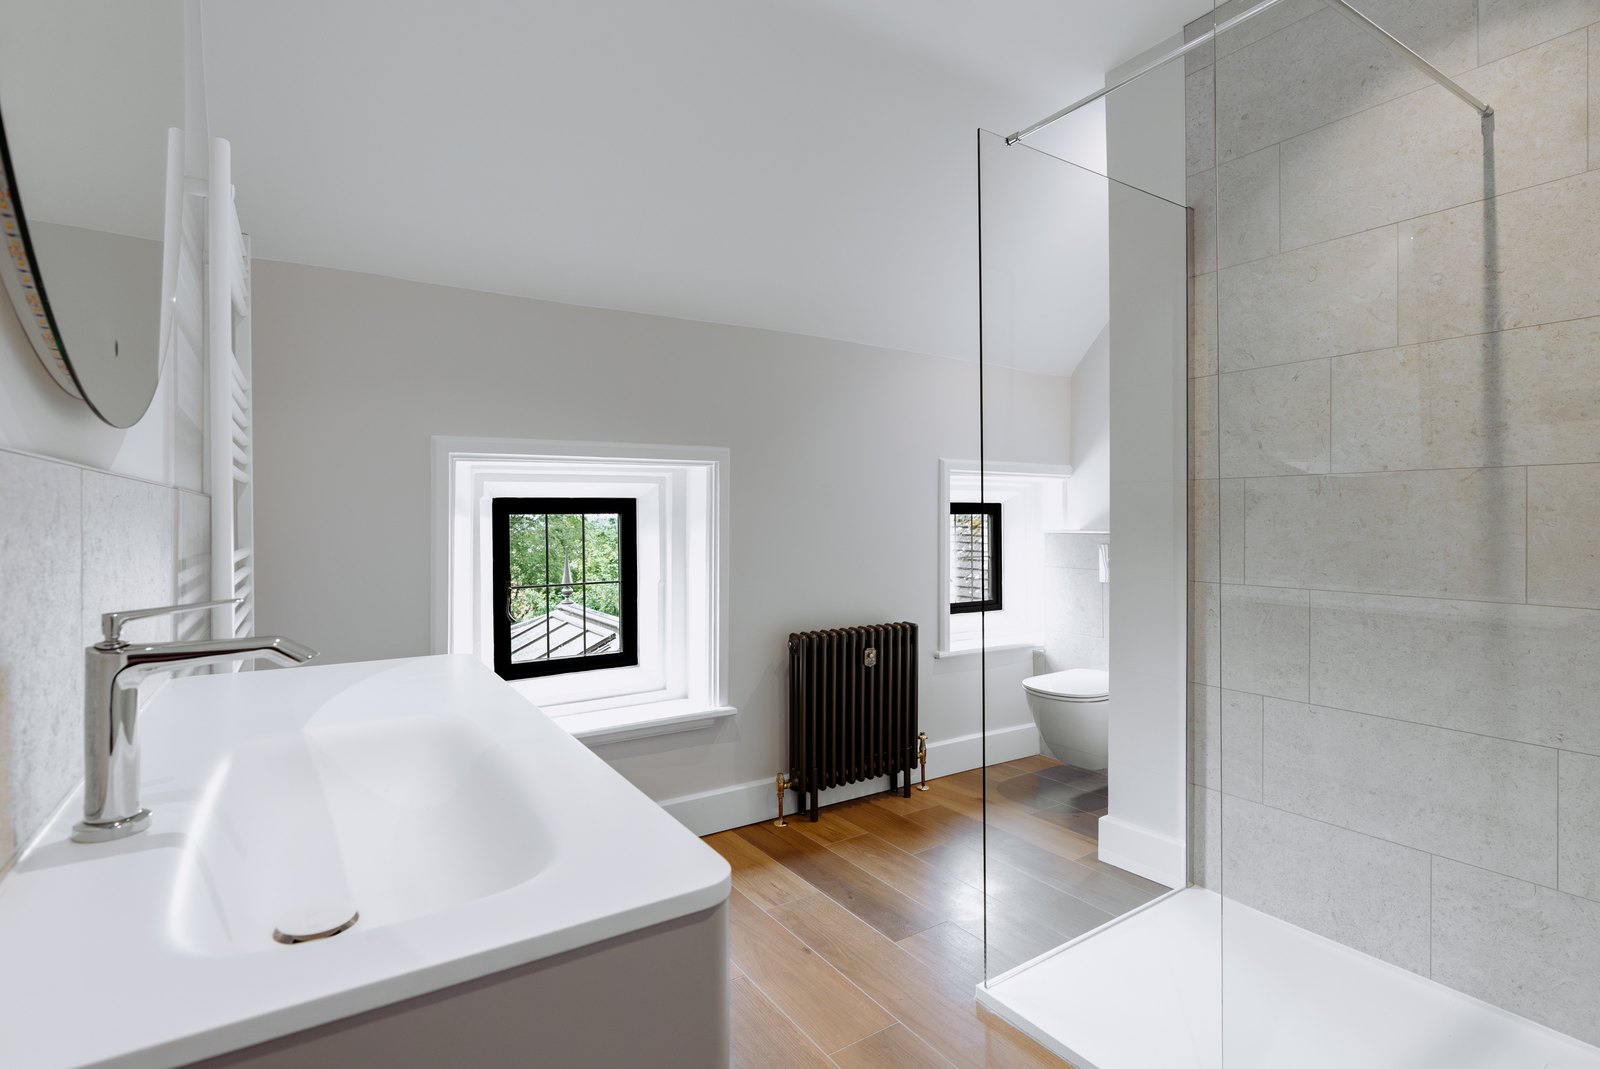
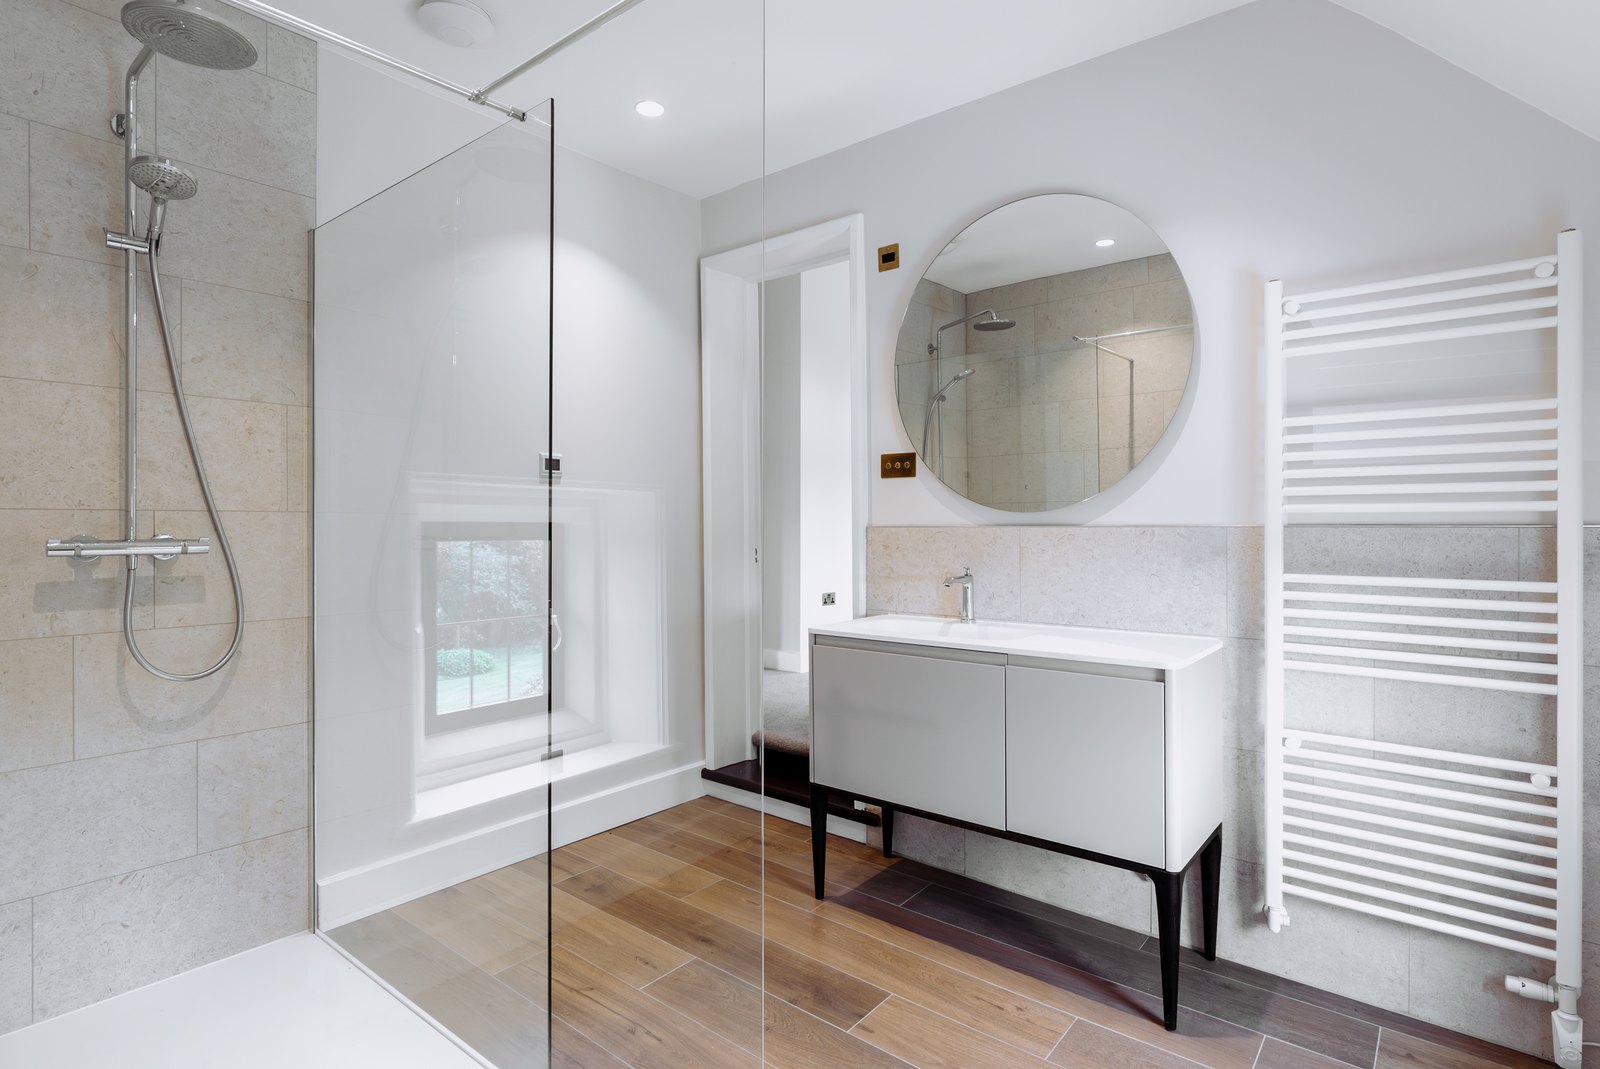
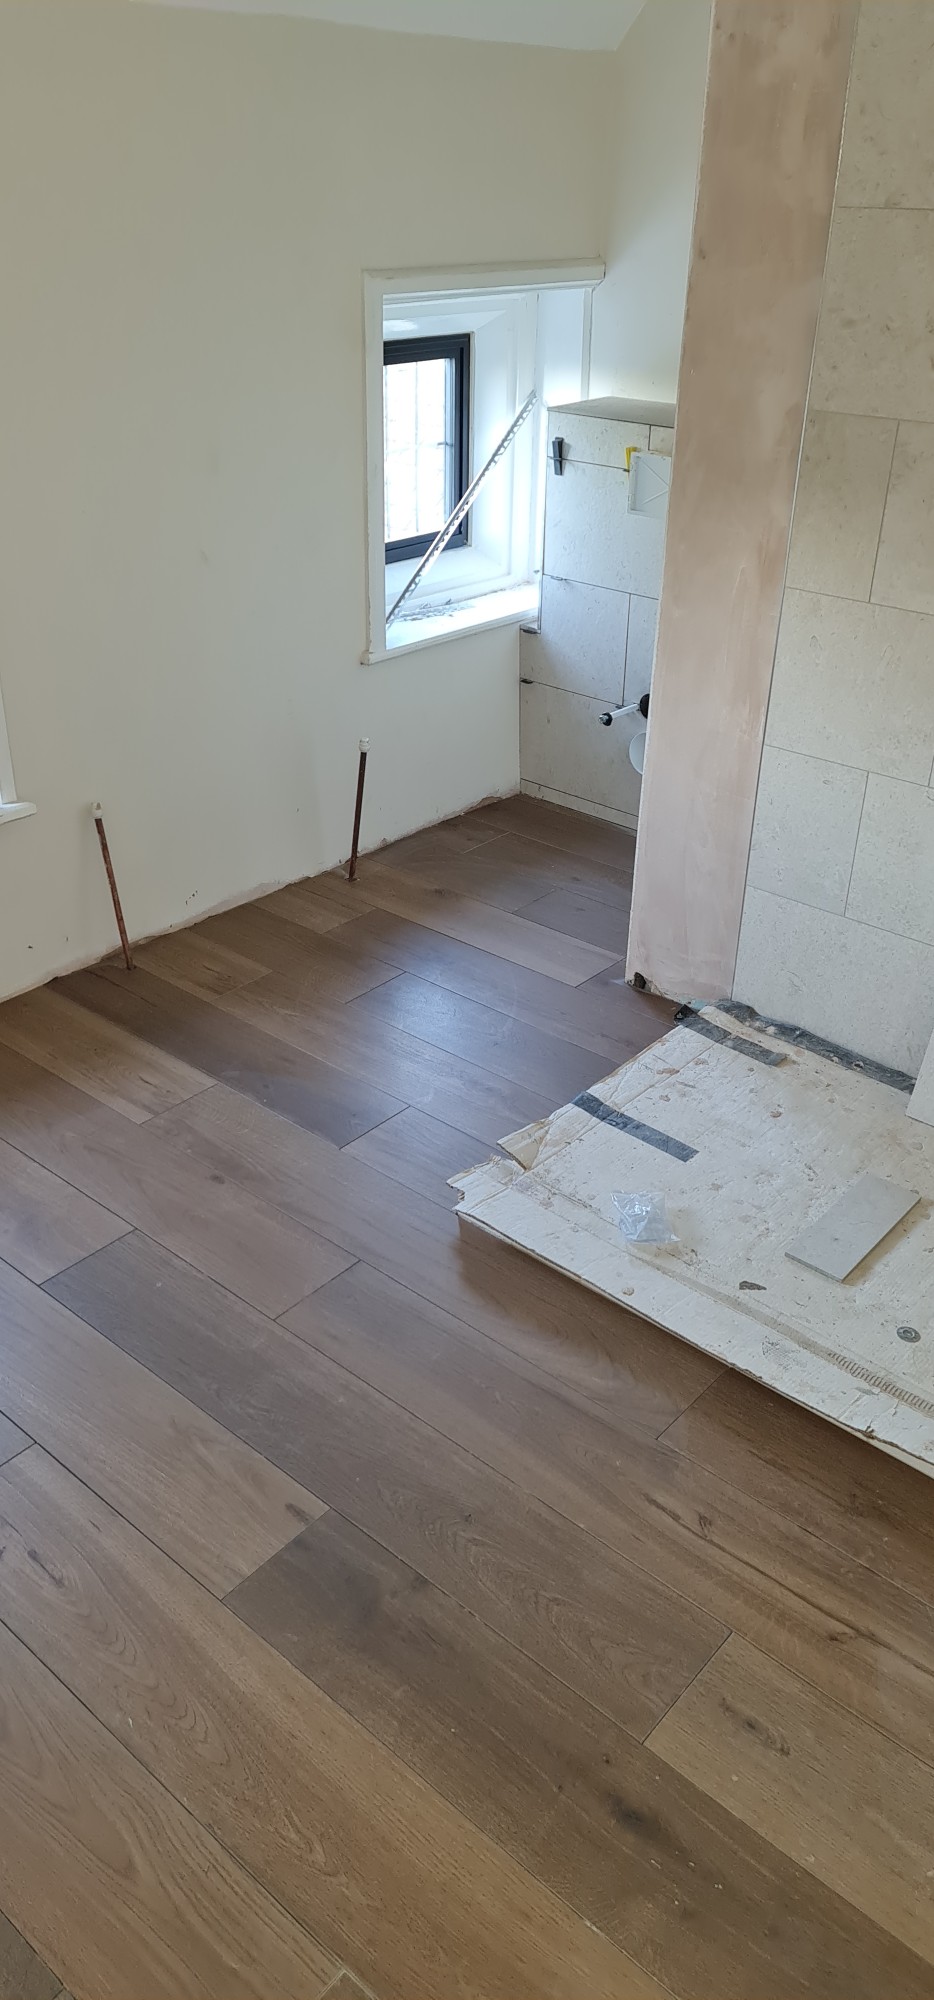
The bathrooms
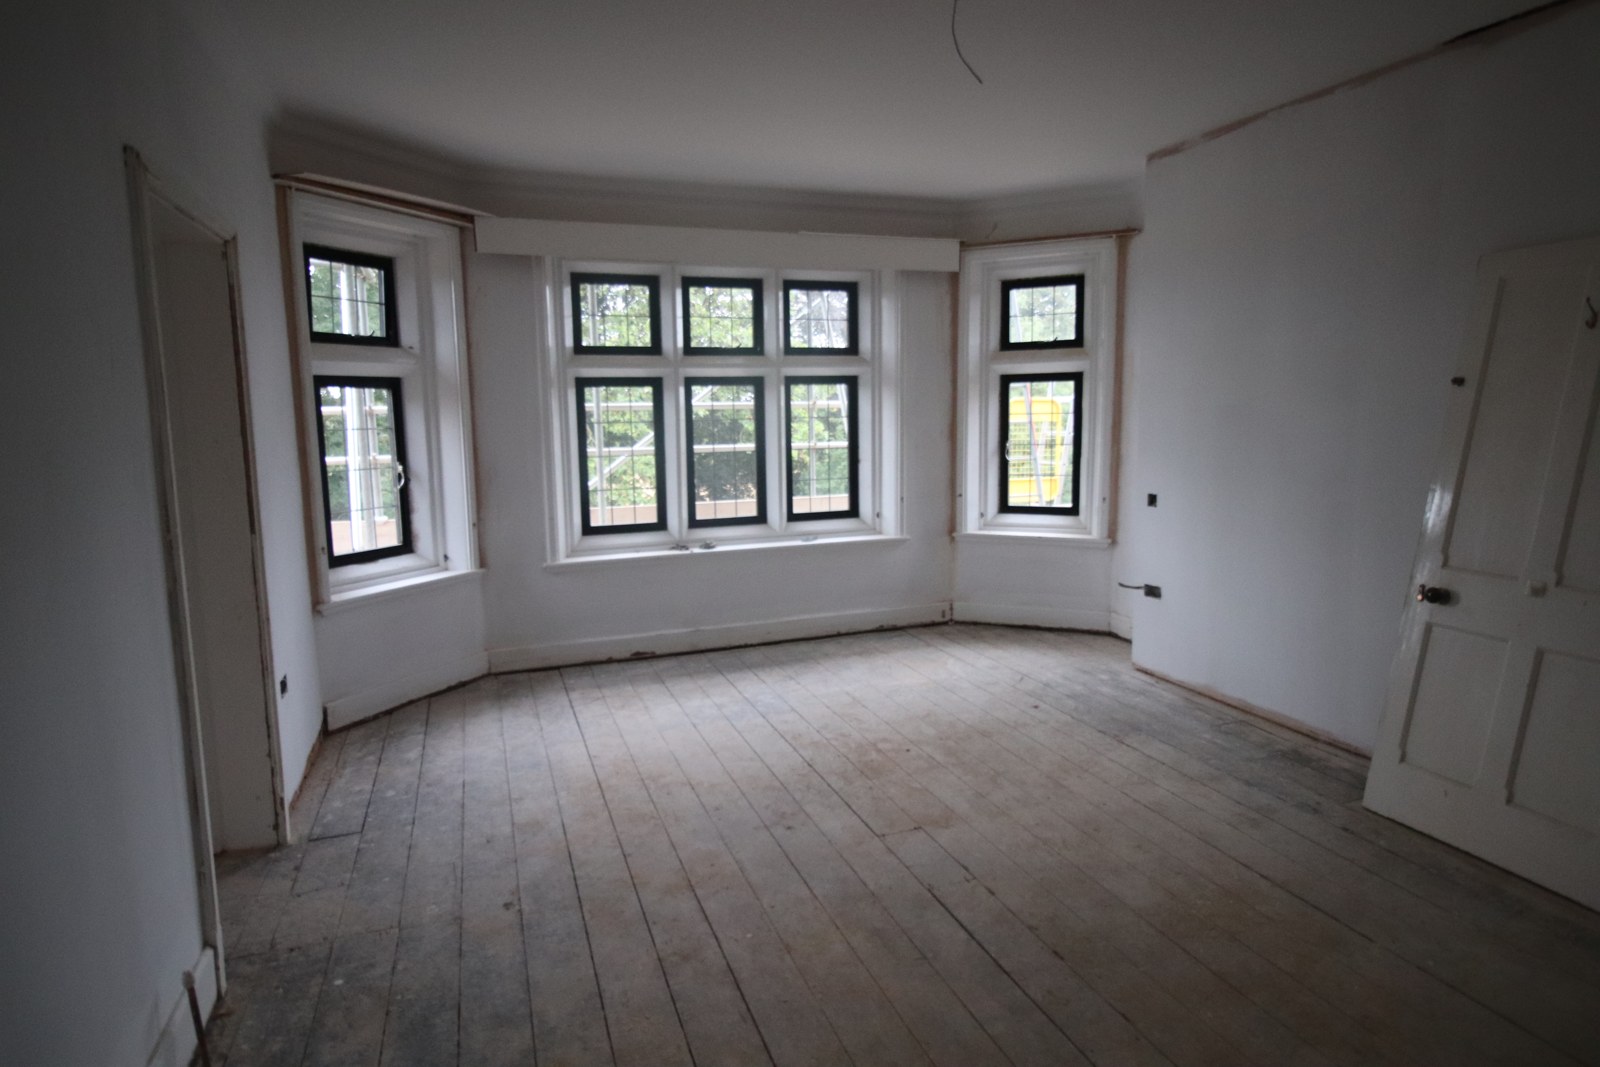
Two other bathrooms in the house were also refitted. For the second bedroom we created a new en-suite, forming a new doorway into it and reusing the room's original door.
Stage 17
Bedroom carpentry
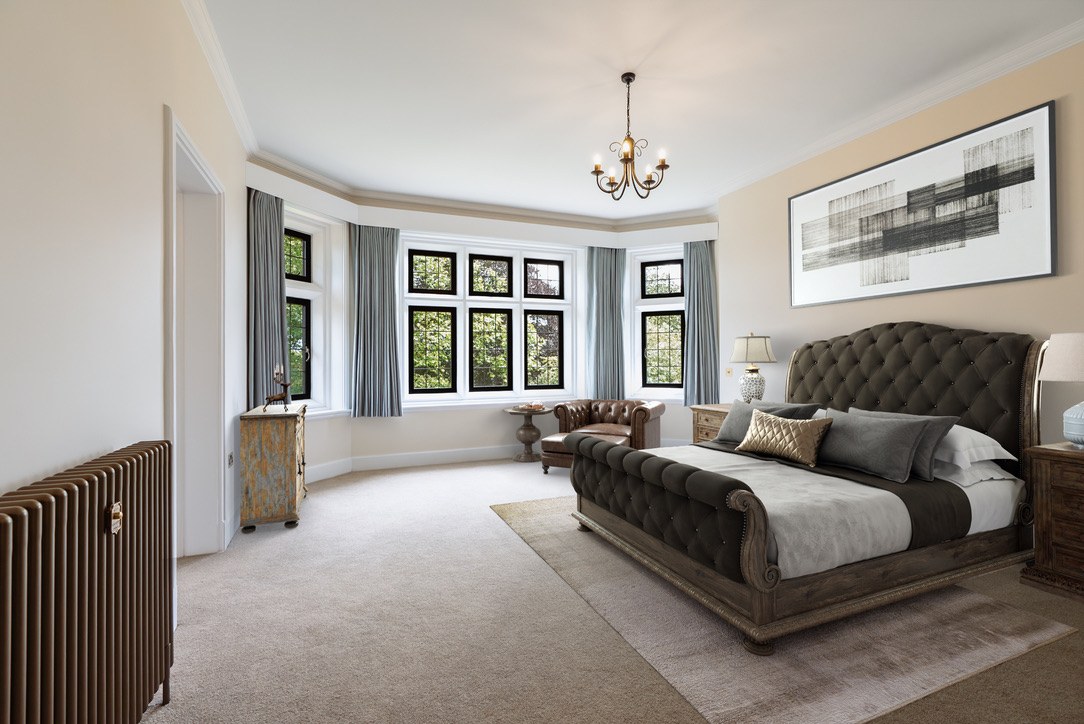
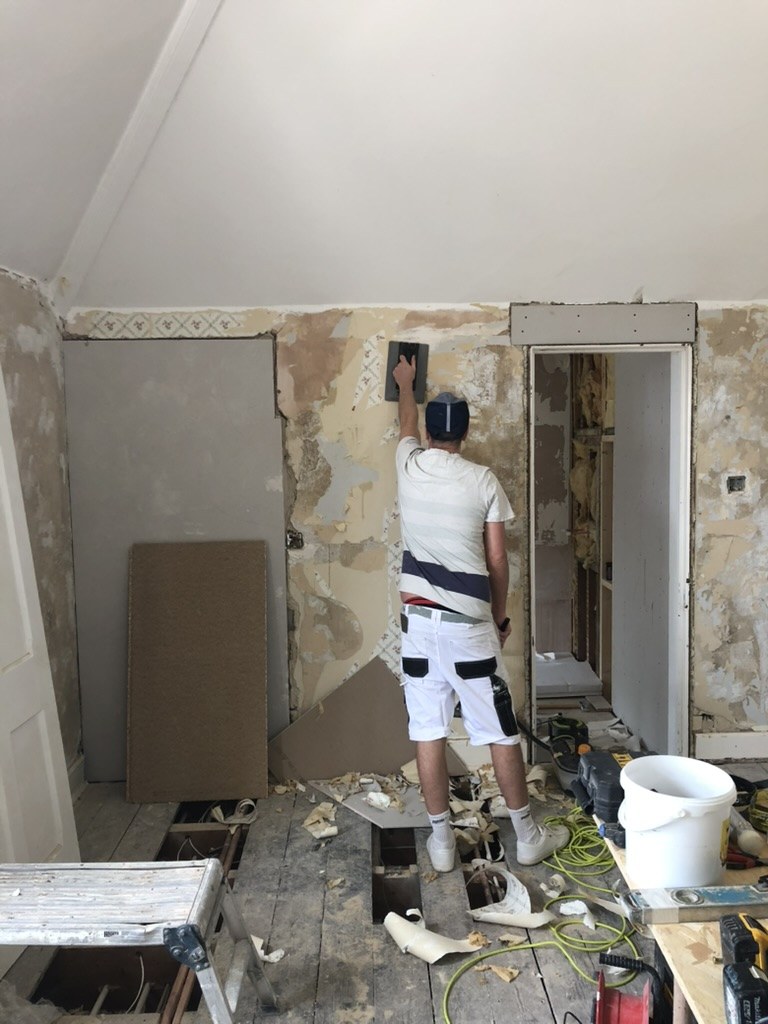
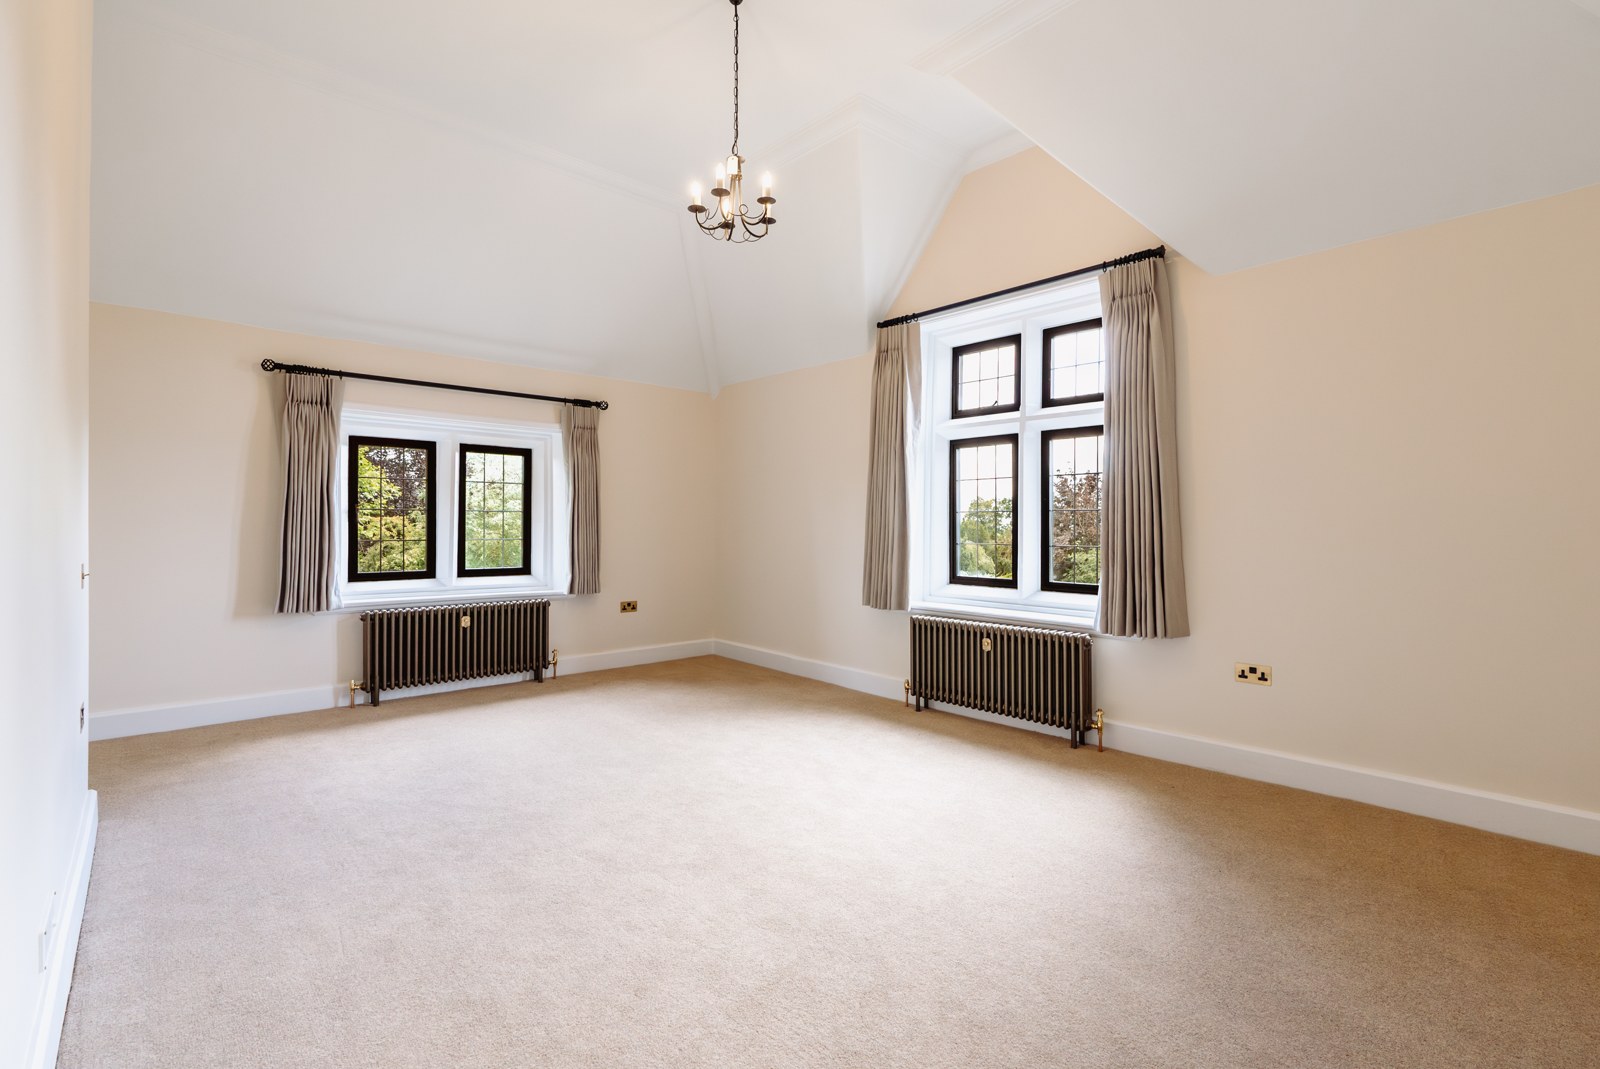
In the bedrooms we boxed in either side of the chimney breasts, overboarded the ceilings and slopes, fitted new skirtings and loft hatches, and reused the original doors where openings were moved. Doors were also trimmed to sit over the new carpets.
Stage 18
The attic rooms
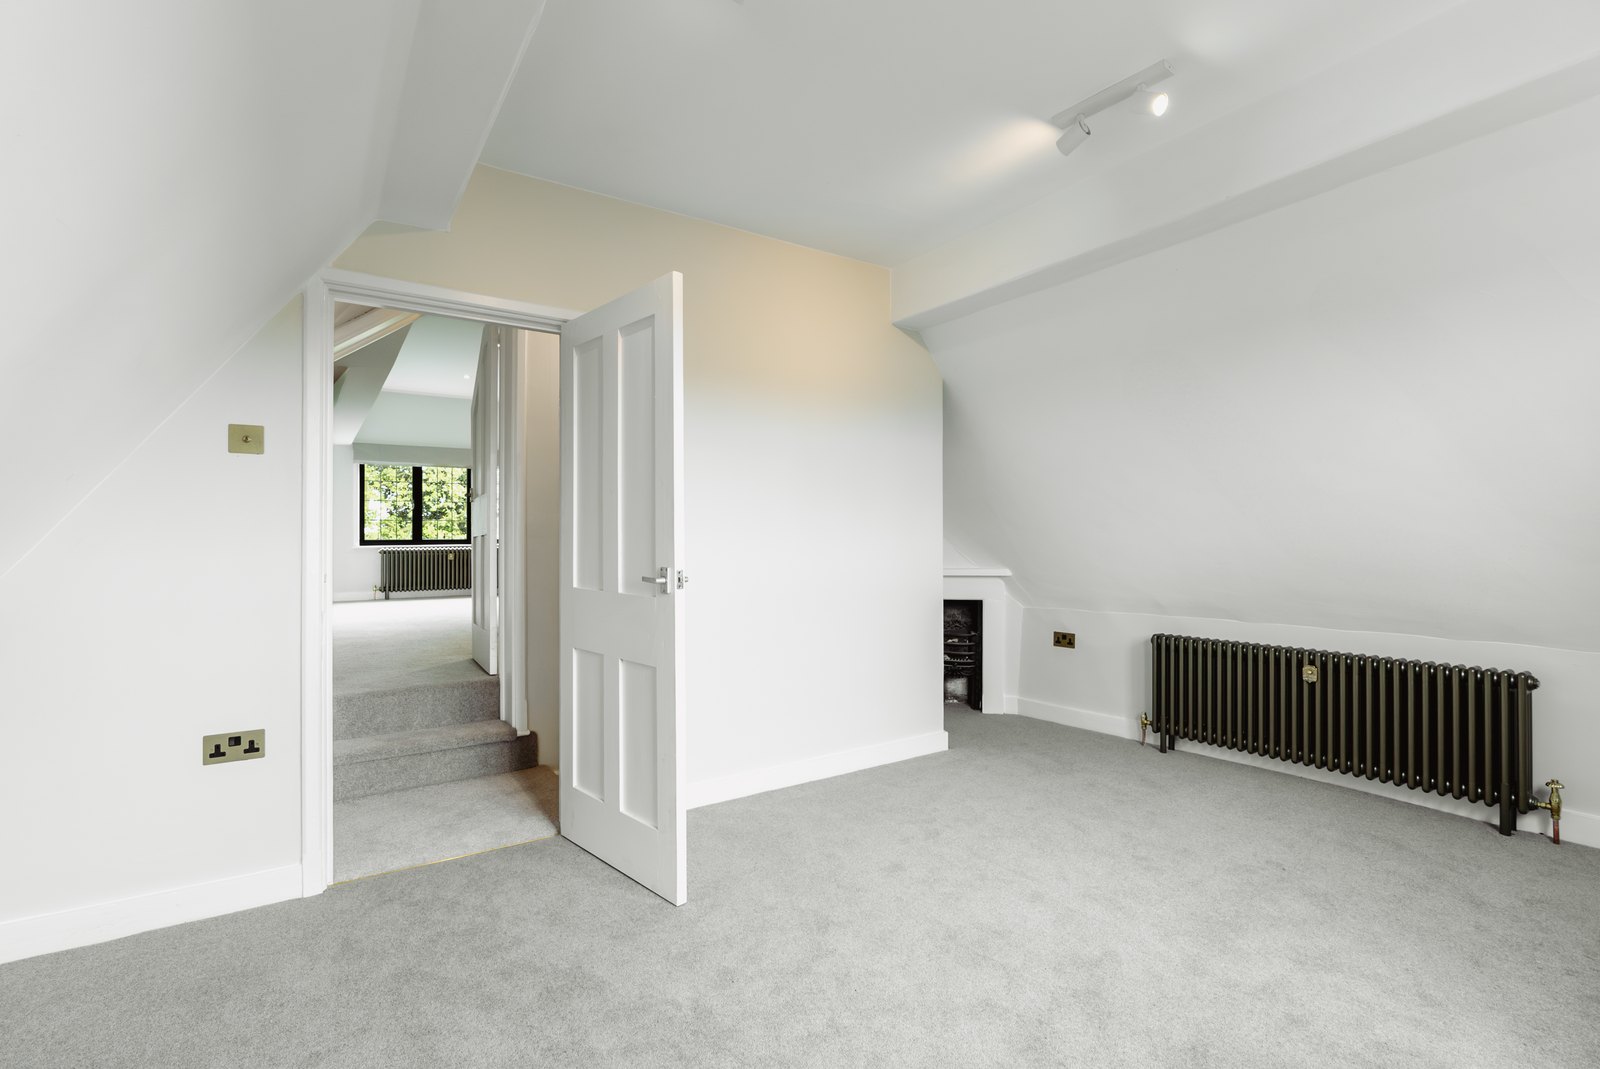
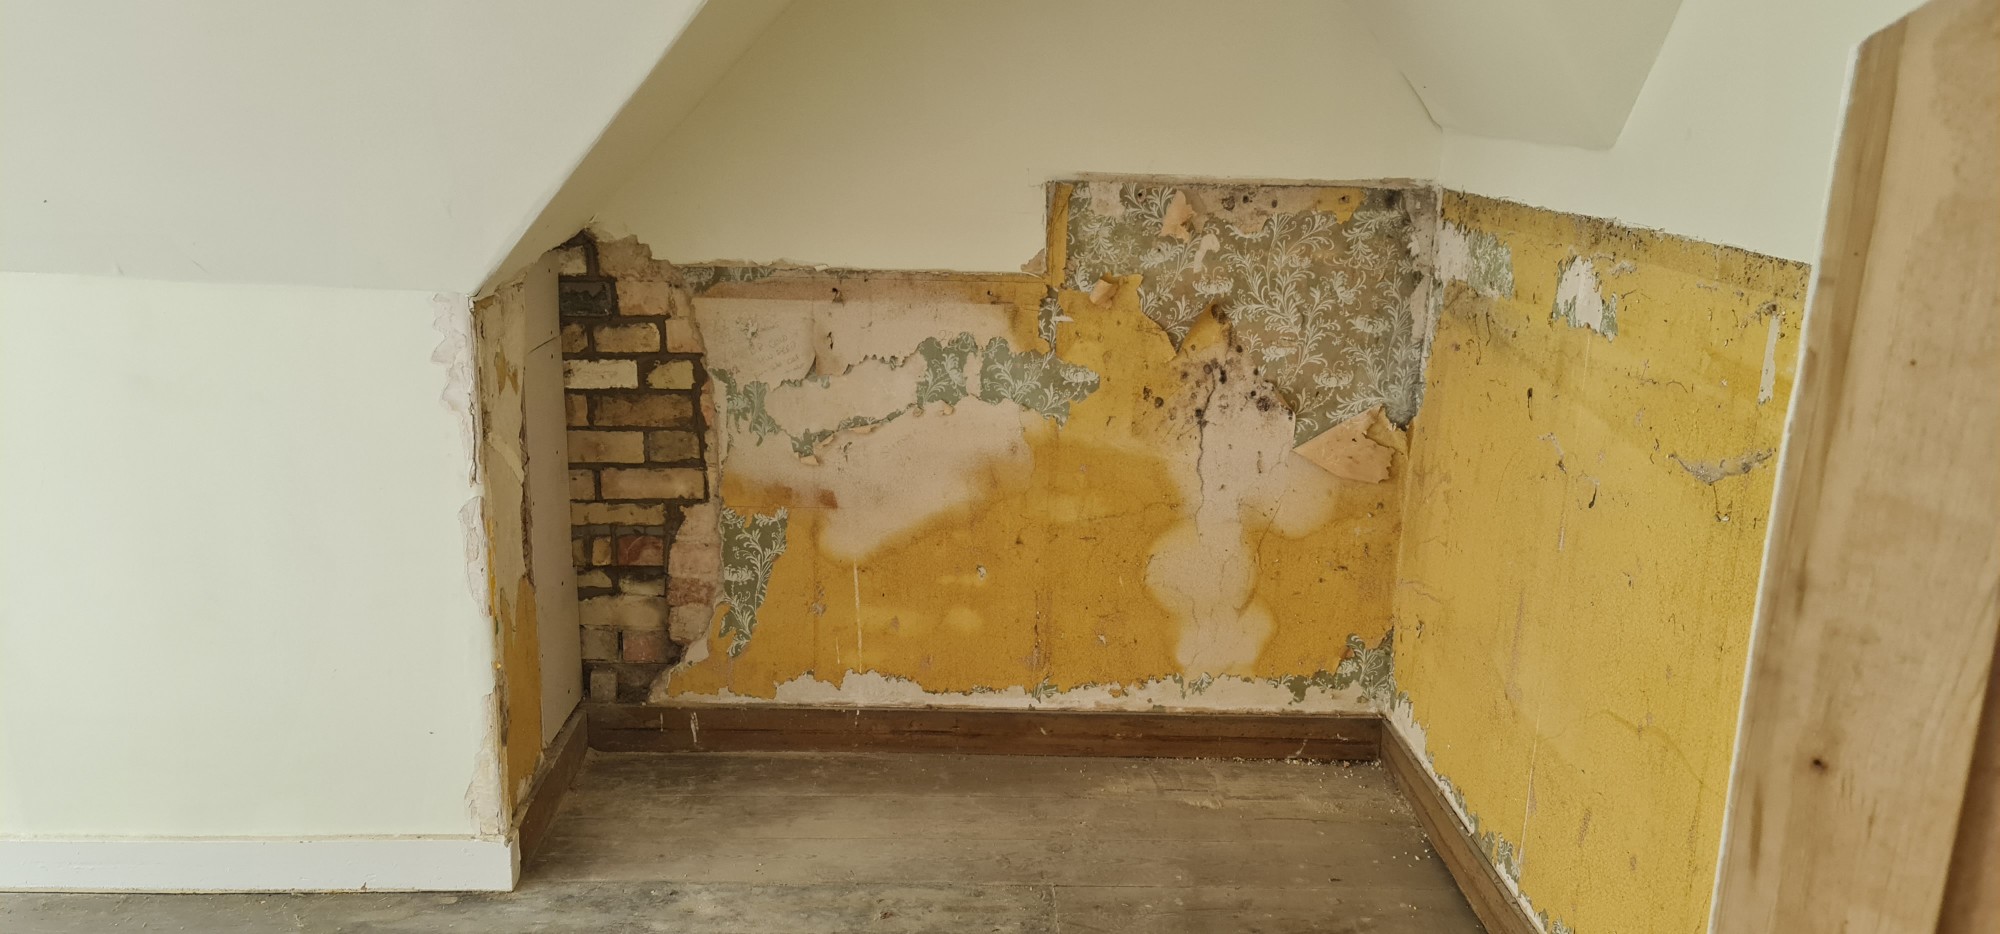
The attic rooms were refurbished as part of the renovation, giving the house usable rooms right up into the roof.
Stage 19
New radiators fitted throughout
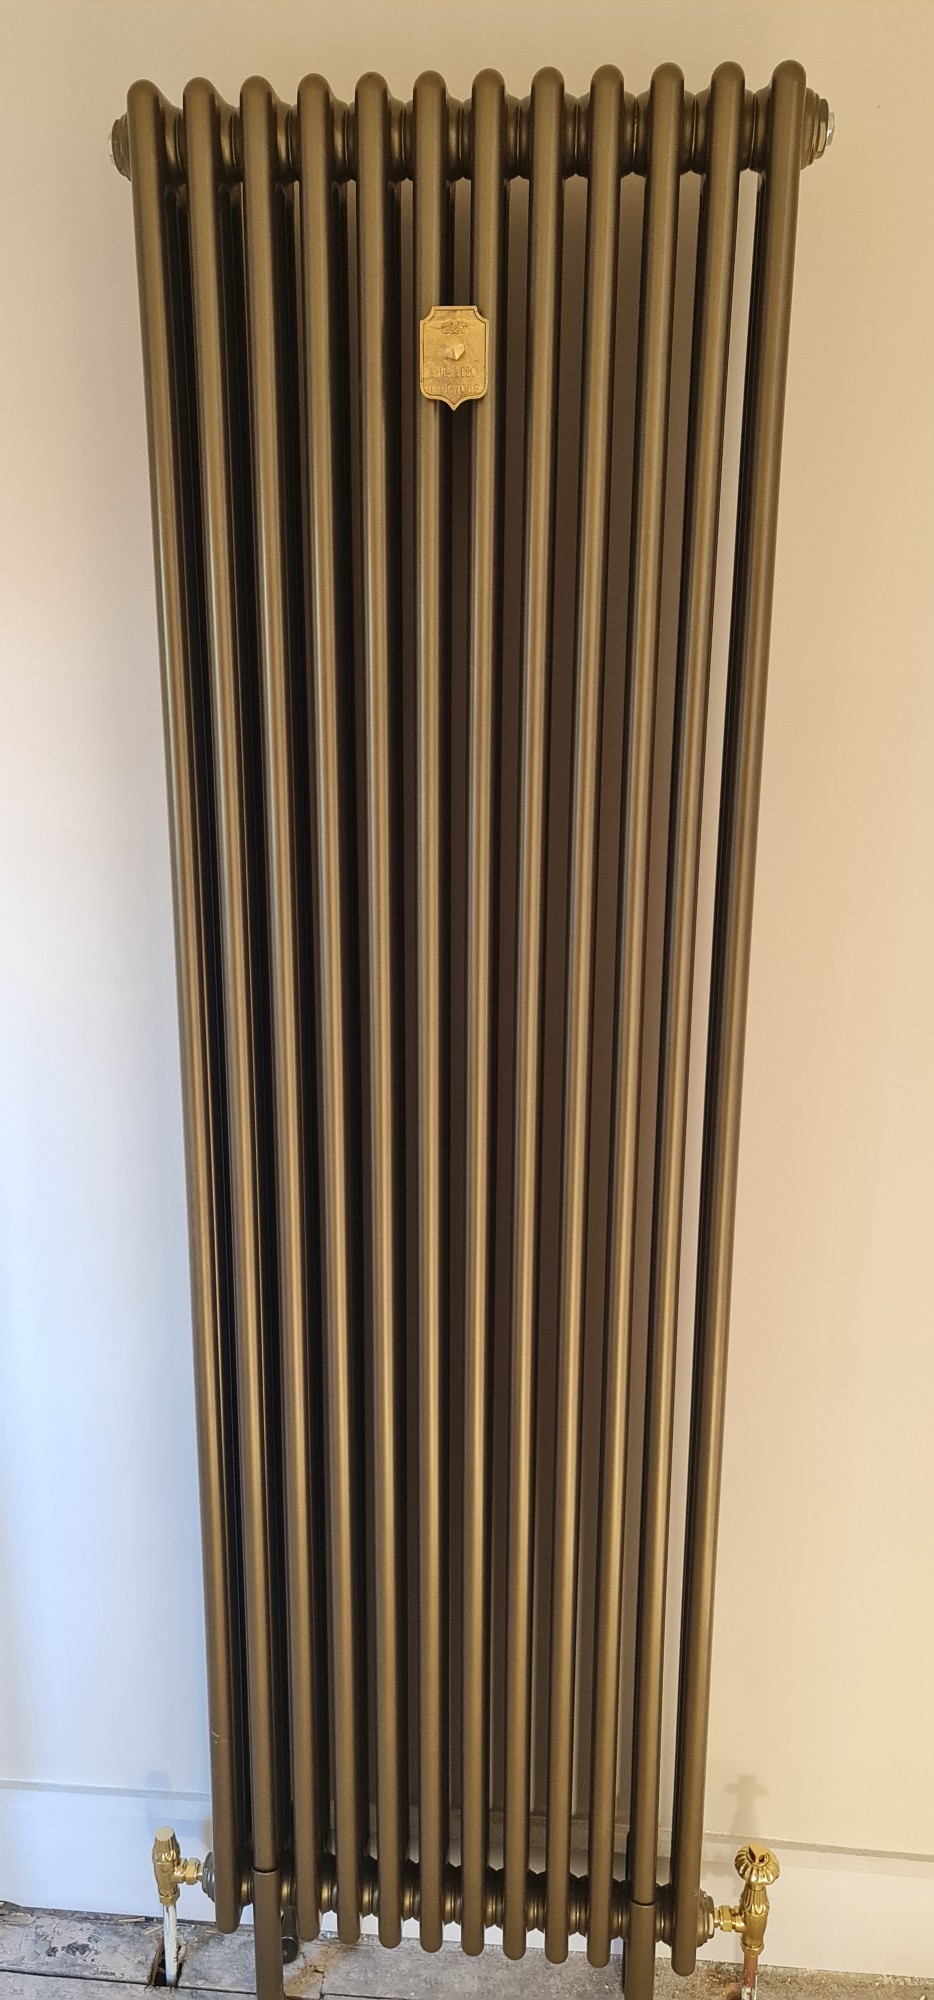
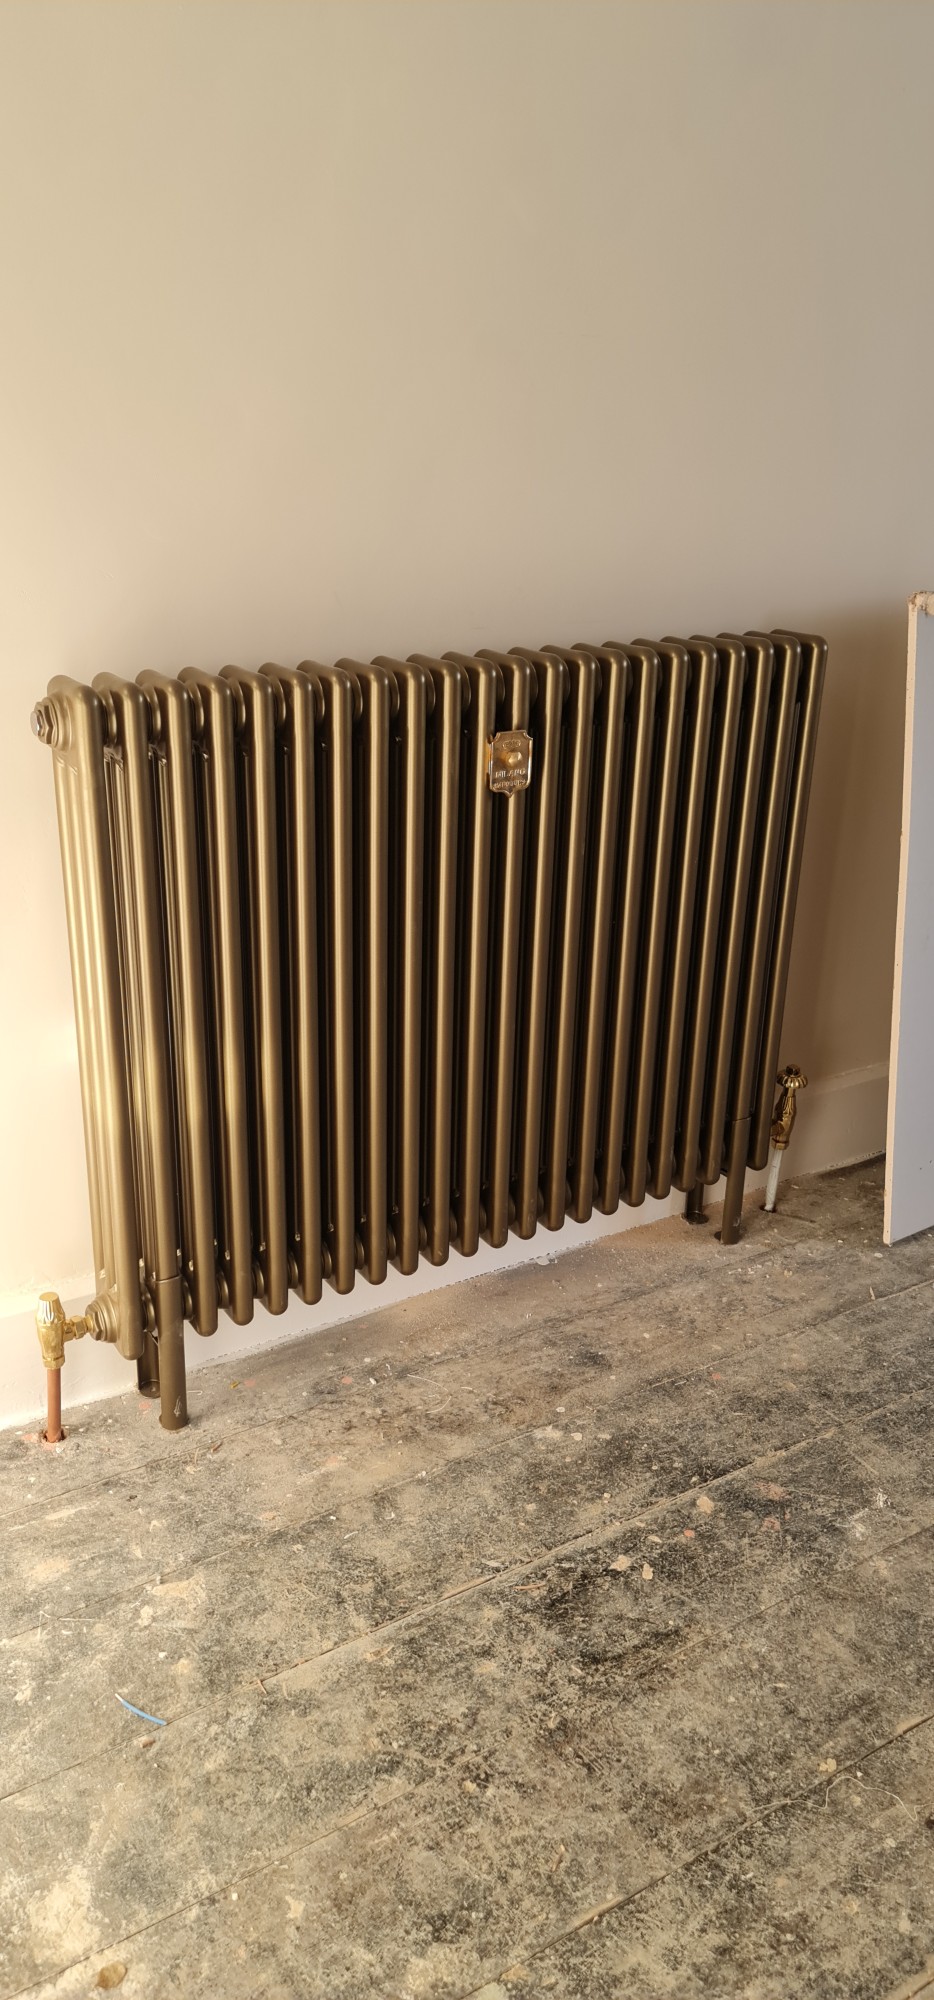
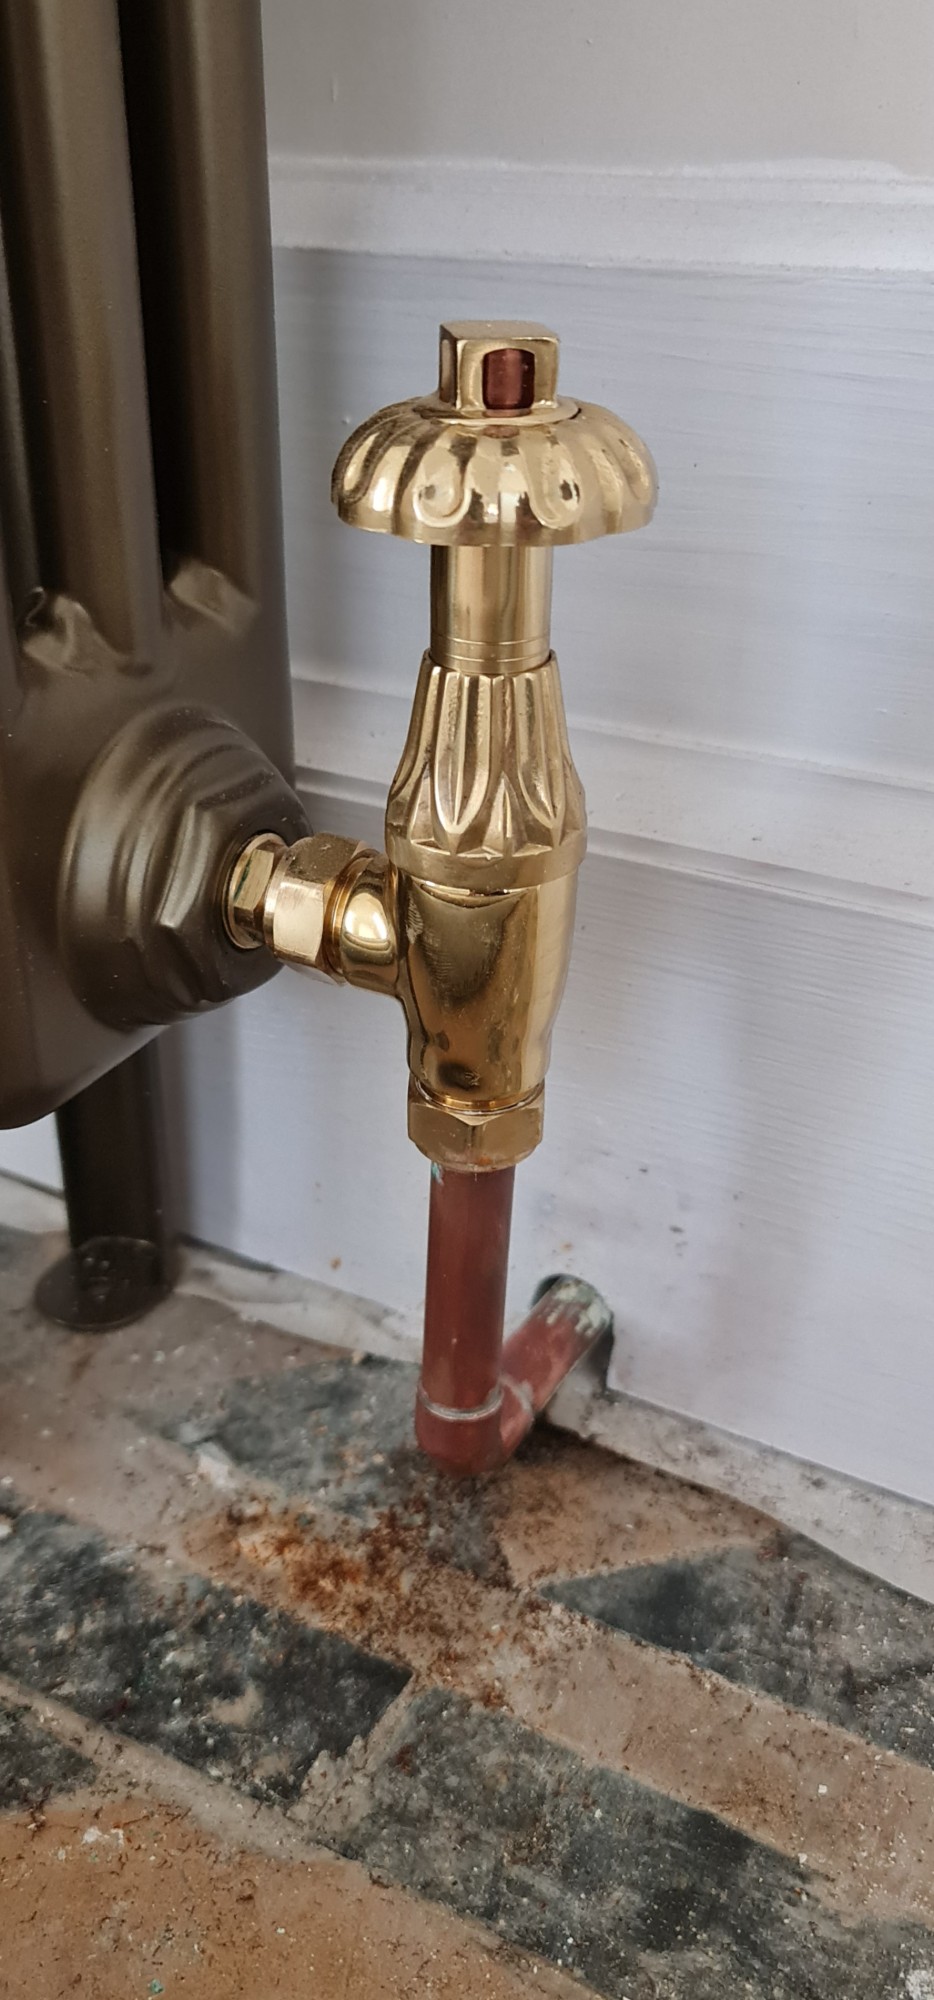
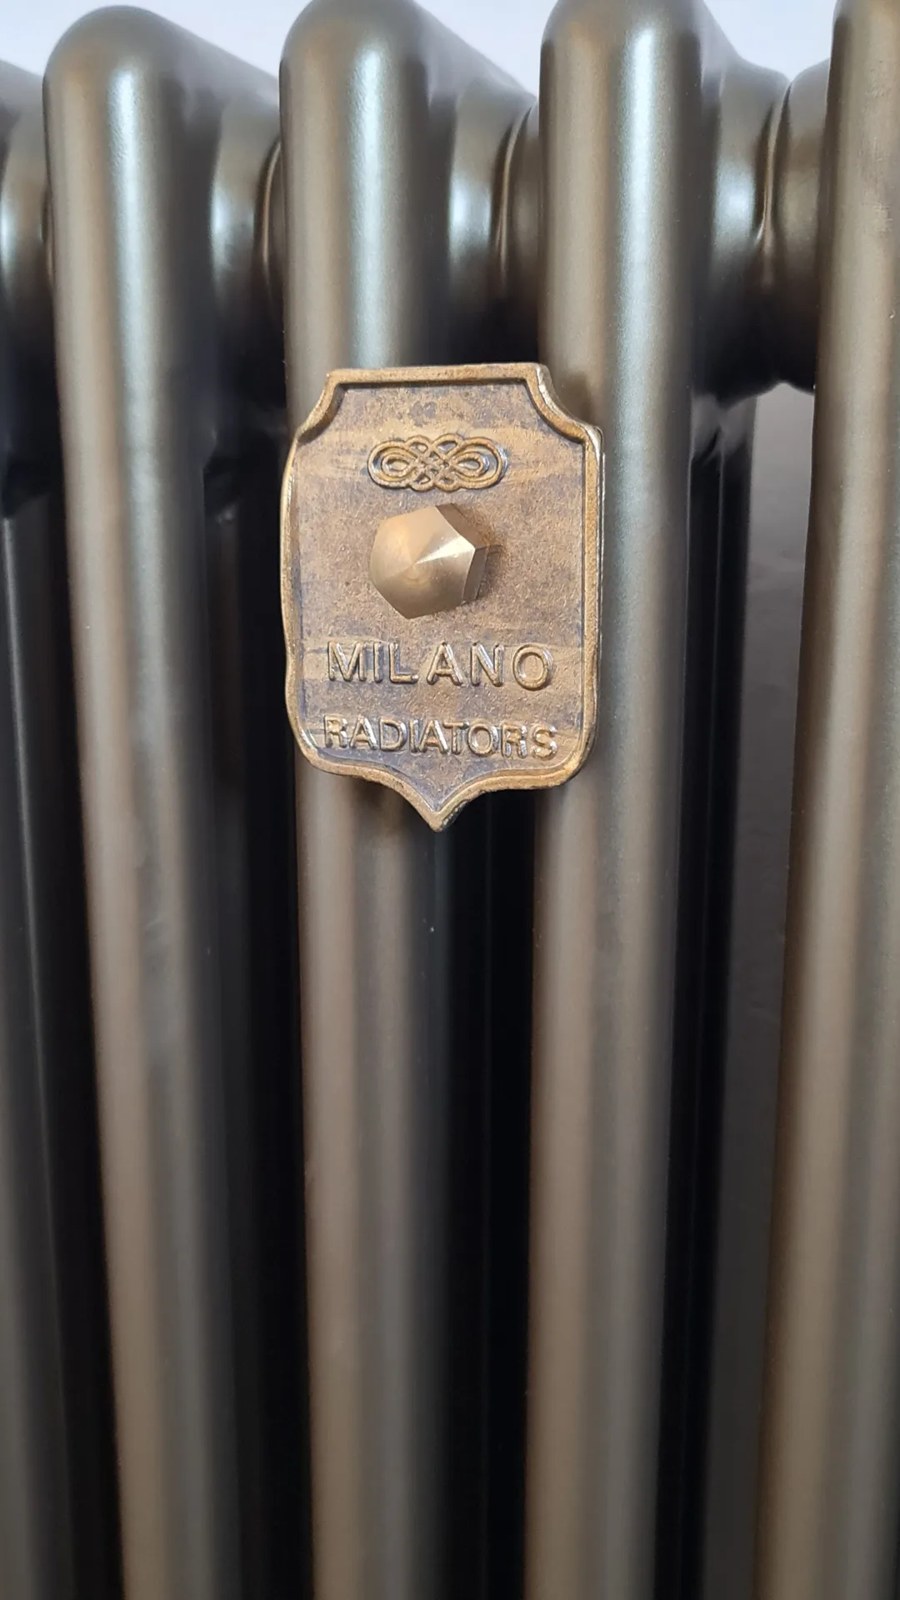
As part of the new heating system, we fitted new radiators throughout the house. Traditional column radiators were chosen to suit the period of the house, sized for each room to give even, reliable warmth.
Stage 20
Repairing the attic windows and timberwork
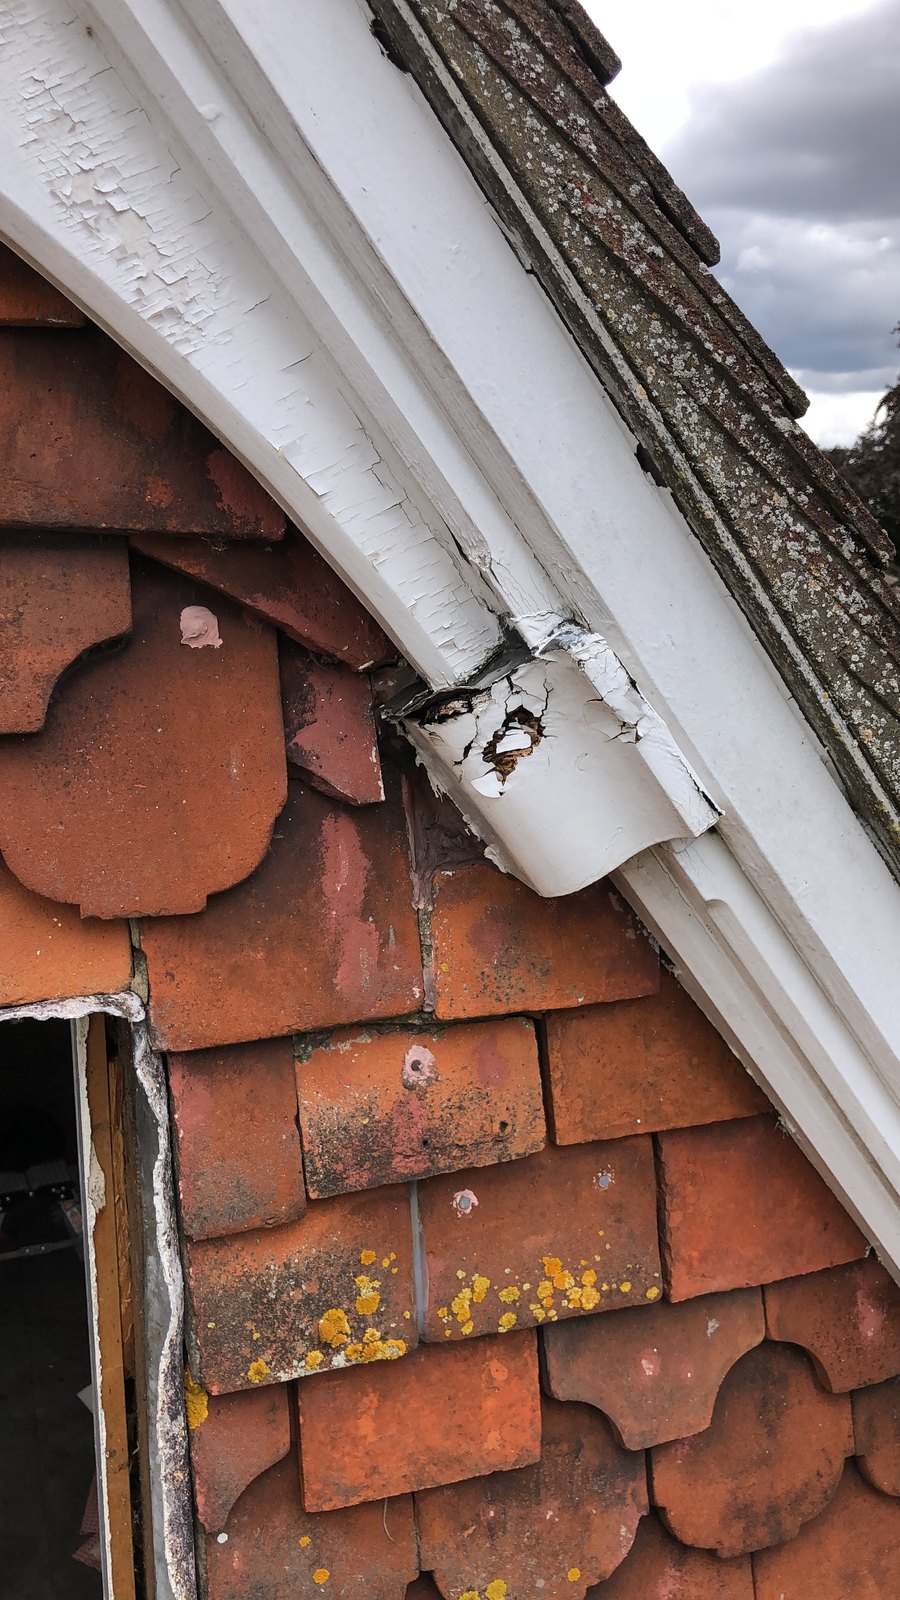
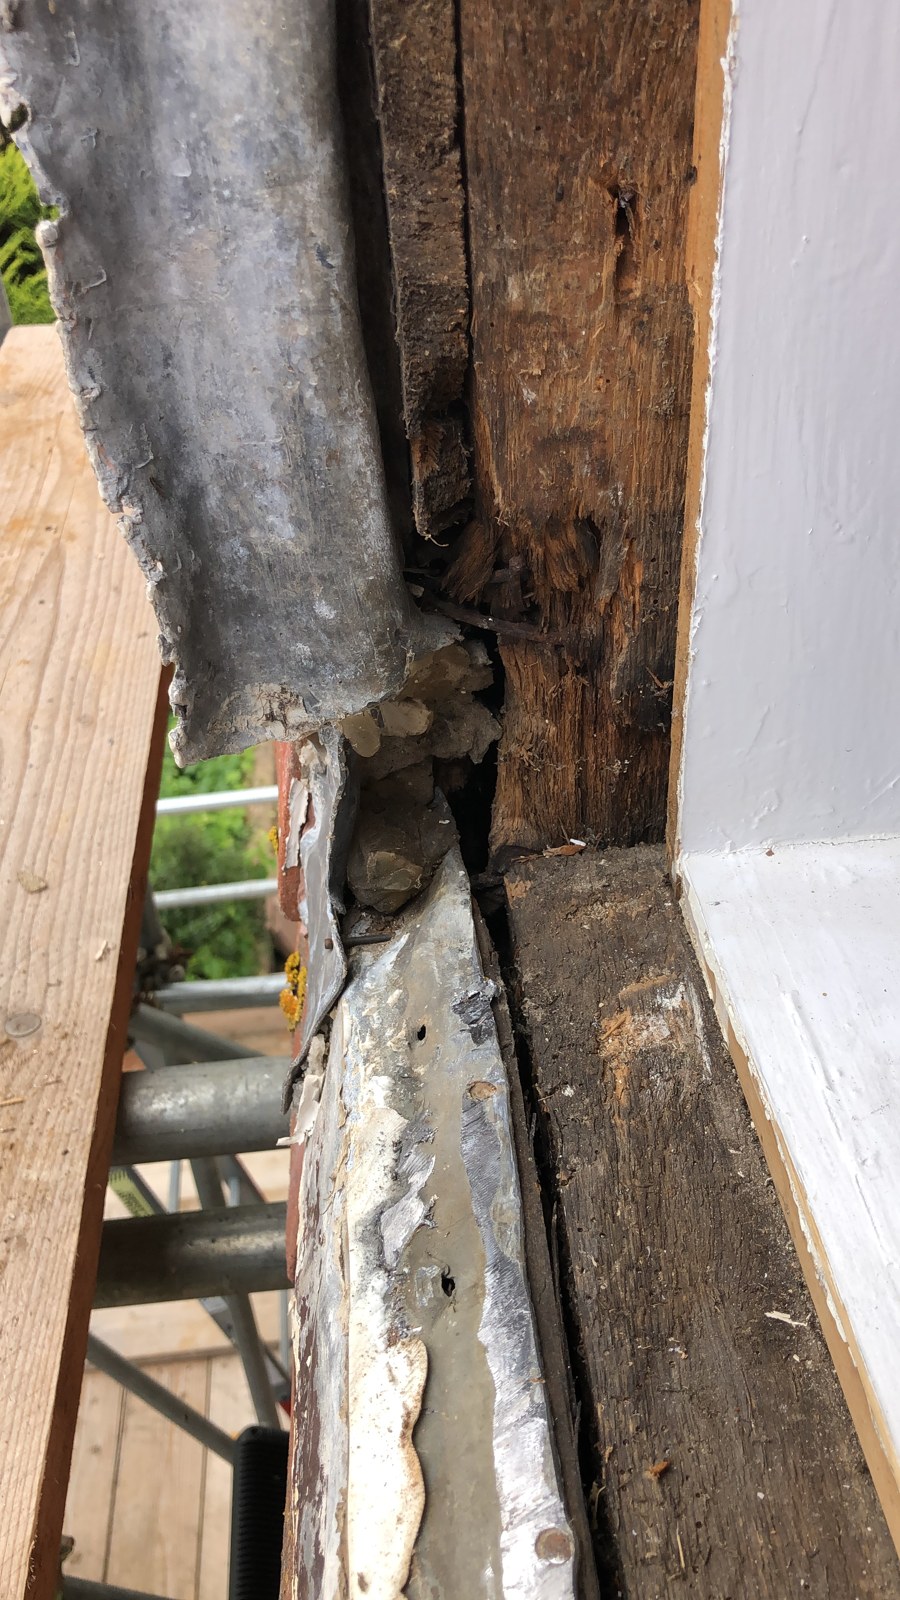
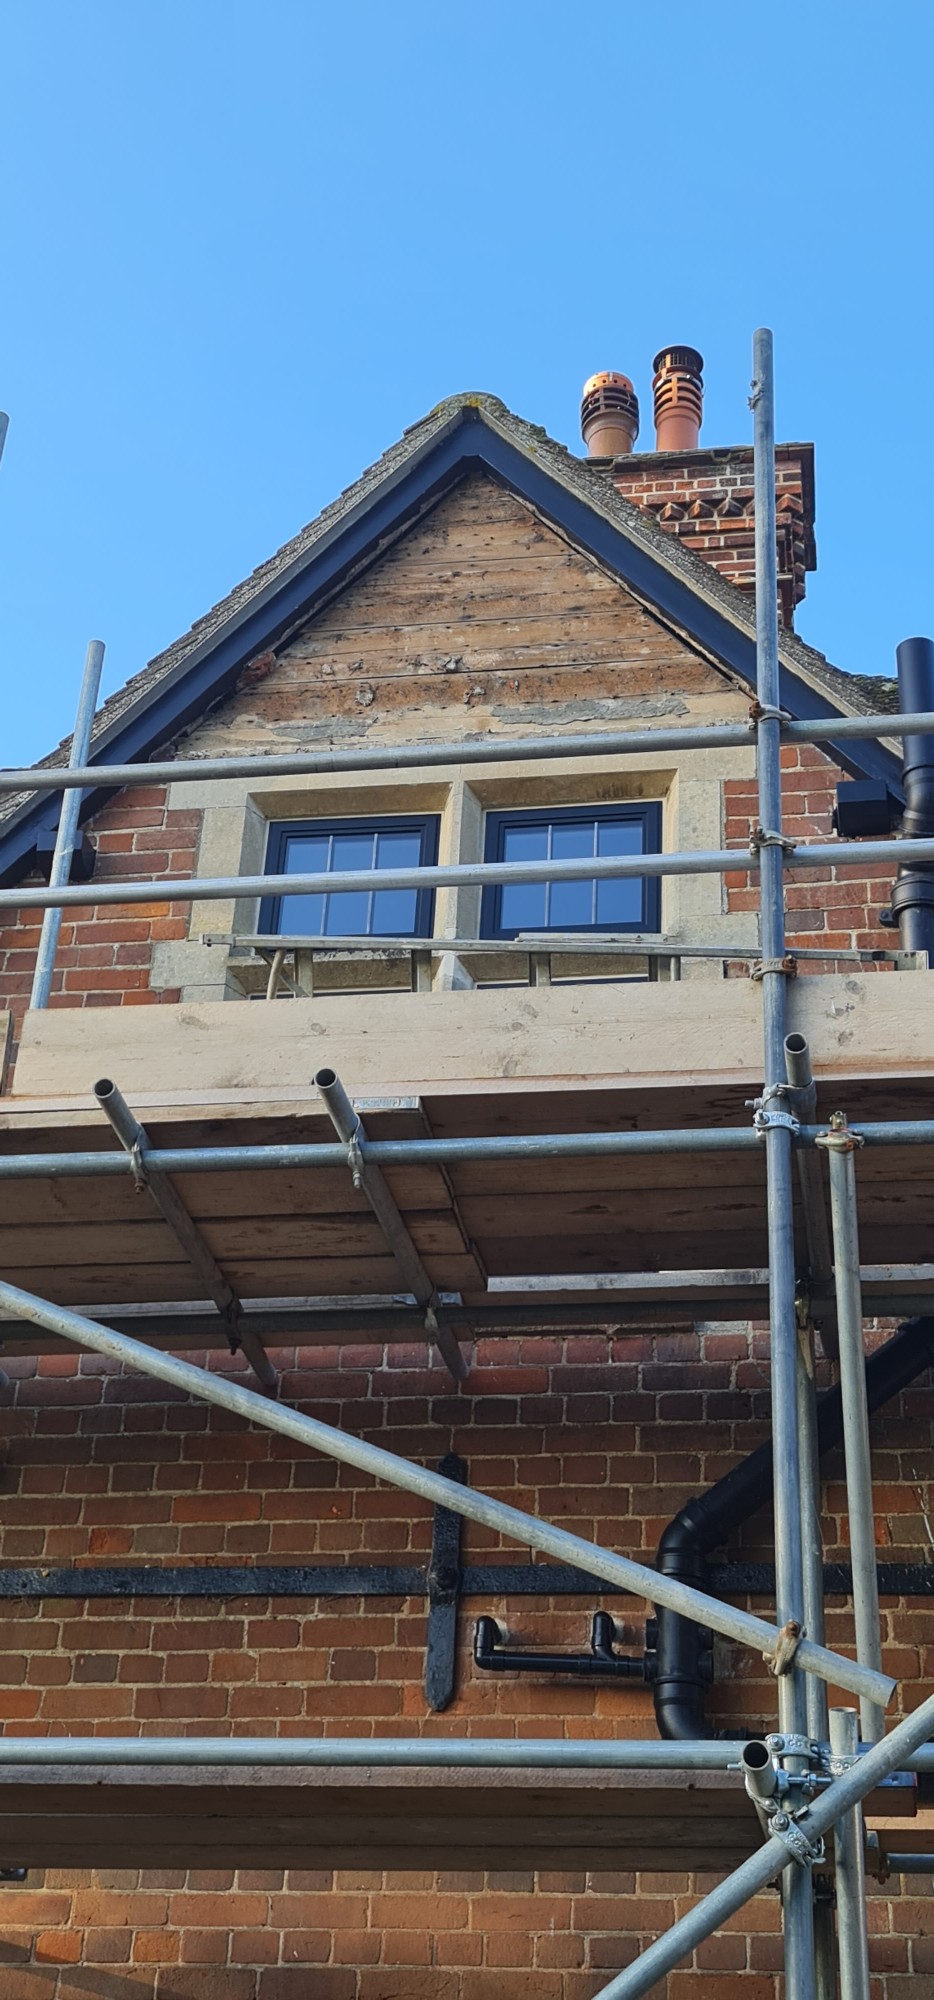
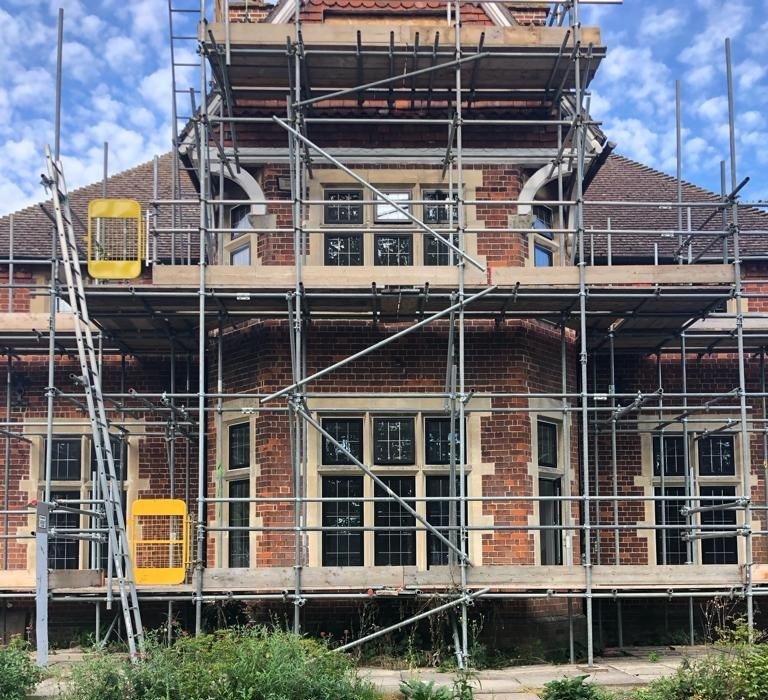
The window frames and surrounds of the attic rooms needed structural repair. We stripped out the area, repaired the timber and the rotten purlins, fitted a breathable membrane and refitted the tiles, using reclaimed tiles where needed to match. All the fascia boards were repaired, apart from one at the front, which we replaced, and every fascia board was then painted black to tie in with the new heritage windows.
Stage 21
Chimneys, guttering and roof repairs
Before work could start on one of the chimneys, a bees’ nest had to be removed from it. On the roof we then fitted three new chimney pots and two flue liners, and fitted chimney and tile vents. We also renewed the guttering and repaired the roof outside the existing bathroom.
Stage 22
Drainage
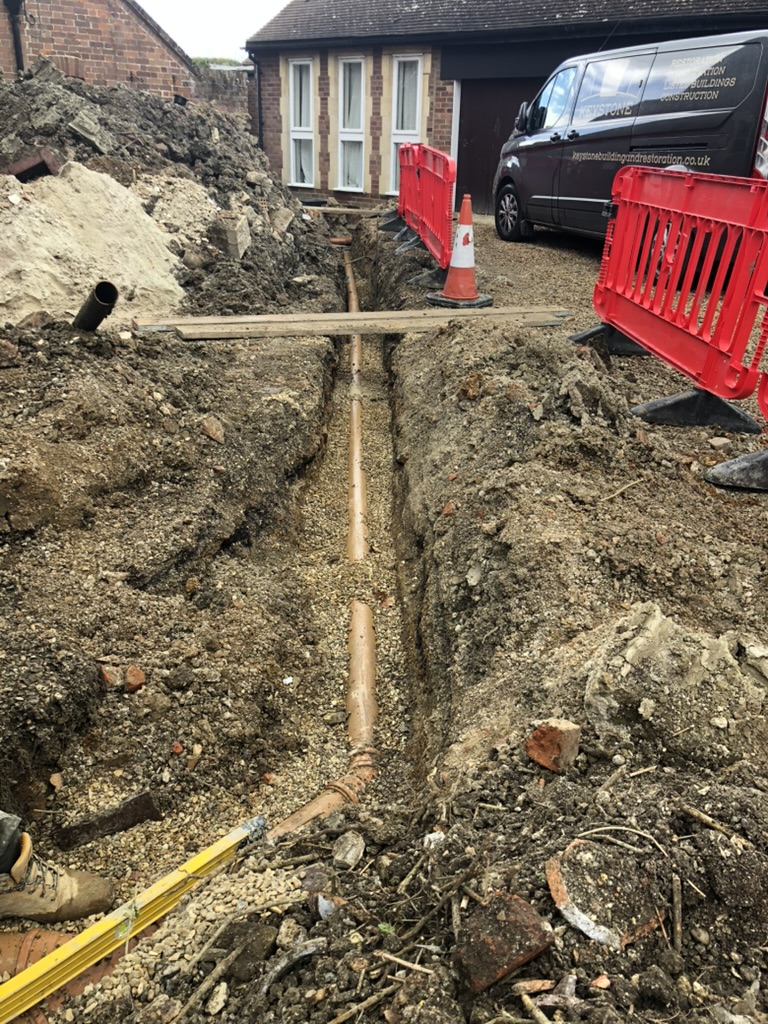
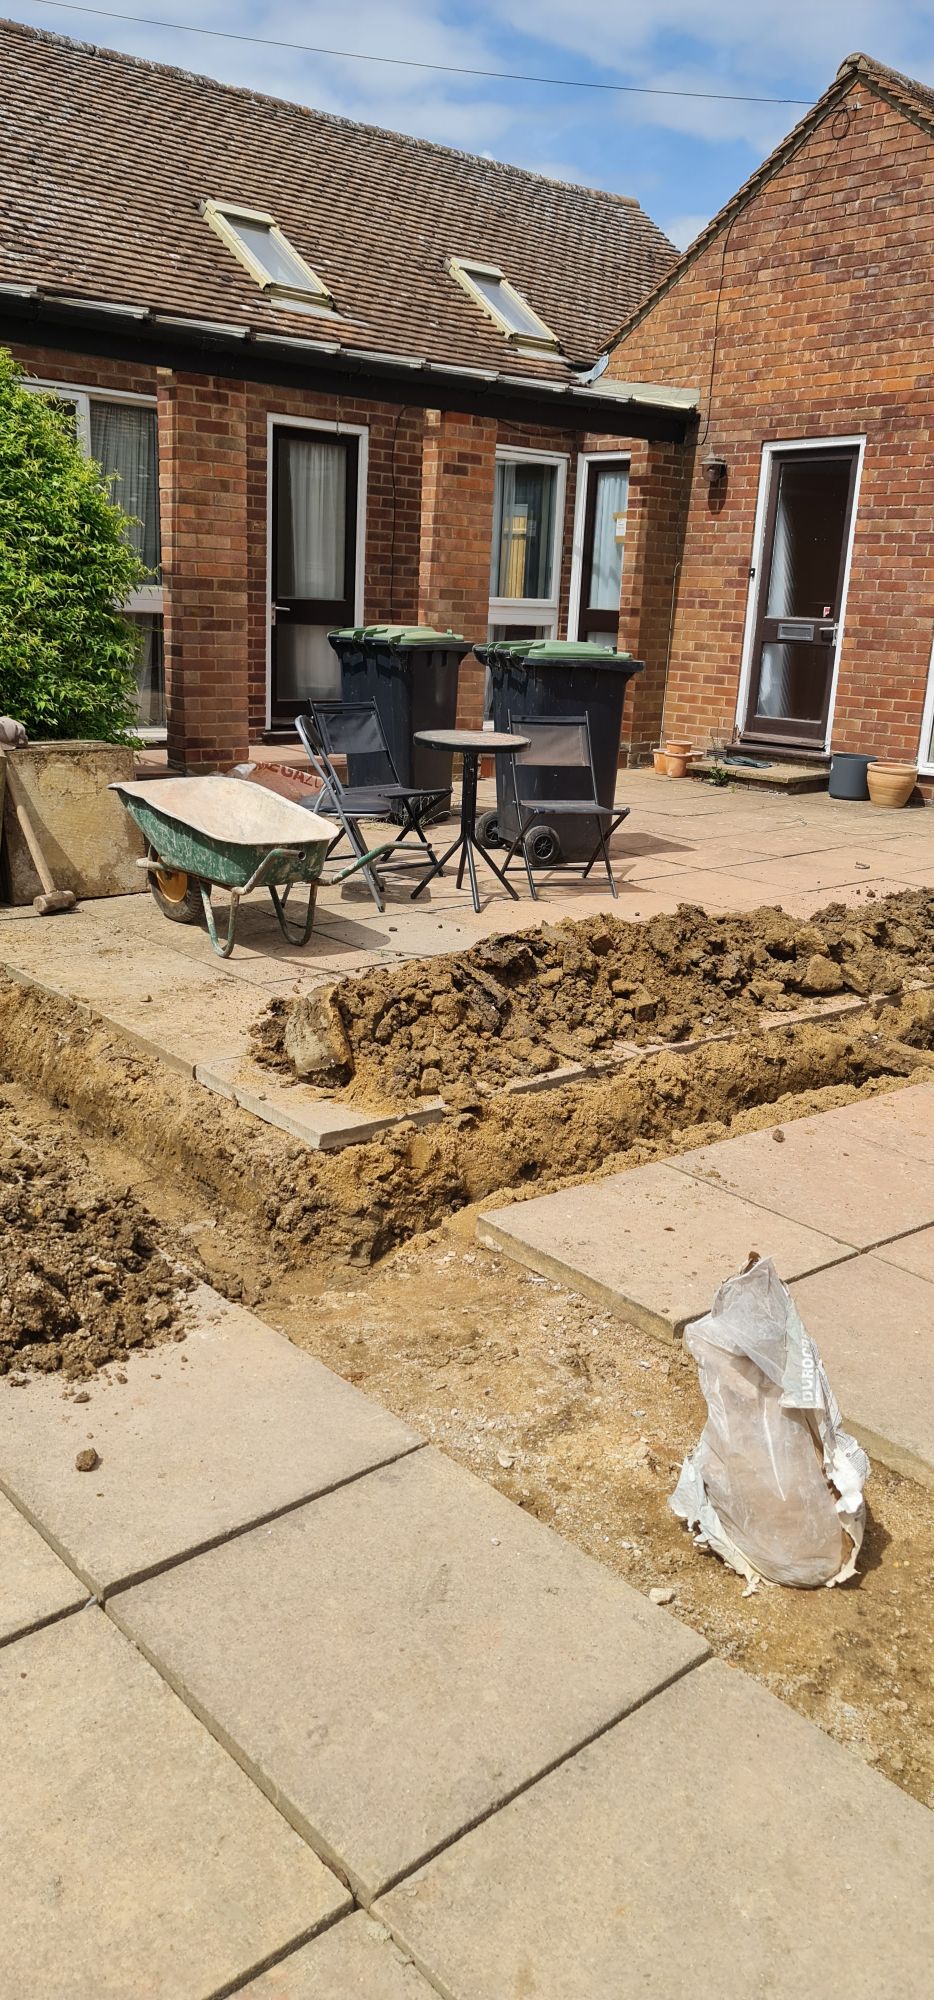
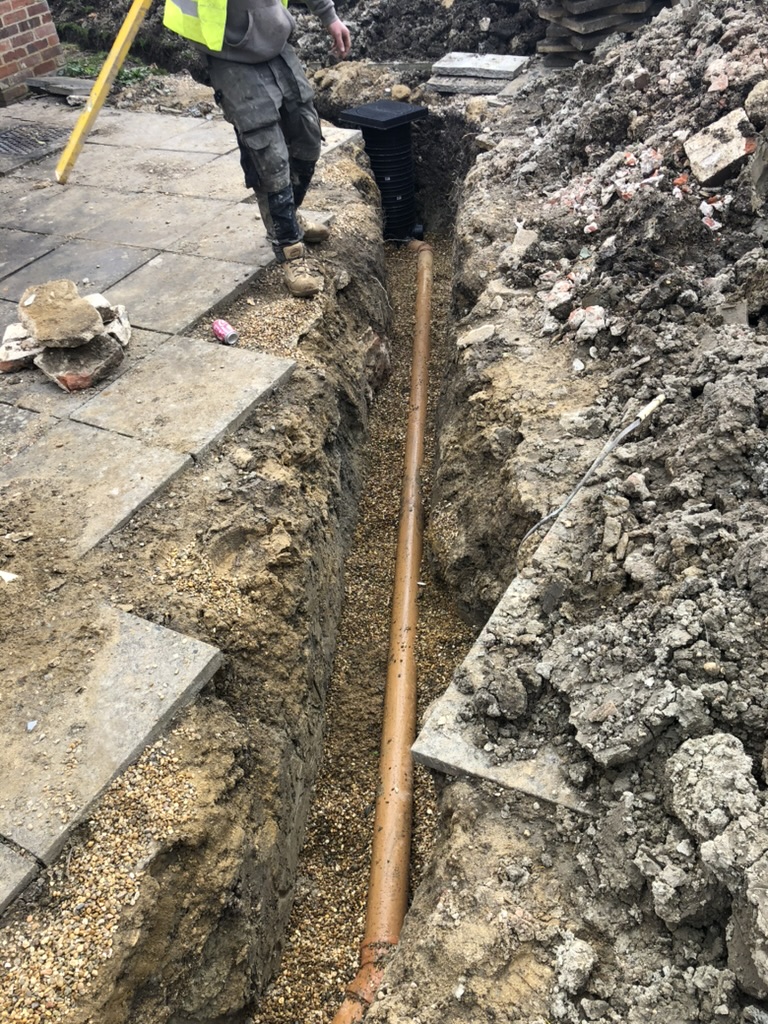
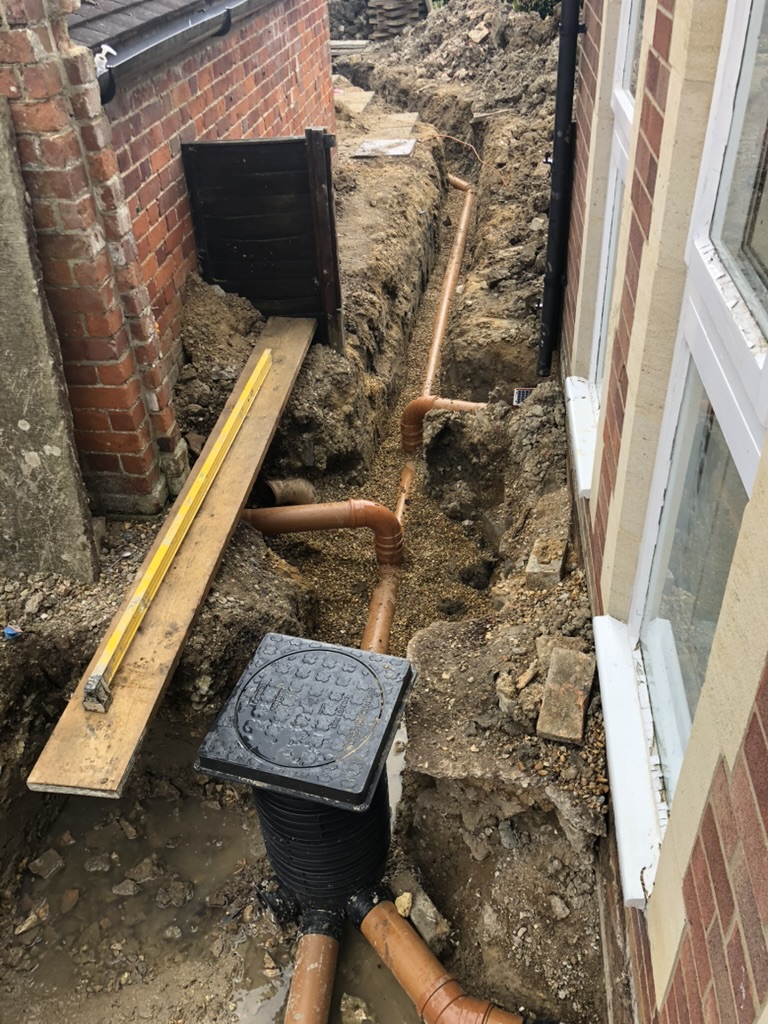
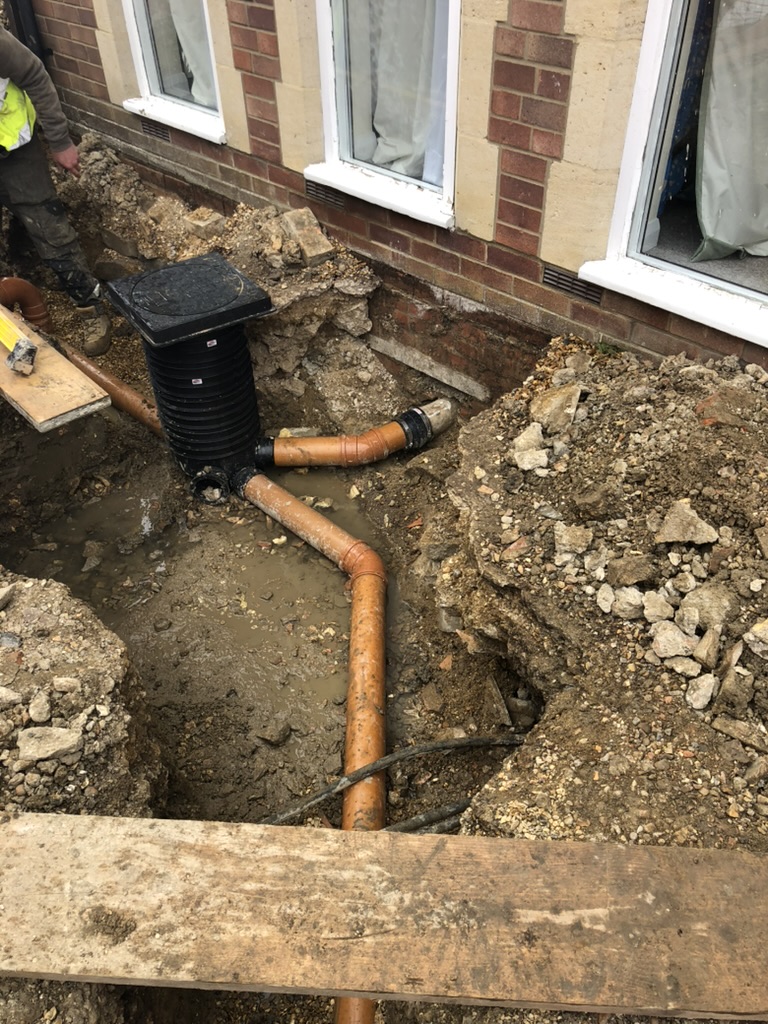
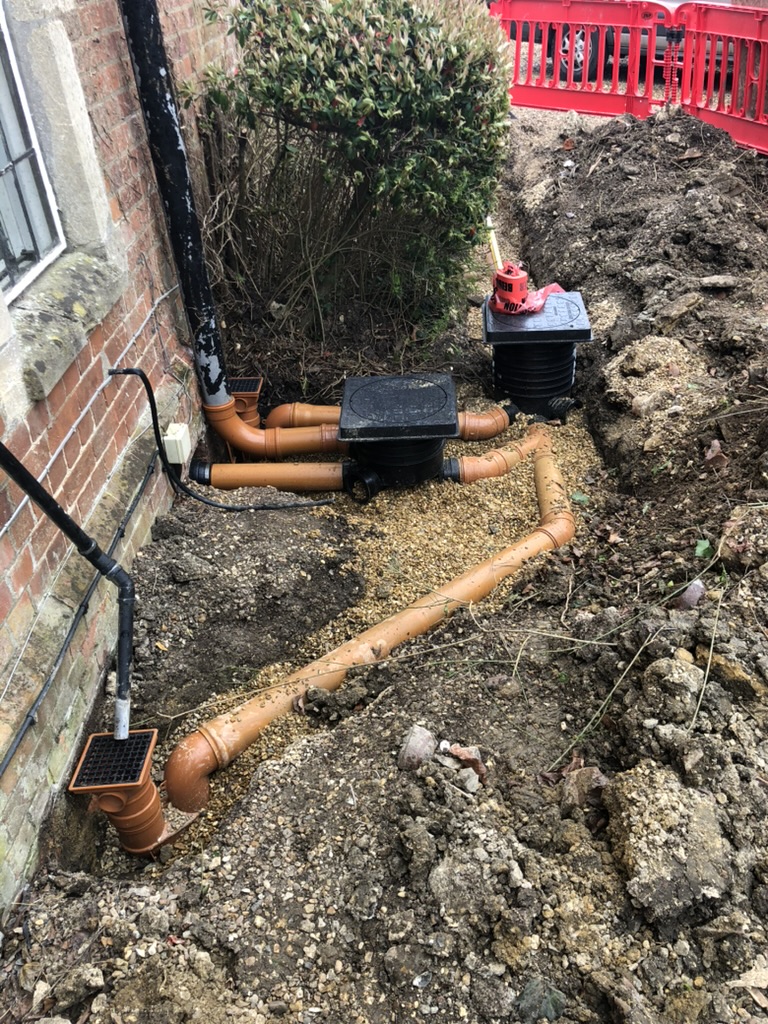
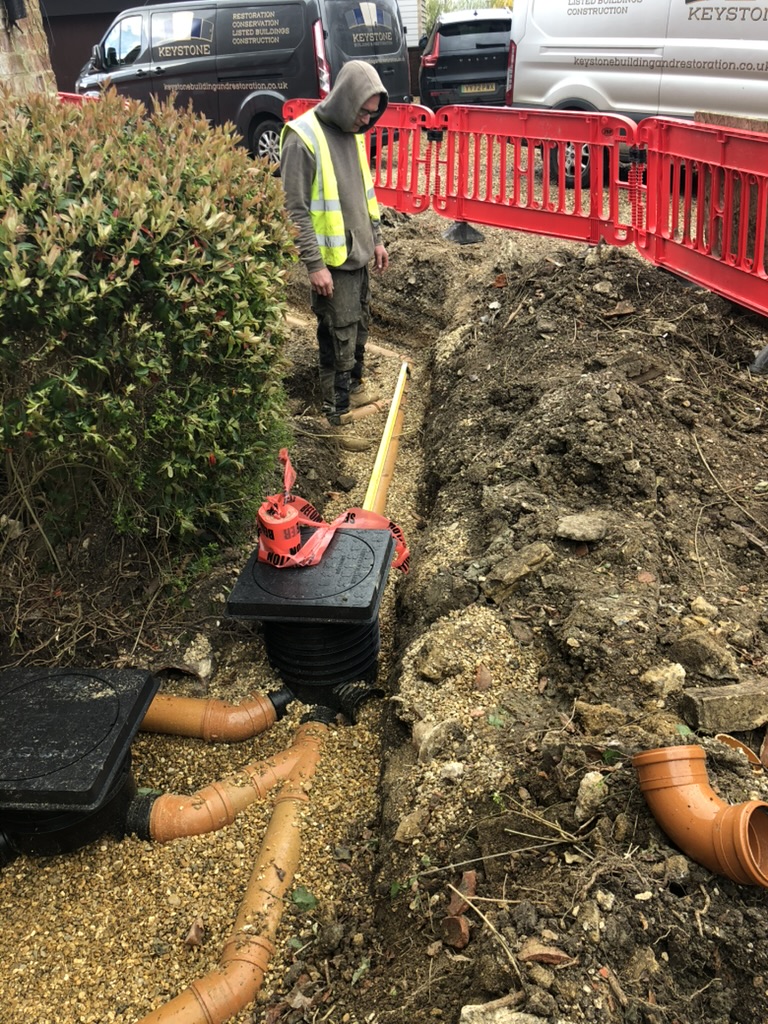
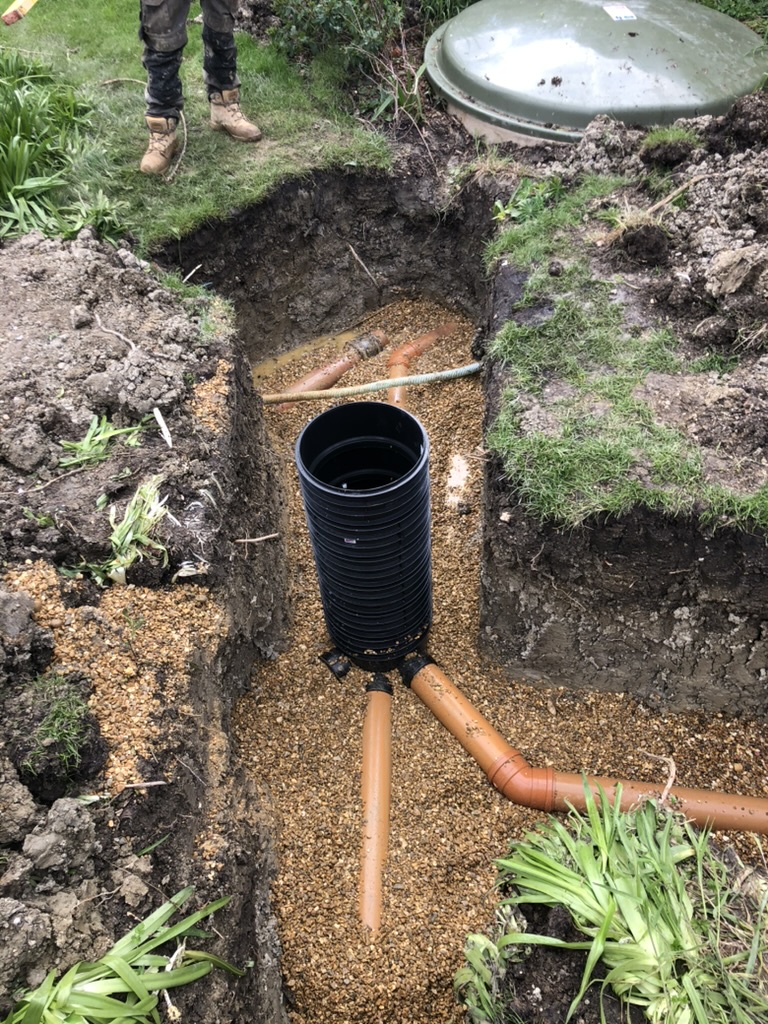
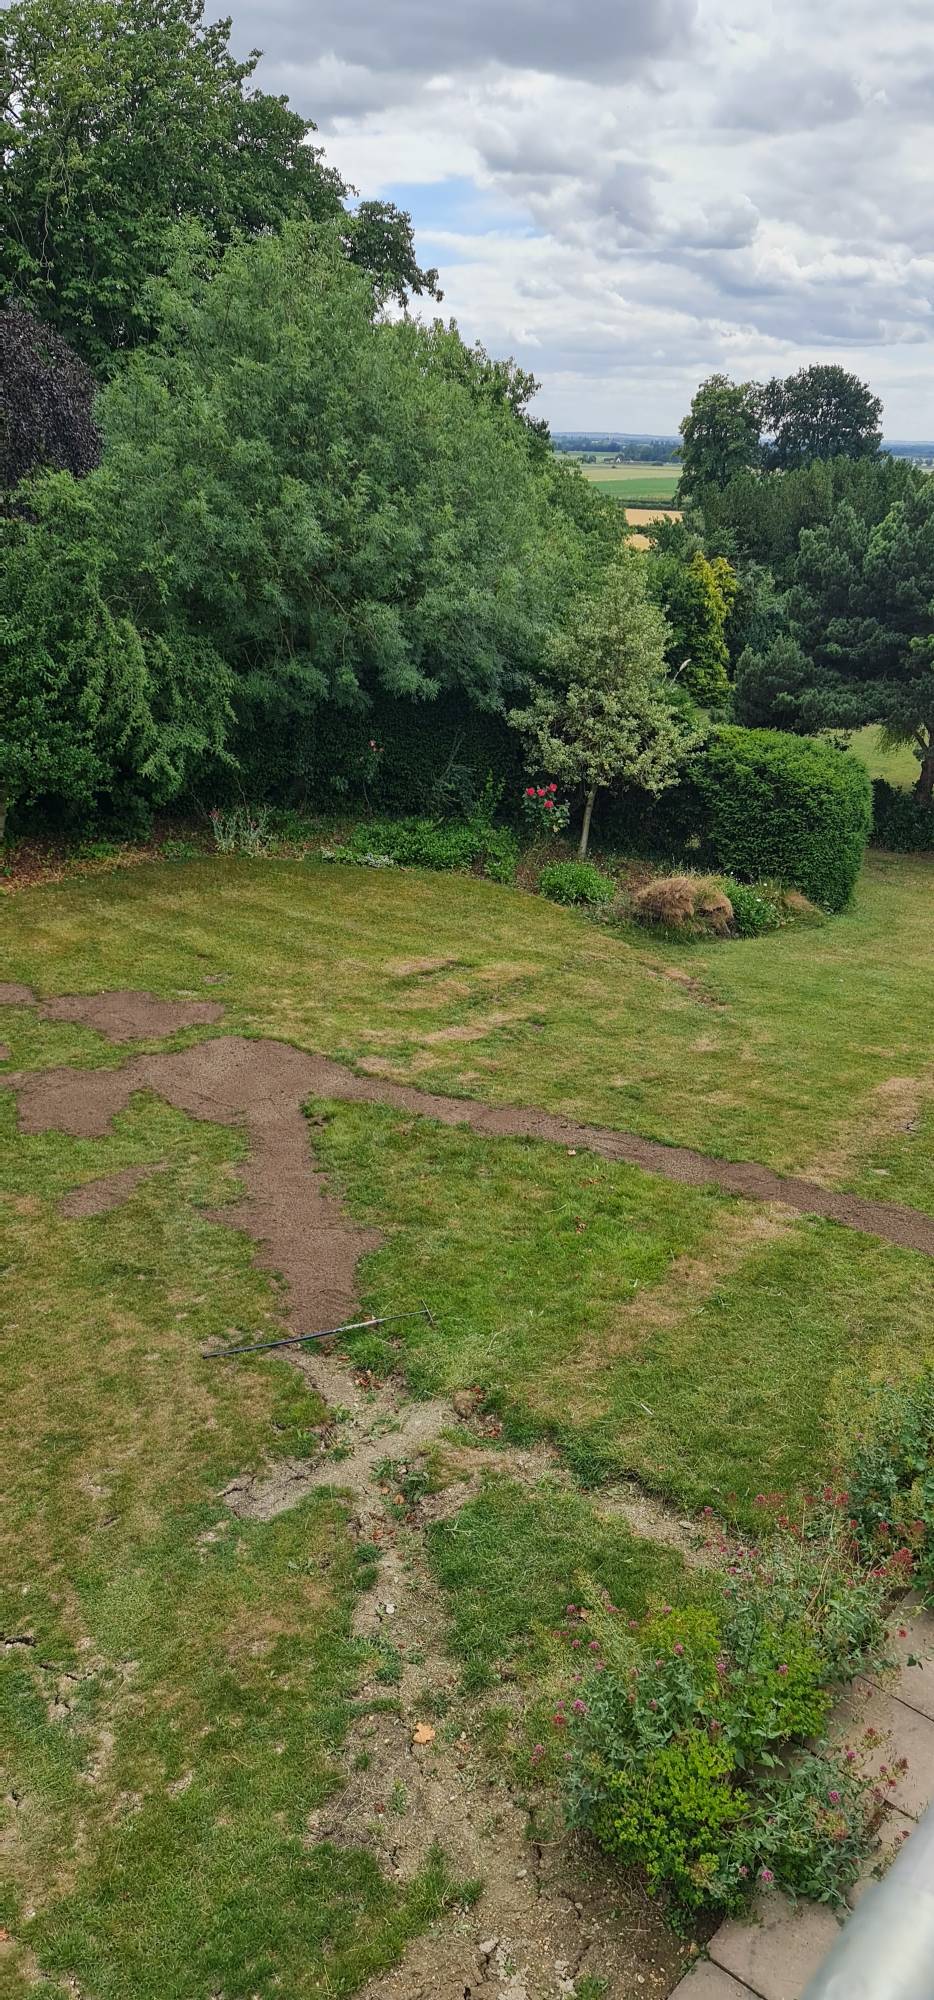
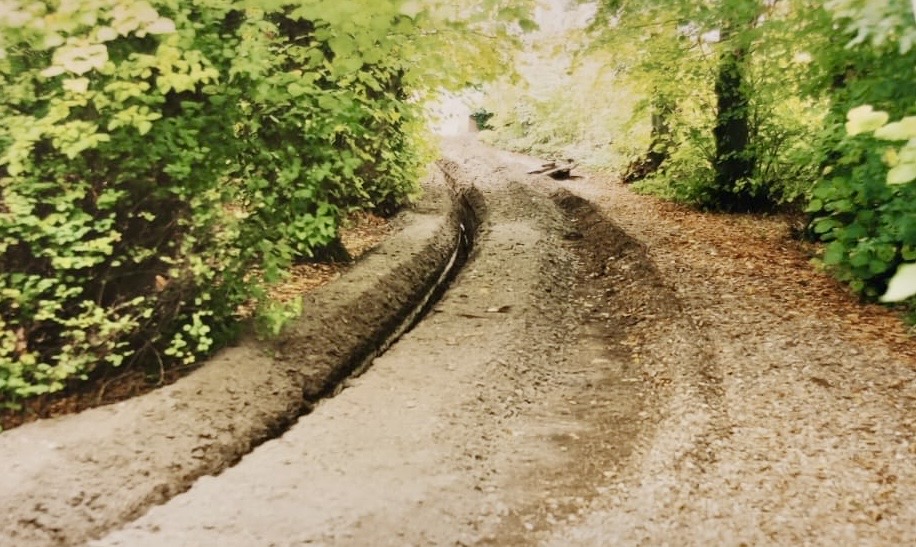
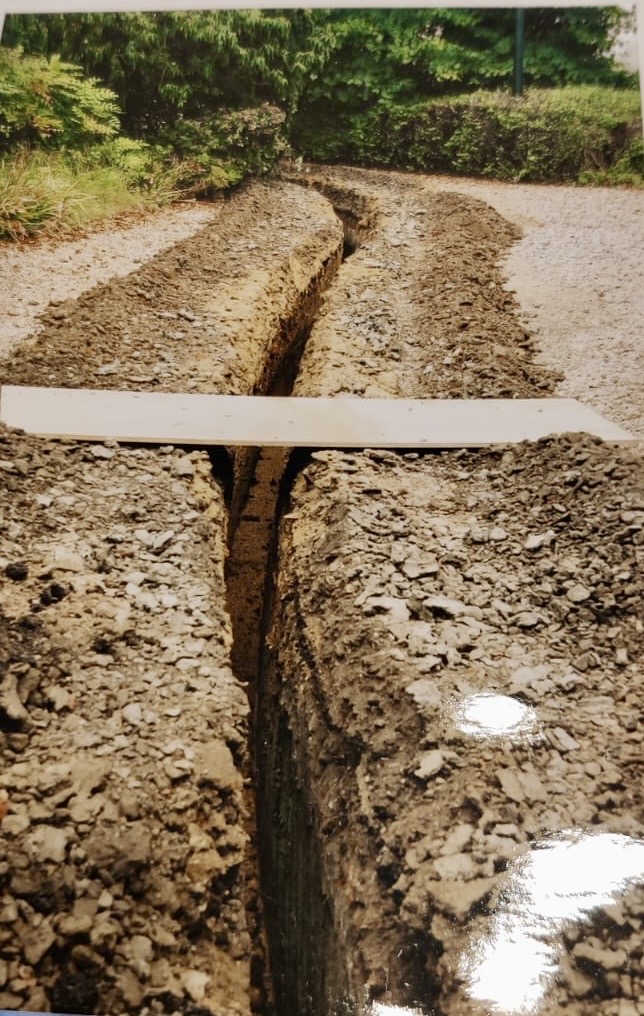
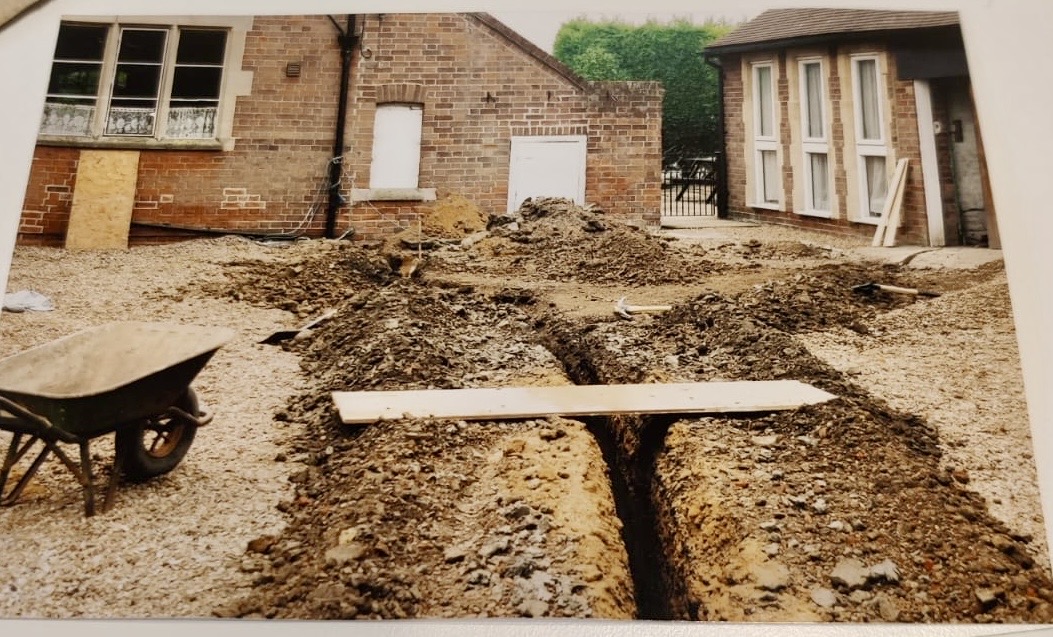
The existing drainage around the house was dug out and renewed throughout. The new runs were laid at a lower level than the old ones, in new pipework bedded on shingle, with new inspection chambers at the junctions so the system can be accessed and maintained. Rainwater downpipes and gullies were then reconnected into the new drains.
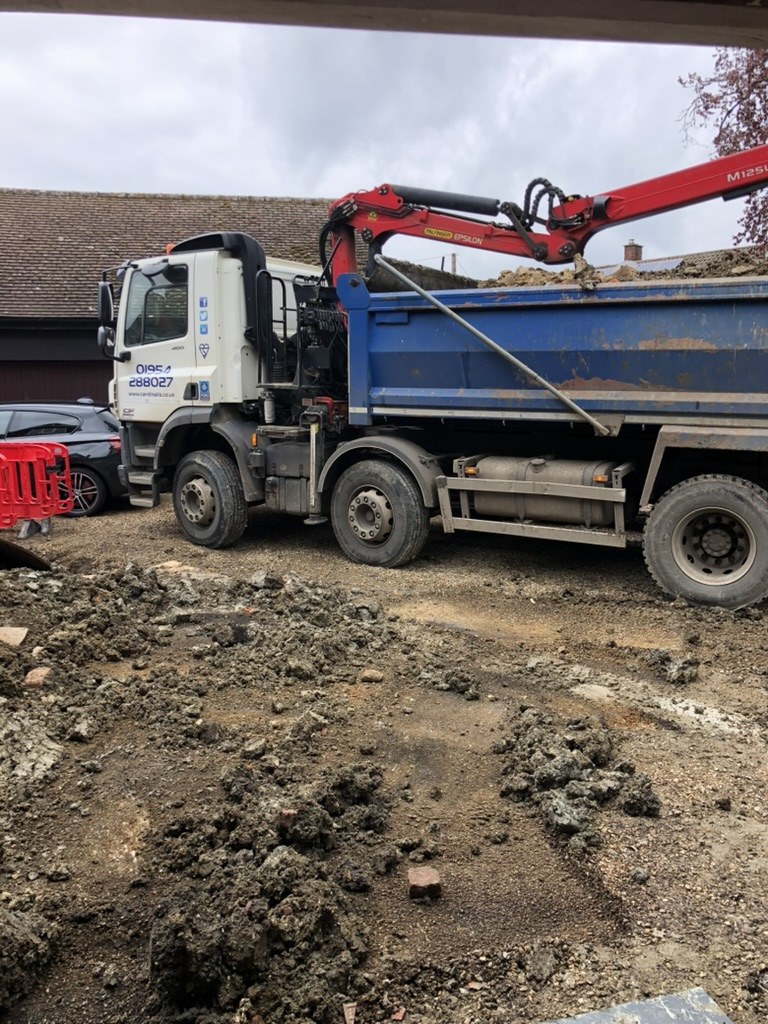
Lowering the drains meant excavating a considerable volume of ground around the house, and several grab lorries were brought in to load and remove the spoil from site.
Stage 23
Driveway and carport
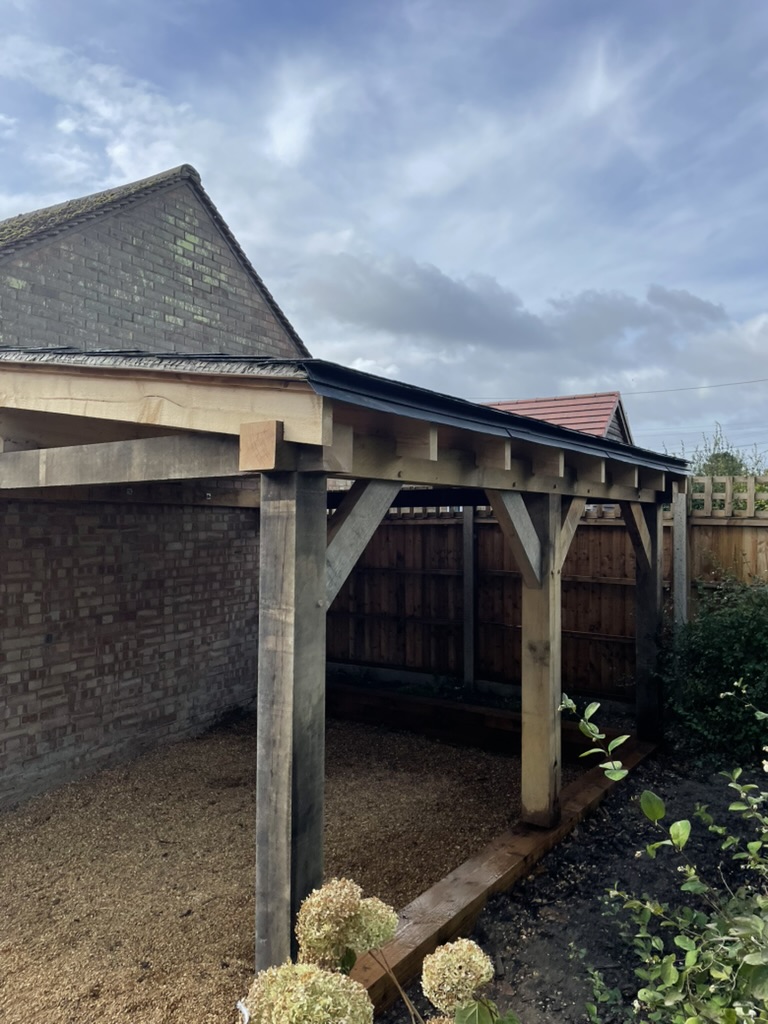
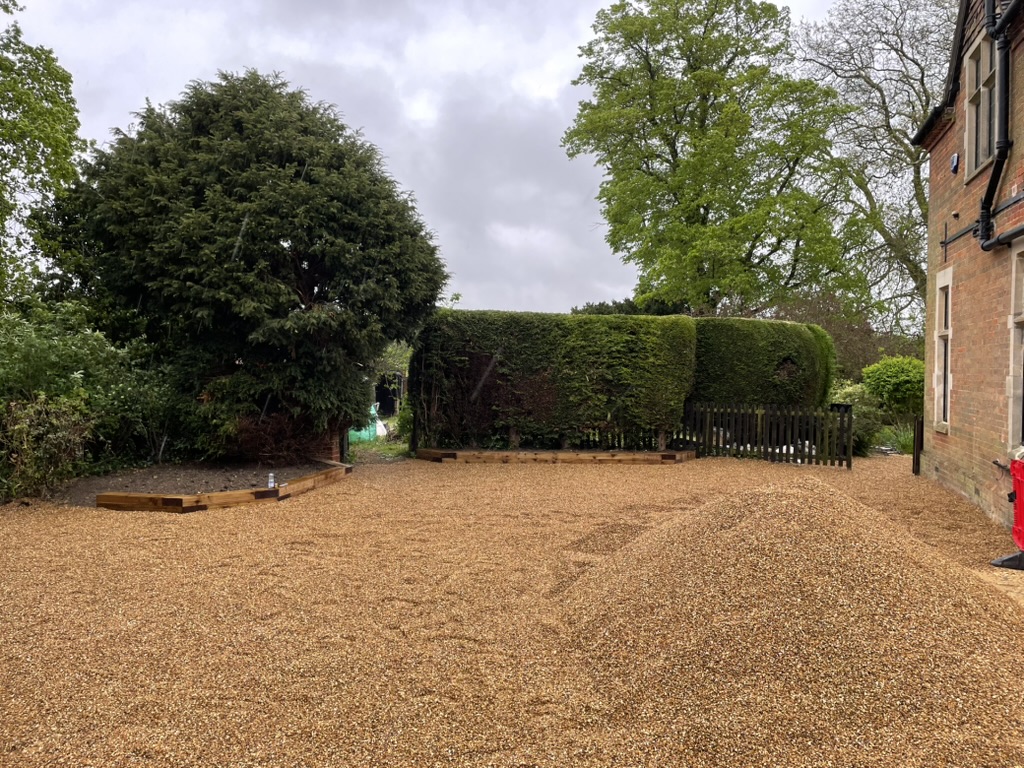
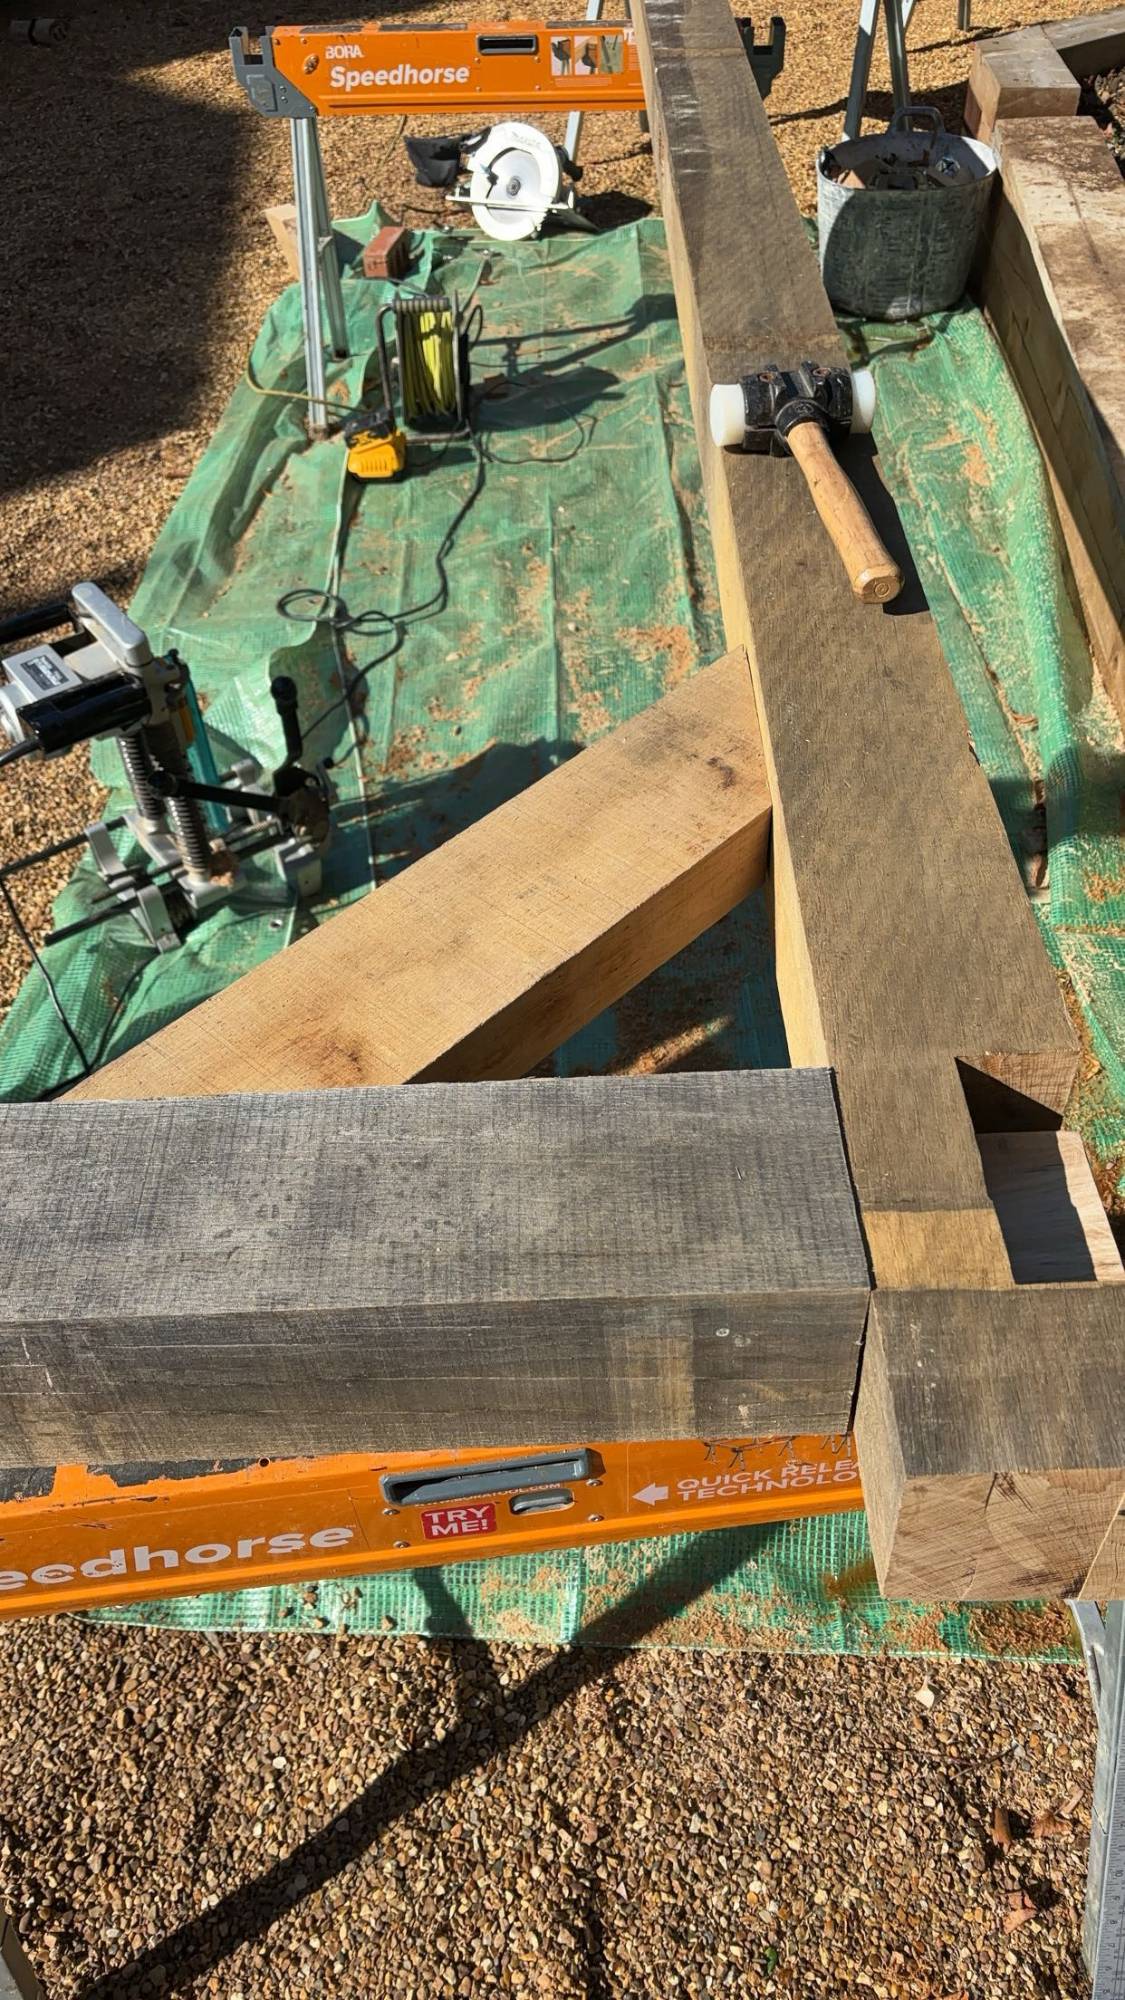
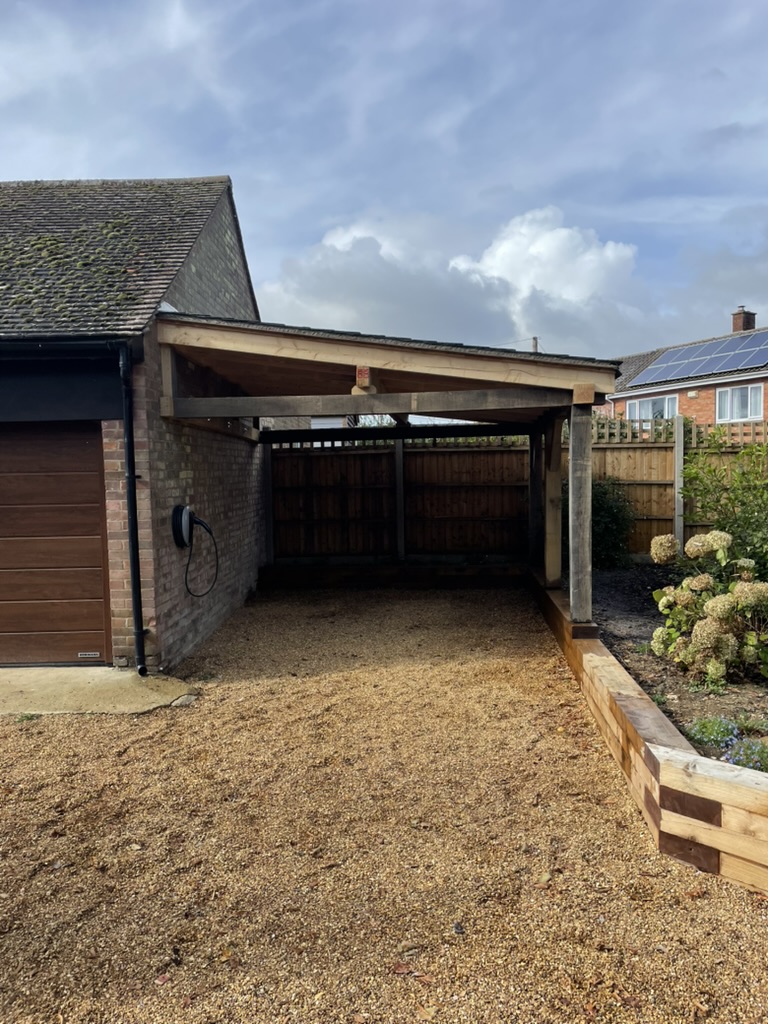
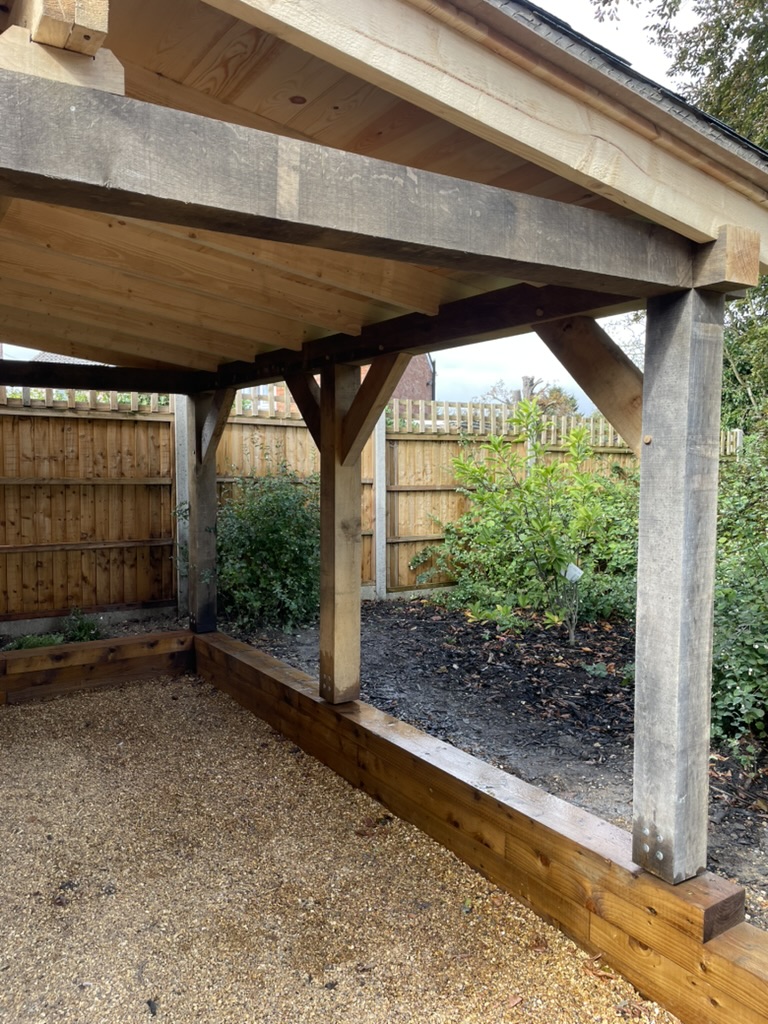
We laid the new driveway on a geotextile membrane with a crushed limestone base, and edged it with timber sleeper walls to hold the gravel and frame the borders. Alongside it we built an oak-framed carport.
The finished result
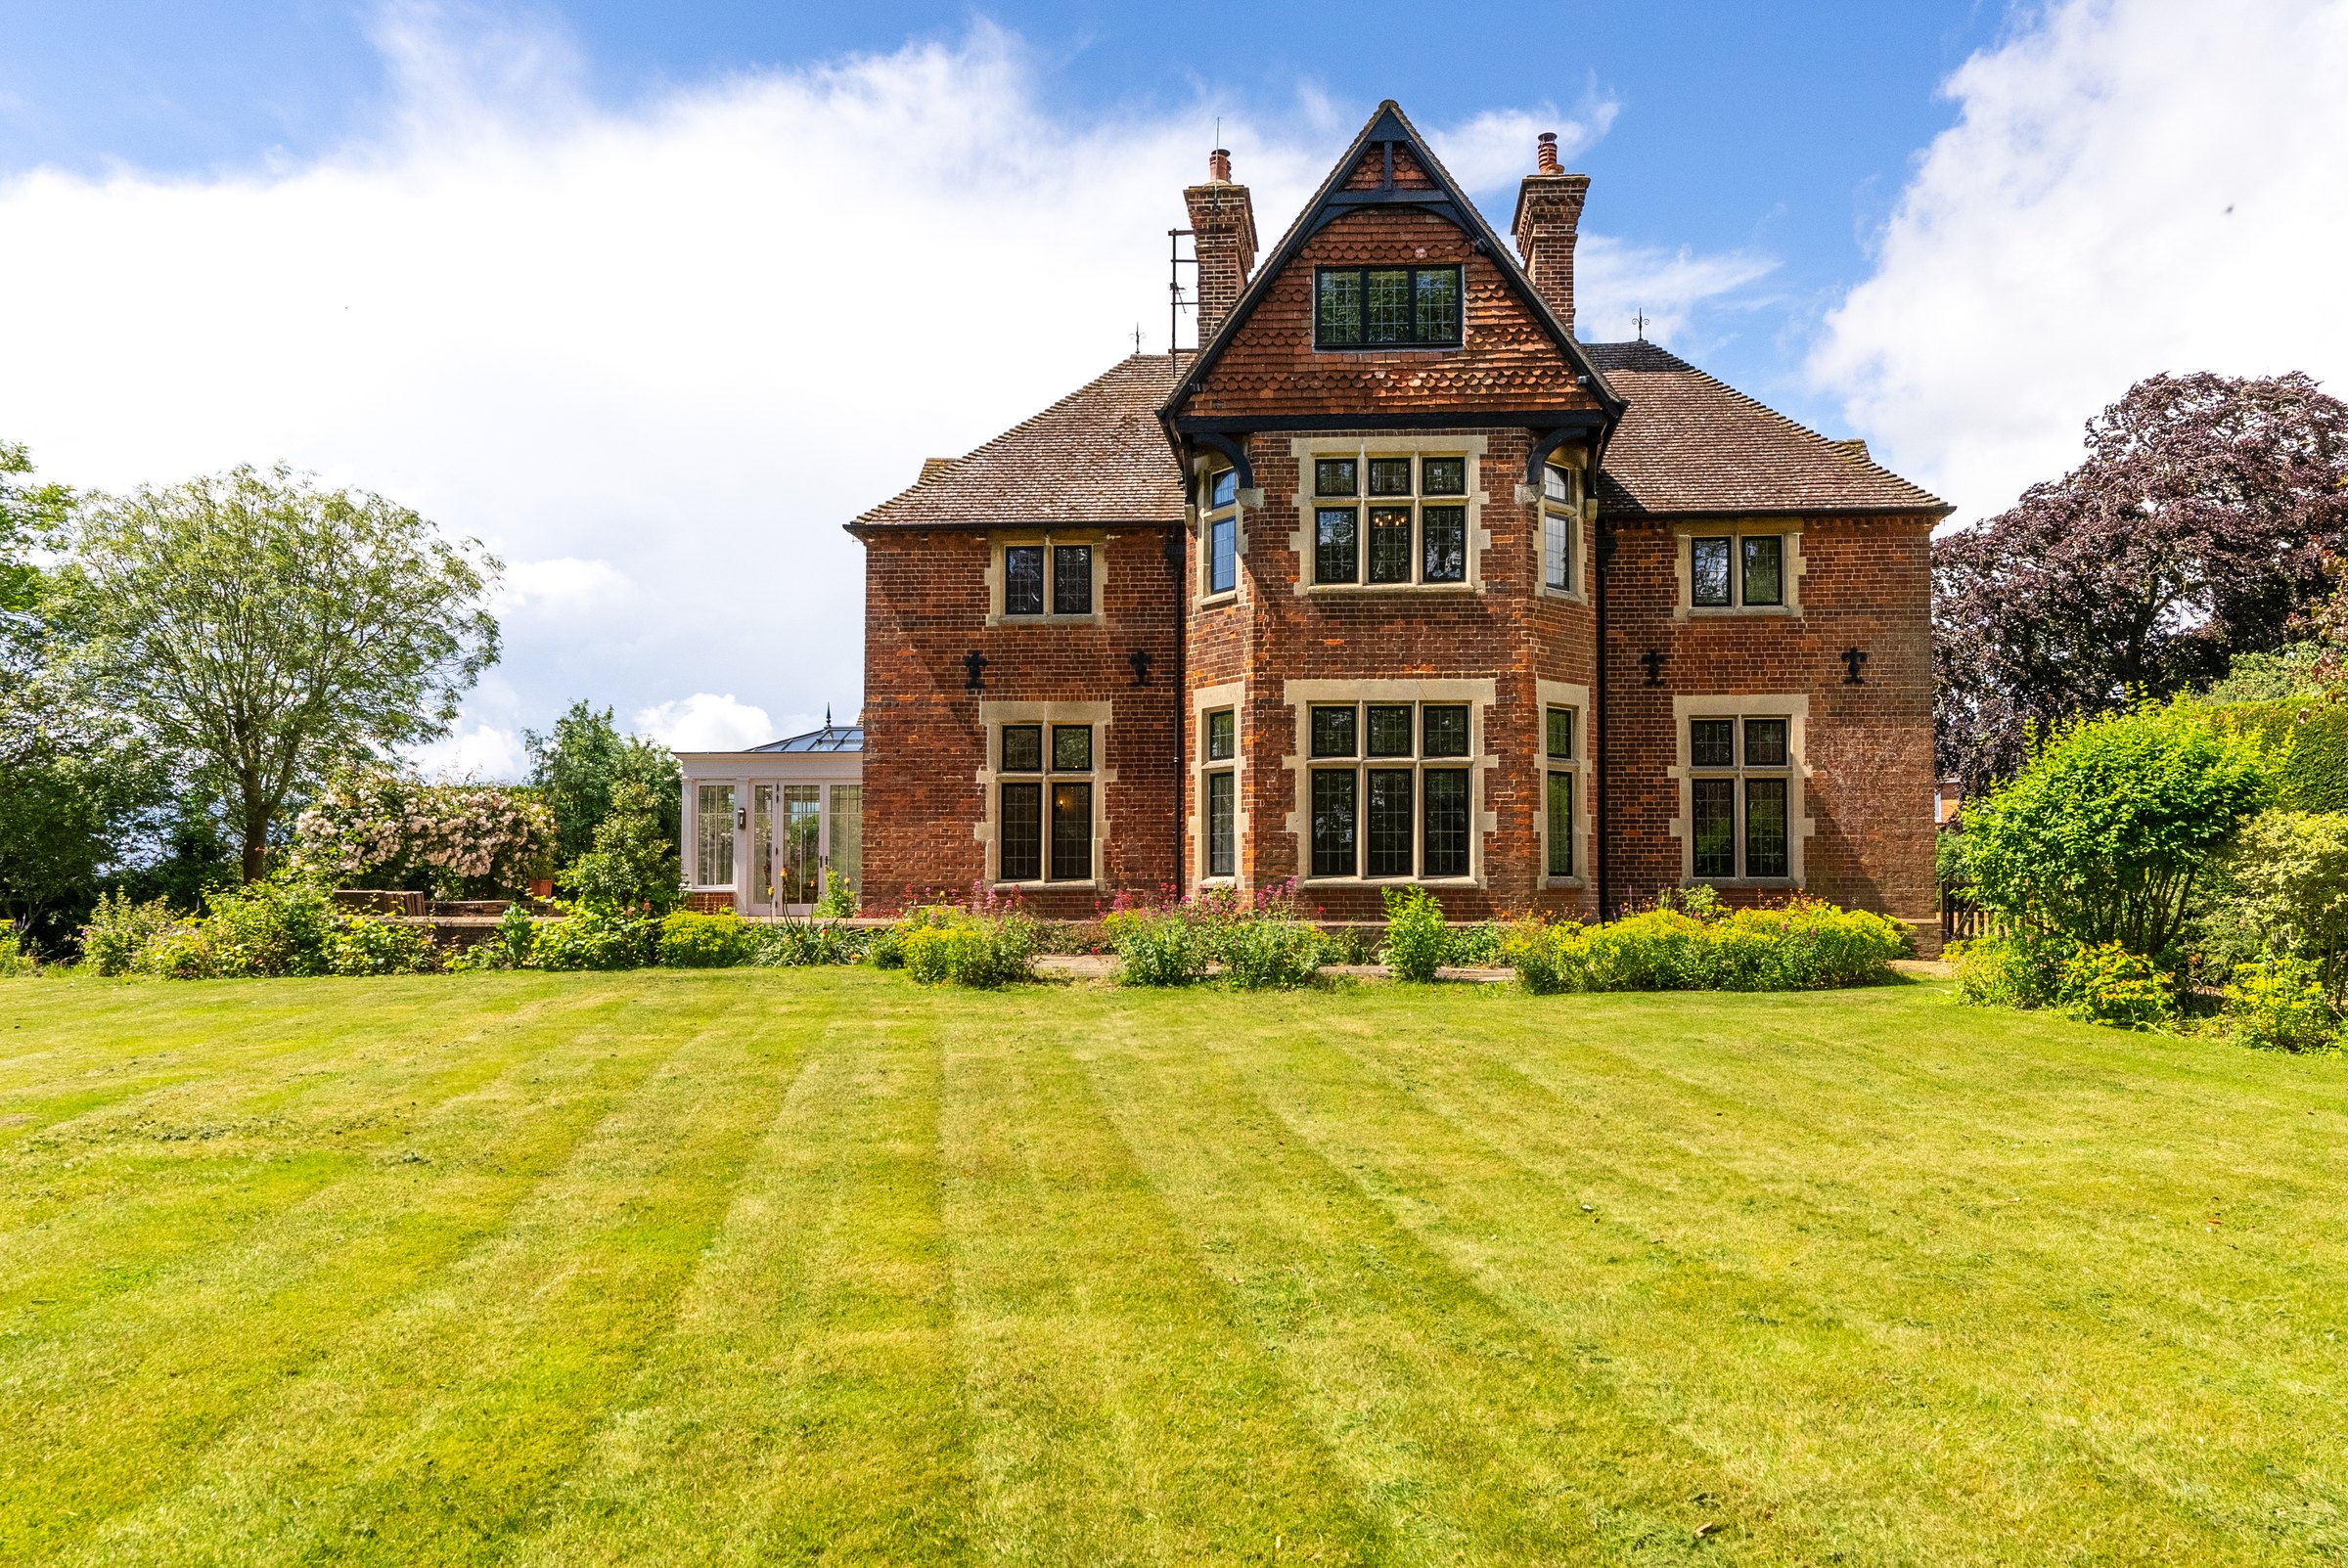
The Old Vicarage now has a more practical layout, updated services and a usable cellar. The restored stonework and heritage windows are visible from outside, while the kitchen, boot room and orangery show how the house has been adapted for daily use.